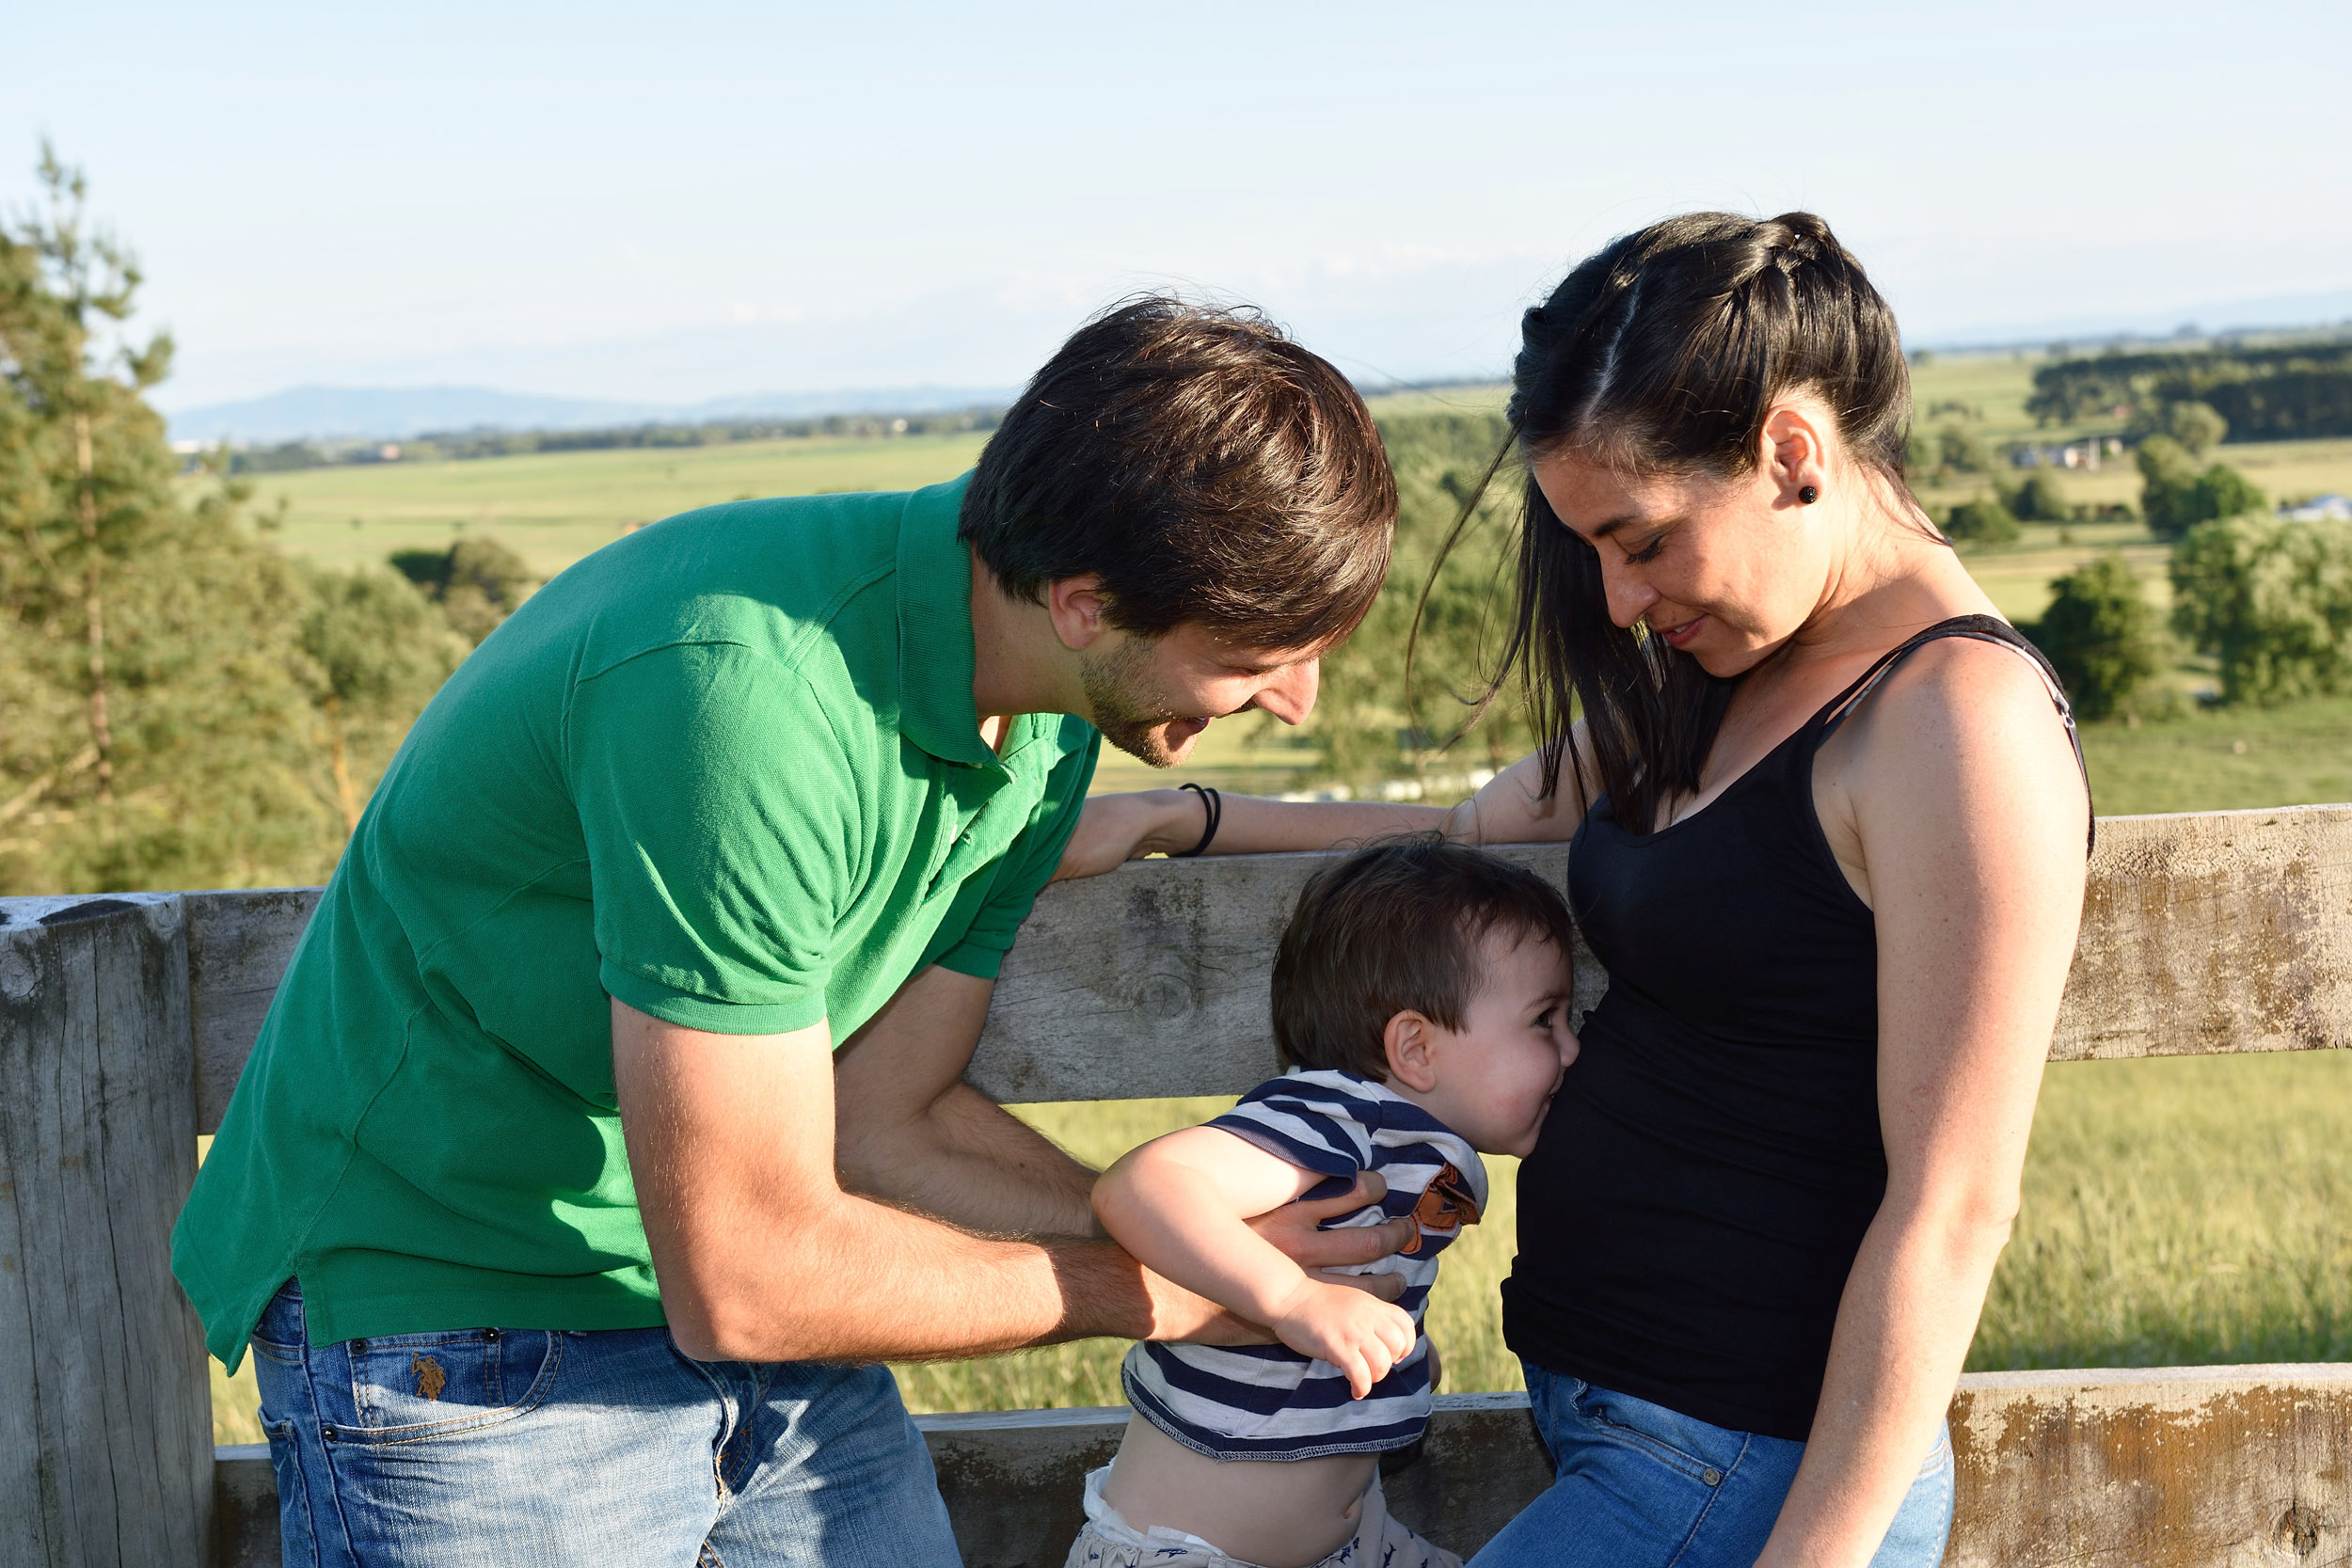
Last Sunday I did a photoshoot for someone wanting to announce their pregnancy. I have spent the last few years concentrating on high speed photography, explosions and the occasional landscapes. I have photographed a dozen weddings in as many years and decided that perhaps I should concentrate more in this area if I am ever to make photography a career of sorts. I started off by setting up this website to collect some of my favourite images and then branch out from there. There is a local site called 'neighbourly' which is like a 'localised Facebook' where people interact in a specific area. I posted a thread advertising a "free photoshoot" a while ago and did some studio style photos in the garage. Then I had this idea for a pregnancy announcement and decided to ask for some 'models' on Neighbourly again and received a few requests for volunteers.
First mistake: Since it is daylight savings I decided to ask them to be here at 6:45 pm for 7:00pm, knowing that the sun would still be reasonably high on the horizon. Realistically 8:00 pm is the ideal lighting at the moment but I wanted to have the pictures up the same night which meant shooting earlier to have time to edit and upload. Why didn't I just wait an hour for the good light and put up the photos 1 day later and have images twice as good? Nobody would have cared. Wedding and environmental portraiture is so different to studio shots, high speed photography and landsape photography which allows you to control your environment or wait for the best light. You have to be ready to adapt to any lighting.
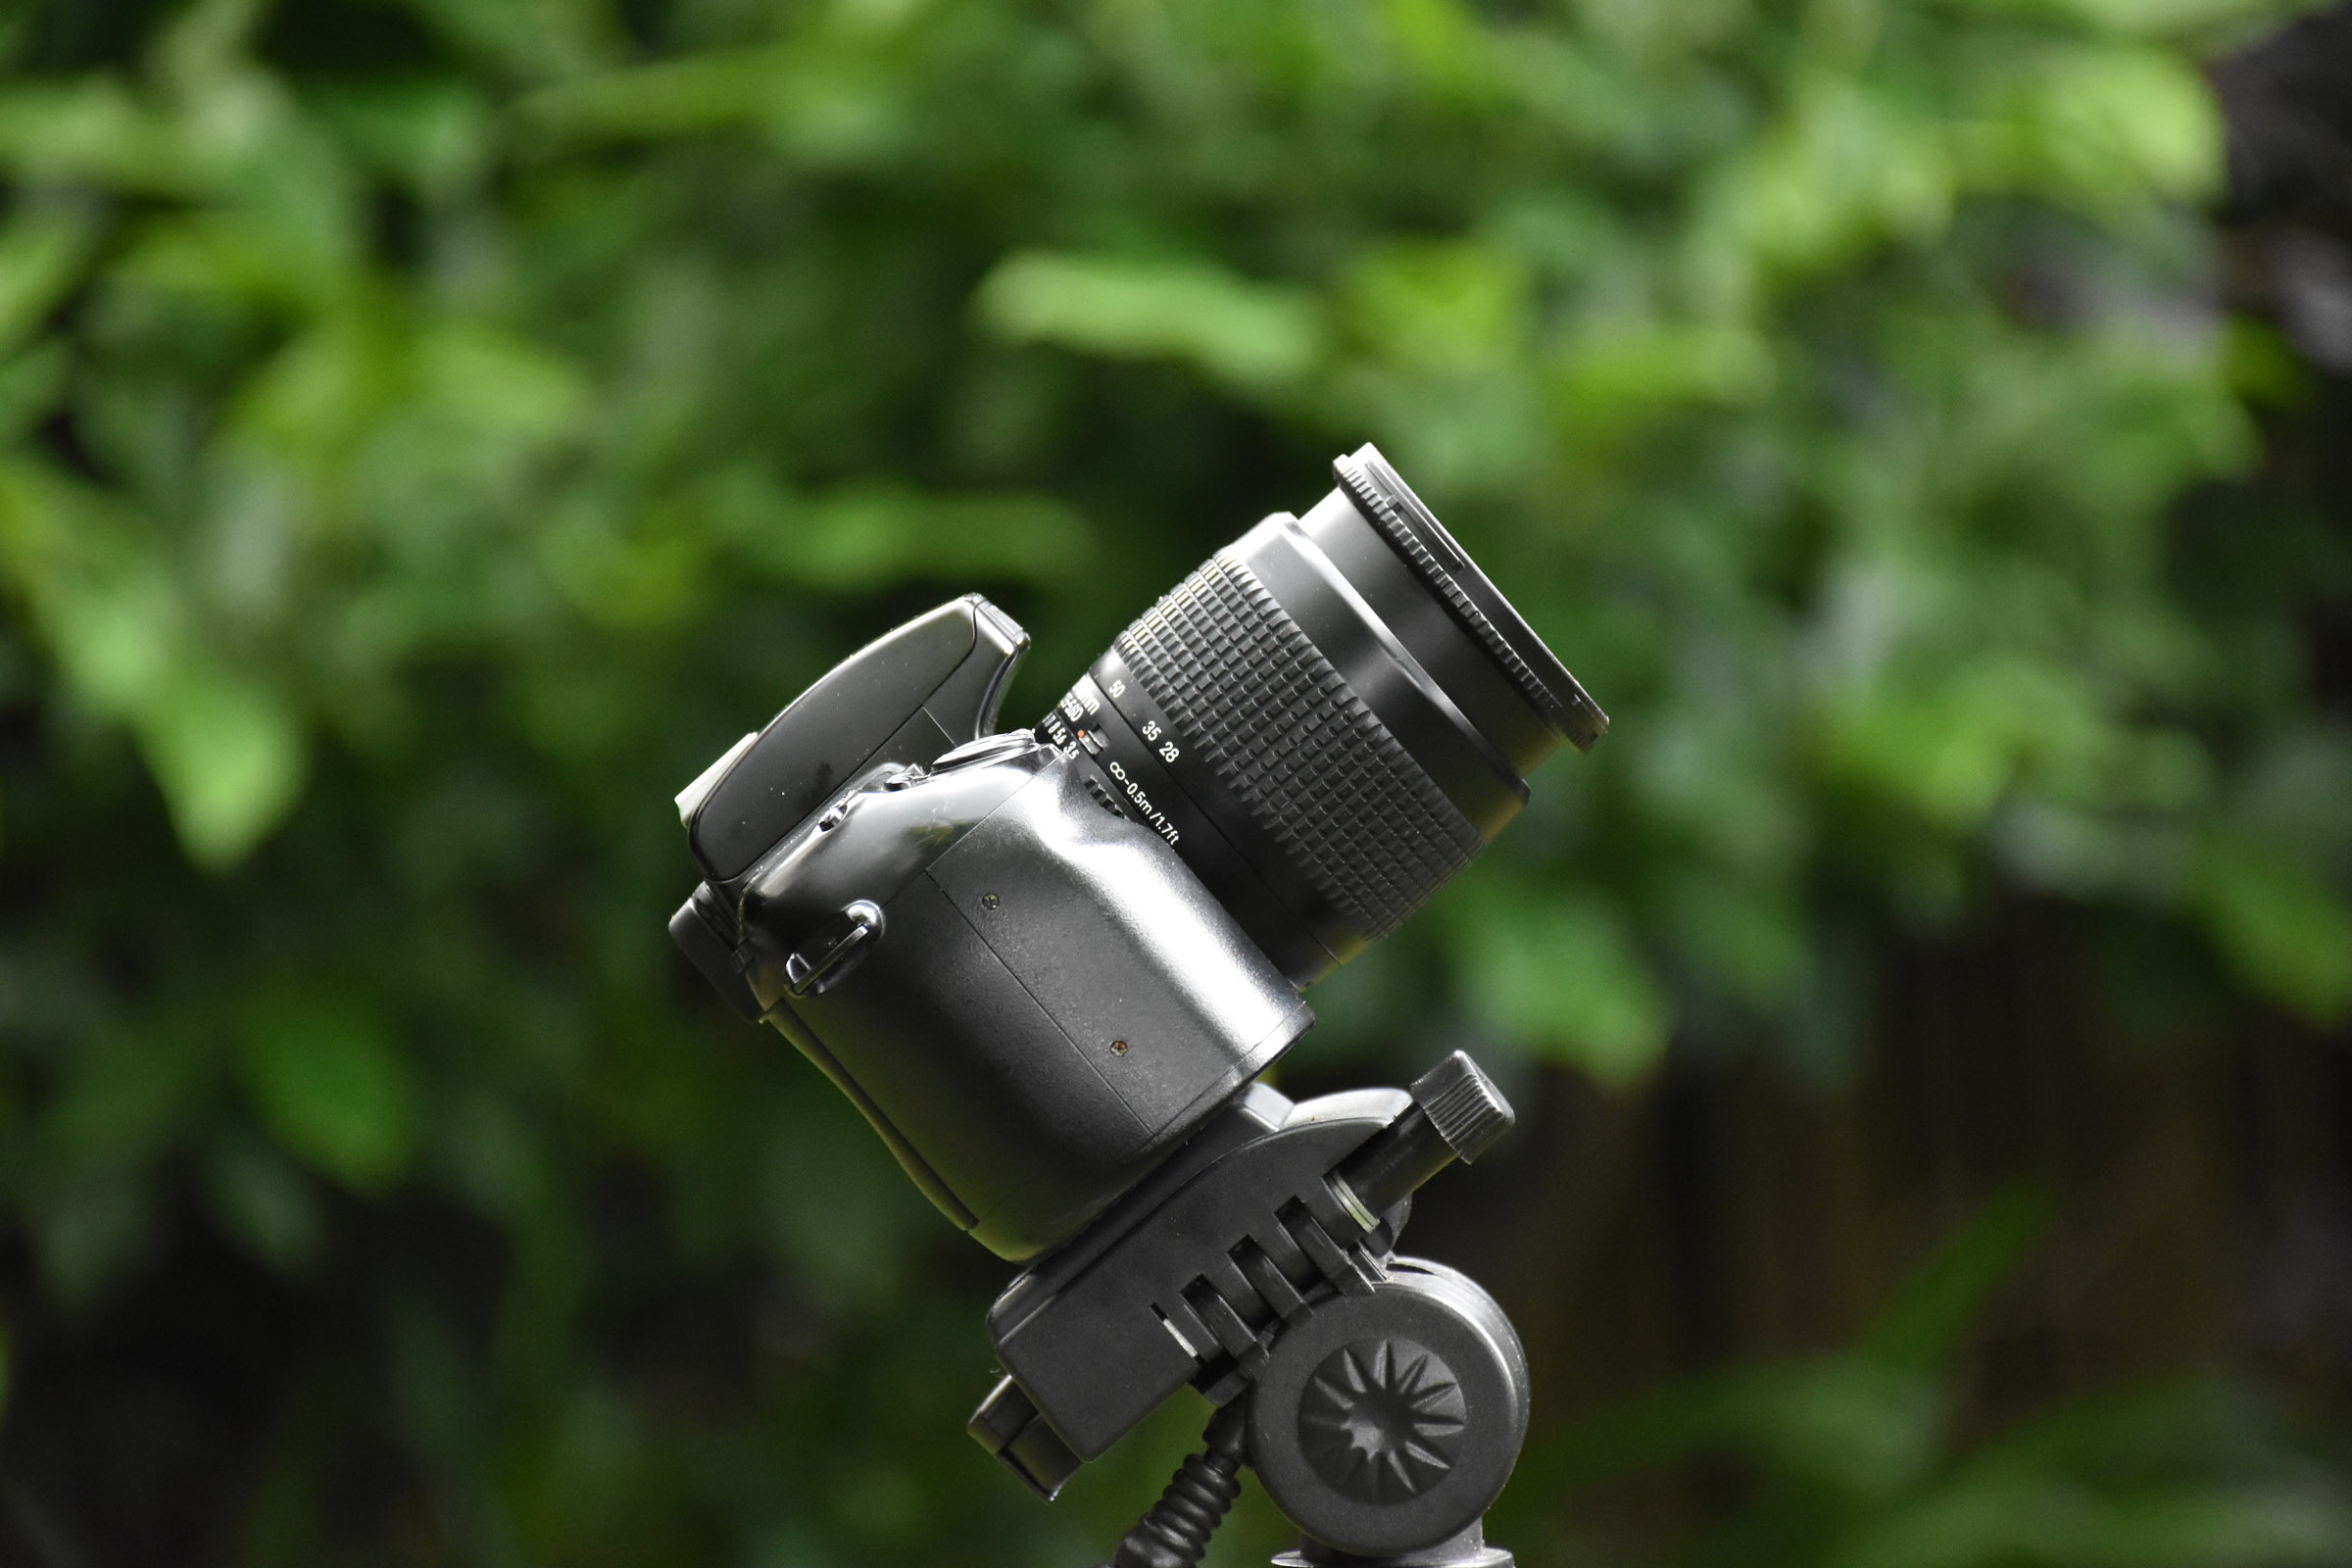
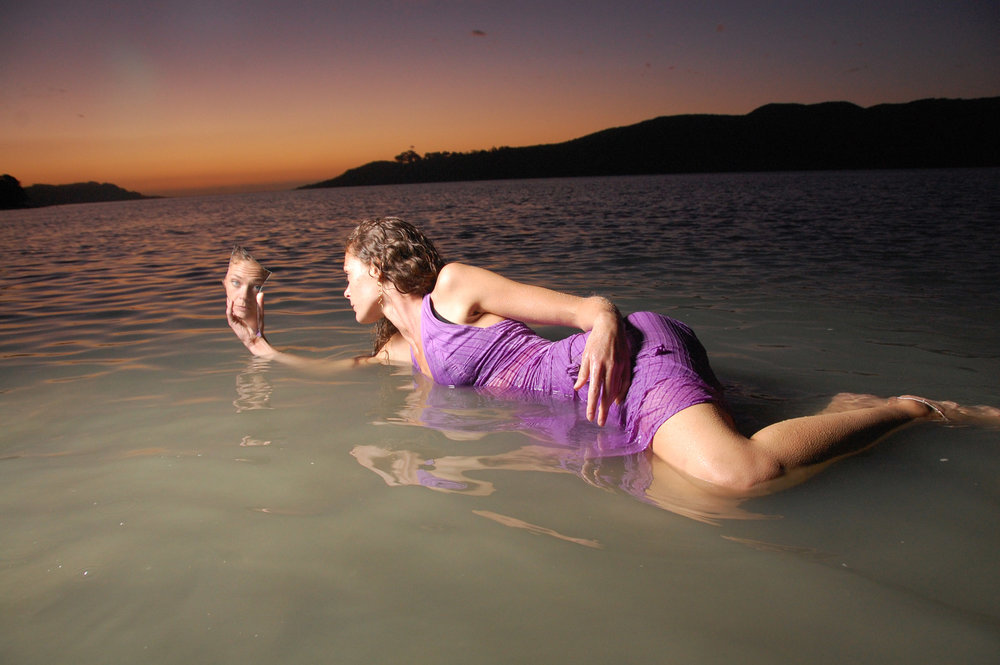
Second "mistake"[?]. People go on so much about prime lenses and how superior they are I bought a 24mm f1.8 which when coupled with my Nikon D7200 would give a nice 35mm field of view. After I while I felt very 'restricted' by a prime, having shot most of my favourite images on an 18-200mm lens, so I compromised and got a Sigma 18-35mm f1.8. This lens is almost a "zoom prime" it is so good, all the way from 18-35mm [27-52mm equivalent] with no loss of quality and the same results as an f1.8 prime lens. In the past I had tested images shot at f7.1 with an 18-200mm and a 70-200mm F2.8 lens and seen no visible difference, not even at 100% so I can pretty much guarantee that if I am shooting a scene at f7.1 in brighter light nobody will be able to tell whether I used a zoom or a prime - unless they were to zoom in at 100%, tilt their head 7.25 degrees to the left, squint ther eyes and push their tongue hard againt the roof of their mouth.... I had given my wife the D7000 with the 18-200mm lens on it and for some of the shots I wished I had just gone and swapped cameras with her for a while. basically I would be happier with a jpeg shot with a superzoom on a 6 megapixel camera at the right focal length, than with a RAW image shot with the best prime on earth at 45 megapixels but at the wrong focal length. Yes, yes I know The RIGHT focal length prime shot in RAW with a 45 megapixel camera would give superior results ..... if you zoom in at 100%, tilt your head to the left ...... But for my needs and style of shooting [not too much fancy posing, trying to capture the moment as it happens, looking for something spontaneous that I hadn't planned for] .... especially in bright light at f7.1, I would not be able to tell the difference and neither would my average customer - people are more likely to notice too much extra space or too tight a crop from using a prime. Of course for a "once off best photo to win a competition, 2 hours preparation and an hour shooting to get that one special image" kind of shoot a prime is the way to go. [maybe not even for me there, I got one of my favourite images by zooming my 18-200mm lens back to show the scene I was shooting]. The first image is what I was trying to achieve, the second was a "this is where she was lying" shot which I couldn't have done in the same situation with a prime. [imagine a 200mm f2.0 lens giving superior shots of the mirror and how far you would have to get up and walk through the water to show the setting]

RAW vs jpeg. Everyone knows that RAW is the way to go and why not if it has so many advantages? The thing is I have shot jpeg for 12 years now and am only venturing into shooting and processing RAW, especially since the D7000 and D7200 have dual card slots and you can save RAW to one and jpeg to the other. That makes it especially good for backup and the ability to later compare your RAW processing with how the jpeg came out. Now this is just my personal opinion but many images presented for display by amateurs look worse than the jpegs they could have got and I think it is good practice to compare your camera's jpegs [also tweak them to taste to make it fair] with the output you get from processing RAW images. Sometimes when you stare at an image long enough your eye-brain combination makes everything look right to you - until you compare it to the jpeg and realize how much better your image could look.
I think this is why I like Nikon Capture NX-D - it saves your jpeg settings as you would see them from the camera and you can choose your RAW image to have the same presets, [or turn them off] and simply adjust exposure, highlight protection and shadow recovery and get the best of both worlds. I did find that my i5 Mac with only 8 gig of RAM takes about 5-6 seconds per image to convert them to jpegs later. This is not a big deal if I'm not making money from my images yet and realistically 100 images will be ready in 10 minutes which gives a rest between processing the RAW images before deciding any further tweaks to to in Photoshop Elements 13 [I have found this covers all my processing needs since I'm not that into making images look nothing like they did to my eye]
The lighting. The first scene where I had them walking towards the lookout had very bright sky in the background. I had my SB800 flash on the camera set to TTL-BL and -1 exposure just to add some fill light. You have to be careful when using new lenses, TTL-BL uses distance information from the lens and if that is reported wrong by the lens the flash output can vary greatly from what it should be because of that. When I processed the images later I noticed a halo around the people with the bright light behind them. This was toned down when I backed off highlight protection but could have possibly been due to active D-lighting being turned on - I had seen a halo around bright lights before because of this but never around people on the horizon. Have a look at the image with highlight protection at 100%. At first it looks like it might be an illusion but if you block the people with your hand you can still see it. Another lesson learned from a situation where the lighting is harsh but you have no choice but to shoot.
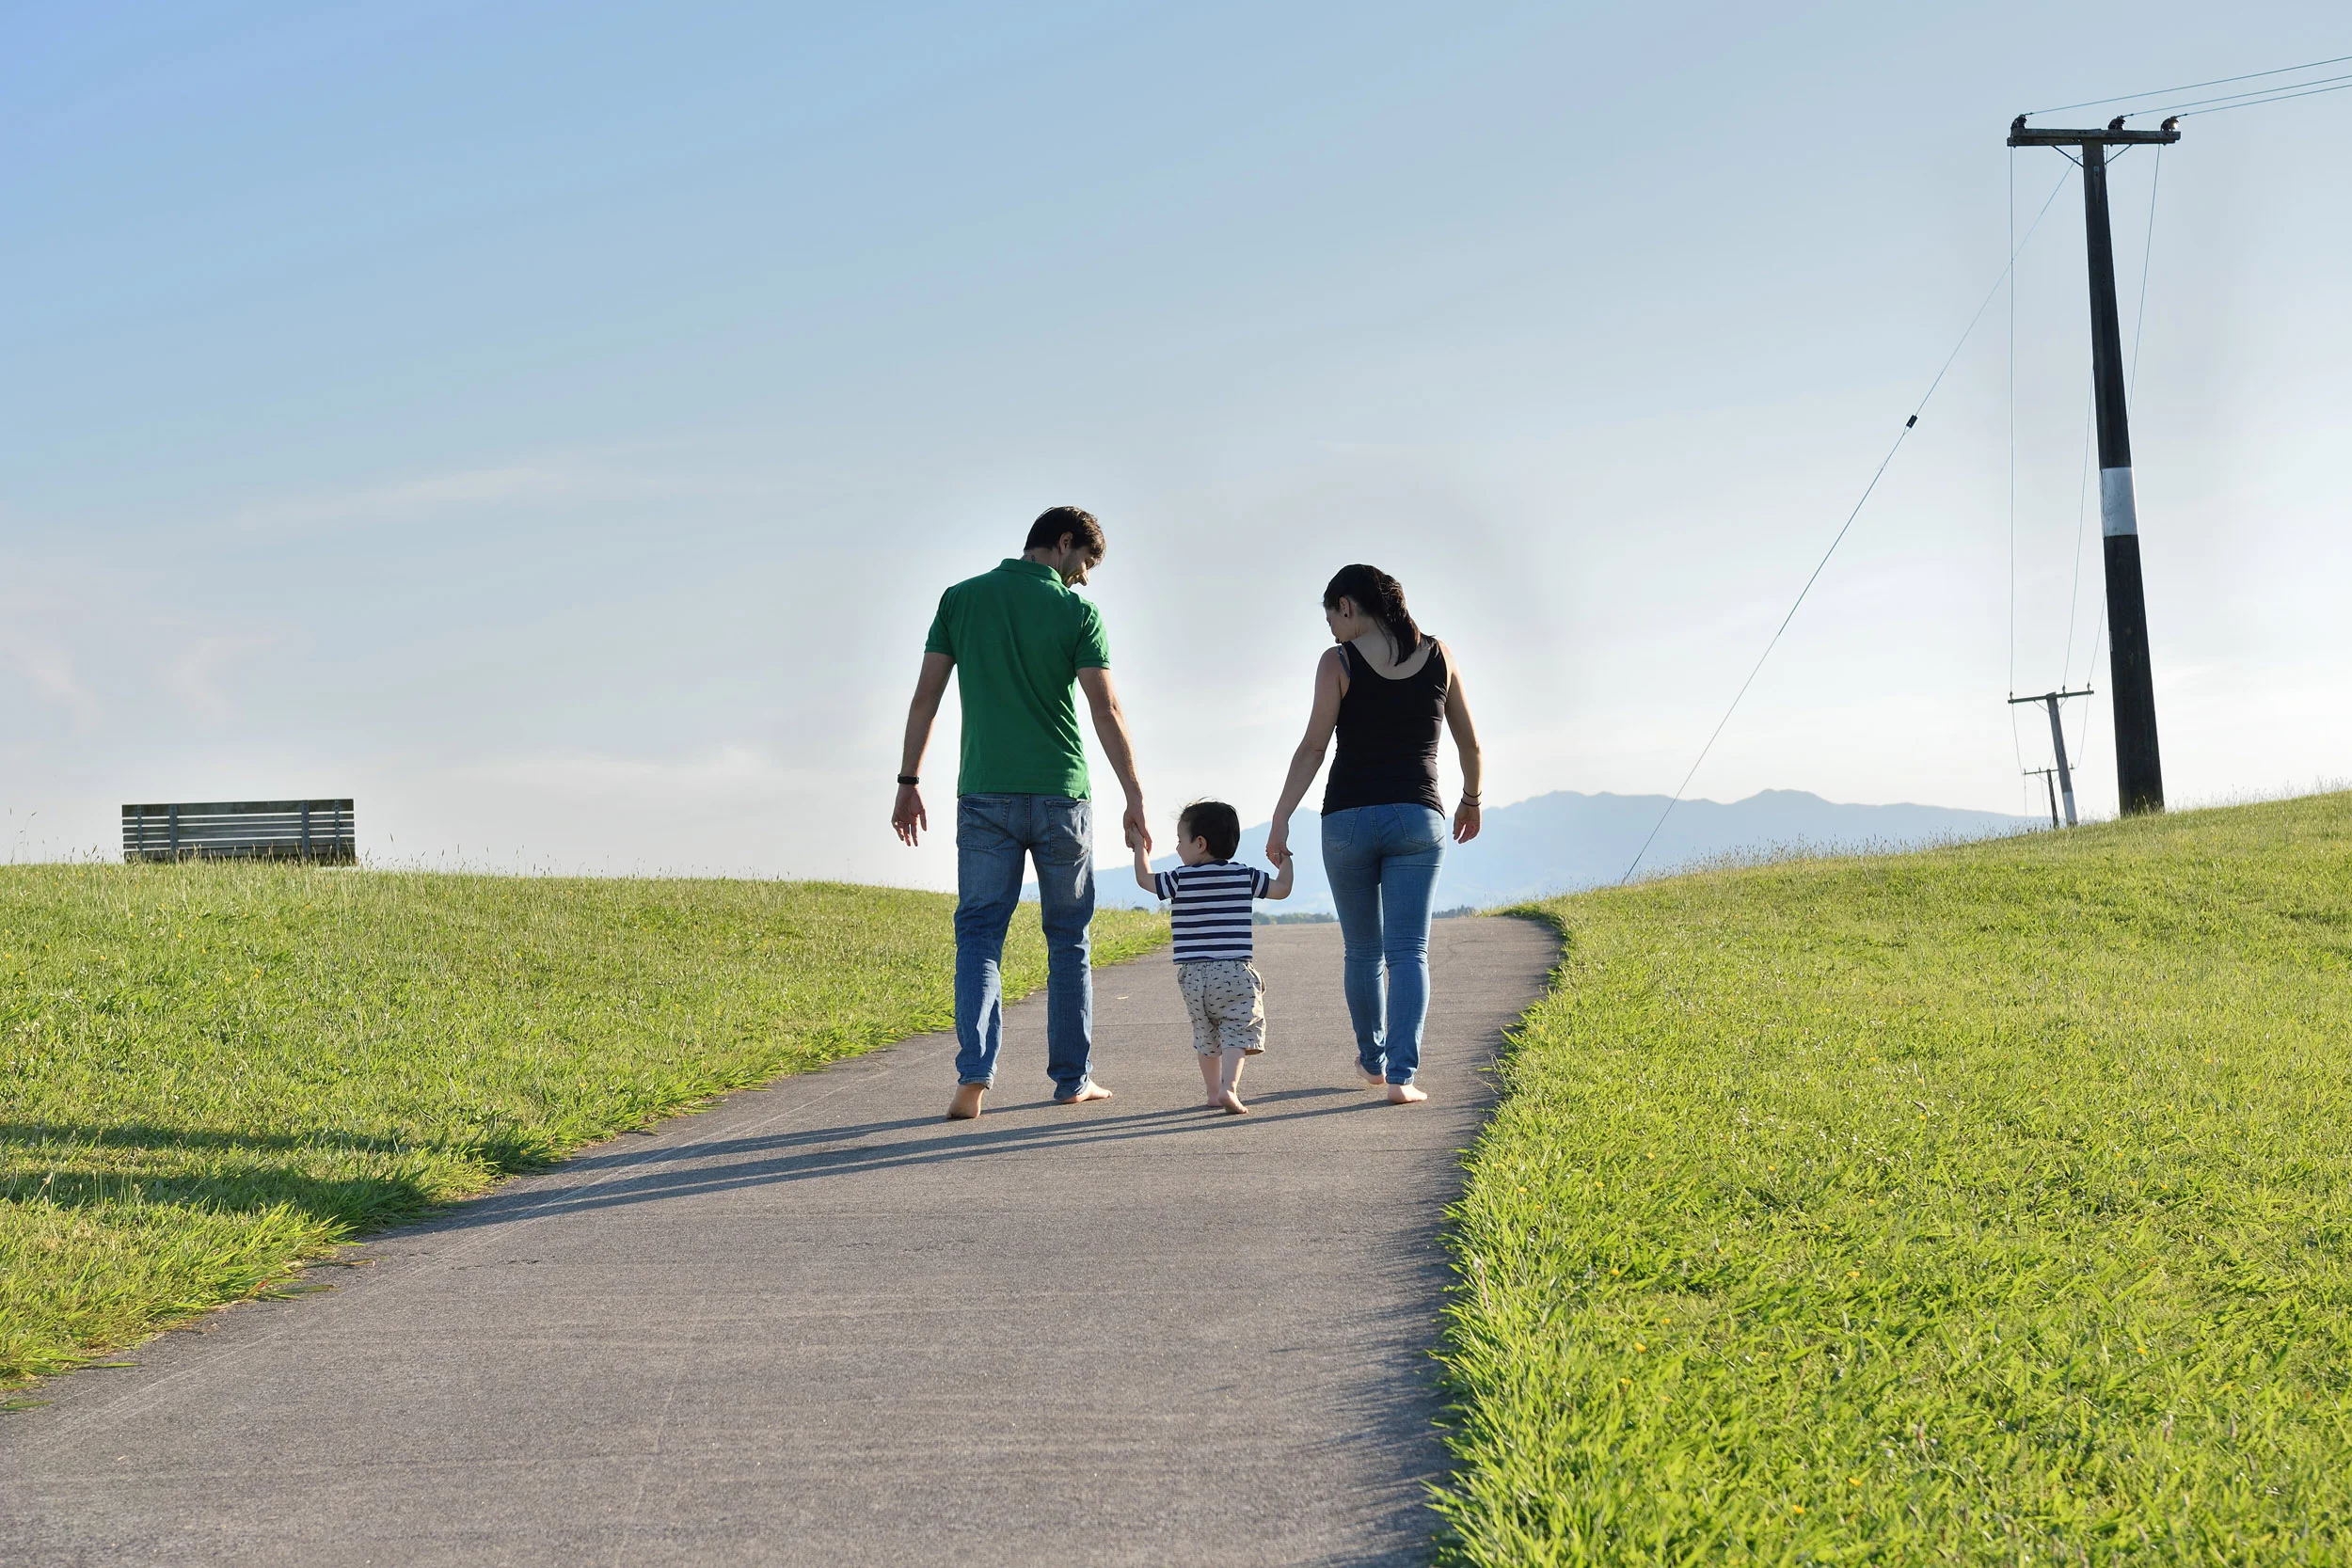
One more reason to use flash, especially in high contrast situations. The next image shows the difference between flash and no flash plus possibly something a focus error can cause. At TTL-BL -1 I was wanting to add some fill-flash to the scene. I was taking a fairly wide angle shot, these images are small crops from the scene, so imagine the subject being quite small in the frame. In the first image the boy has reasonably strong flash on his face even though I had it dialed to "-1" [1 stop less power] but the grass behind him is more in focus because the camera was in multi focus area mode and missed him and chose the grass behind him for that one shot. The resulting extra distance information from the lens would contribute to a slightly stronger flash output especially with direct flash. [ No point trying to bounce or diffuse flash at these distances in this kind of lighting, we're just trying to lift the shadows]. The camera-flash system bases its calculations on several factors besides reflected light which includes what it deems to be the subject - at the cost of anything not deemed to be the subject. In this case the grass behind him became the main deciding factor based on the focus points so he was lit at perhaps twice the power as he should have been meaning that the "-1" applied more to the grass than him. of course at these distances the flash probably fired at maximum power trying to light the grass in the background. (I would have probably done better with 3d focus tracking in this situation]

At this point I set the flash back to TTL-BL -2 making it two stops weaker than what the camera would deem to be correct exposure for fill flash on the subject rather than risk making the flash look too obvious. There are two reasons to use flash in this situation. One is to lighten the shadows without actually overpowering them and making the flash look obvious, while the other involves adding a 'sparkle' to their eyes which reflect the flash no matter how weak it fires [within reason]

To transition between them walking up the hill, and looking over the fence I decided to set up the tripod and do a sequence superimposed on top of each other [I like to 'tell a story']. Some may like it, others not but anyway it adds another perspective to a shoot to make things interesting and it's also something I enjoy doing. It';s something you can always decide not to include later but "better to have it and not need it ....."

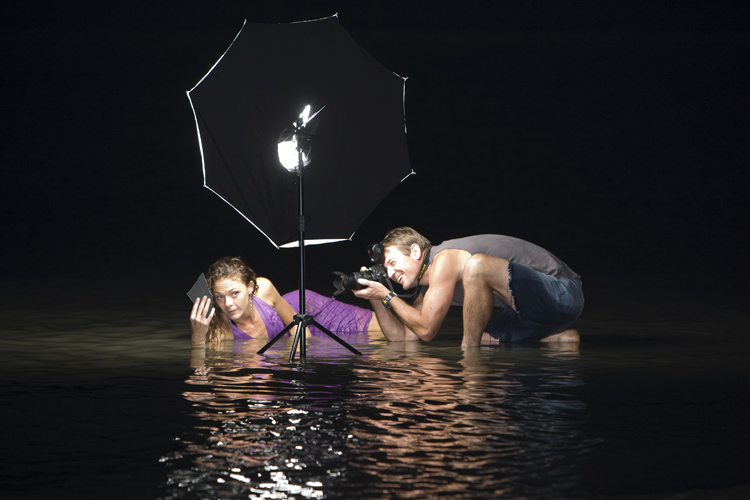
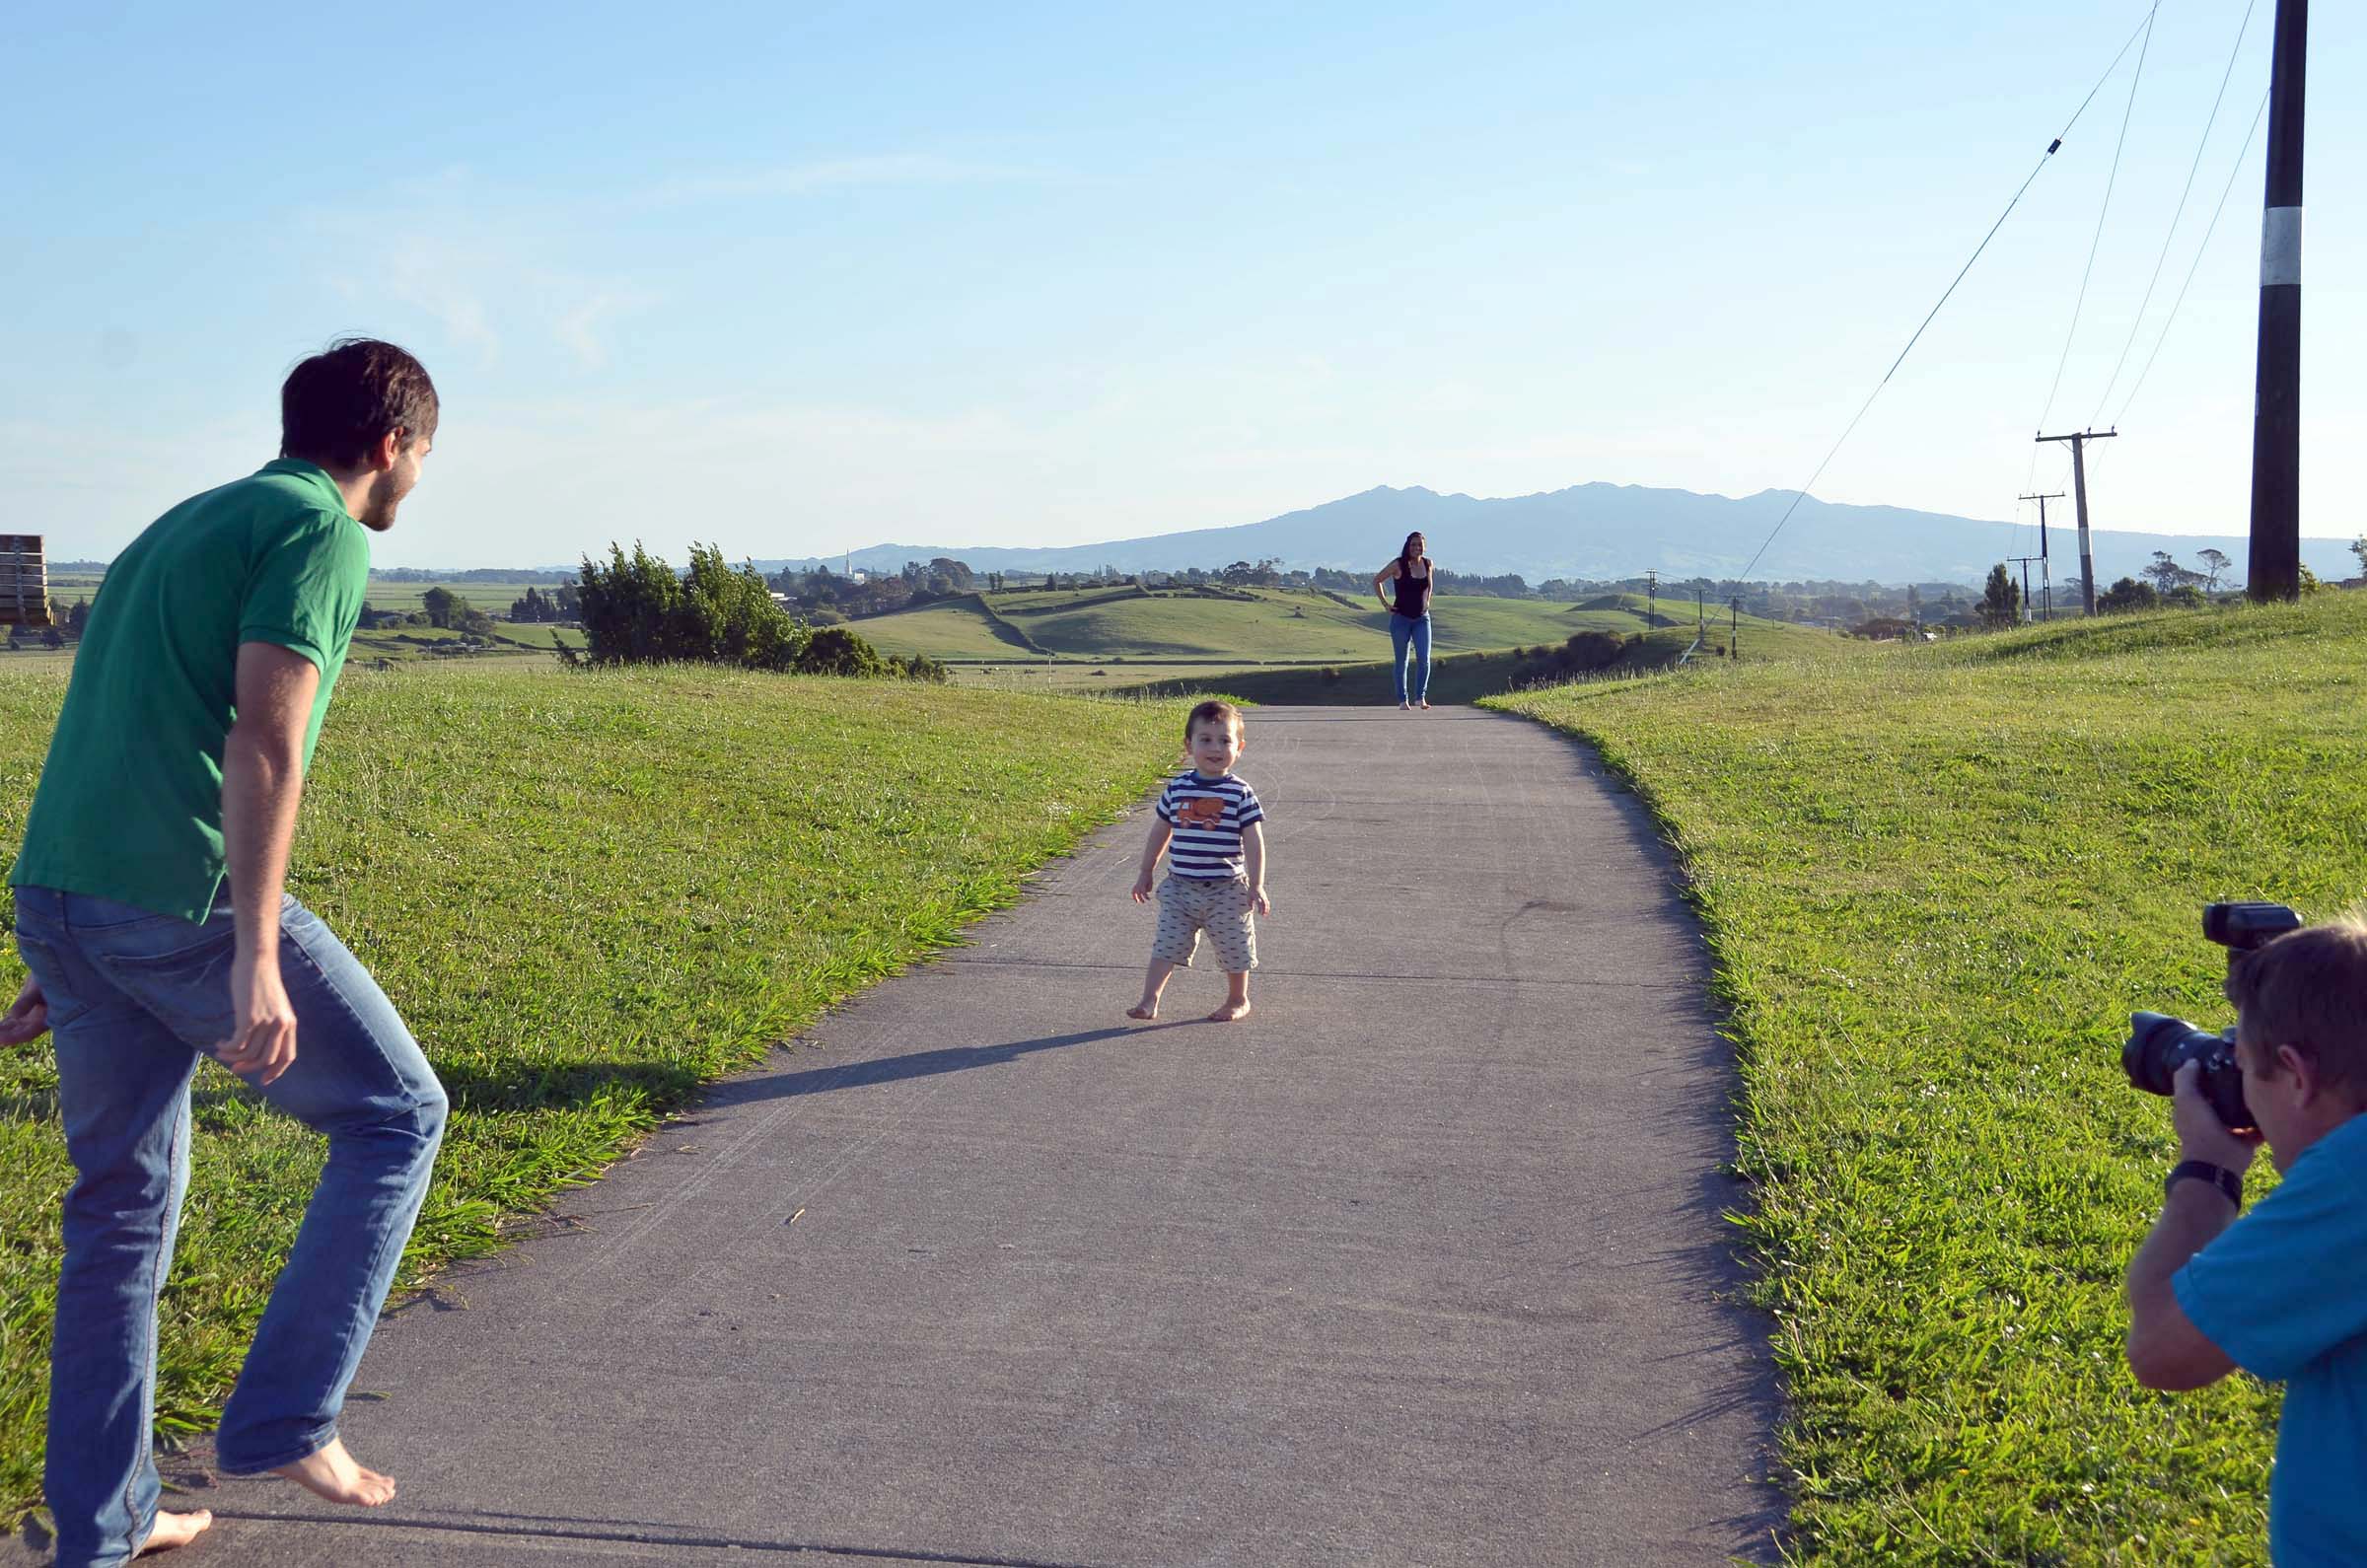
My wife took a few BTS [behind the scenes] photos of me in action which are often interesting to people who weren't there.
"Daddy" dancing around to get his kid to look in the right direction.
A 200mm shot with the D7000 and 18-200mm lens, jpeg image with gamma set to 1.3 to brighten shadows. Who cares about 16 megapixels [D7000] vs 24 megapixels [D7200] and 18-200mm "superzoom" vs 18-35mm f1.8 "superlens" when you get the look you want from the right focal length. I've seen a lot of wedding pictures with too much space around the subject taken with a 'superior prime lens' simply for the fact that they get sharper images [which they process to be soft later] when they could have gotten a much better composition, and image, with their kit lens at 140mm. Of course many photographers know what they are doing and why they are doing it but I fear that there are many who are simply following the crowd saying that primes are superior without really knowing what they are doing and why.
Our Toy poodle "Piggy" trying to walk like Michael Jackson right where I'm shooting.

Another closer 'shot of me shooting'

Anyway I learned a lot from the shoot. Next time I will either shoot 1.) at the same time with a cloudy sky or the diffuser from a reflector kit to block the sun from them, 2.) 1 hour later when the light is right. I will use my 18-140mm lens and 3d focus tracking for wider shots with smaller subjects. Multi point focus works fine for the 'group shots'. Now that I've used my idea in this shoot I will have to think of something for the next shoot :)