Shooting your first wedding
"With great power comes great responsibility" [Uncle Ben; Spiderman] This applies especially to editing RAW, using shallow depth of field with fast primes and using flash.

Should you be photographing someone's wedding if you need to ask questions about wedding photography? No! A wedding is a very important day for a couple and if things go wrong it could result in serious financial and emotional implications for the couple, and yourself. But on saying that not everyone can afford a wedding photographer and no matter how hard you try to get the purists to believe that, they will still be convinced that the couple should sell a kidney or promise their firstborn so they can afford to pay a professional to do the job. Don't waste physical or emotional energy trying to convince them otherwise, just move on and start working towards doing the best job you can on the day. Some people need to learn to tolerate diversity. First off I invite you to do a search on complaints about wedding photos to see what customers want - here is an example. Besides all the complaints regarding what was wrong their primary statement on what they expect from a professional was “crisp clear photos” [not “creamy bokeh”, not that it doesn’t have its place in some images]. And you’re probably feeling hopelessly inadequate so I will provide some horror stories to show that there are people who have shot multiple weddings and possibly still know less than you do. Over the years on various photography and wedding forums I have heard some scary “photographer” stories in really bad situations. A professional photographer was approached by someone who was regularly photographing two weddings a weekend for some mentorship, quite surprisingly. She was already photographing weddings with two high quality Nikon bodies and all the best glass. She took all her pictures at f2.8 and 1/100th sec in auto iso mode “because someone told her those were good settings to use”. She also had the pop-up flash out for all her pictures “because someone said it was a good idea”. This was a “professional” with a website, making a living from wedding photography. Then there is the guy who commented on a discussion about how histograms show exposure “Now I realise why all my pictures look ok on the screen but awful in print!”. He had been photographing 50 weddings a year for several years! ….. and didn’t know how to get correct exposure yet! A little later he commented on a discussion about the sunny 16 rule. “Wow, I tried these settings at the last wedding and my pictures look great now!” - it was just a discussion about a pivotal setting for exposure in sunlight, not a hard and fast rule about settings you must use in sunlight! Now these stories are not to put anyone down, just to let beginners know that there are many people making a living from wedding photography who understand very little about photography itself. They just bought “a camera that takes nice pictures”, bought the lenses the people on the internet advised, and started advertising themselves as wedding photographers. I even read a post from someone just starting out in wedding photography “I just started and haven’t shot any weddings yet, does anyone have some wedding pictures I can use on my website?” -Really?! And will the people viewing your website know that you never took the pictures and may have nowhere near the level of skill required to take photos like that when they hire you? - Being a wedding photographer isn’t like being a bodybuilder - you can fool people into thinking you’re a photographer but being a professional bodybuilder…. well, they look a certain way and people will know if you’re lying about being one straight away. So let’s move on now -
Choosing gear: There's a quote that goes something like this "Amateurs worry about sharpness, professionals worry about sales, artists worry about light" and I'll add mine "Purists worry about zooming in to 100% to argue their point". In previous discussions about shooting a first wedding I've read comments like "I would force myself to shoot with my sharpest prime lens and discipline myself to take all the pictures with it!". Seriously? They were talking about a 50mm f1.8D on a Nikon D90 [crop sensor] which would result in a 75mm equivalent focal length - because they were so obsessed with the sharpest image they could get, perhaps only 10% more than their kit lens, they were prepared to forego the option of getting everyone into group shots. The statement "I would zoom with my feet" doesn't work for every situation - you can't always move fast enough or far back enough to get everything in. Sometimes you're in a confined area or have too many people behind you to be able to 'zoom' back with your feet and fit everything in. Here's a fact At f8 in good outdoor light NOBODY will be able to see the difference between images taken with your kit lens and a prime lens. This is the part where the purists will say "but zoom in to 100%" and get a smug grin on their face. WHY? Nobody does that, the customers certainly won't. It's like pressing your face up against a billboard, you will see imperfections but you won't see the whole picture - customers view the whole picture. Besides the fact that unless the two images are taken of the exact same subject and processed exactly the same you will only pick up microscopic differences if you zoom in at 100% and very few people will notice, or care about those differences.

Of course better equipment does provide advantages over 'lesser' gear mainly in low light. Outdoors in good light it doesn't make so much difference but when the light levels drop the situation becomes more 'desperate' shall we say. A full frame sensor is 2 1/2 X bigger than a crop sensor and gathers that much more light - there's more than one stop better image quality than a crop sensor [DX]. Then we have an f1.8 prime lens for low light situations [of course f1.4 is 2/3 of a stop better but lately f1.8 lenses seem to be sharper than their f1.4 counterparts]

Nikon 85mm f1.8G
What the customer wants: What is you prime purpose in shooting a wedding? It should be recording memories for the couple. After all that is what 99.9% of customers are expecting you to do. Secondary to that should be impressing other photographers and winning competitions. After all, what photographers like in an image isn't necessarily what your customers will like, and I will now present a prime example of this: I have seen this comment in various forms over the years, this was from a recent discussion I saw about people not happy with wedding photographers.

Now of course it is totally your decision whether you are going to aim to totally please the customers or also establish your 'right as an artist' to sacrifice a few images while being creative, with the goal of ending up with one or two potential competition winners. Pictures with a shallow depth of field do look more professional and are generally recognised as having been taken with a more expensive camera and lens but keep in mind the saying "just because you have the gear doesn't mean you have to use it". If you have a lens that can open up to f1.4 and blur the background that doesn't mean you have to take as many pictures as possible at f1.4 - it will certainly impress your photography mates who don't care about the people in the background because they don't know them, but will your customers like it when they recognise a beloved family member standing behind the couple but "they're all fuzzy"? Don't you think they would like to see that person clearly? What would you like if it were your wedding? As I say I have read many comments along the lines of "Most of the photographer's pictures were all blurry in the background, my cellphone could do a better job!". Blurred backgrounds have their place but try not to overdo it. When the background doesn't matter then blur it as much as you want, get those killer shots that impress the customers and your photographer mates. When there are family members in the background shoot at a smaller aperture and have them clearly discernible - just don't show those shots to your photographer friends, most of them won't understand why you didn't "make the picture look more professional". After all there is “professional fashion photography” and “professional photojournalistic photography” - both professional but one shows more detail than the other - what do your customers want to see in their memories of the day?

Backups of backups:
You only get one shot at a wedding, you need backups of everything. Ideally your camera [both of your cameras, you should have two at least] should have dual memory card slots so you can save the same images to both cards so if one fails you have the other one as insurance. It happens, memory cards fail - it probably won't happen to you but then again if it does things can turn really nasty - many photographers have had to refund their customers due to missed parts of the wedding photos - pictures the customer knew they took but weren't available to deliver. Worse still, you could end up having to pay for their entire ceremony over again to get the pictures they wanted. Backup lenses - one of your lenses could fail, what will you use if it does? Even having your kit lens handy could save the day if your 24mm f1.8 prime lens fails and you need to get some group shots that can't fit into the picture if you only have the 70-200mm lens left. Yes you paid a lot of money for your gear, it is professional quality and highly unlikely to fail - but accidents do happen check out this video. Flashes, two of them, batteries - plenty of spares, memory cards . You have to ask yourself what you would use if the camera you were holding fell into a swimming pool - you must have a plan-B, even a Plan-C. If one camera dies it would be really handy to know you have another spare body besides your second camera, and you can continue shooting with two bodies - used entry level cameras are cheap and take better pictures than a pro-body that is full of water. Even spare clothes - trust me when I say it is not a good feeling to have split pants when the bride is 20 minutes away from arriving and all that's available is the gardeners green rain paints to borrow.
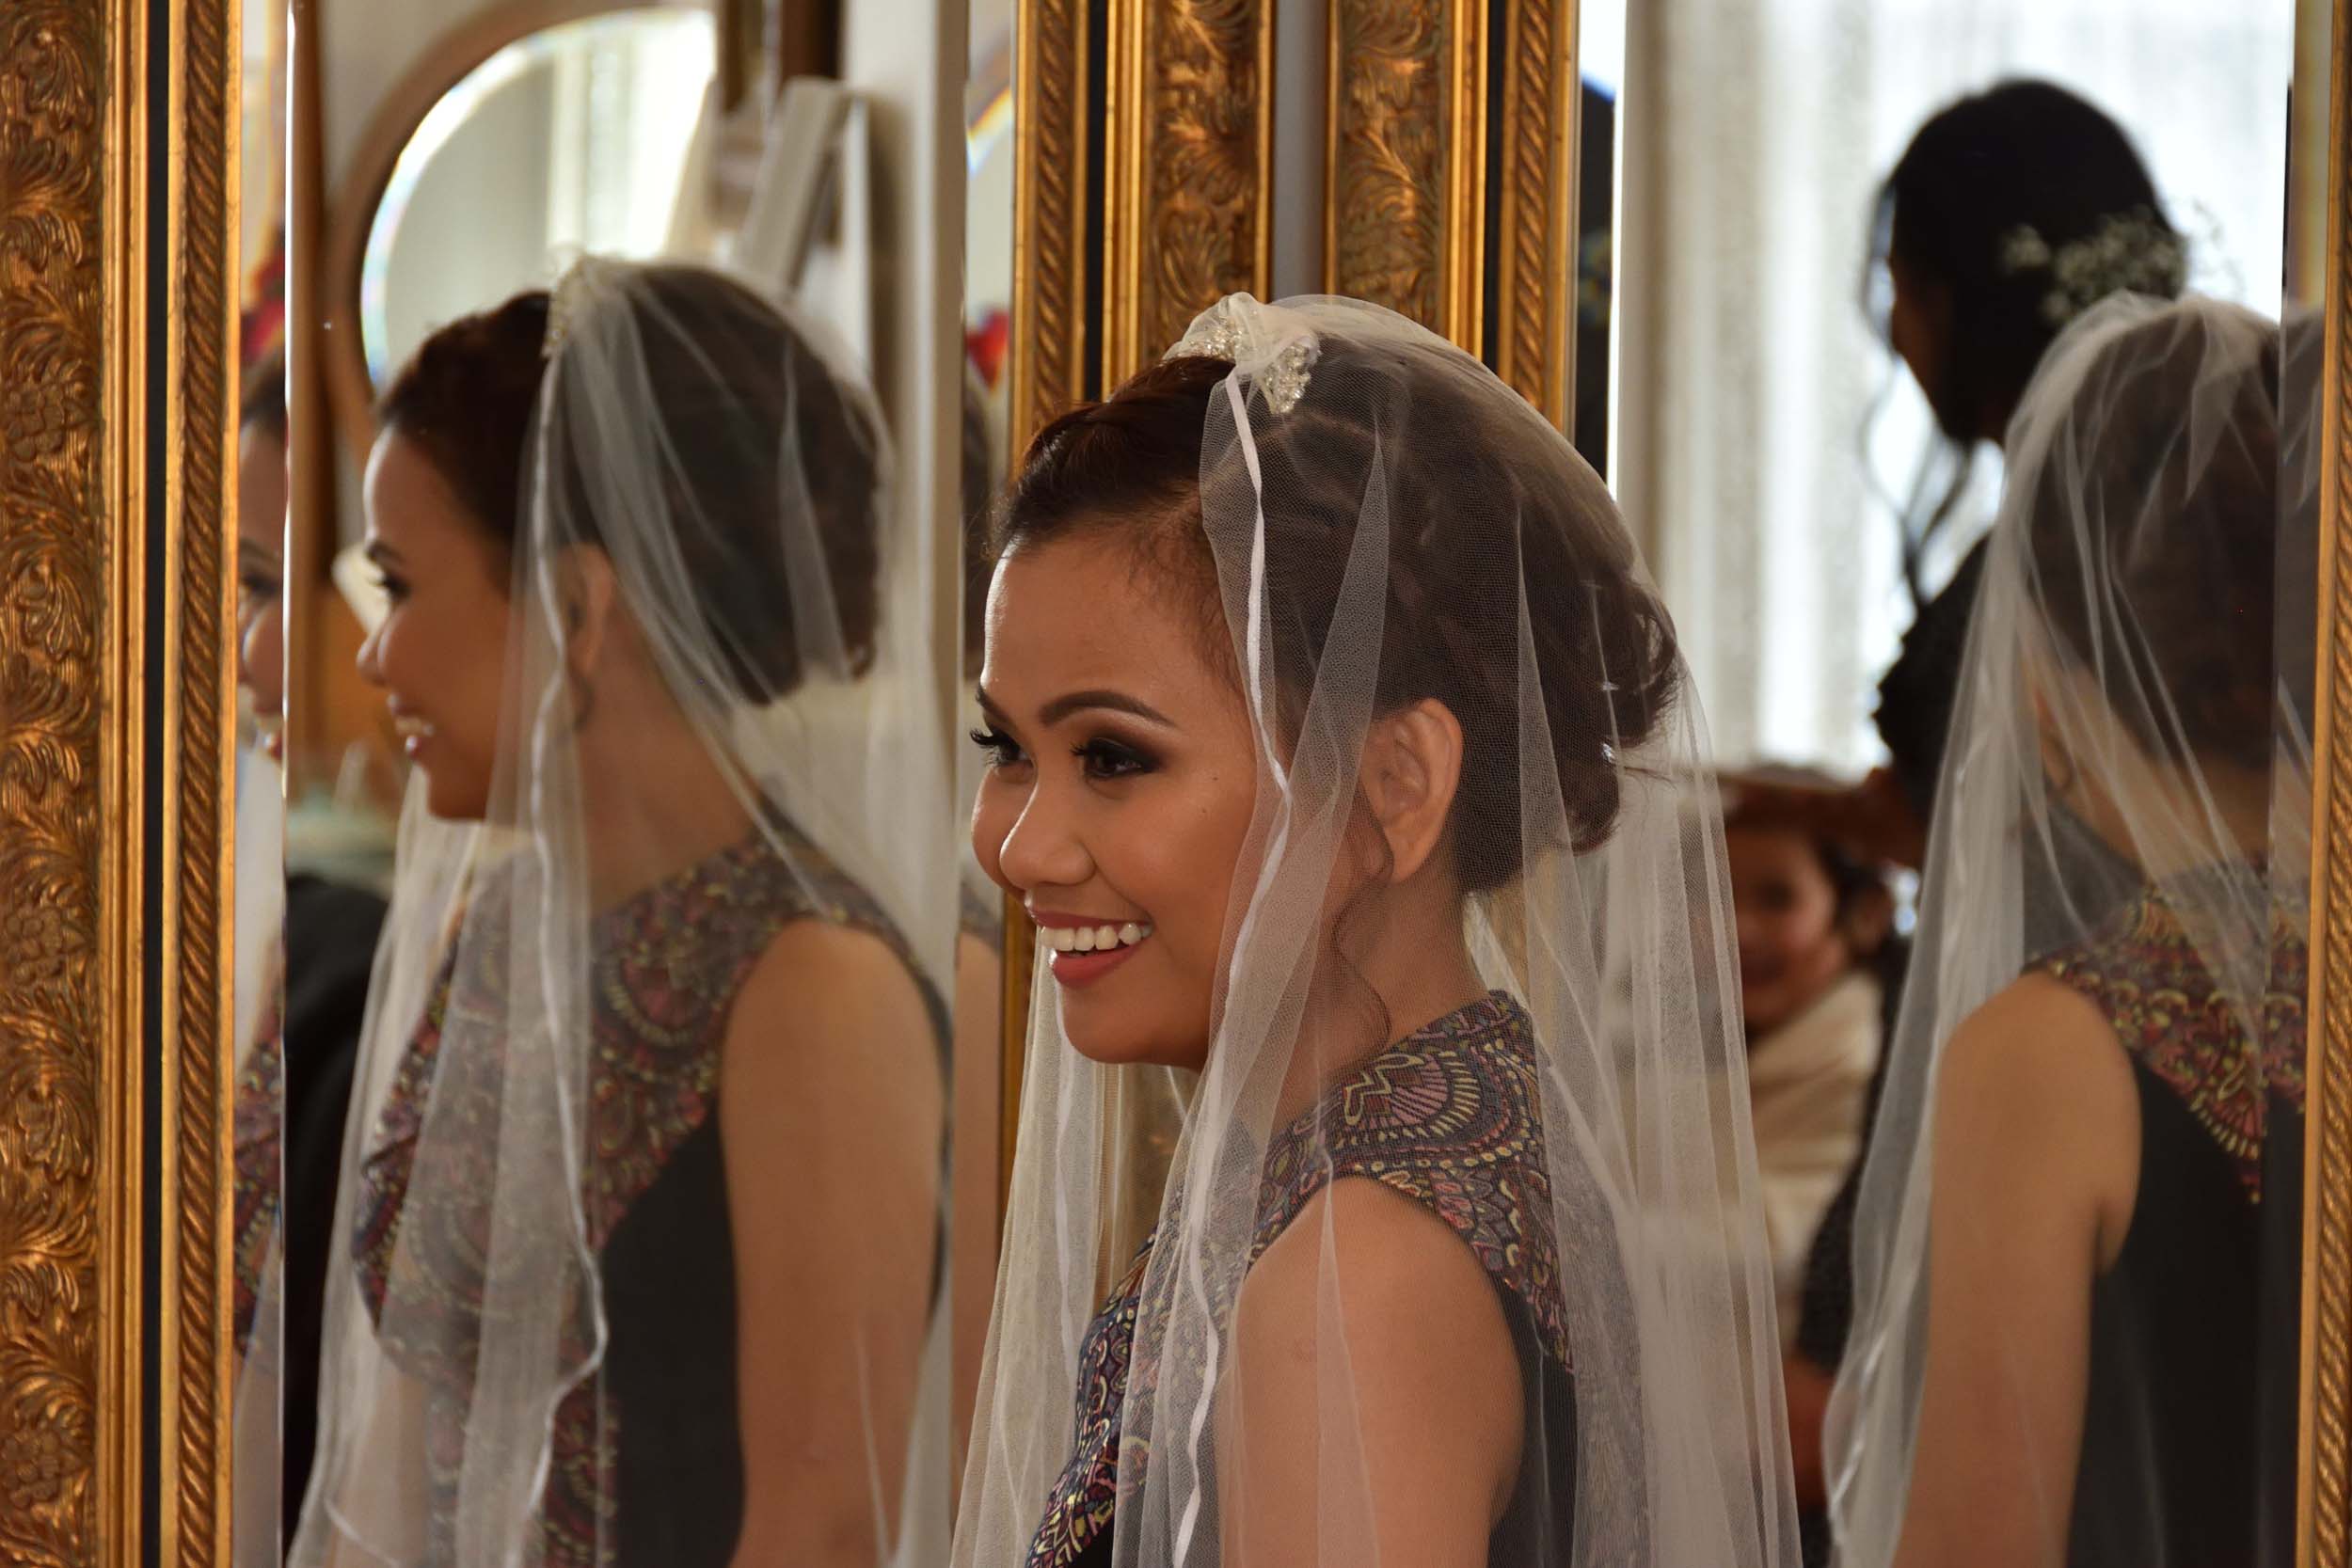
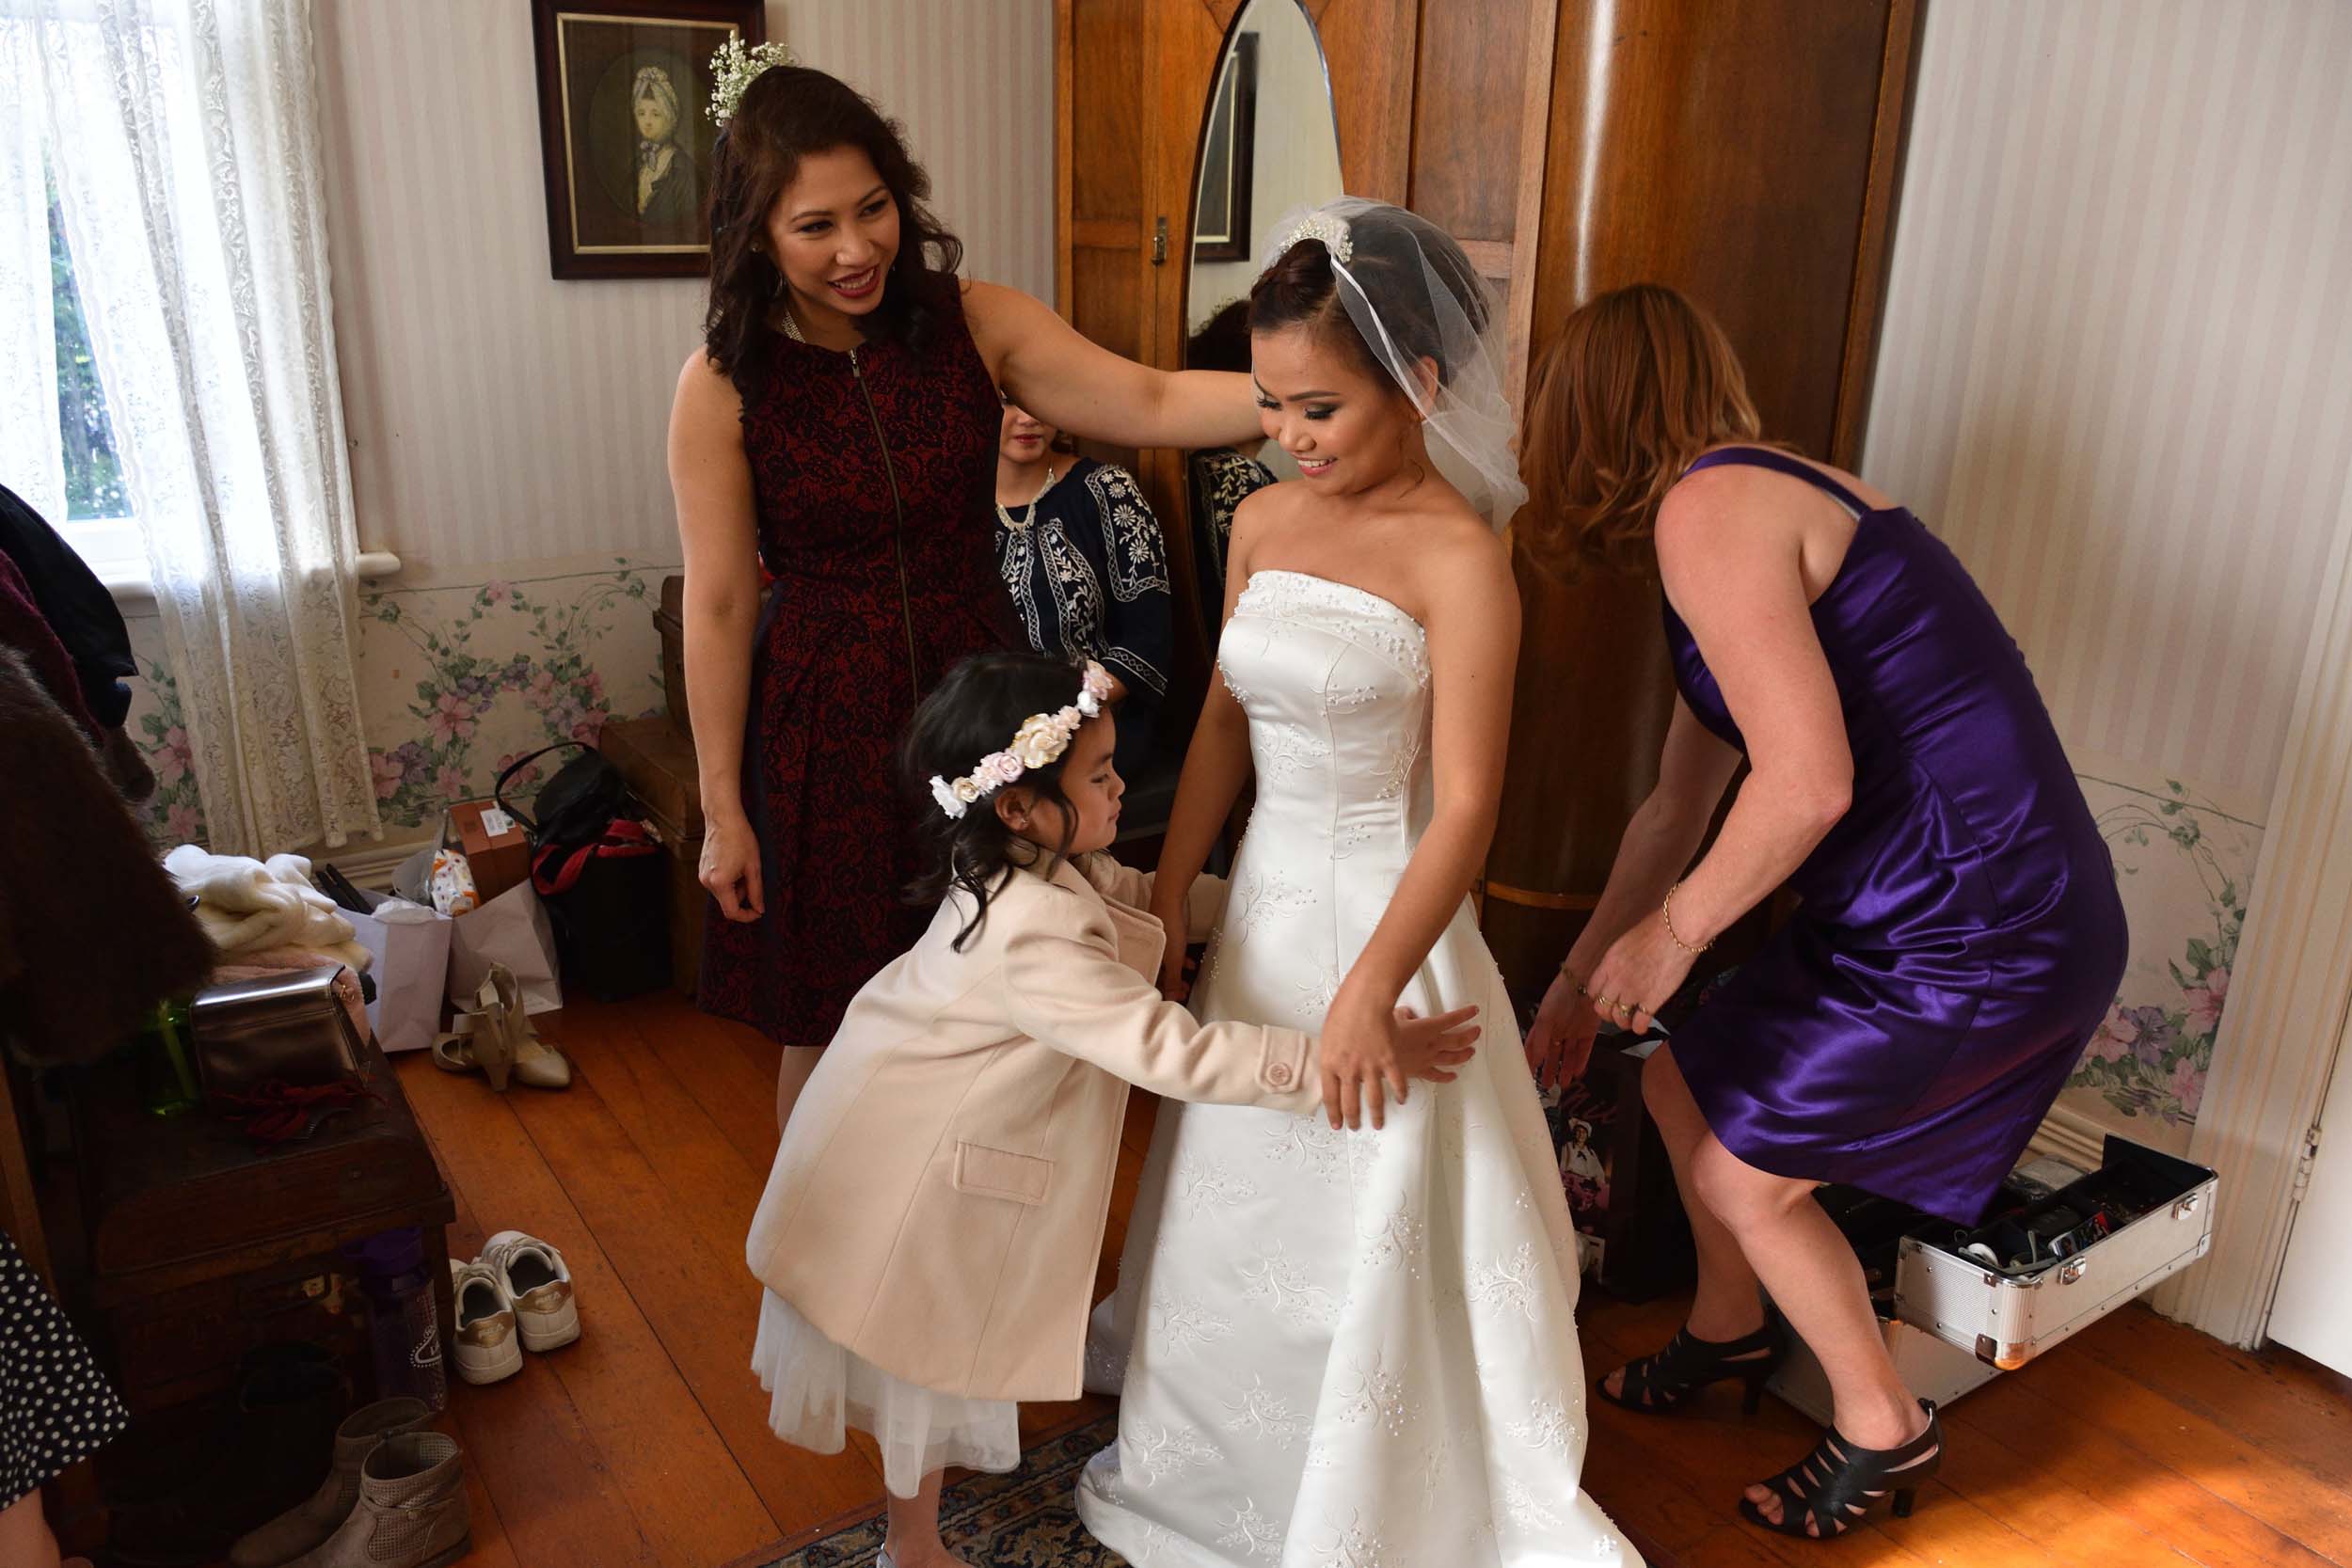
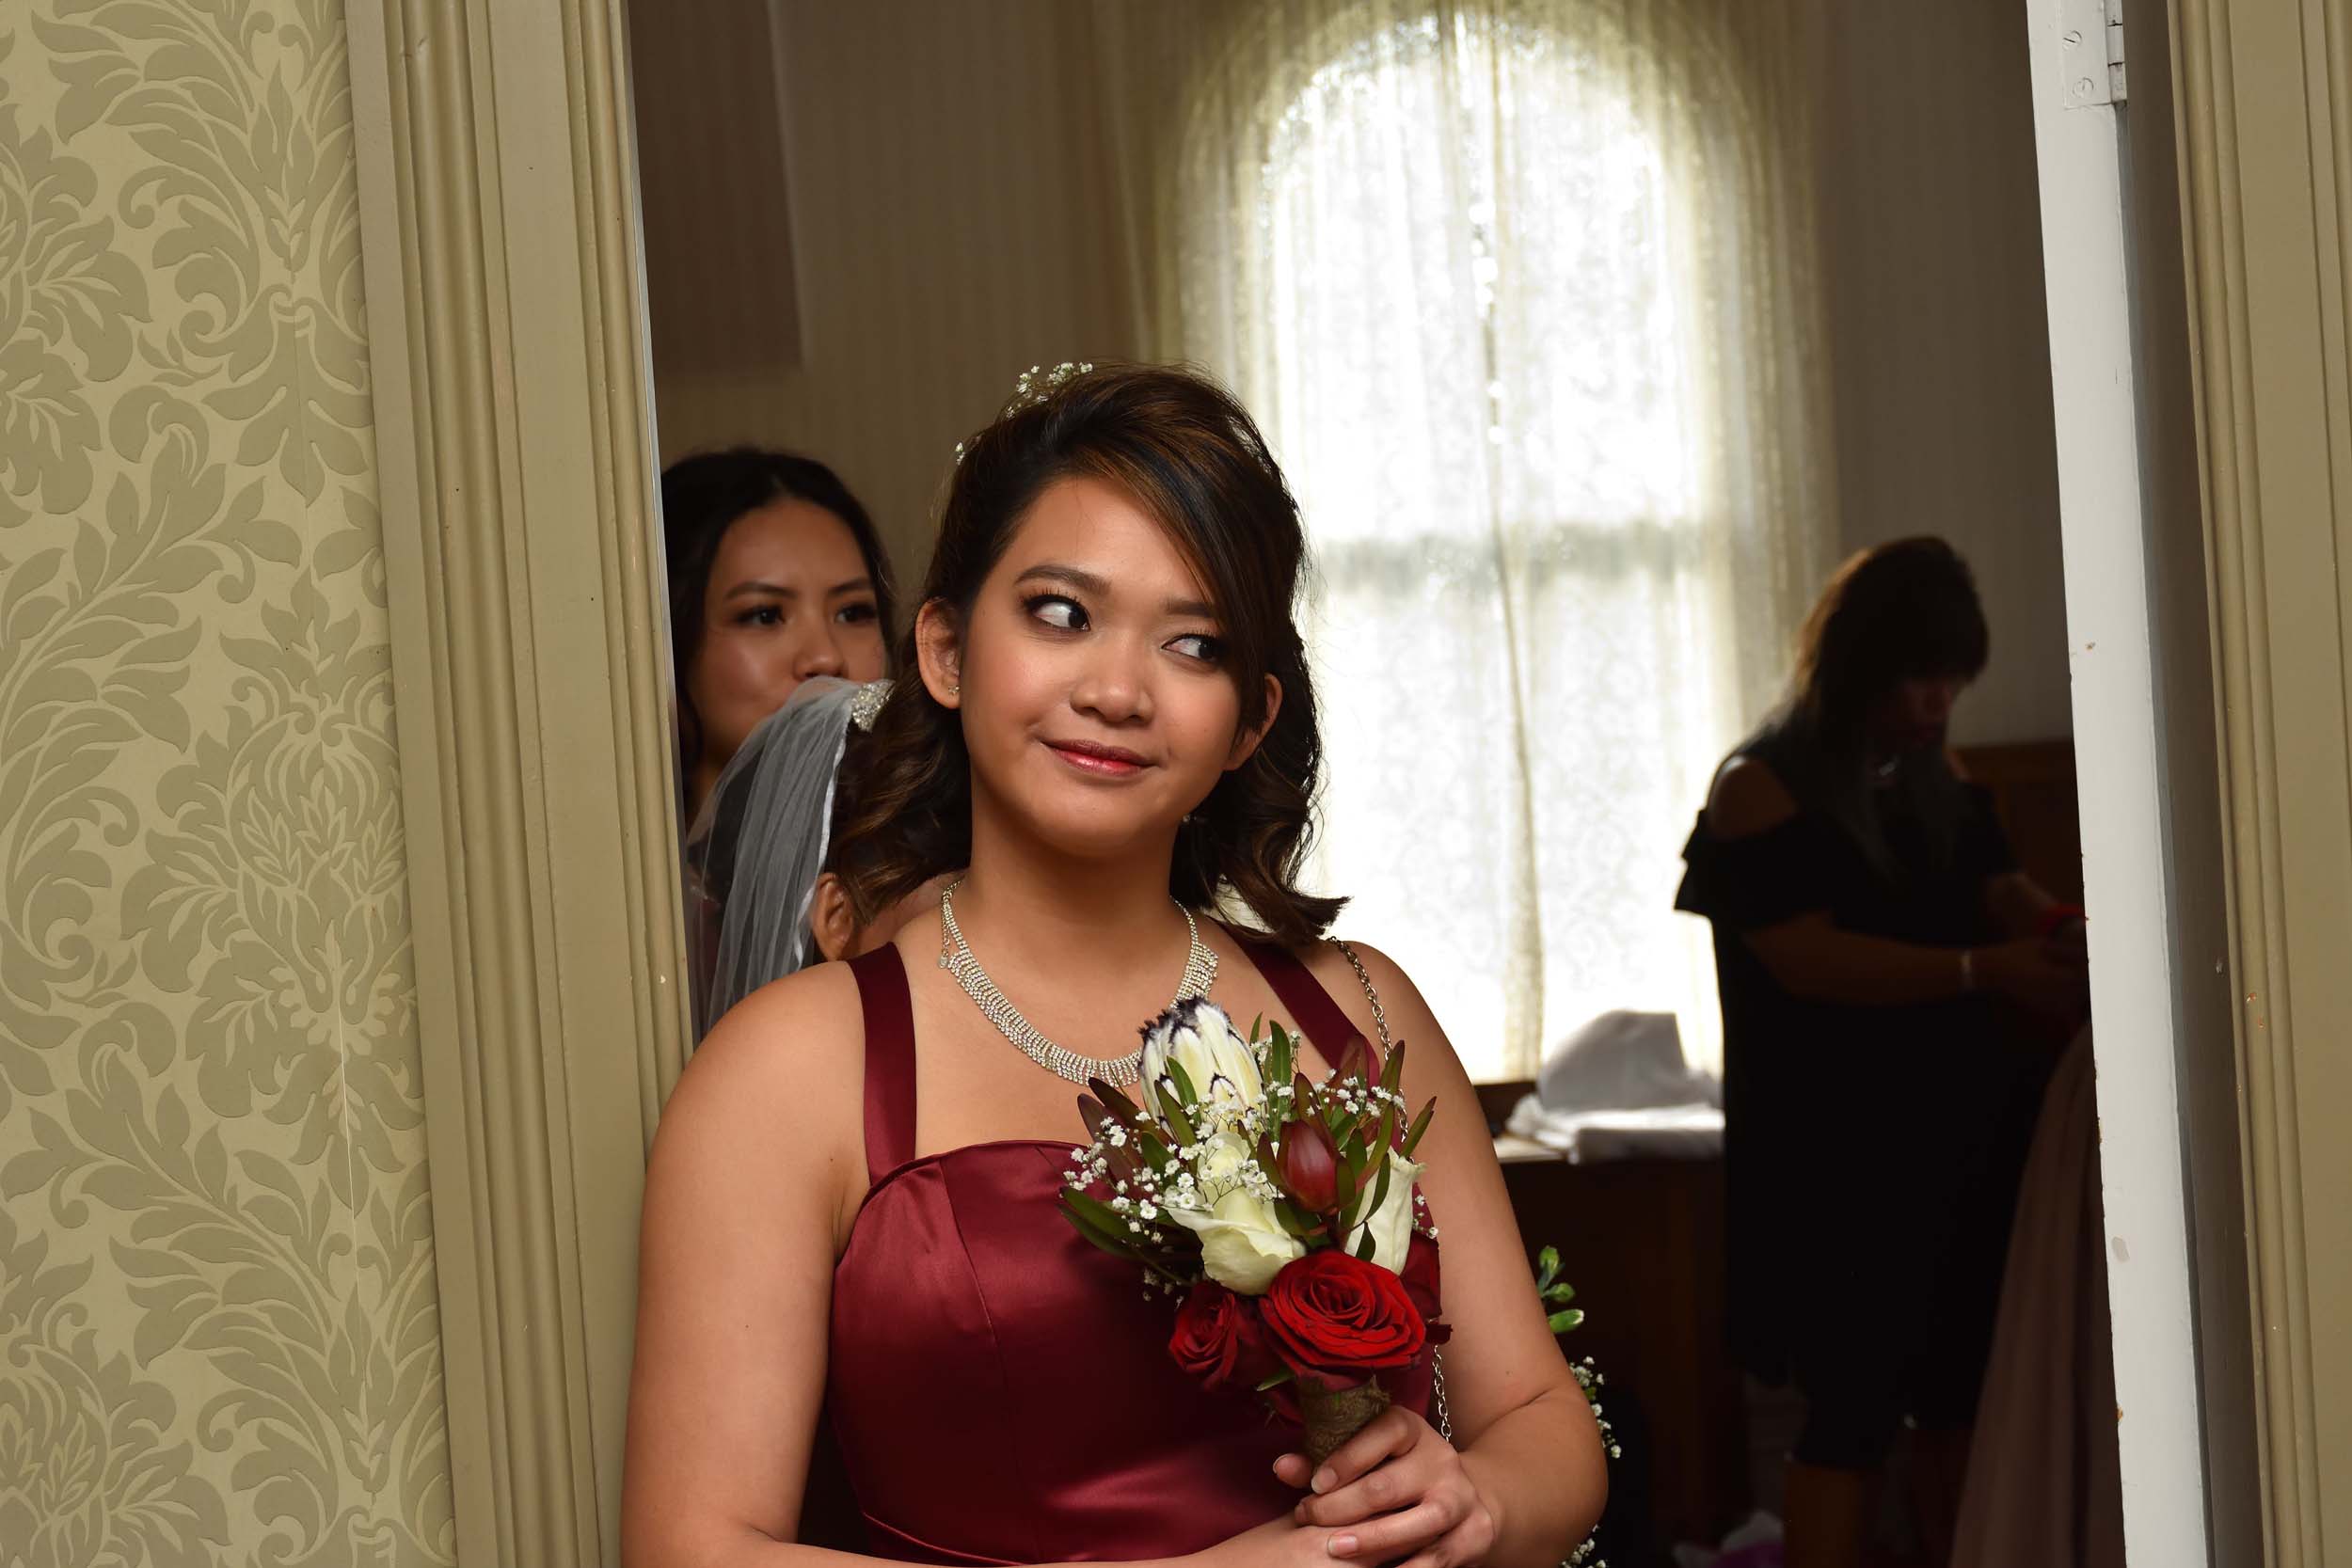
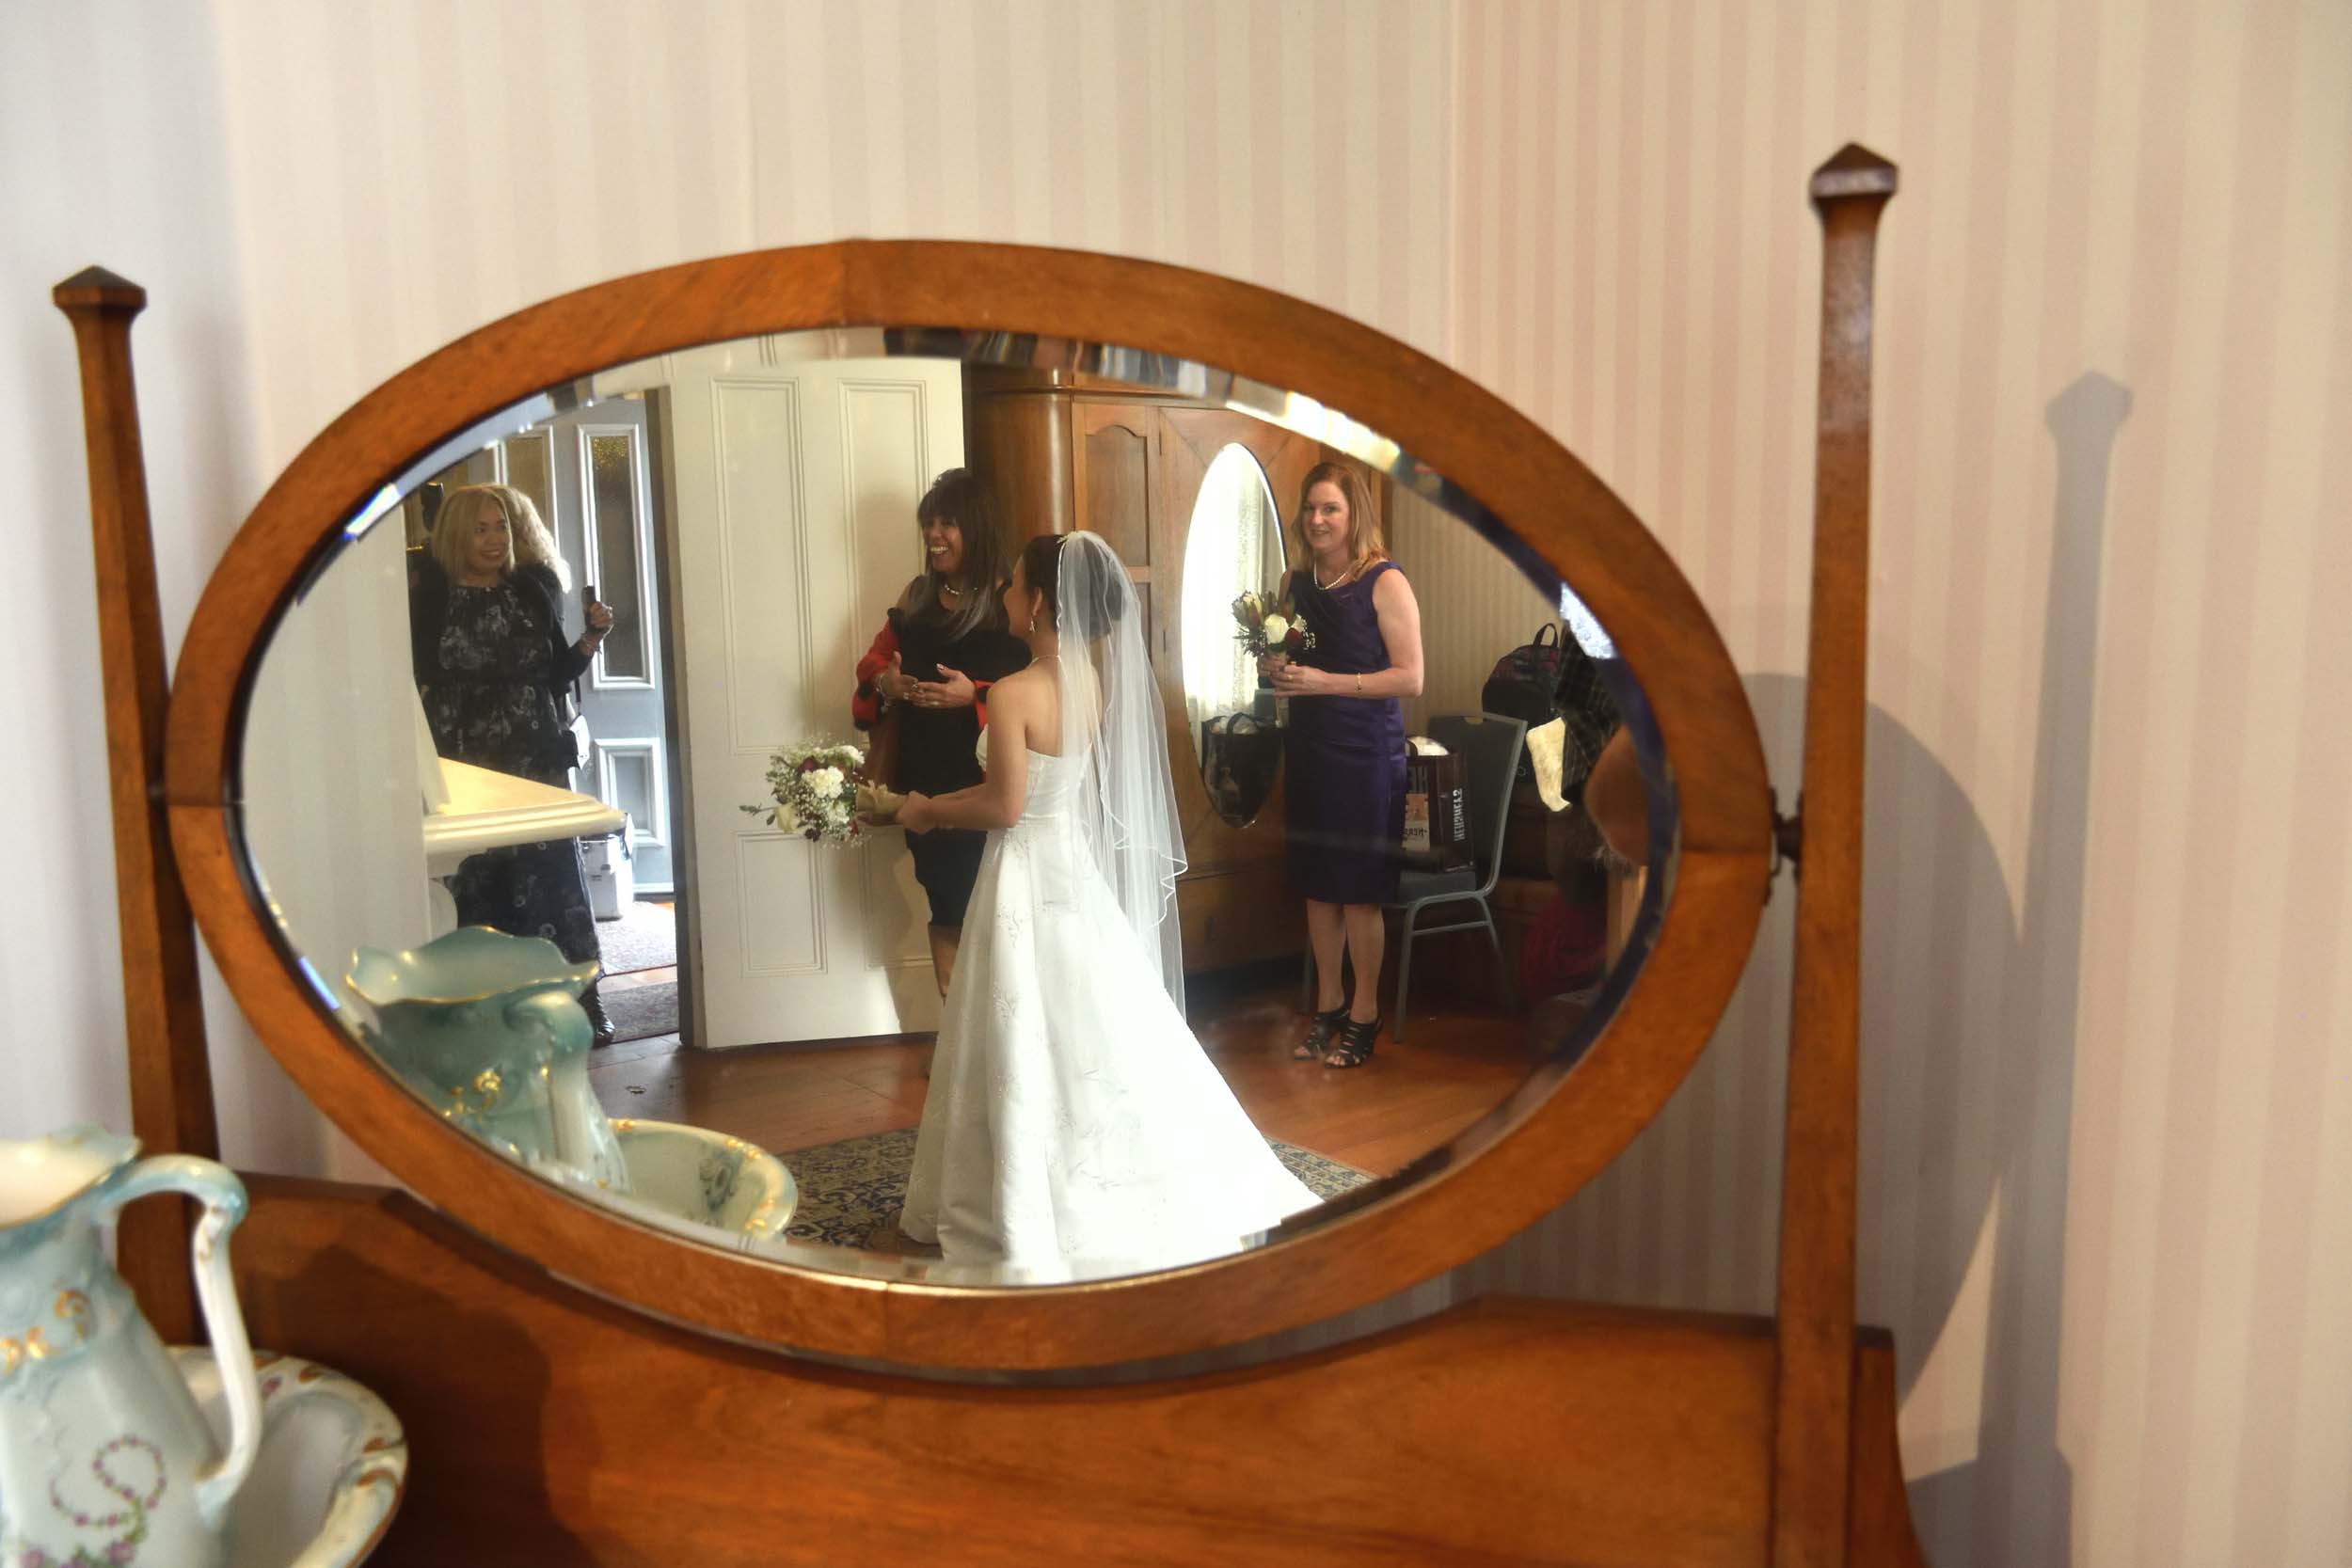
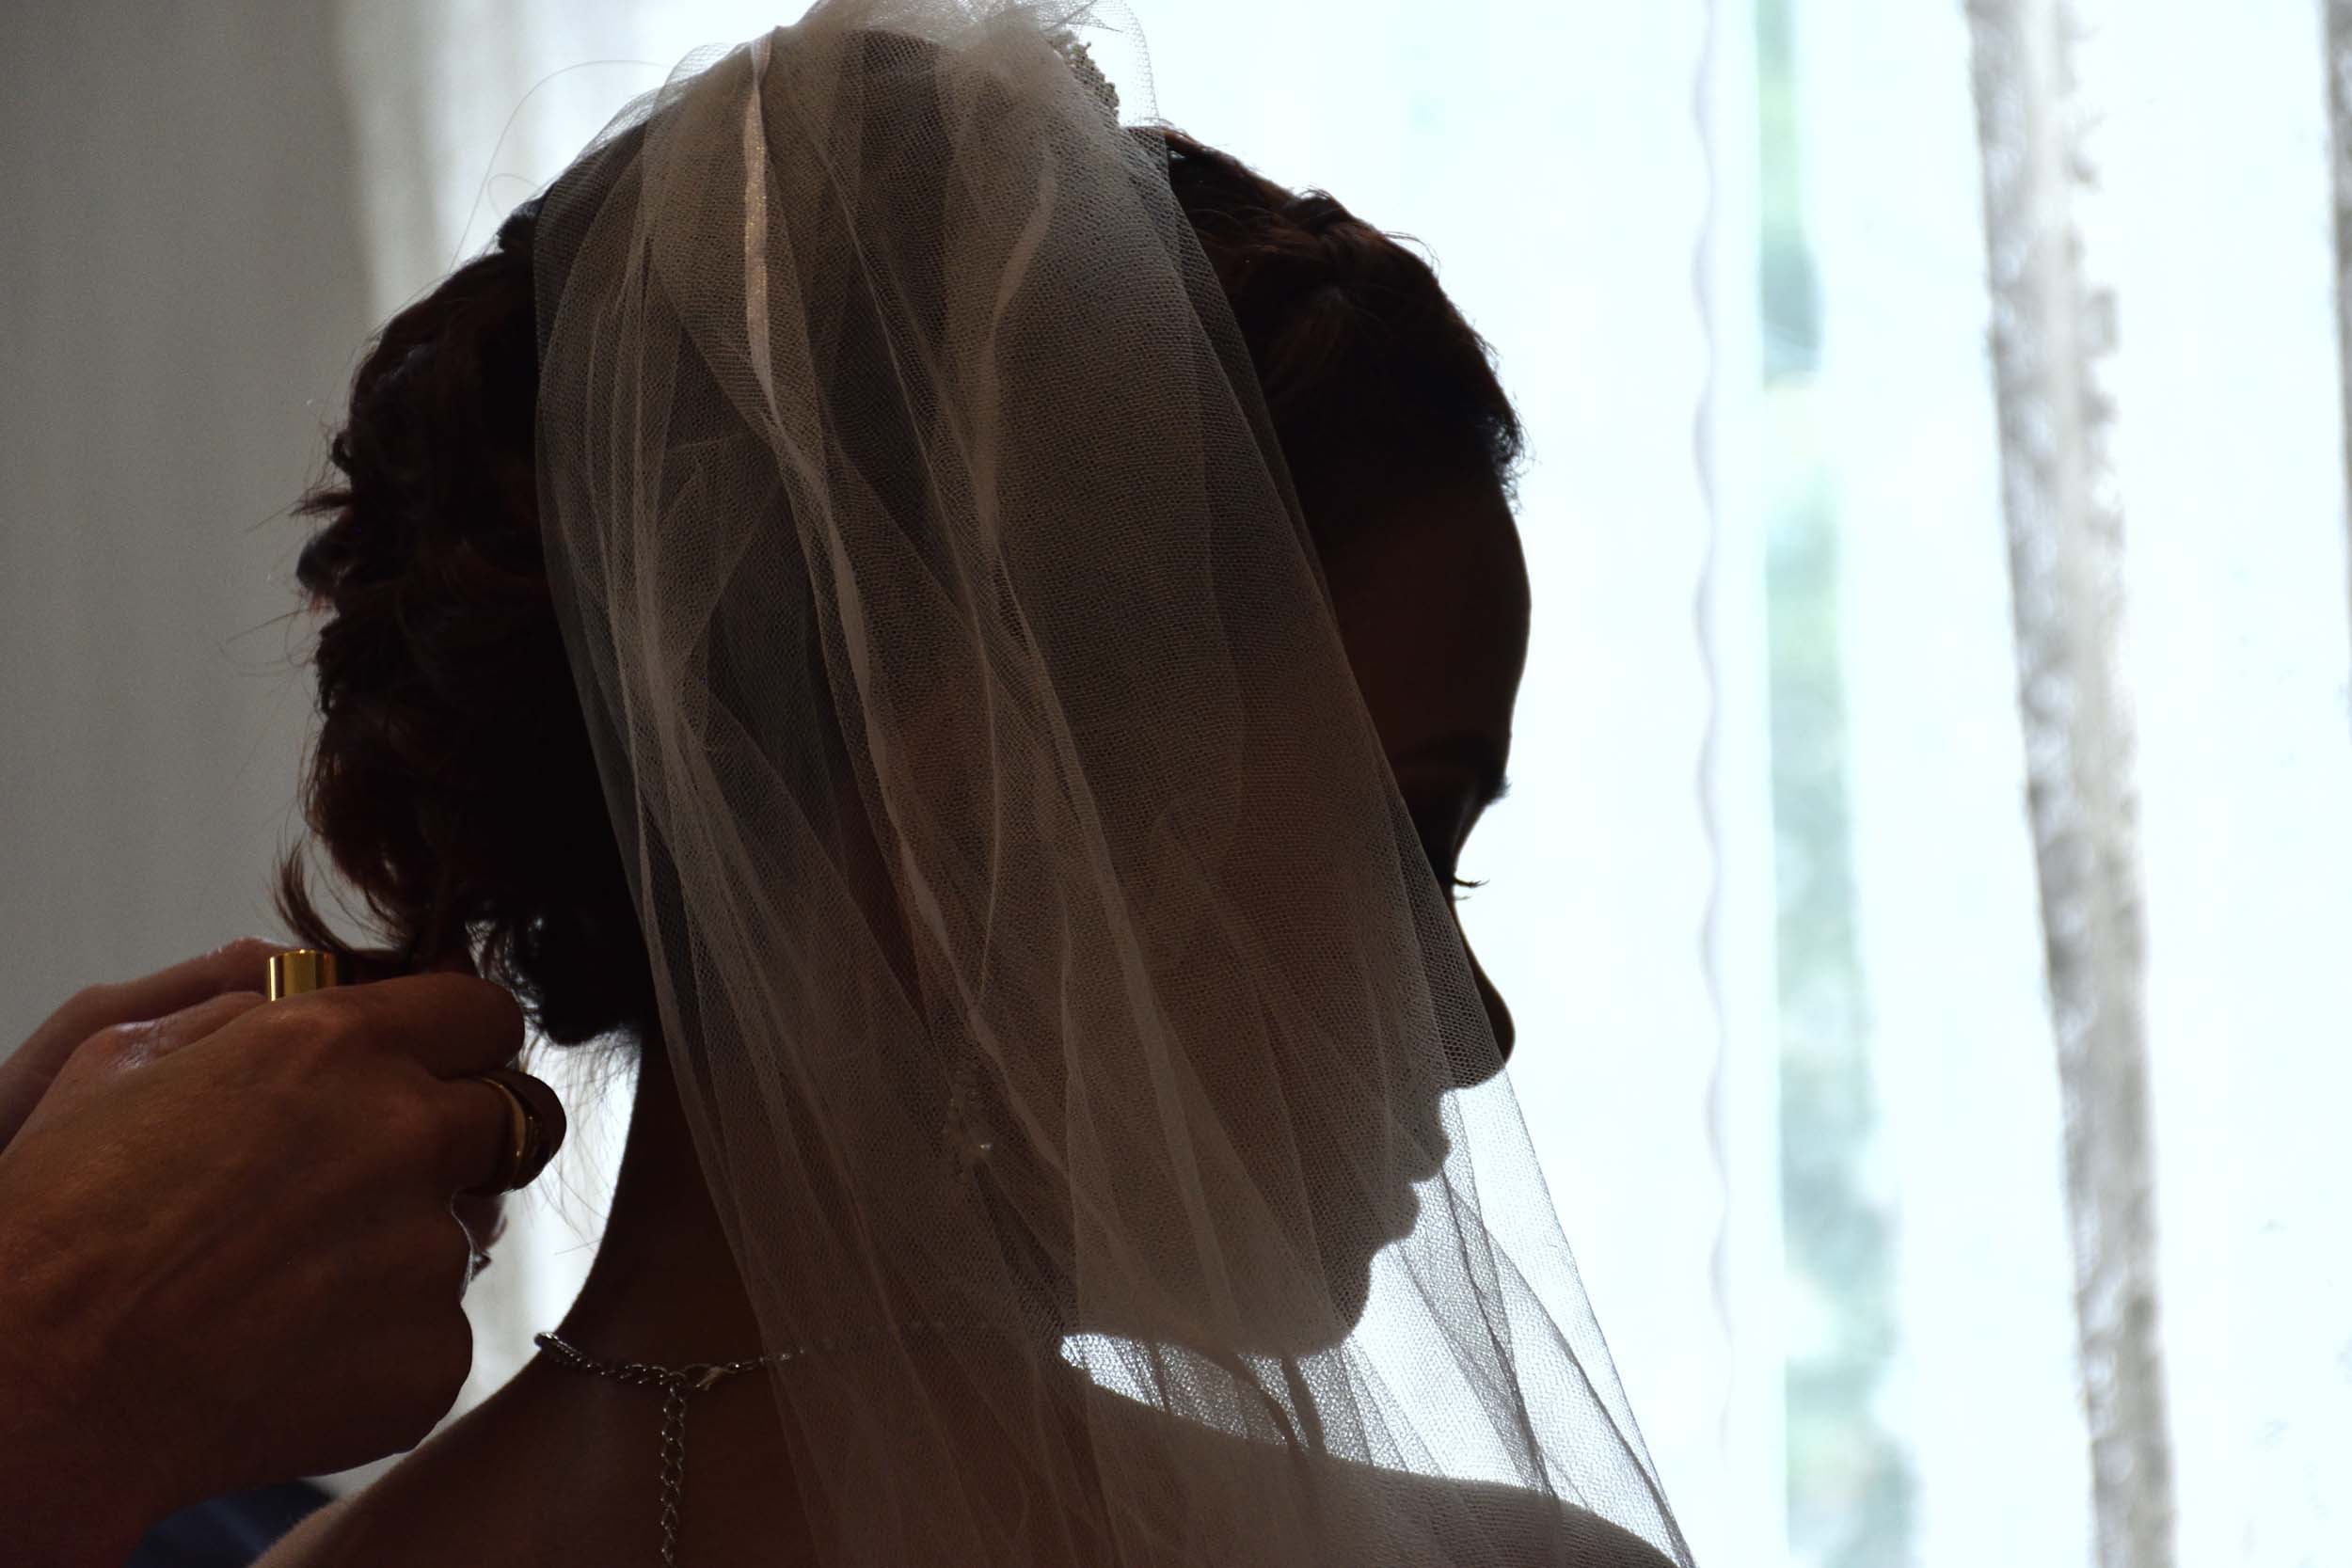
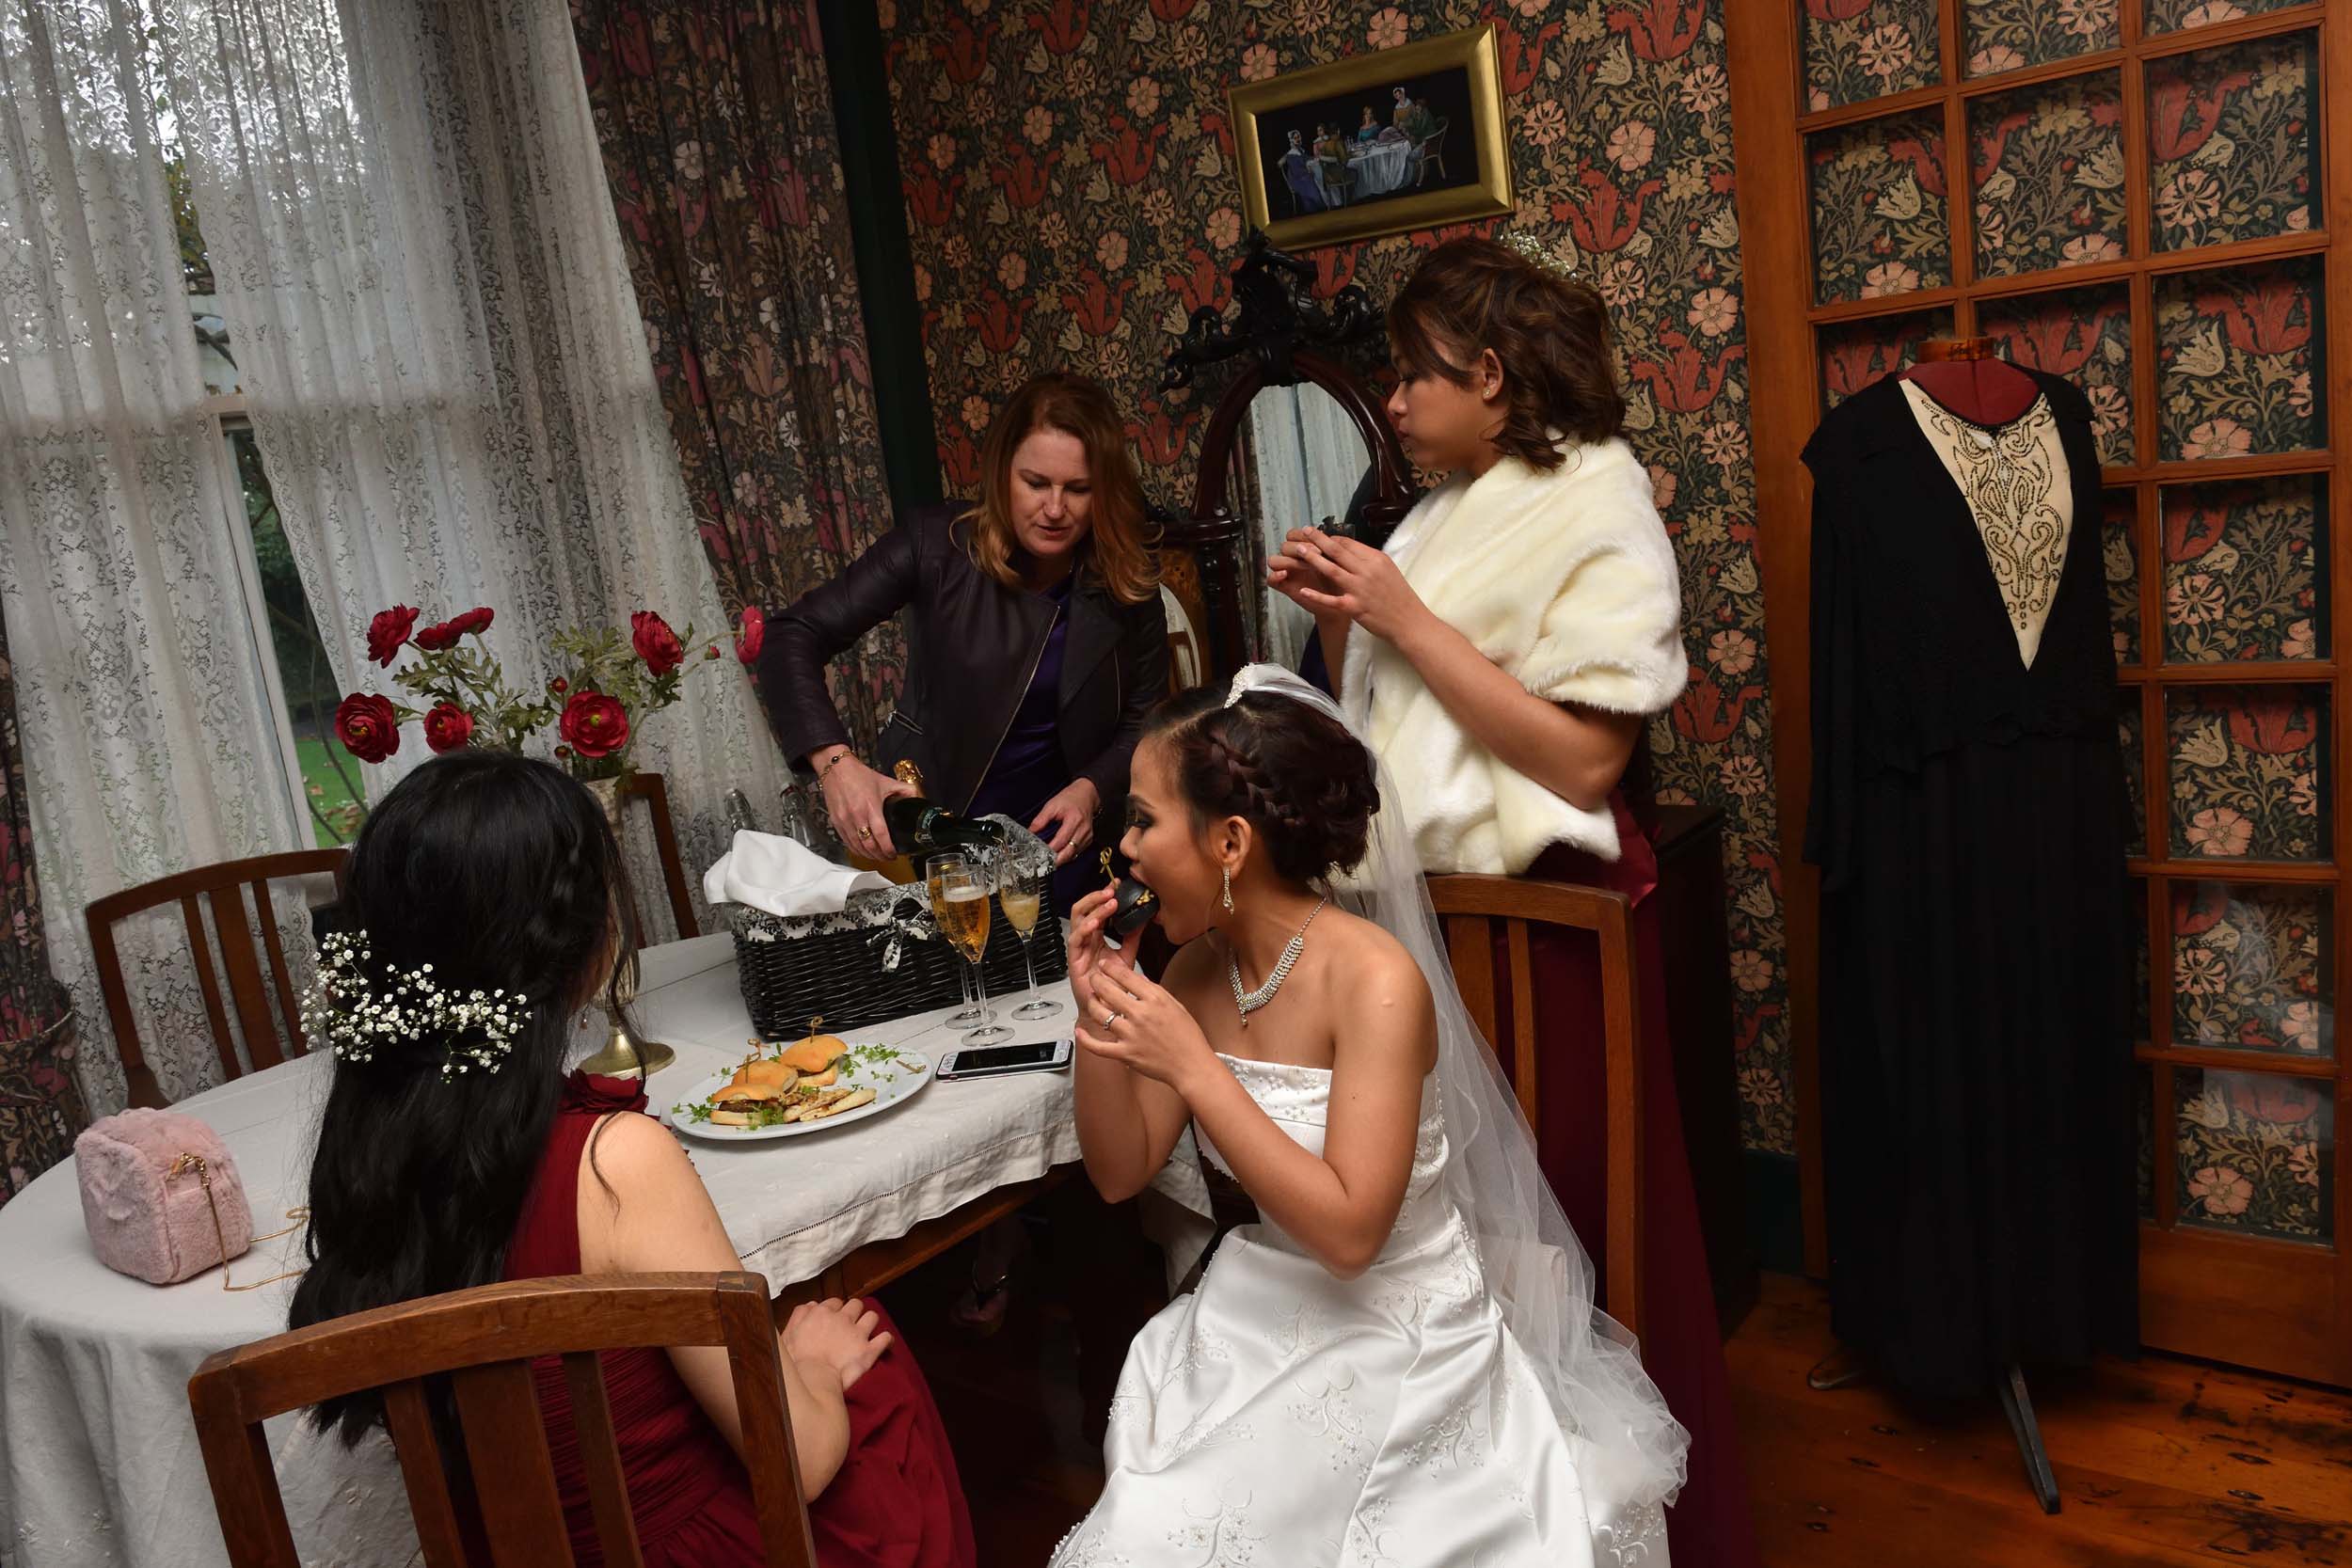
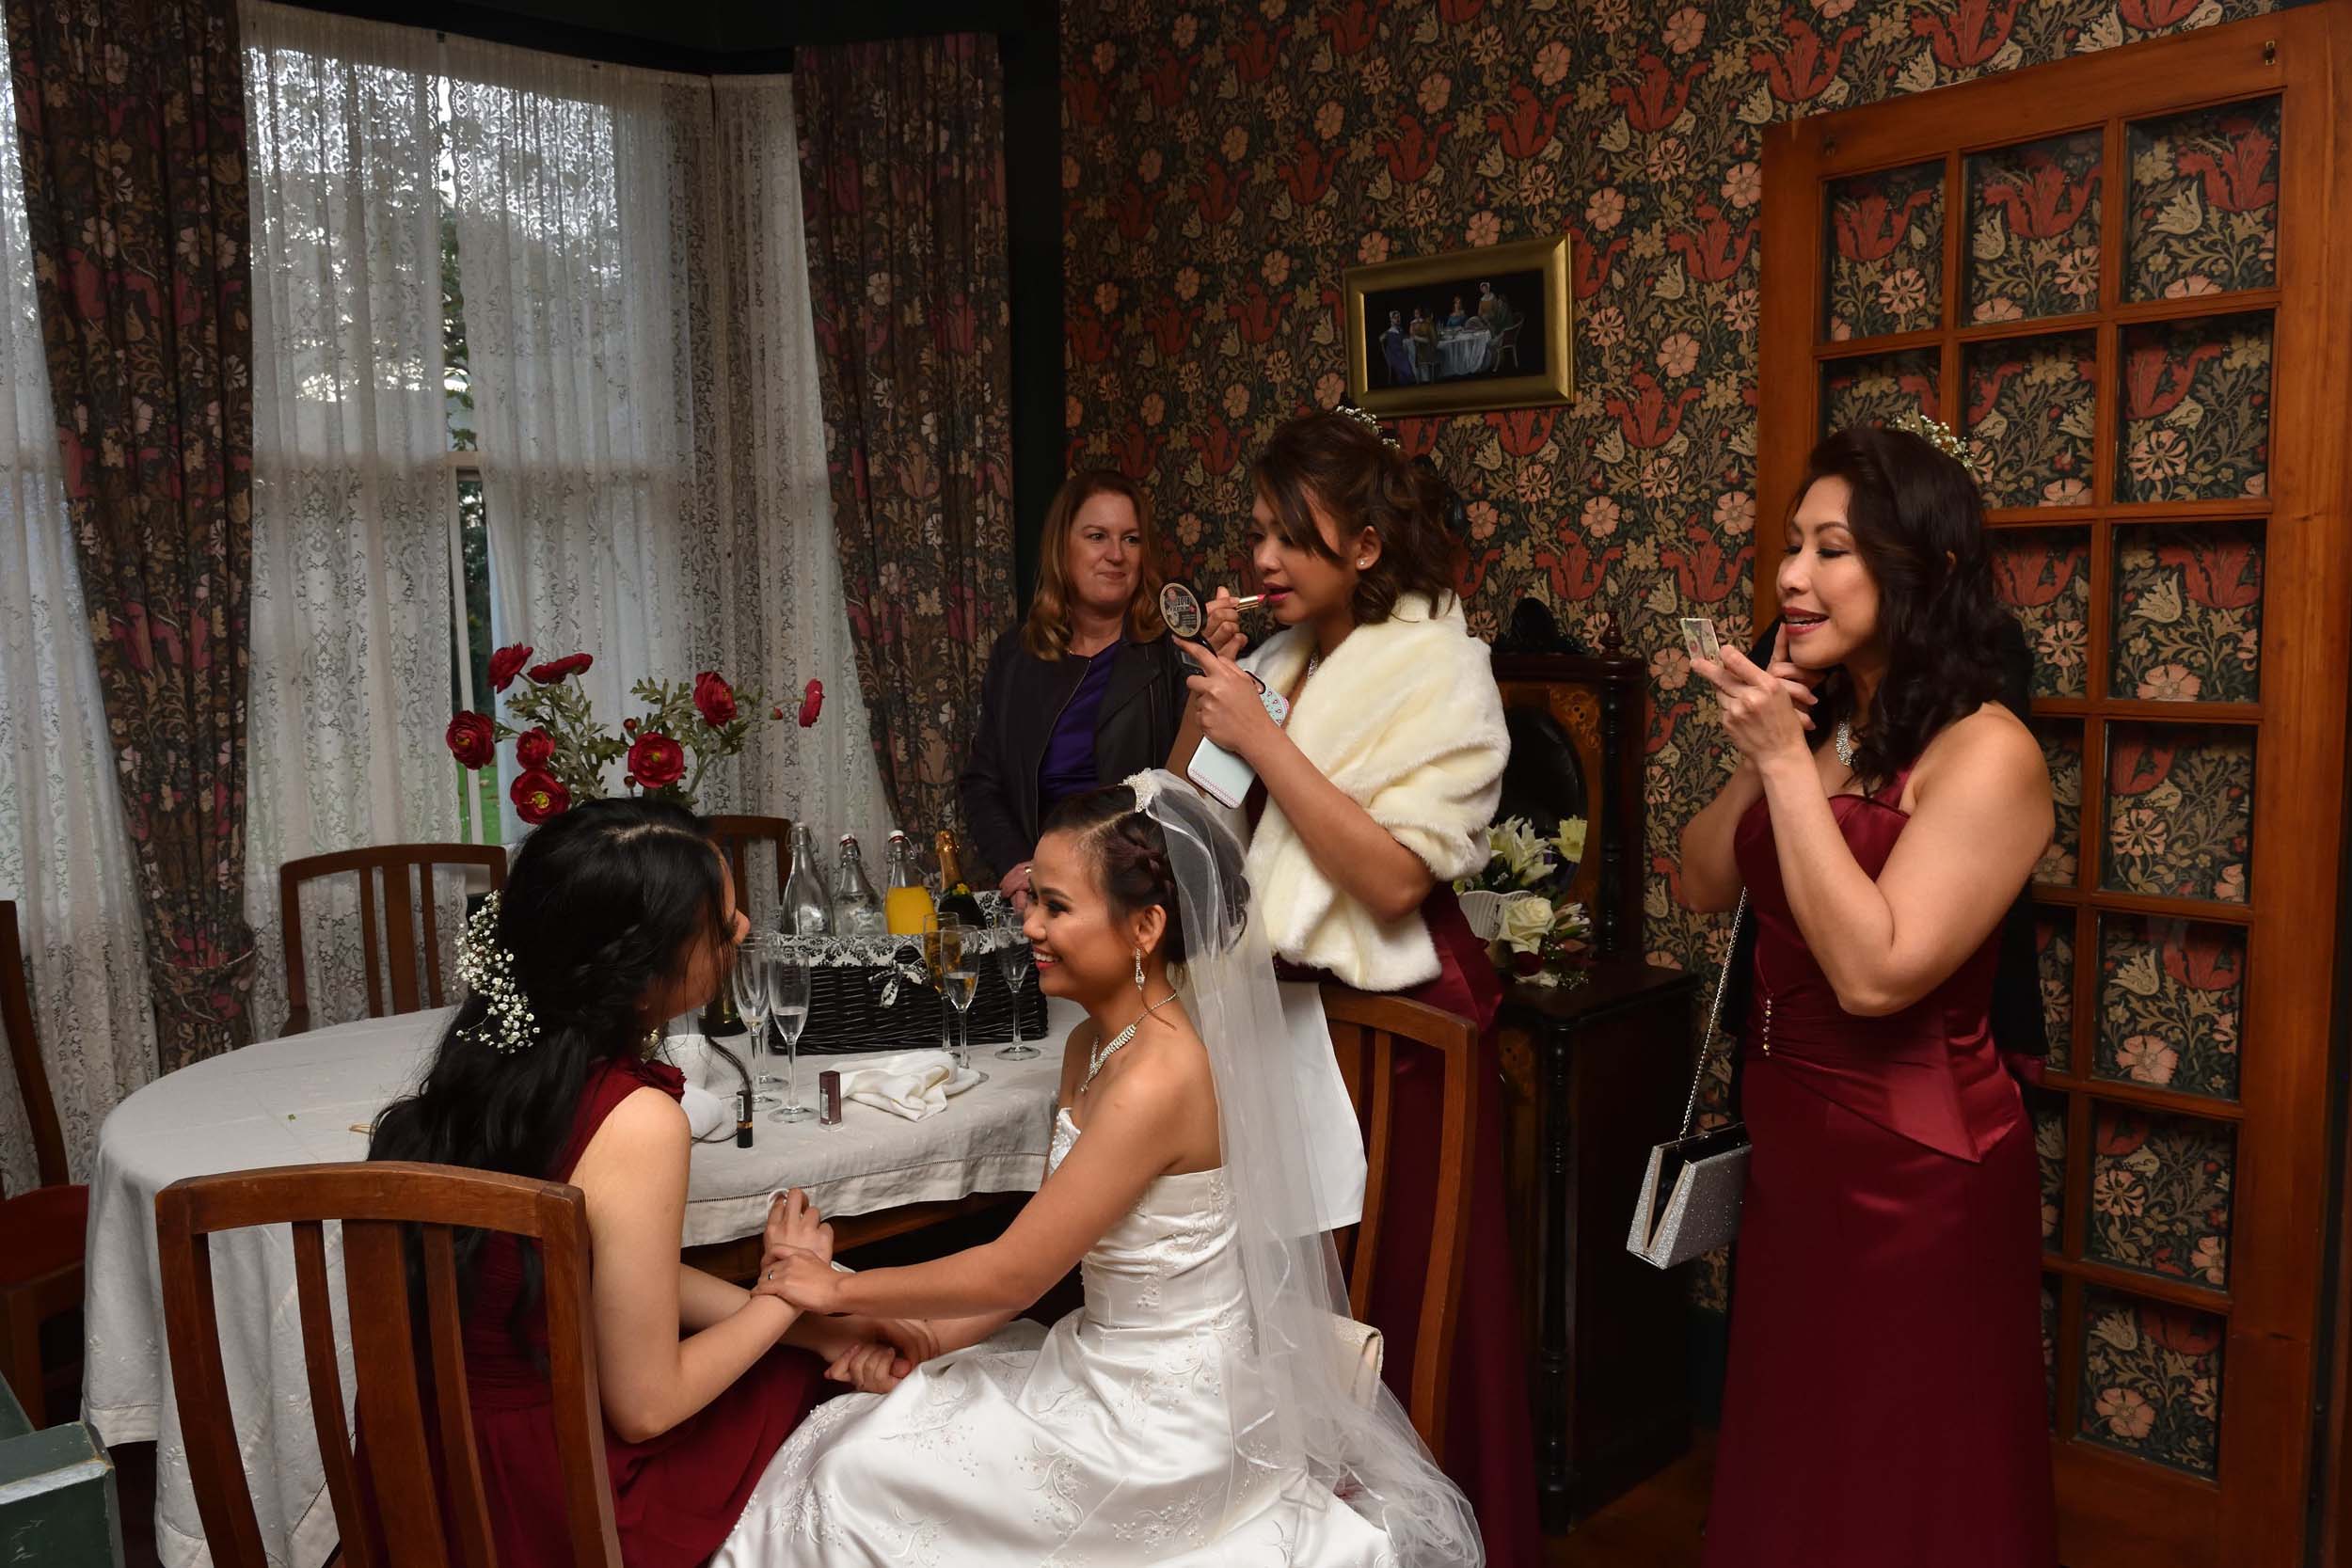
A second-shooter is a very good idea and something I consider essential. They will get many of the shots you get plus some extras for the couple and provide another form of insurance if something were to go wrong with your pictures. If you're a guy then it's handy to have a female second-shooter who can go into the room when the bride is getting dressed and get some of those getting-ready shots that she wouldn't fell comfortable with if a guy was in the room. Now a professional charging $4000 to photograph a wedding would possibly pay a second-shooter $500-1000 to take some pictures for them as well, and generally demand all the images be handed over at the end of the day. If you're shooting a budget wedding or possibly even doing it free for a friend because they can't afford a photographer then there are many ways of getting a second-shooter. I run a group on facebook for that purpose - there are always new photographers wanting to get into the industry but they have no experience and no portfolio to present and most of them will almost beg you to allow them to shoot for free while providing you with the photos they take - so they can use them on their profile. I even know of a professional photographer who charges $400 for a newbie to take pictures at a wedding he is shooting - to understandably, make up for the risk of what could go wrong with a newbie at the wedding. Post an ad on facebook and you will be inundated with requests for people wanting to help.

Gear: Possibly the most important piece of non-photographic gear you could have on a long wedding day is comfortable shoes. And try to get something comfortable and discreet, you don't want to stick out like a sore thumb amongst the guests with bright green stripes on the side of your running shoes, this applies to any clothing you wear. Get something that could pass for formal shoes at a glance but need a second look to see that they are hiking shoes or similar. Talking about shoes this is actually a good time to mention something very important when photographing a wedding - Don't try anything new at a wedding! Like wearing brand new leather hiking boots on your first really long hike - it will result in serious blisters. Leather boots need to be worn in until they are comfortable, and you need to be sure they are the right size for you. I heard a horror story about a nervous photographer who 'heard that manual focus would give better results ' than the autofocus he was accustomed to using. Apparently he got at least a dozen in focus over the colourful 5 day Indian wedding. Even brand new camera gear could be faulty, or not work with the component you bought it for. People have been caught out buying a new 64 gig memory card for their older camera only to find out on the day that their camera can only support cards up to 32 gig - not a comfortable situation to find yourself in halfway through the ceremony when you plug that card into your camera and see the error code on the lcd display, and it's the only empty card you have available. Or after fitting the new 50mm f1.4 lens that arrived yesterday you find that you never really had a full understanding of how narrow the depth of field is at f1.4 so besides the fact that you end up with a bunch of photos where only one person is in focus during critical group shots, you also realise it's not the person you were focused on, the lens needs to be fine tuned to your camera before you use it. Make sure you know the gear you are using on the day. This reminds me of another comment I read on a discussion forum: "If I were to photograph a wedding I'd hire two professional camera bodies and lenses for the day" ........ would you know how to use them though? There are a lot of settings on a professional camera body that are very different to amateur bodies. You are seriously better off shooting with the amateur gear you know than messing up with professional gear on the day - if you do hire 'the good stuff' make 100% sure you know how to use it on the day.
Camera strap: Perhaps as important as comfortable shoes because you will be carrying your gear for 6-8 long hours. Simply having camera straps around your neck is guaranteed to give you a nasty headache which doesn't inspire much creativity during any photoshoot. There are many options for holding two camera bodies, some are expensive - you need to decide how much you are prepared to spend to hold your valuable gear, after all you don't want to go cheap and risk damage if it doesn't hold properly. On saying that, there are a lot of reasonably priced options out there. I've found that a really effective and reasonably priced option does exist. If you shop on Aliexpress a dual camera strap can be bought for anywhere from $10 while the plastic holsters in the picture on the right start from $3 each. Screw the straps into the camera tripod mount and you have what is a common method of securing your camera without tiring your neck muscles. But they do swing around a bit and if for example you are washing your hands, both cameras bounce around against the basin. With two of those cheap plastic holsters you simply screw the fitting into the base of the dual harness mount and the cameras are also secured at your hips. If you adjust the straps so that when your shoulders are 'hanging' it shifts all the weight to the belt, but when you shrug your shoulders all the weight is taken off your hips, it forms a well balanced method of carrying your cameras without burdening your shoulders or having too much weight on your belt. Another tip is that instead of putting the holsters on your 'main' belt simply wear a second belt on top of your other belt, that way the ridges of the holster don't wear on your hips all day.

Lenses: There are a lot of options for lenses. I will quote numbers for full frame [FF] and crop [DX]. Full frame cameras have 35mm sensors while dx or crop sensors are smaller so the numbers need to be multiplied by 1.5 to give an equivalent focal length. A 35mm lens on DX will be similar to a 50mm lens on FF. These are things you should know if you're going to shoot a wedding.
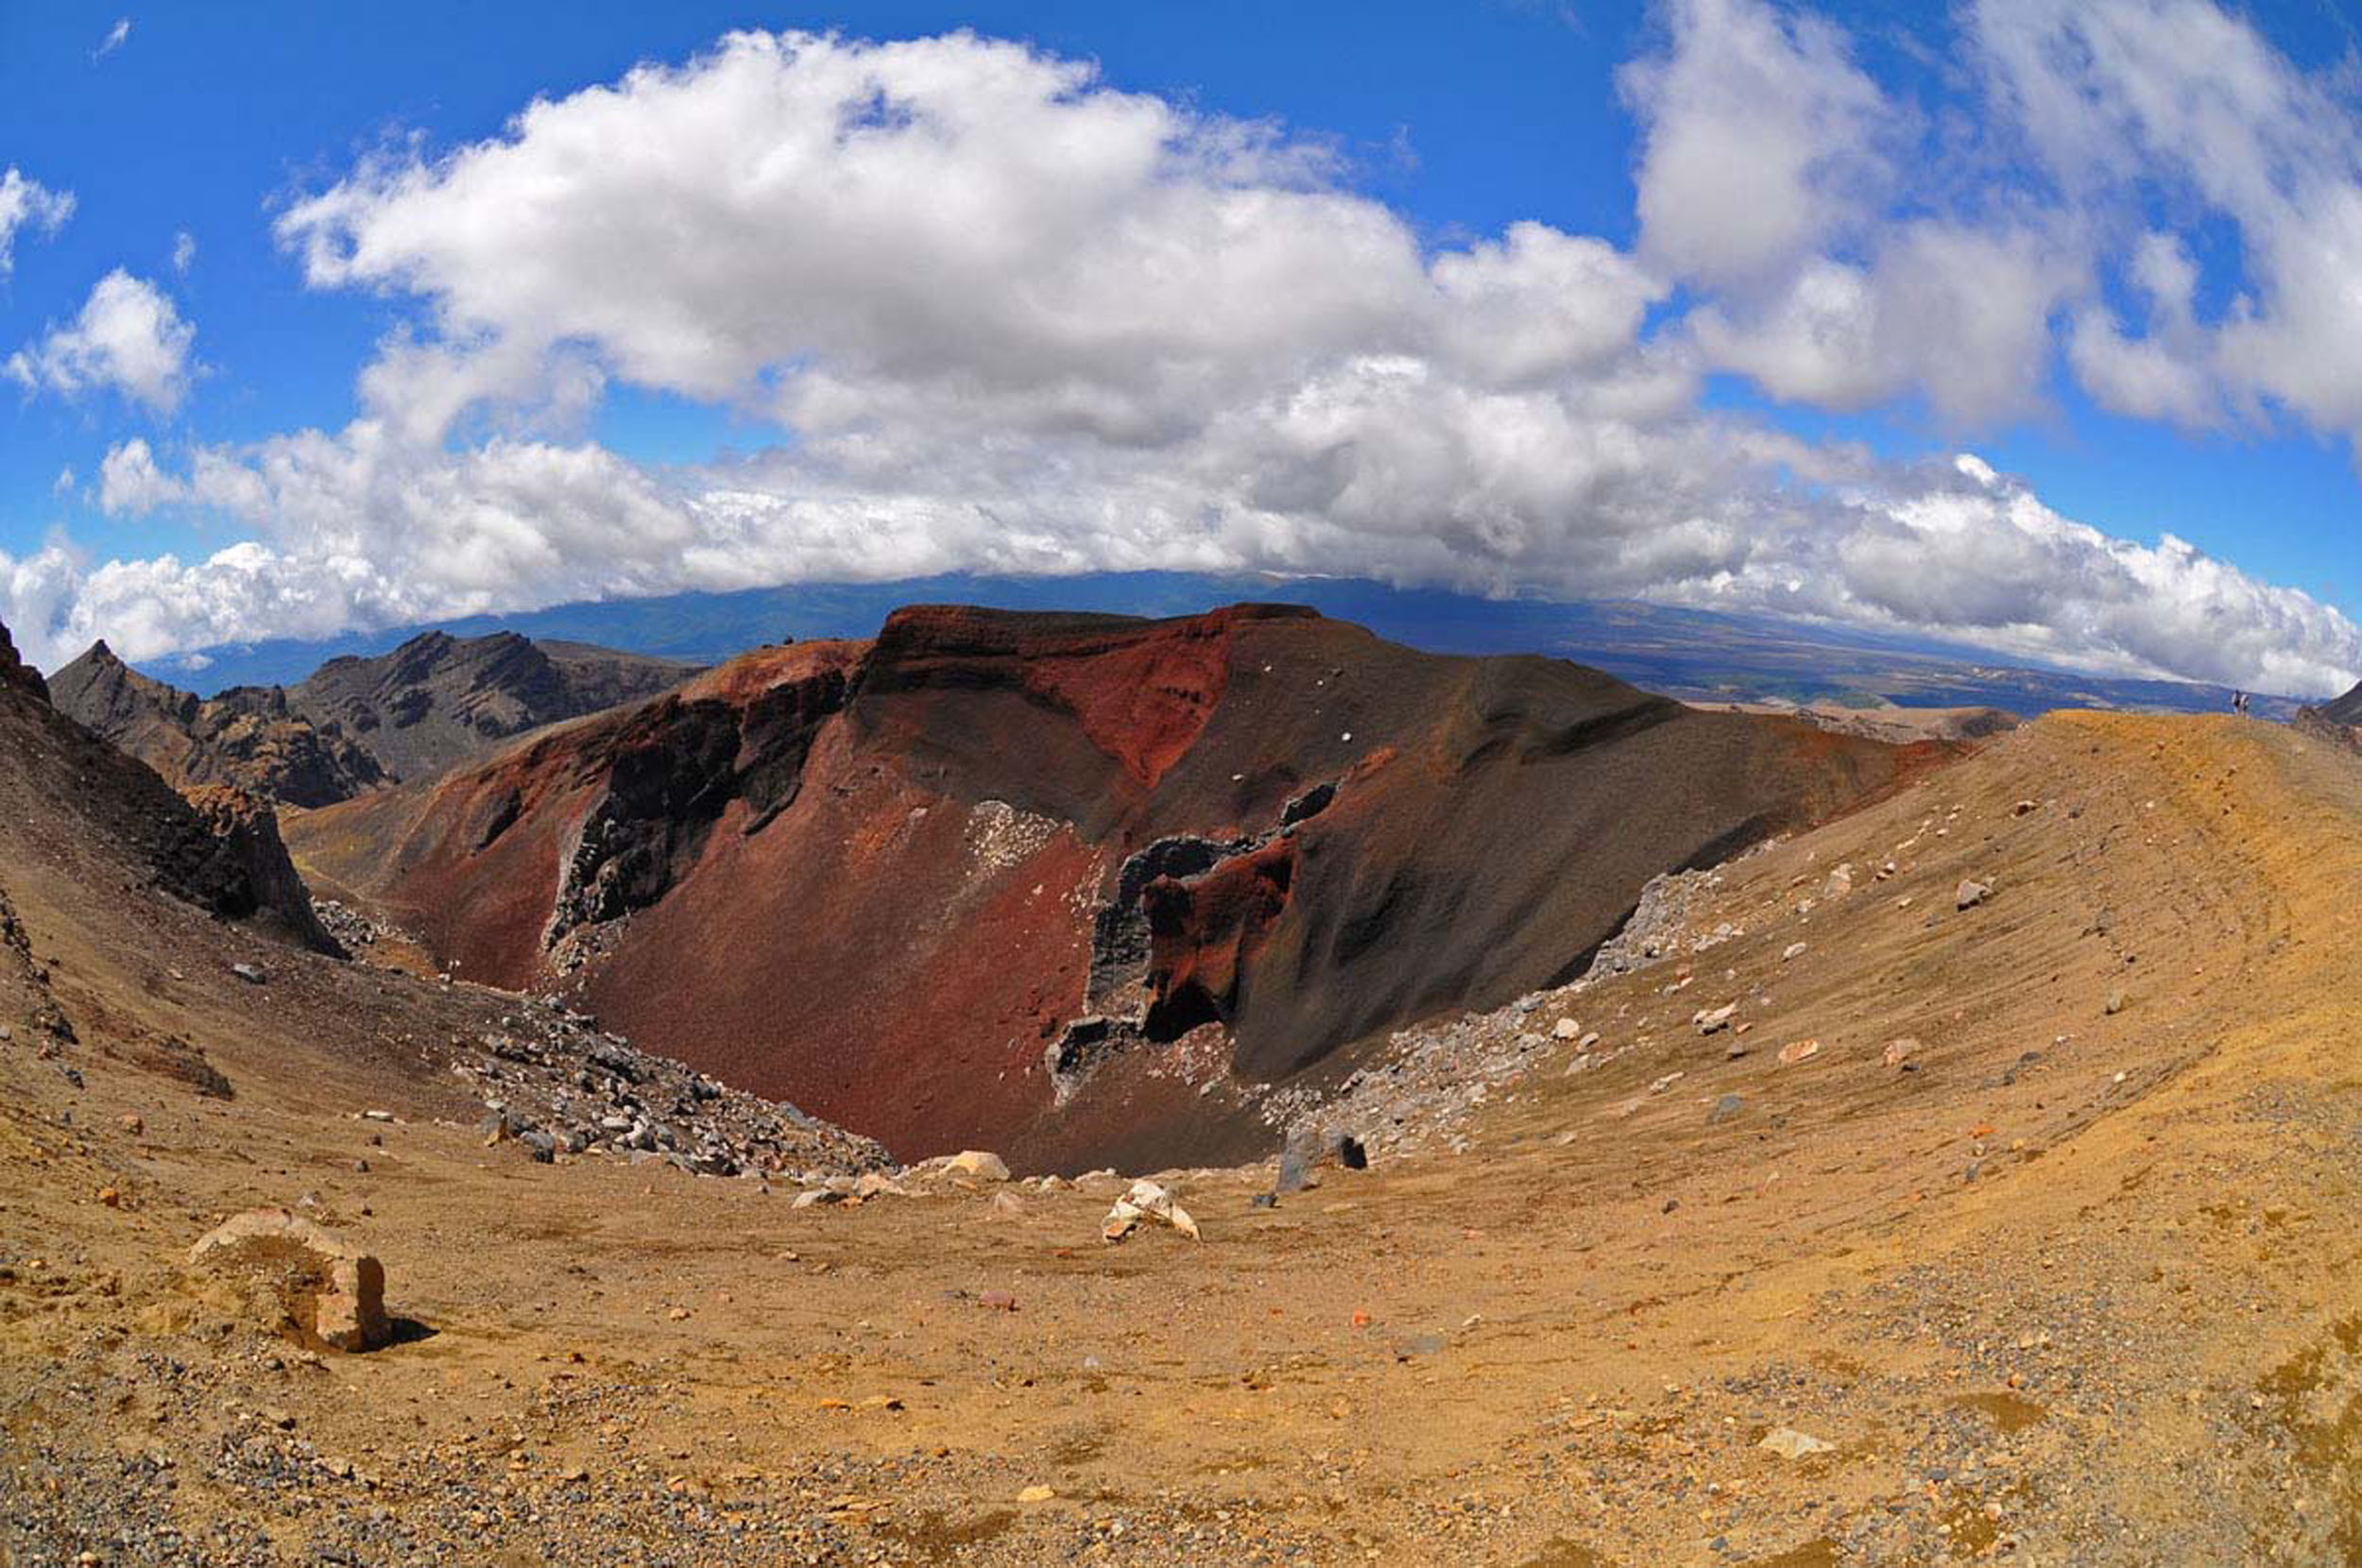
Fisheye and ultra-wides: 8-16mm DX, 12-24mm FF. can add to the pictures for the album but should be used wisely. A nice shot of the couple at the base of some redwoods perhaps, or a rainbow in the background can justify creating a little distortion in a wedding photo. But use with great discretion - 2 or 3 images could sneak into the album but if you have too many pictures with a lot of distortion they can start getting 'sickening' having the viewer desiring 'normality' again. The following image was taken with a fisheye lens to give an idea of how much can be included in an image but also showing what it does to straight lines.
Picture courtesy Mata Taputu Photography.

Mid range zoom: 17-50mm f2.8 DX, 24-70mm f2.8 FF. [The best lens to have]
The Sigma 18-35mm [27-52mm] f1.8 lens is almost in this range and perhaps comes as close as you can get to a "prime-zoom". Of course 'prime' means only one focal length but the 18-35mm f1.8 is like 3 primes in one lens, fast and sharp and a worthwhile consideration for DX shooters.
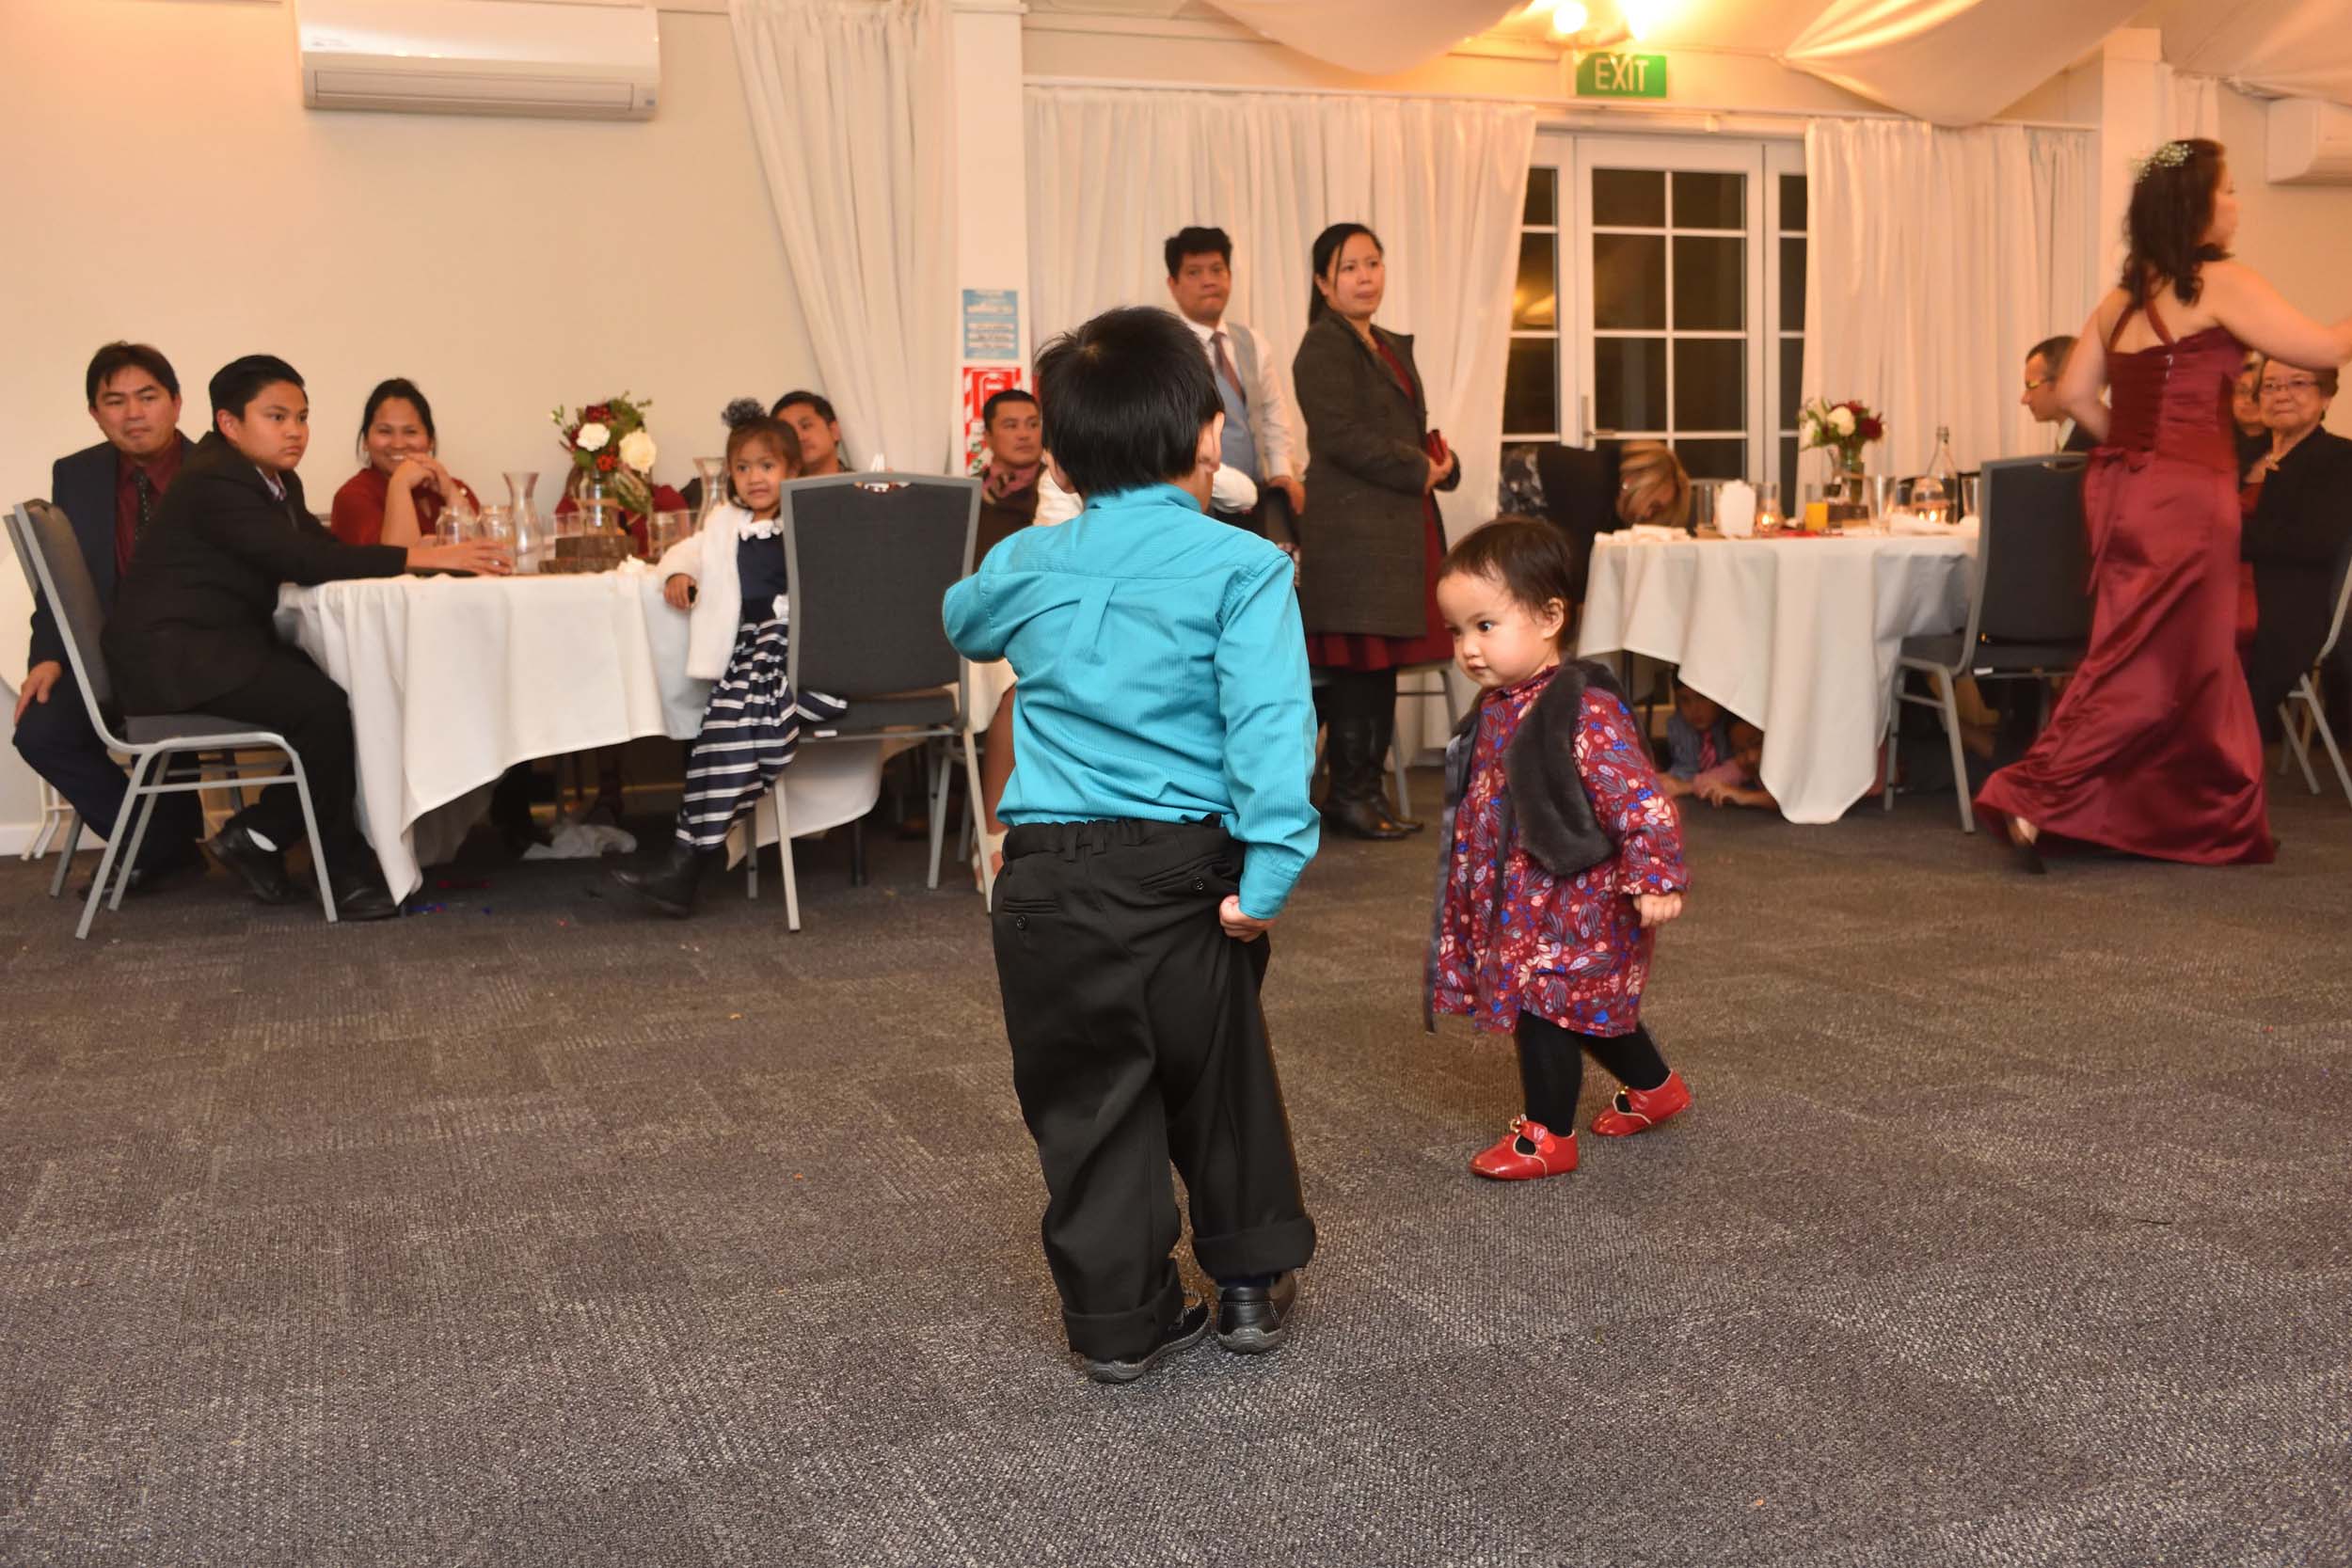
The mid range zoom is the most useful lens for weddings. At one stage when the best Nikon body you could get was the DX Nikon D200 the bulky Nikon 17-55mm f2.8 was a top choice for wedding photographers. Some went as far as having two D200 bodies and a 17-55mm on BOTH bodies [as backup]. Not what I would advise but an indication of how useful that range is. Fact: You can crop in on an image to "zoom in" but you can't "crop out" and fit more in - Duh! Pretty obvious but also an epiphany you don't want to have on the wedding day. Some DX photographers might choose a Tamron 28-75mm f2.8 giving an equivalent of 42-112mm, only to find that in a small room with the bride getting ready when asked to get a group shot they can't fit everyone in. This dispels the over-used term "zoom with your feet" because in a small room there is a limit to how far you can back up - sometimes you simply need the wider angle. At the last wedding I shot [Some Filipino friends of mine] the guests loved dragging more people into photos and asking for a group shot. At one stage I was backed up to 18mm [DX] and managed to step on a chair to fit everyone into a group shot - it would have been nice to have the option of 16mm [24mm FF]. The Nikon 16-80mm f2.8-4.0 is looking like a very good general purpose option for DX bodies. In short, if you only have one lens make it a mid-range zoom - add a 50mm f1.8 [DX] or 85mm f1.8 [FF] and you have a general purpose lens plus an option for some shallow depth of field portrait shots. Of course it is good to have a longer lens as well which brings us to the next option:
Tele Zoom: Sigma 50-150mm f2.8, 50-100mm f1.8 DX, 70-200mm f2.8 FF.
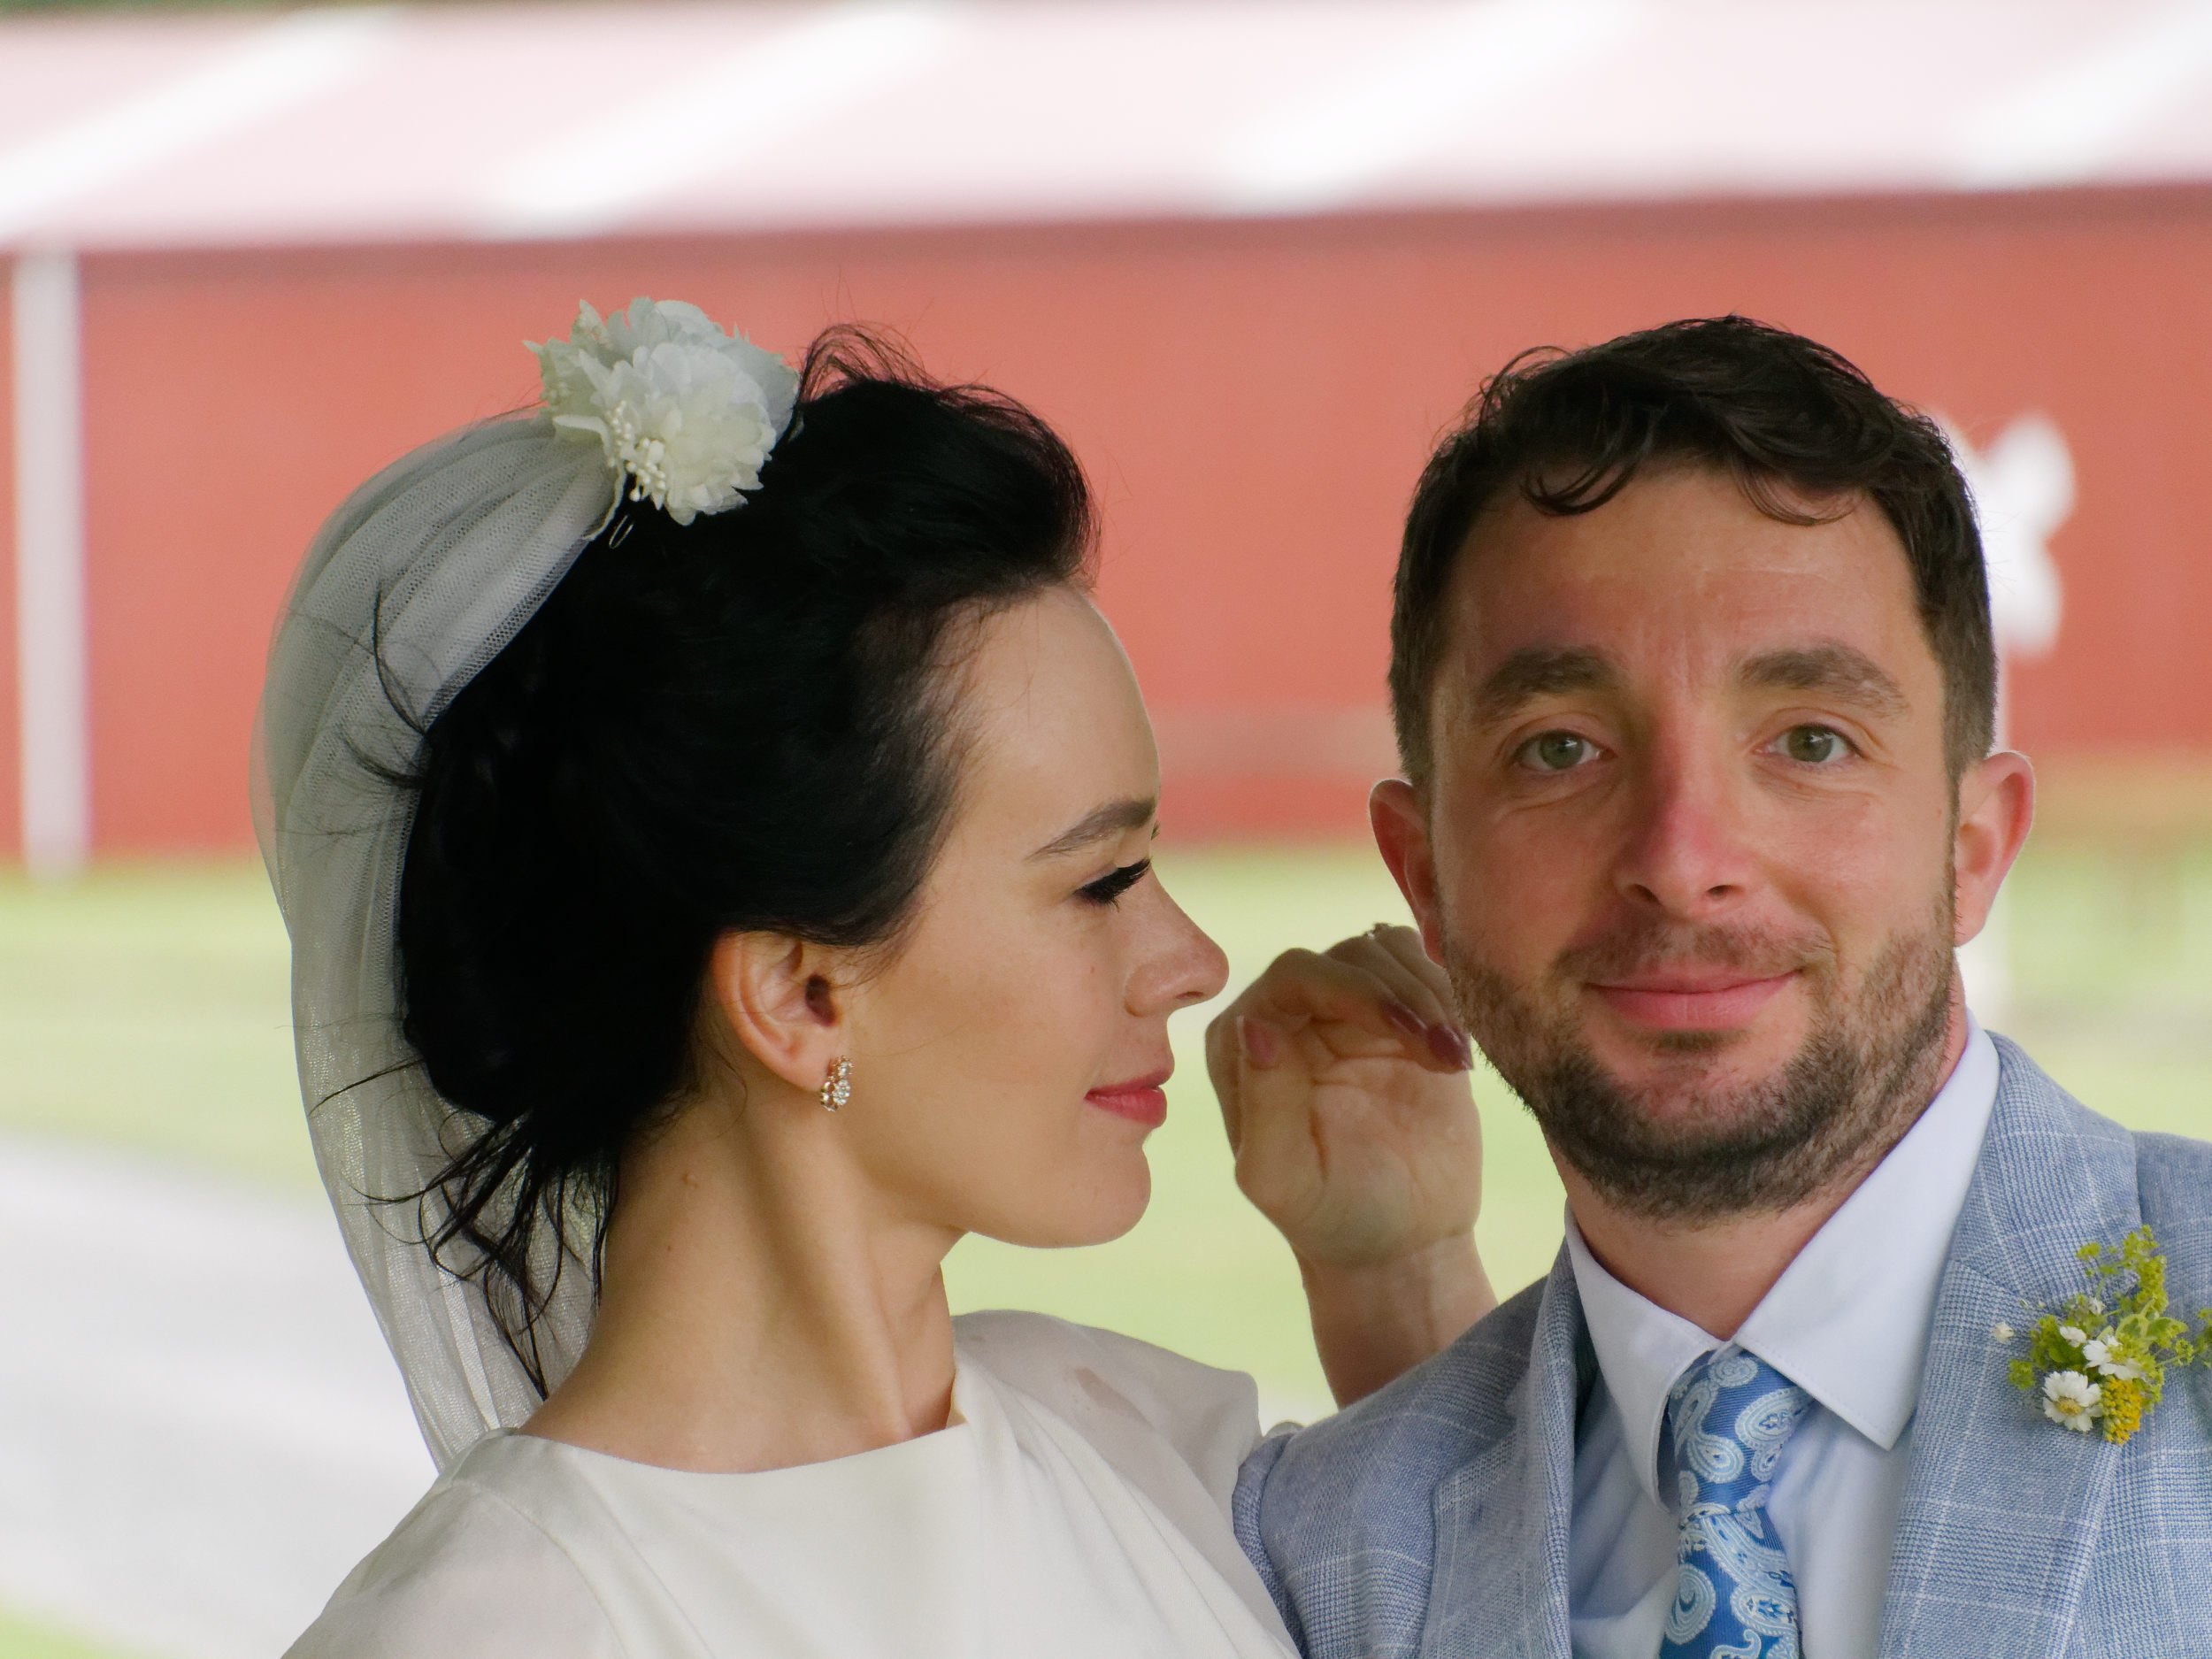
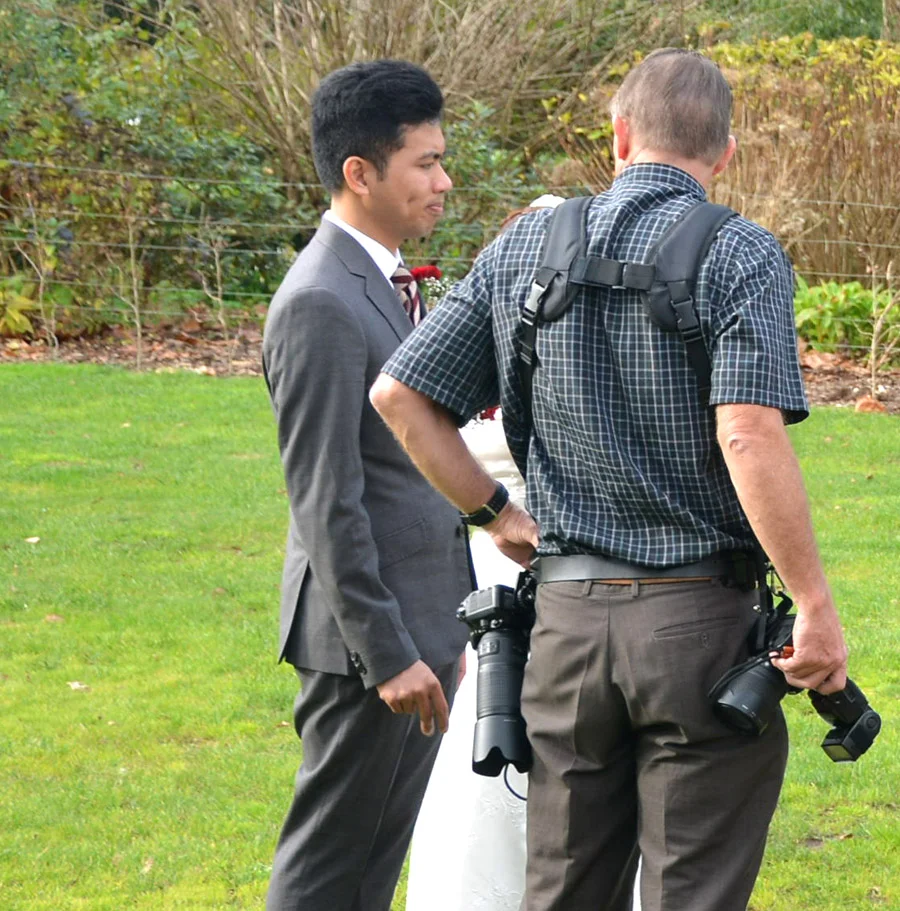
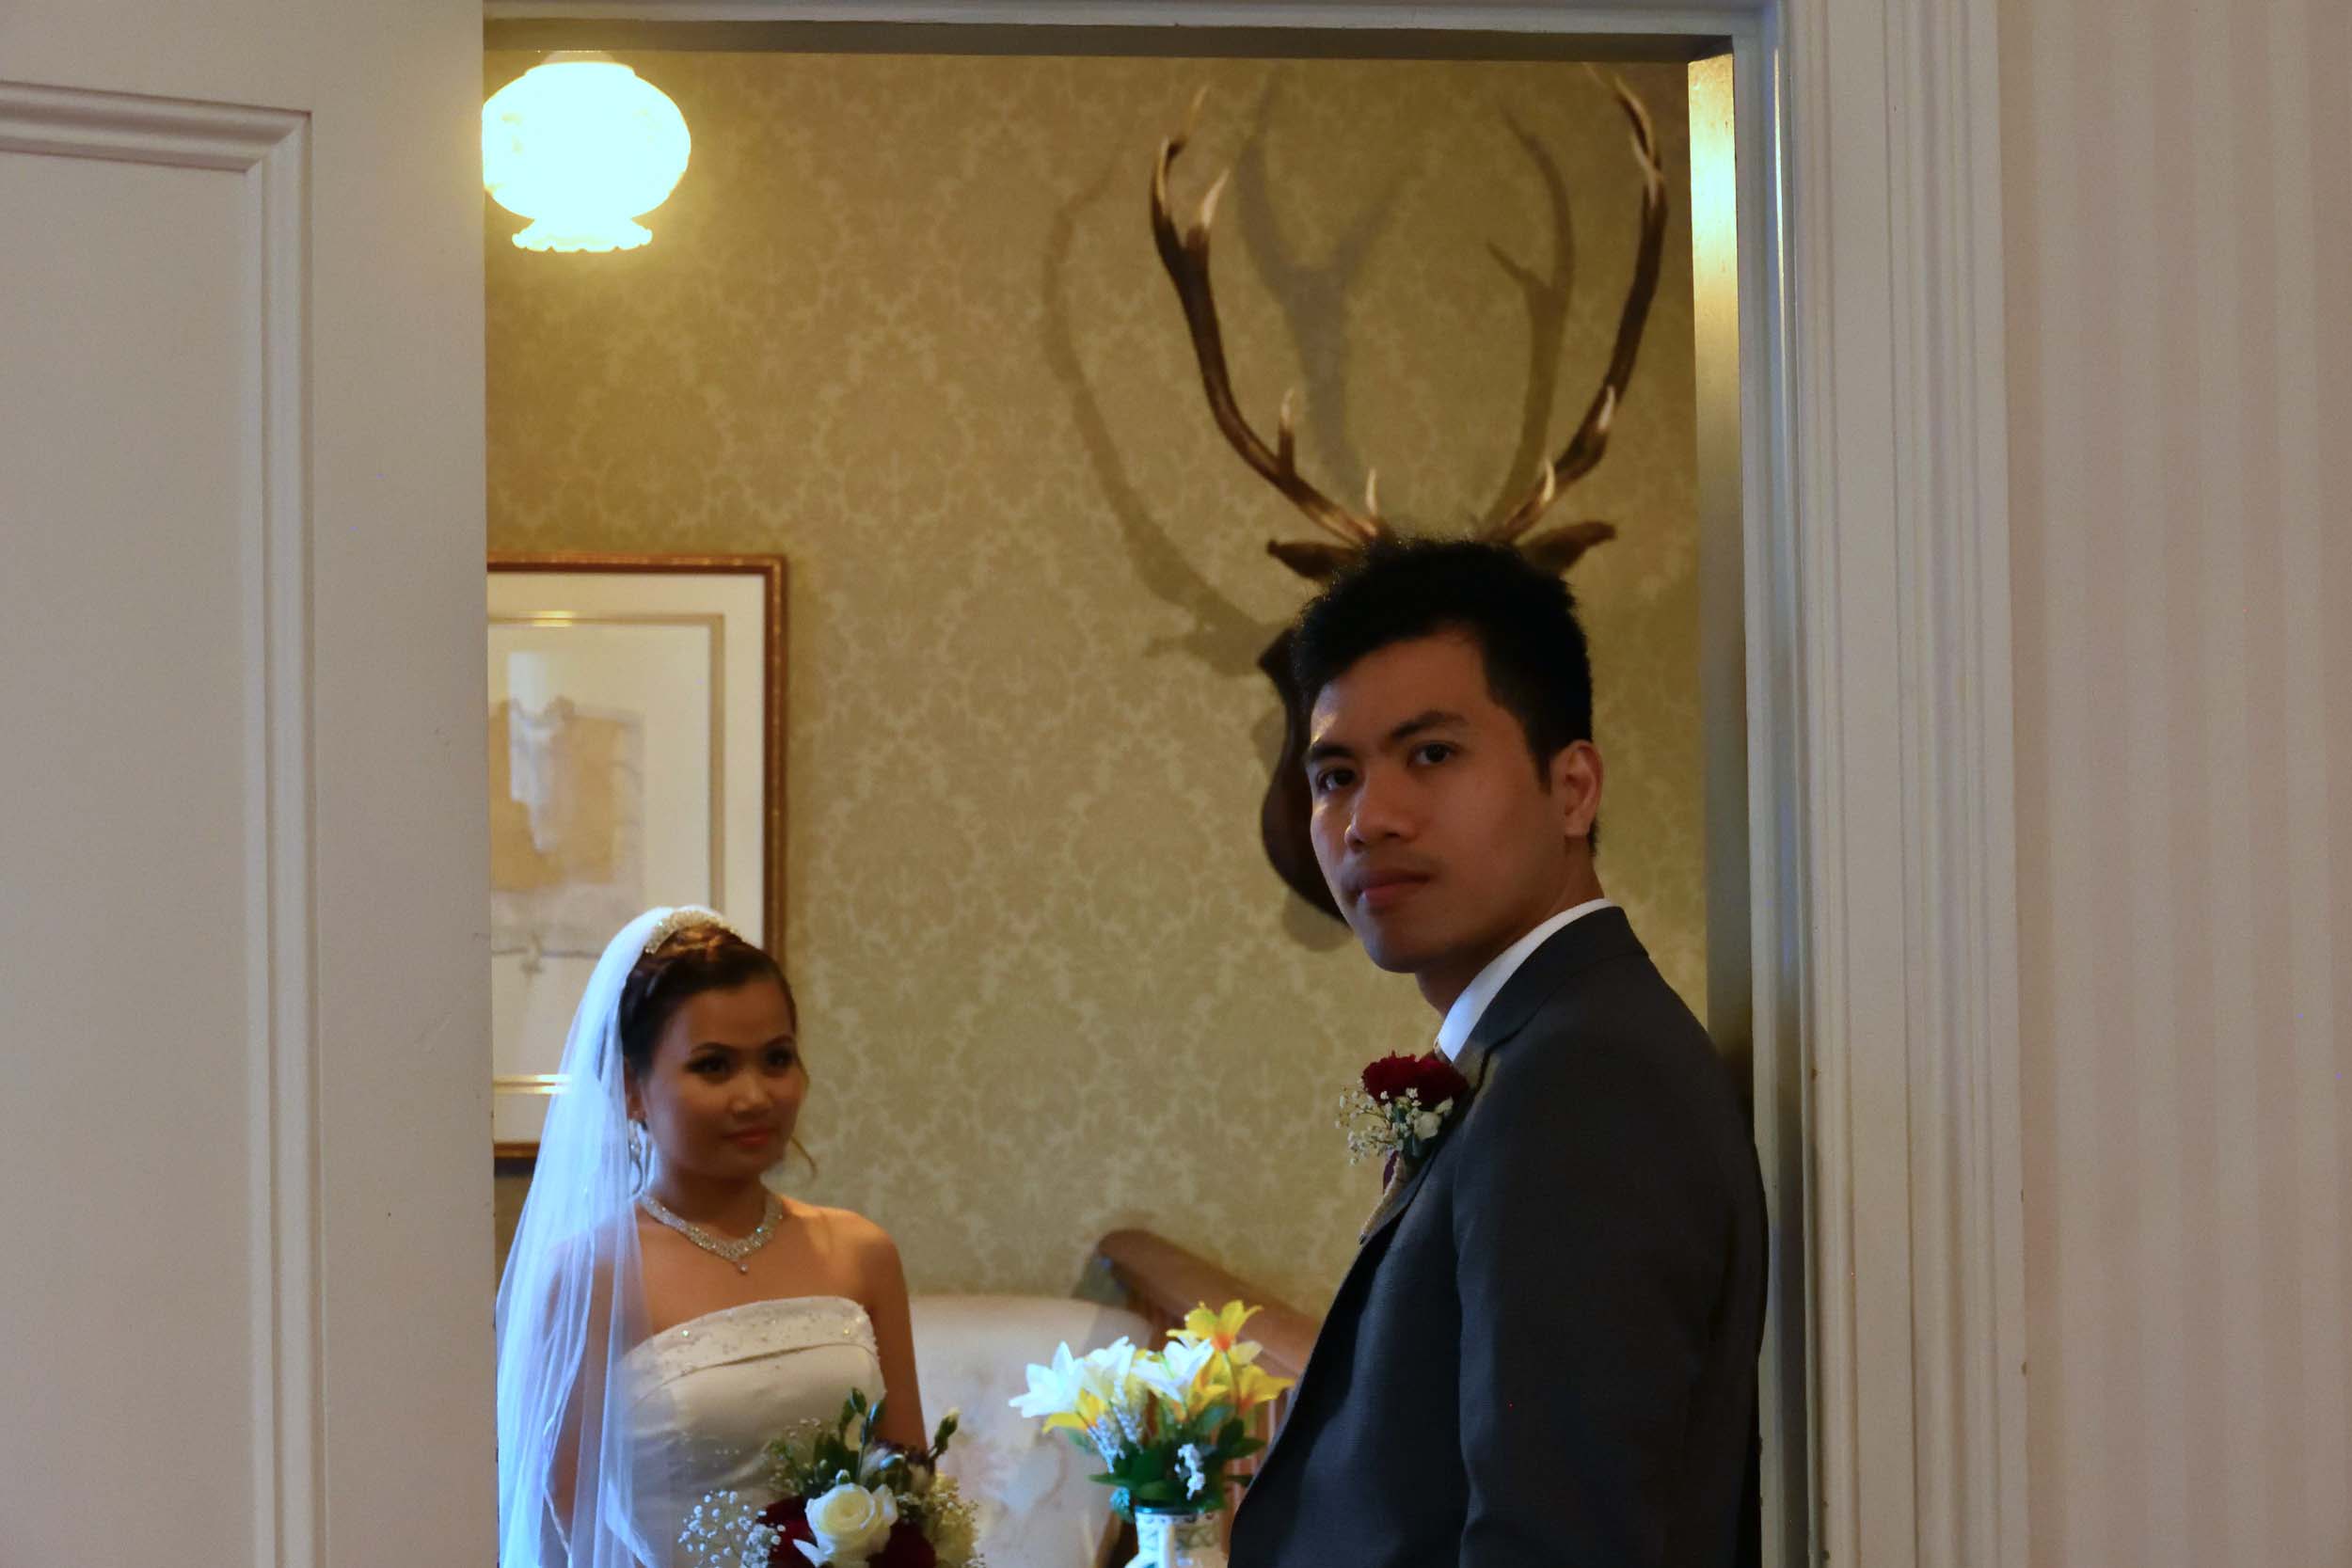
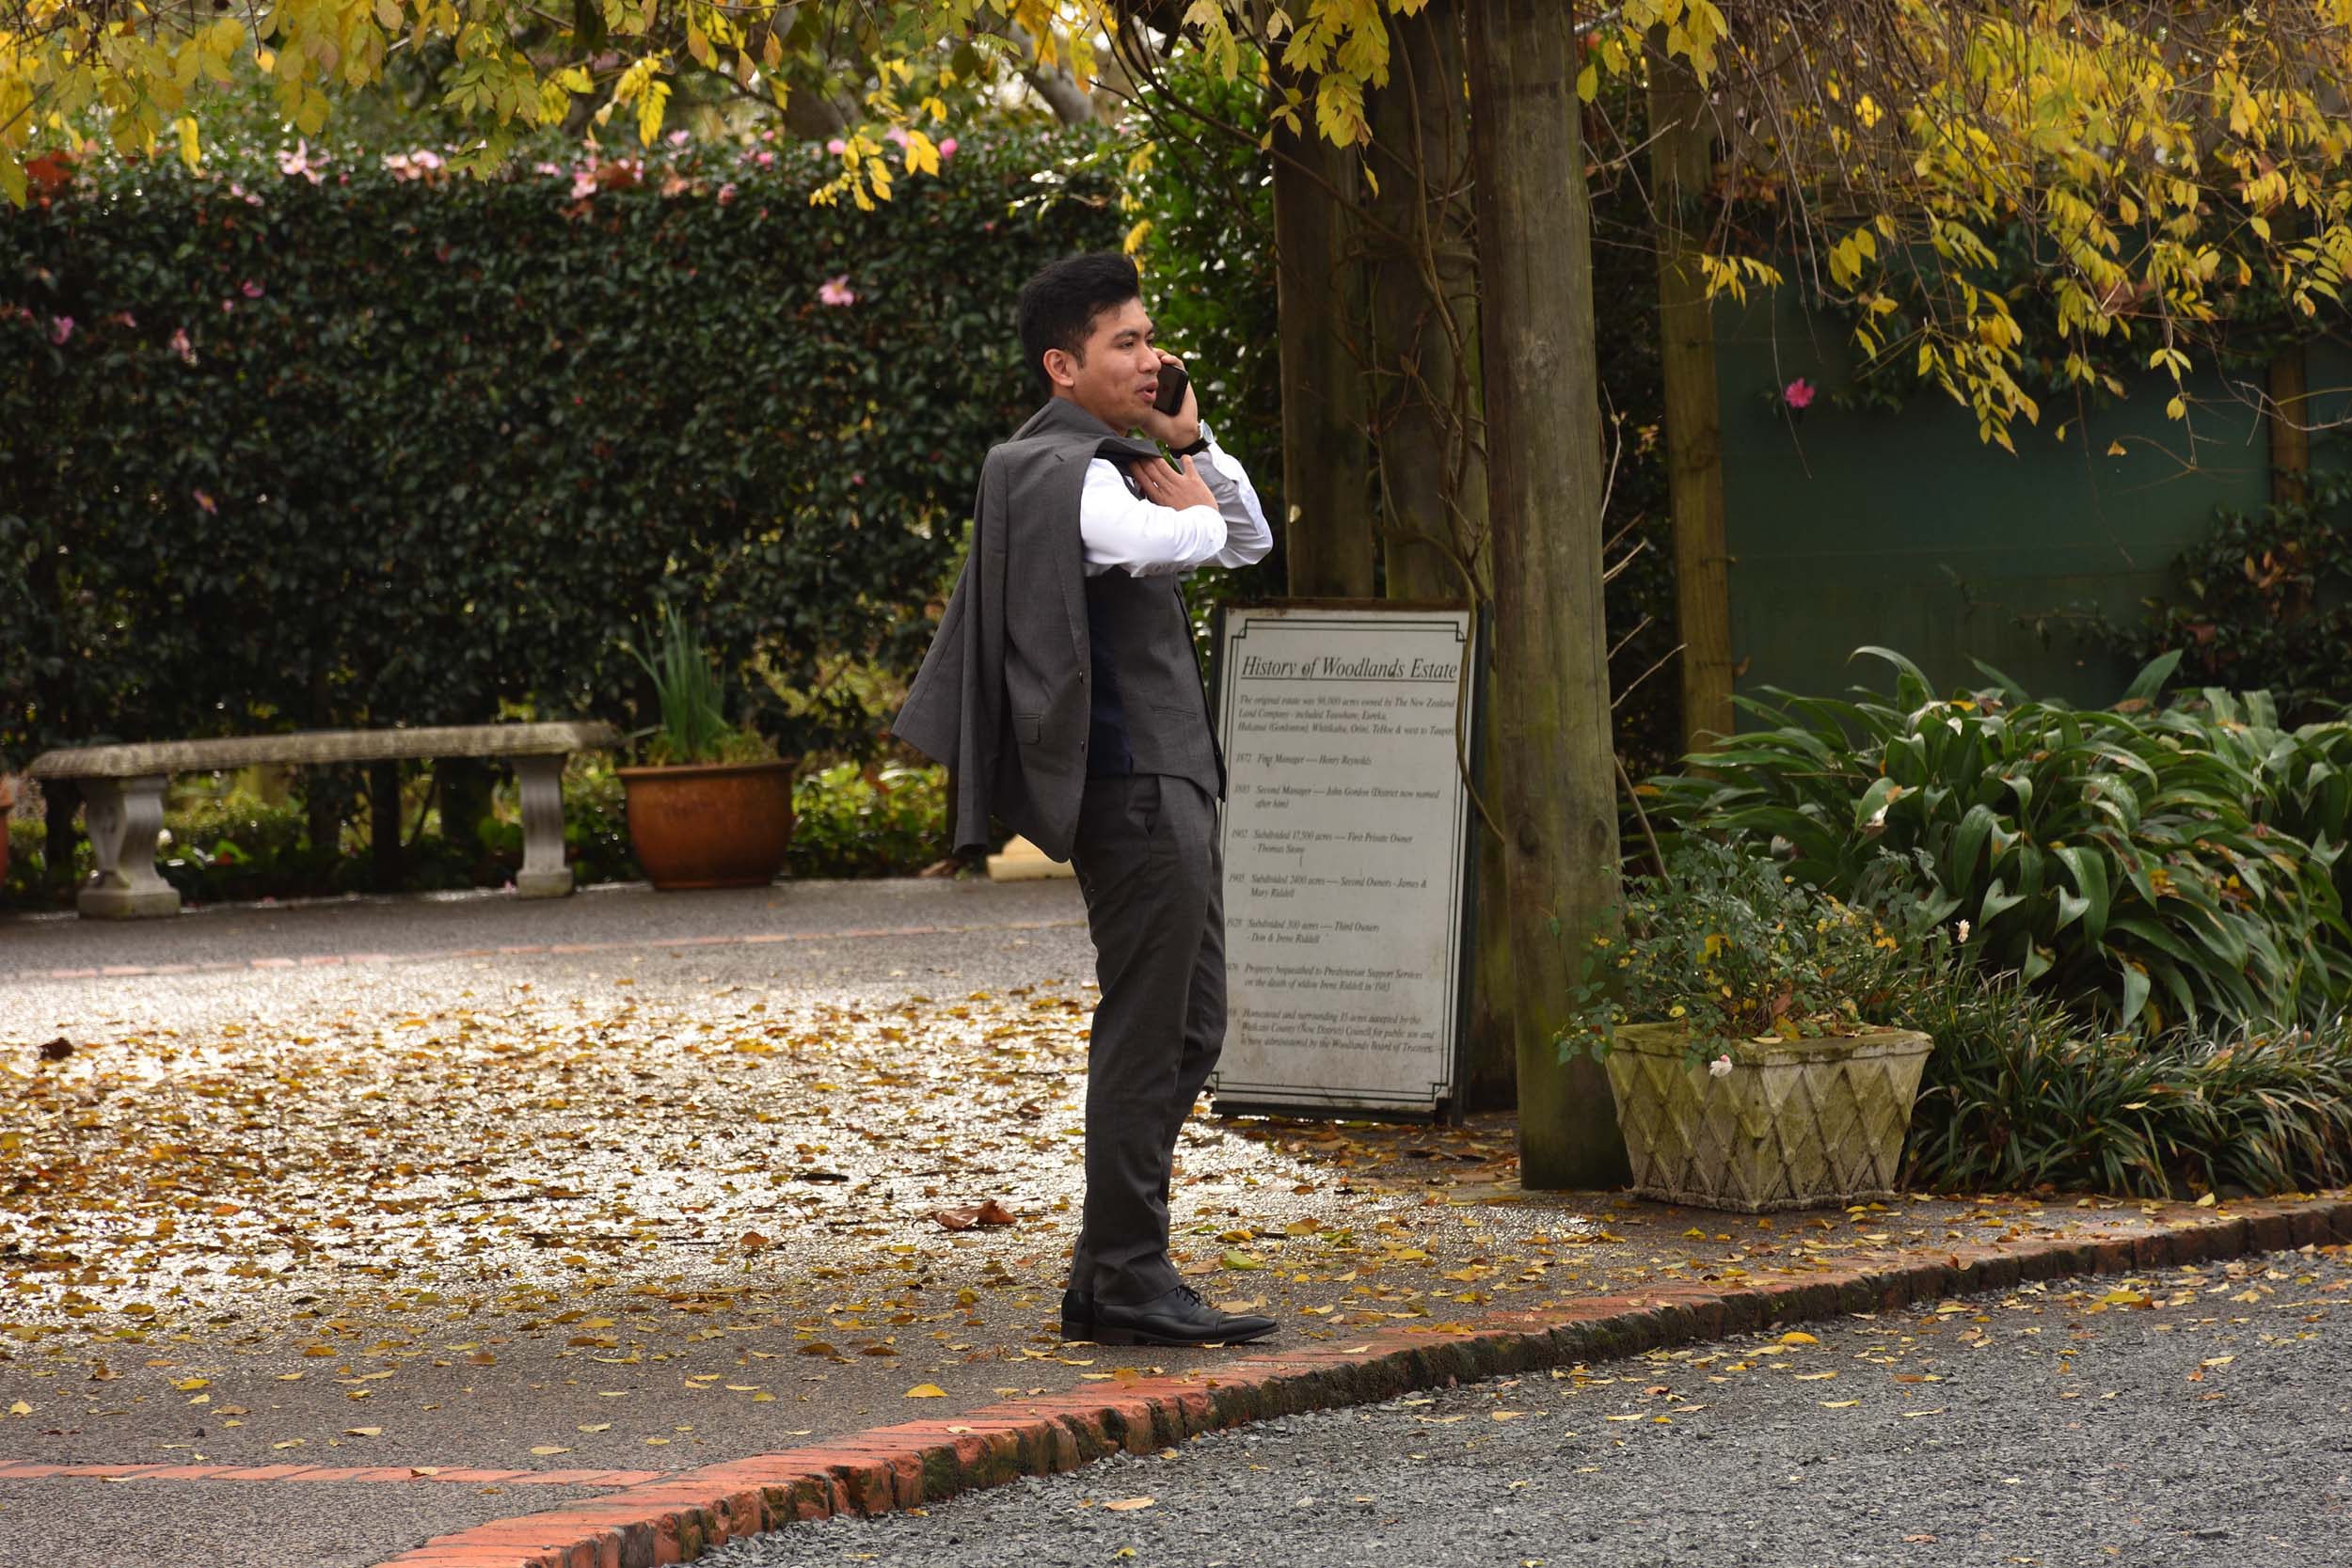
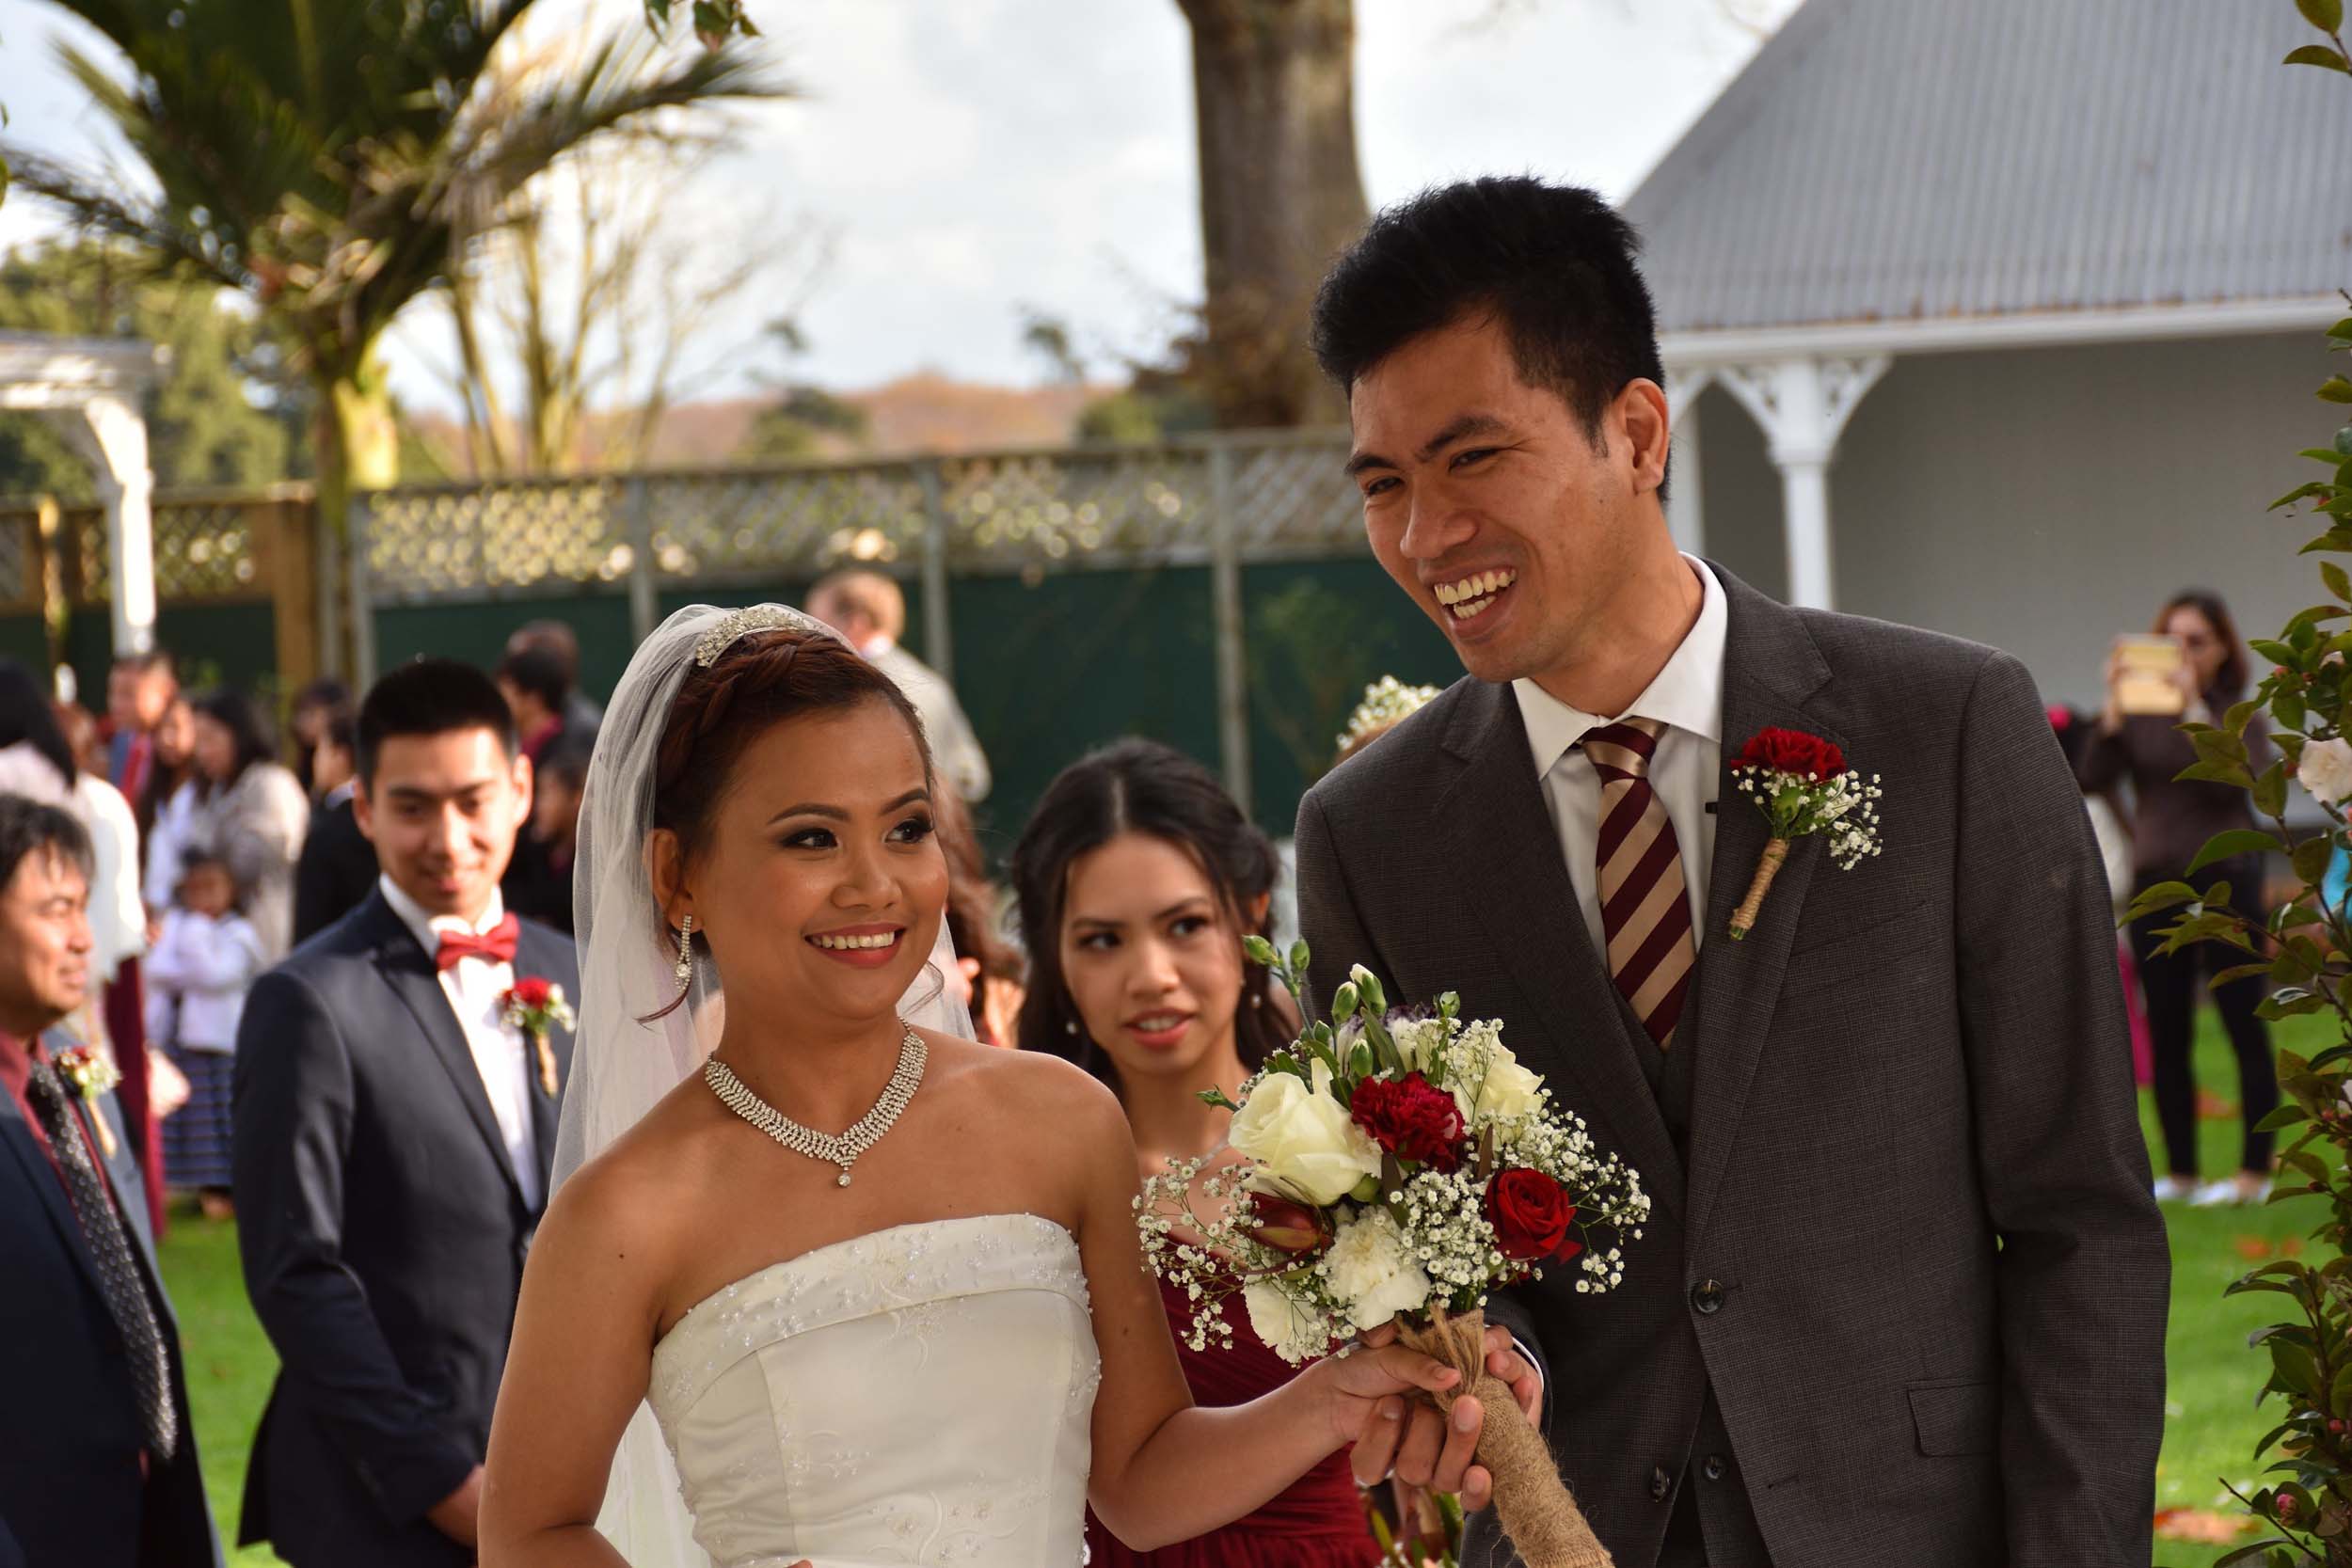
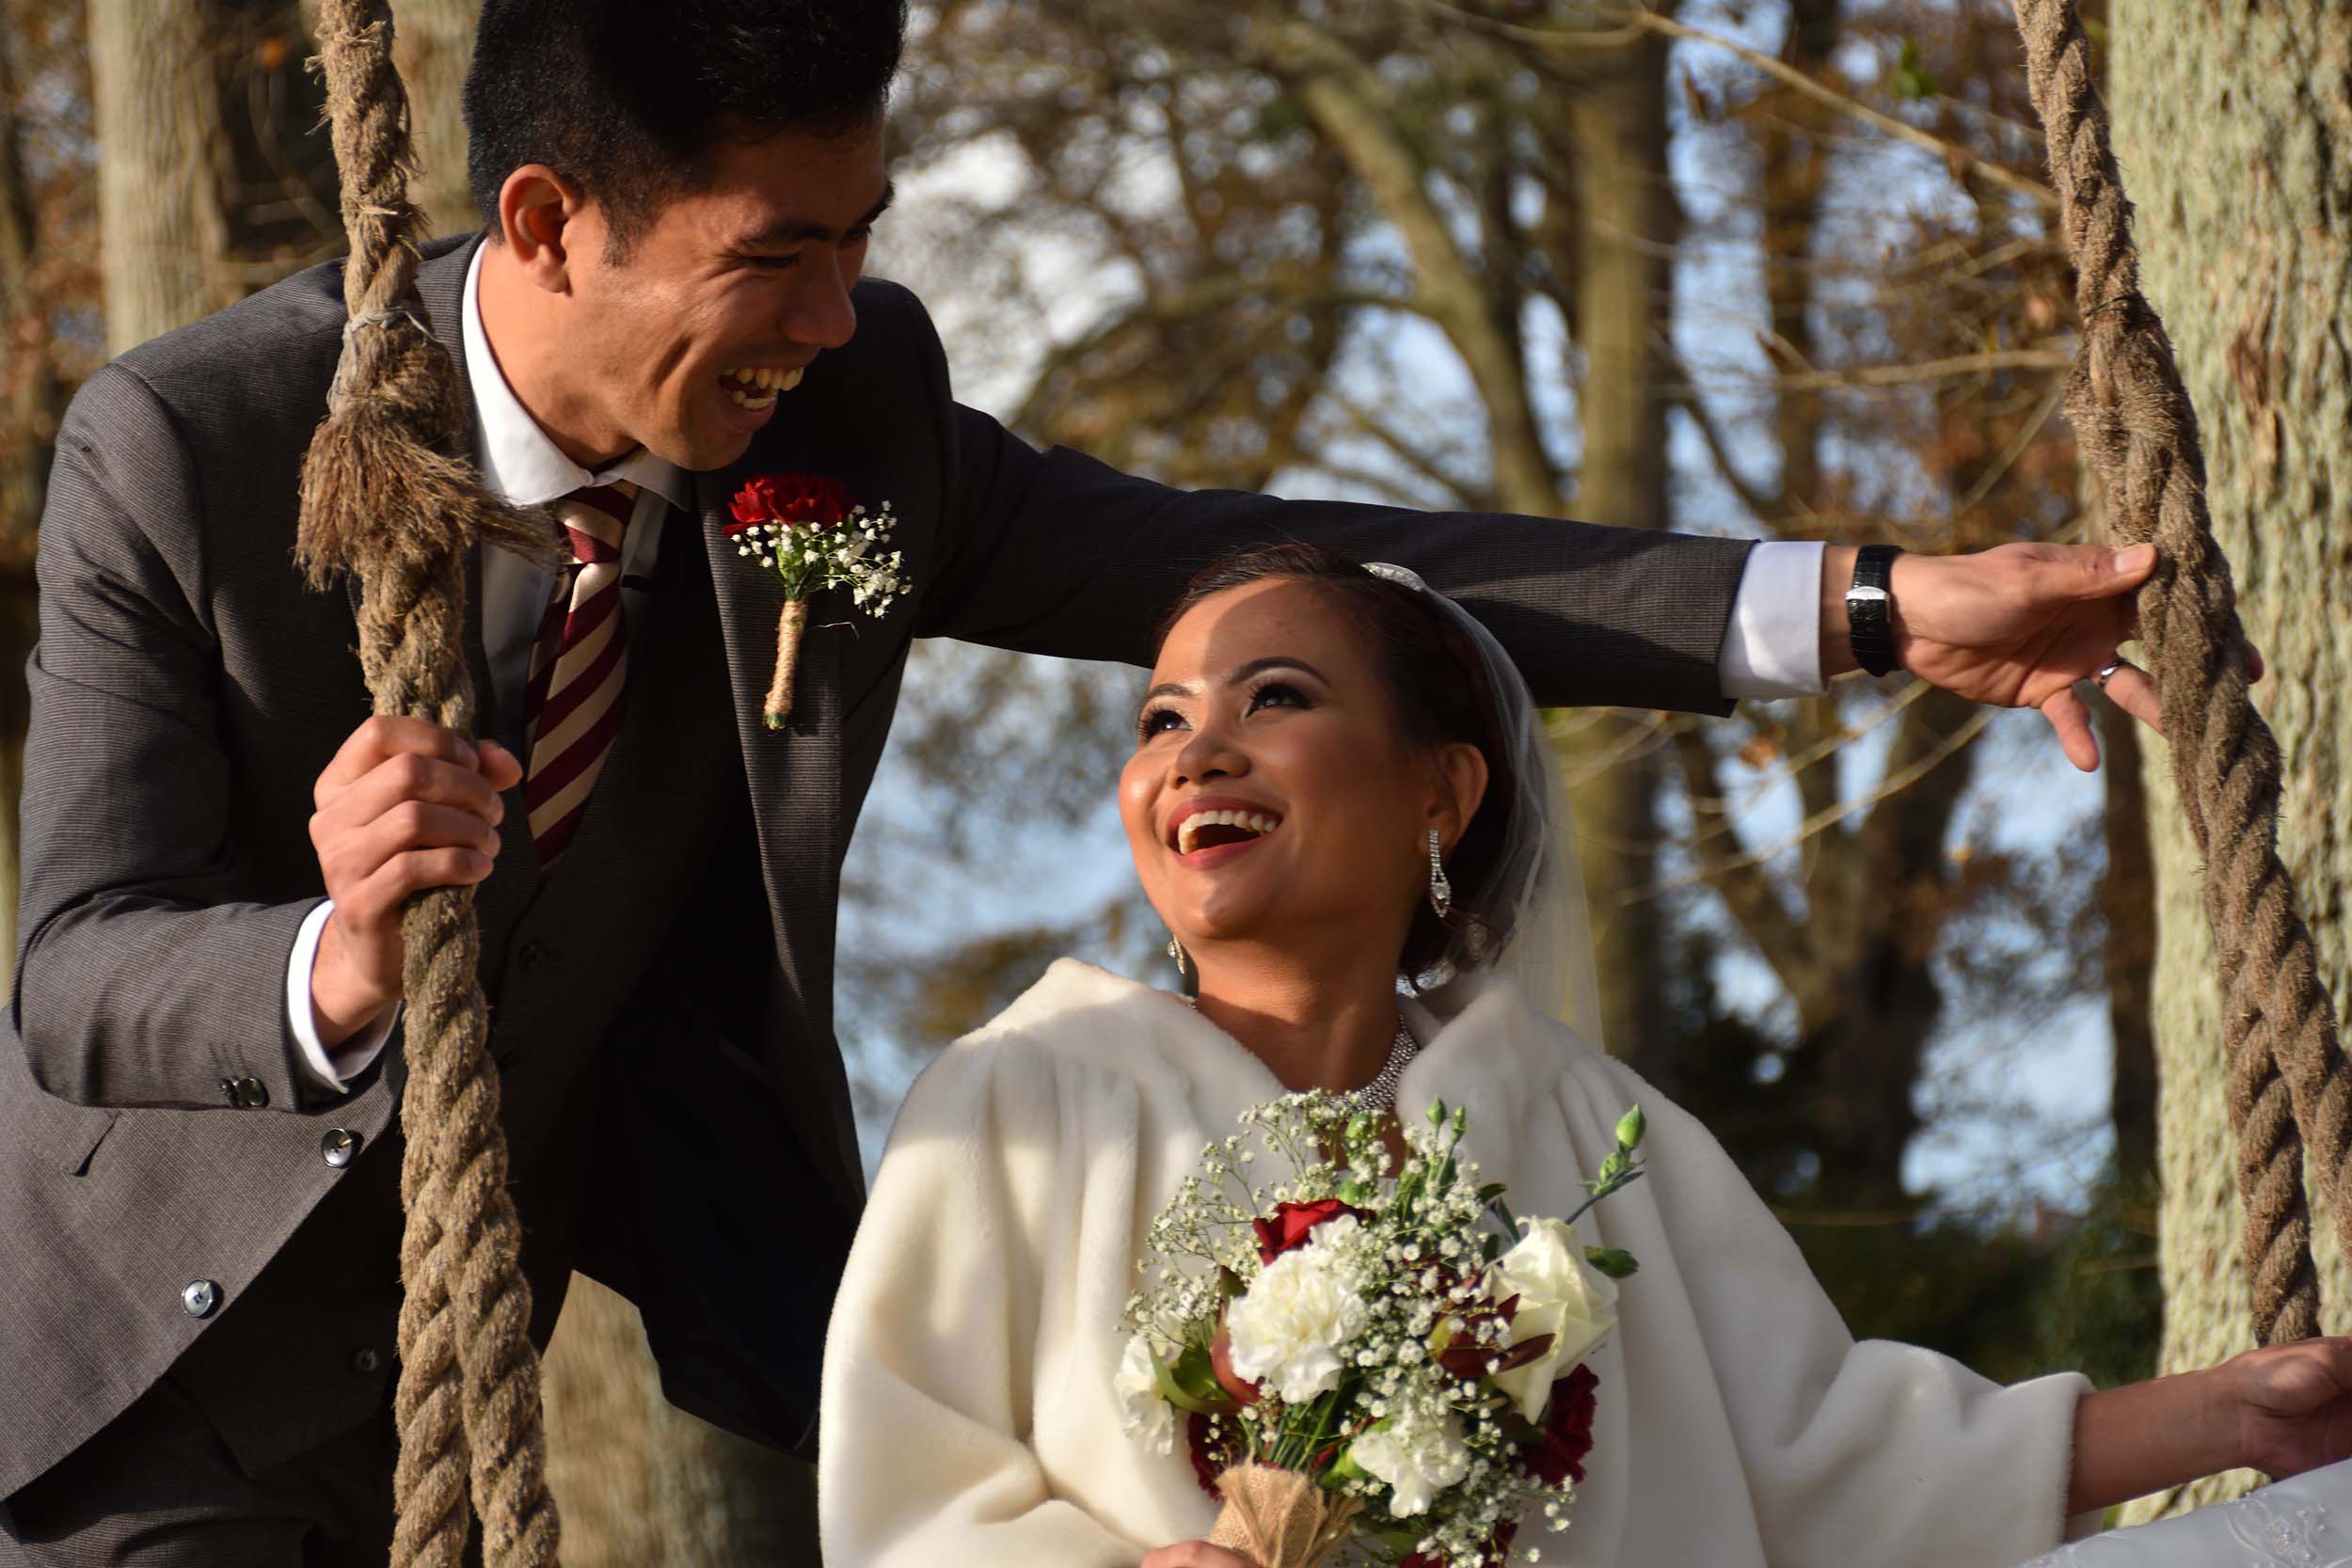
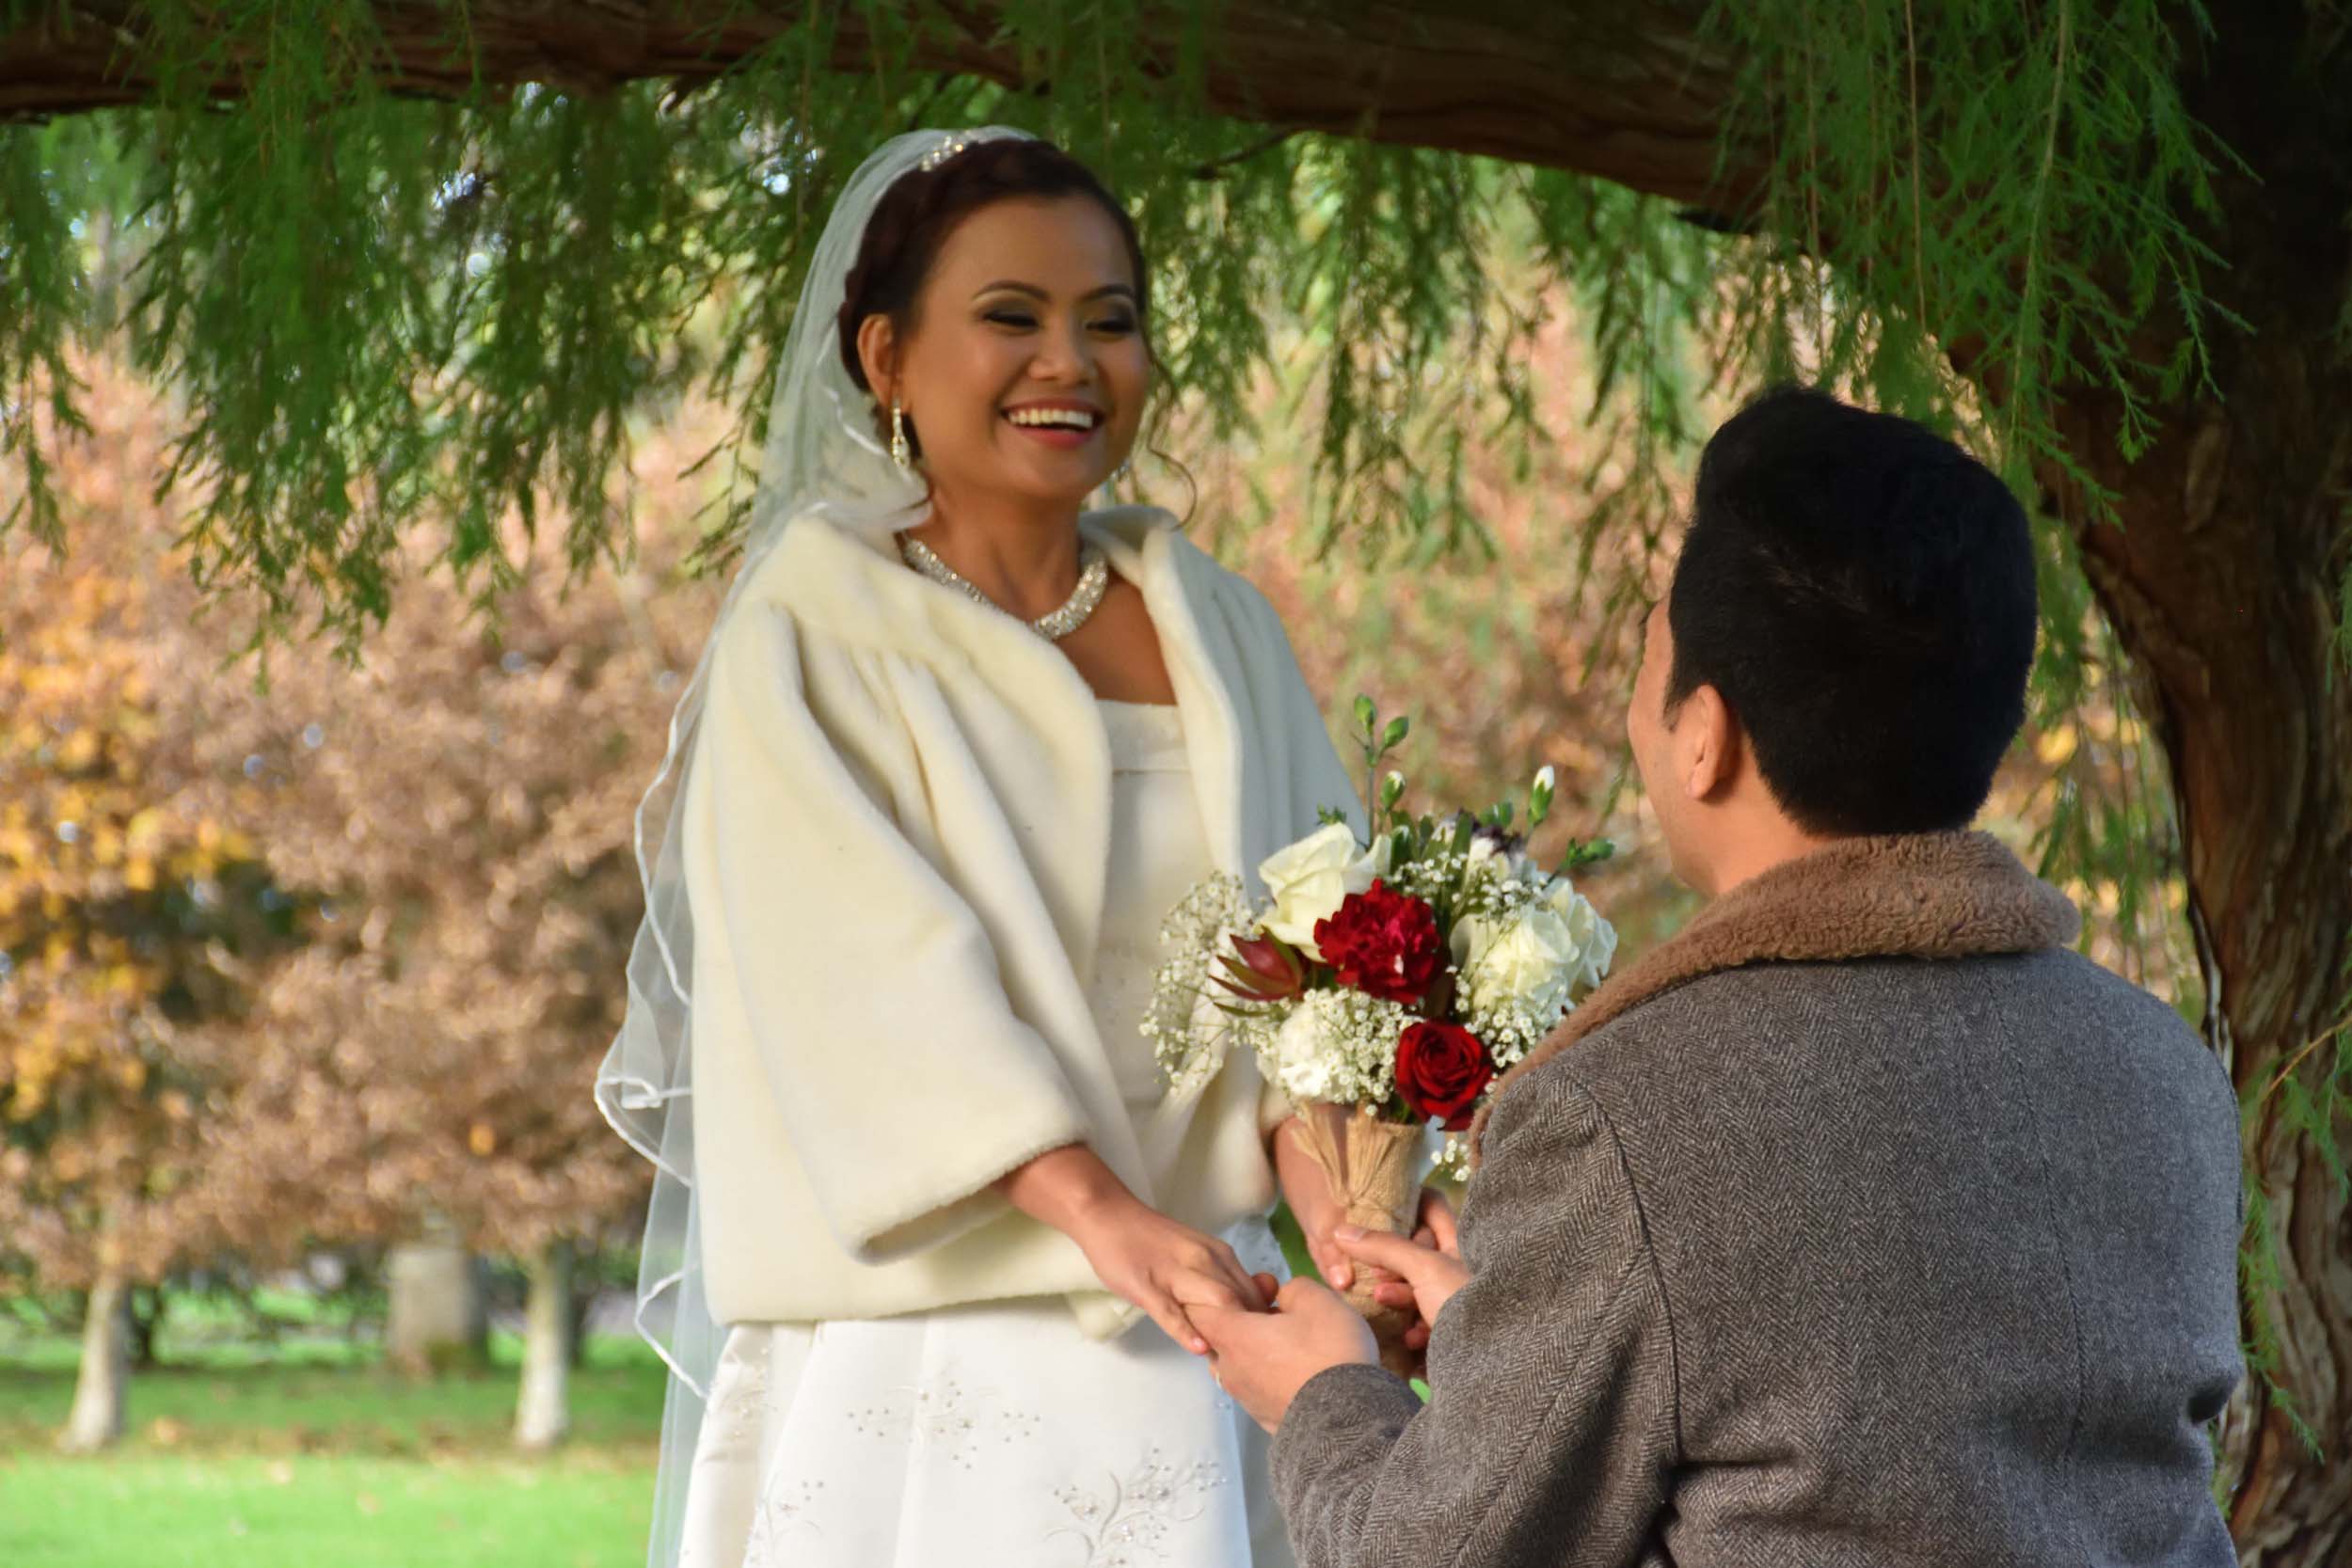
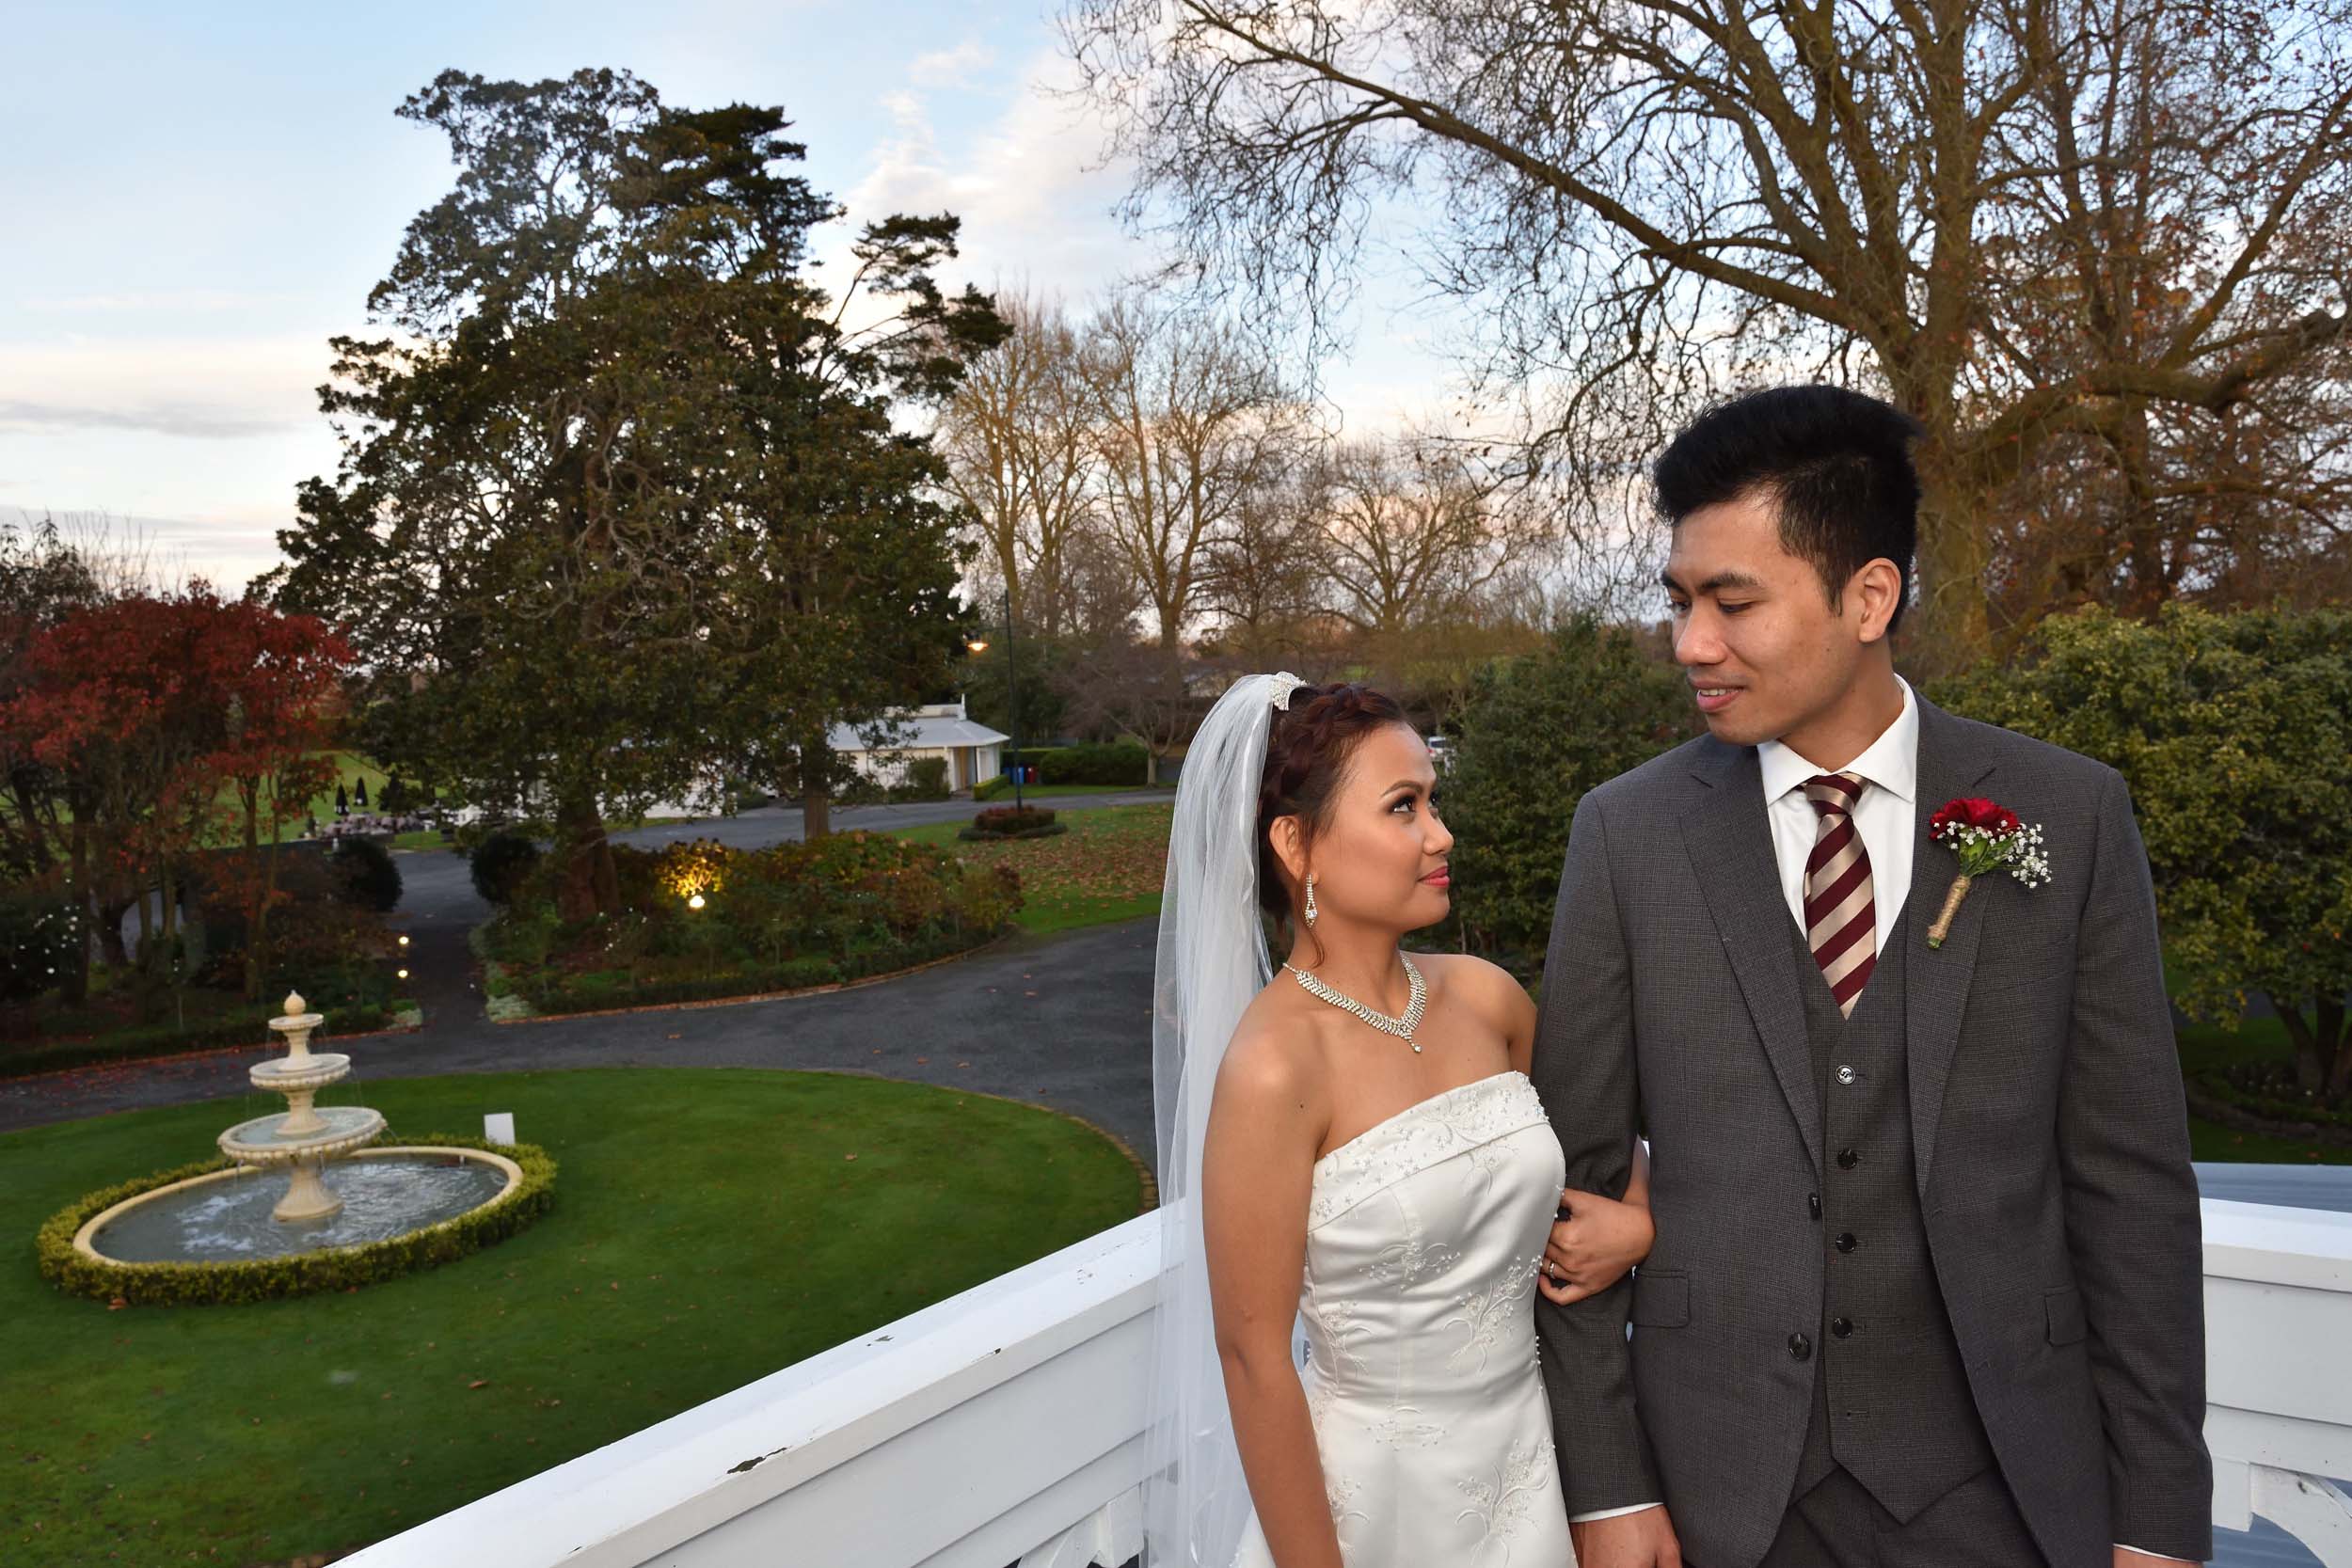
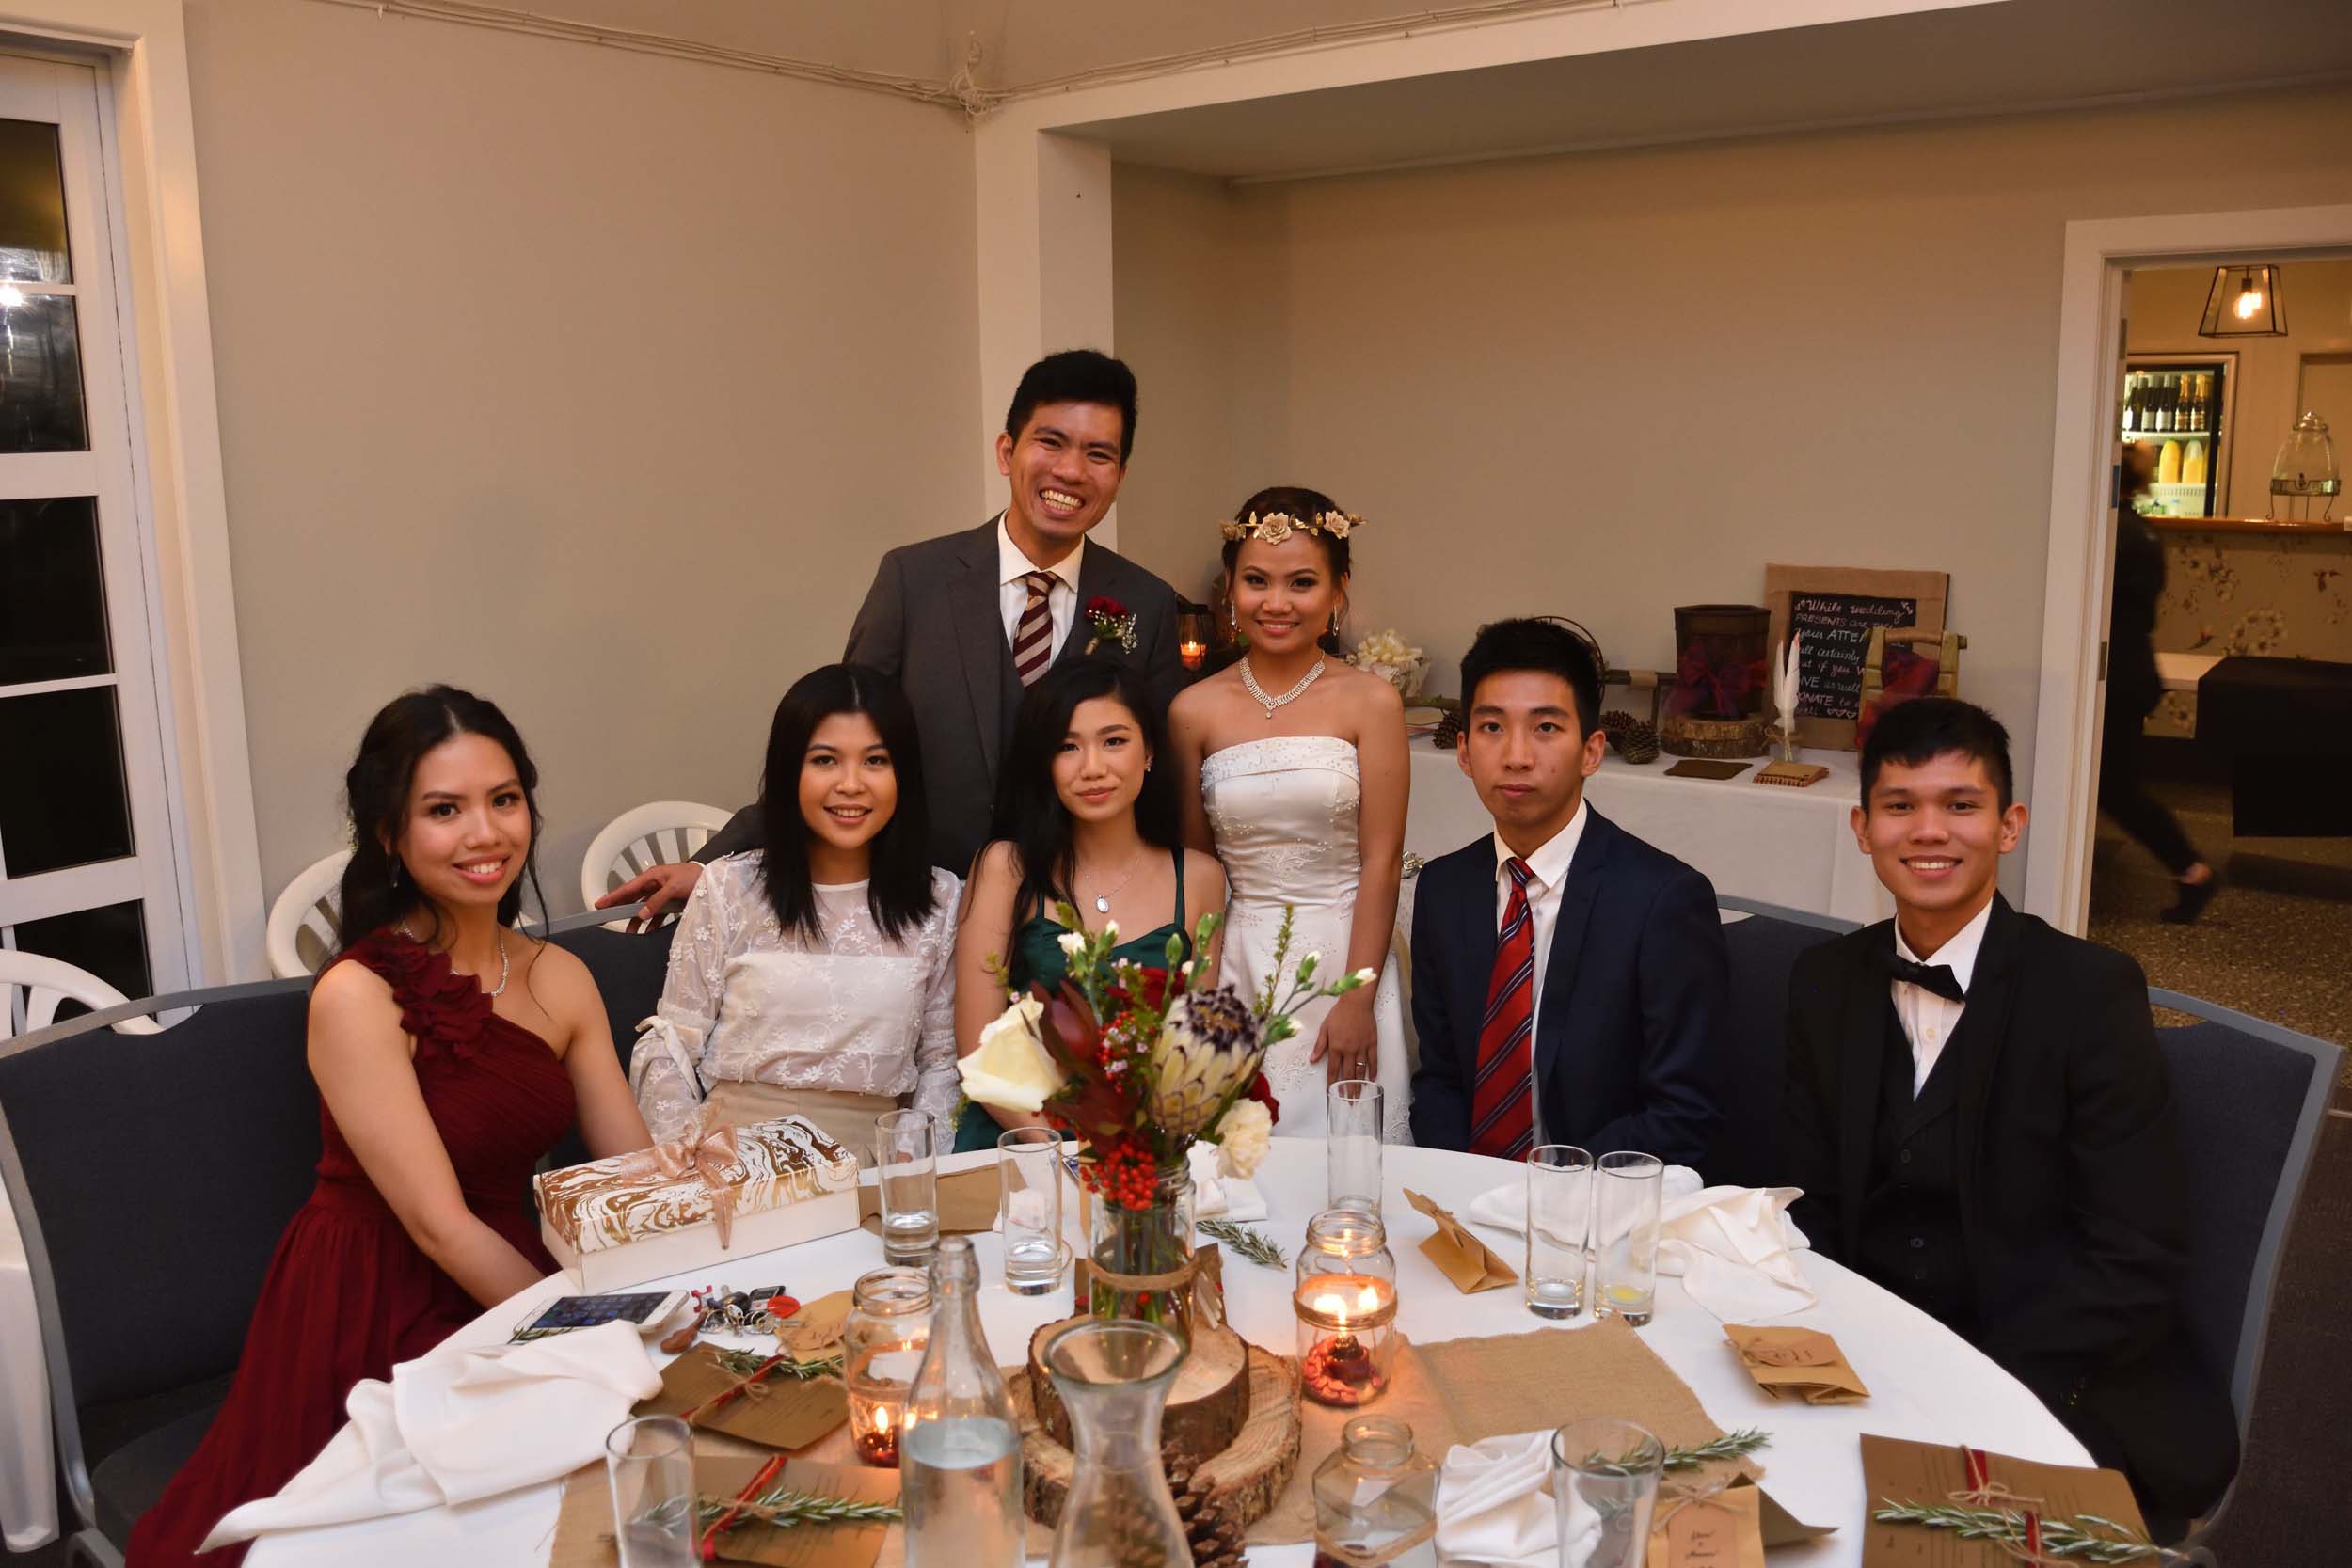
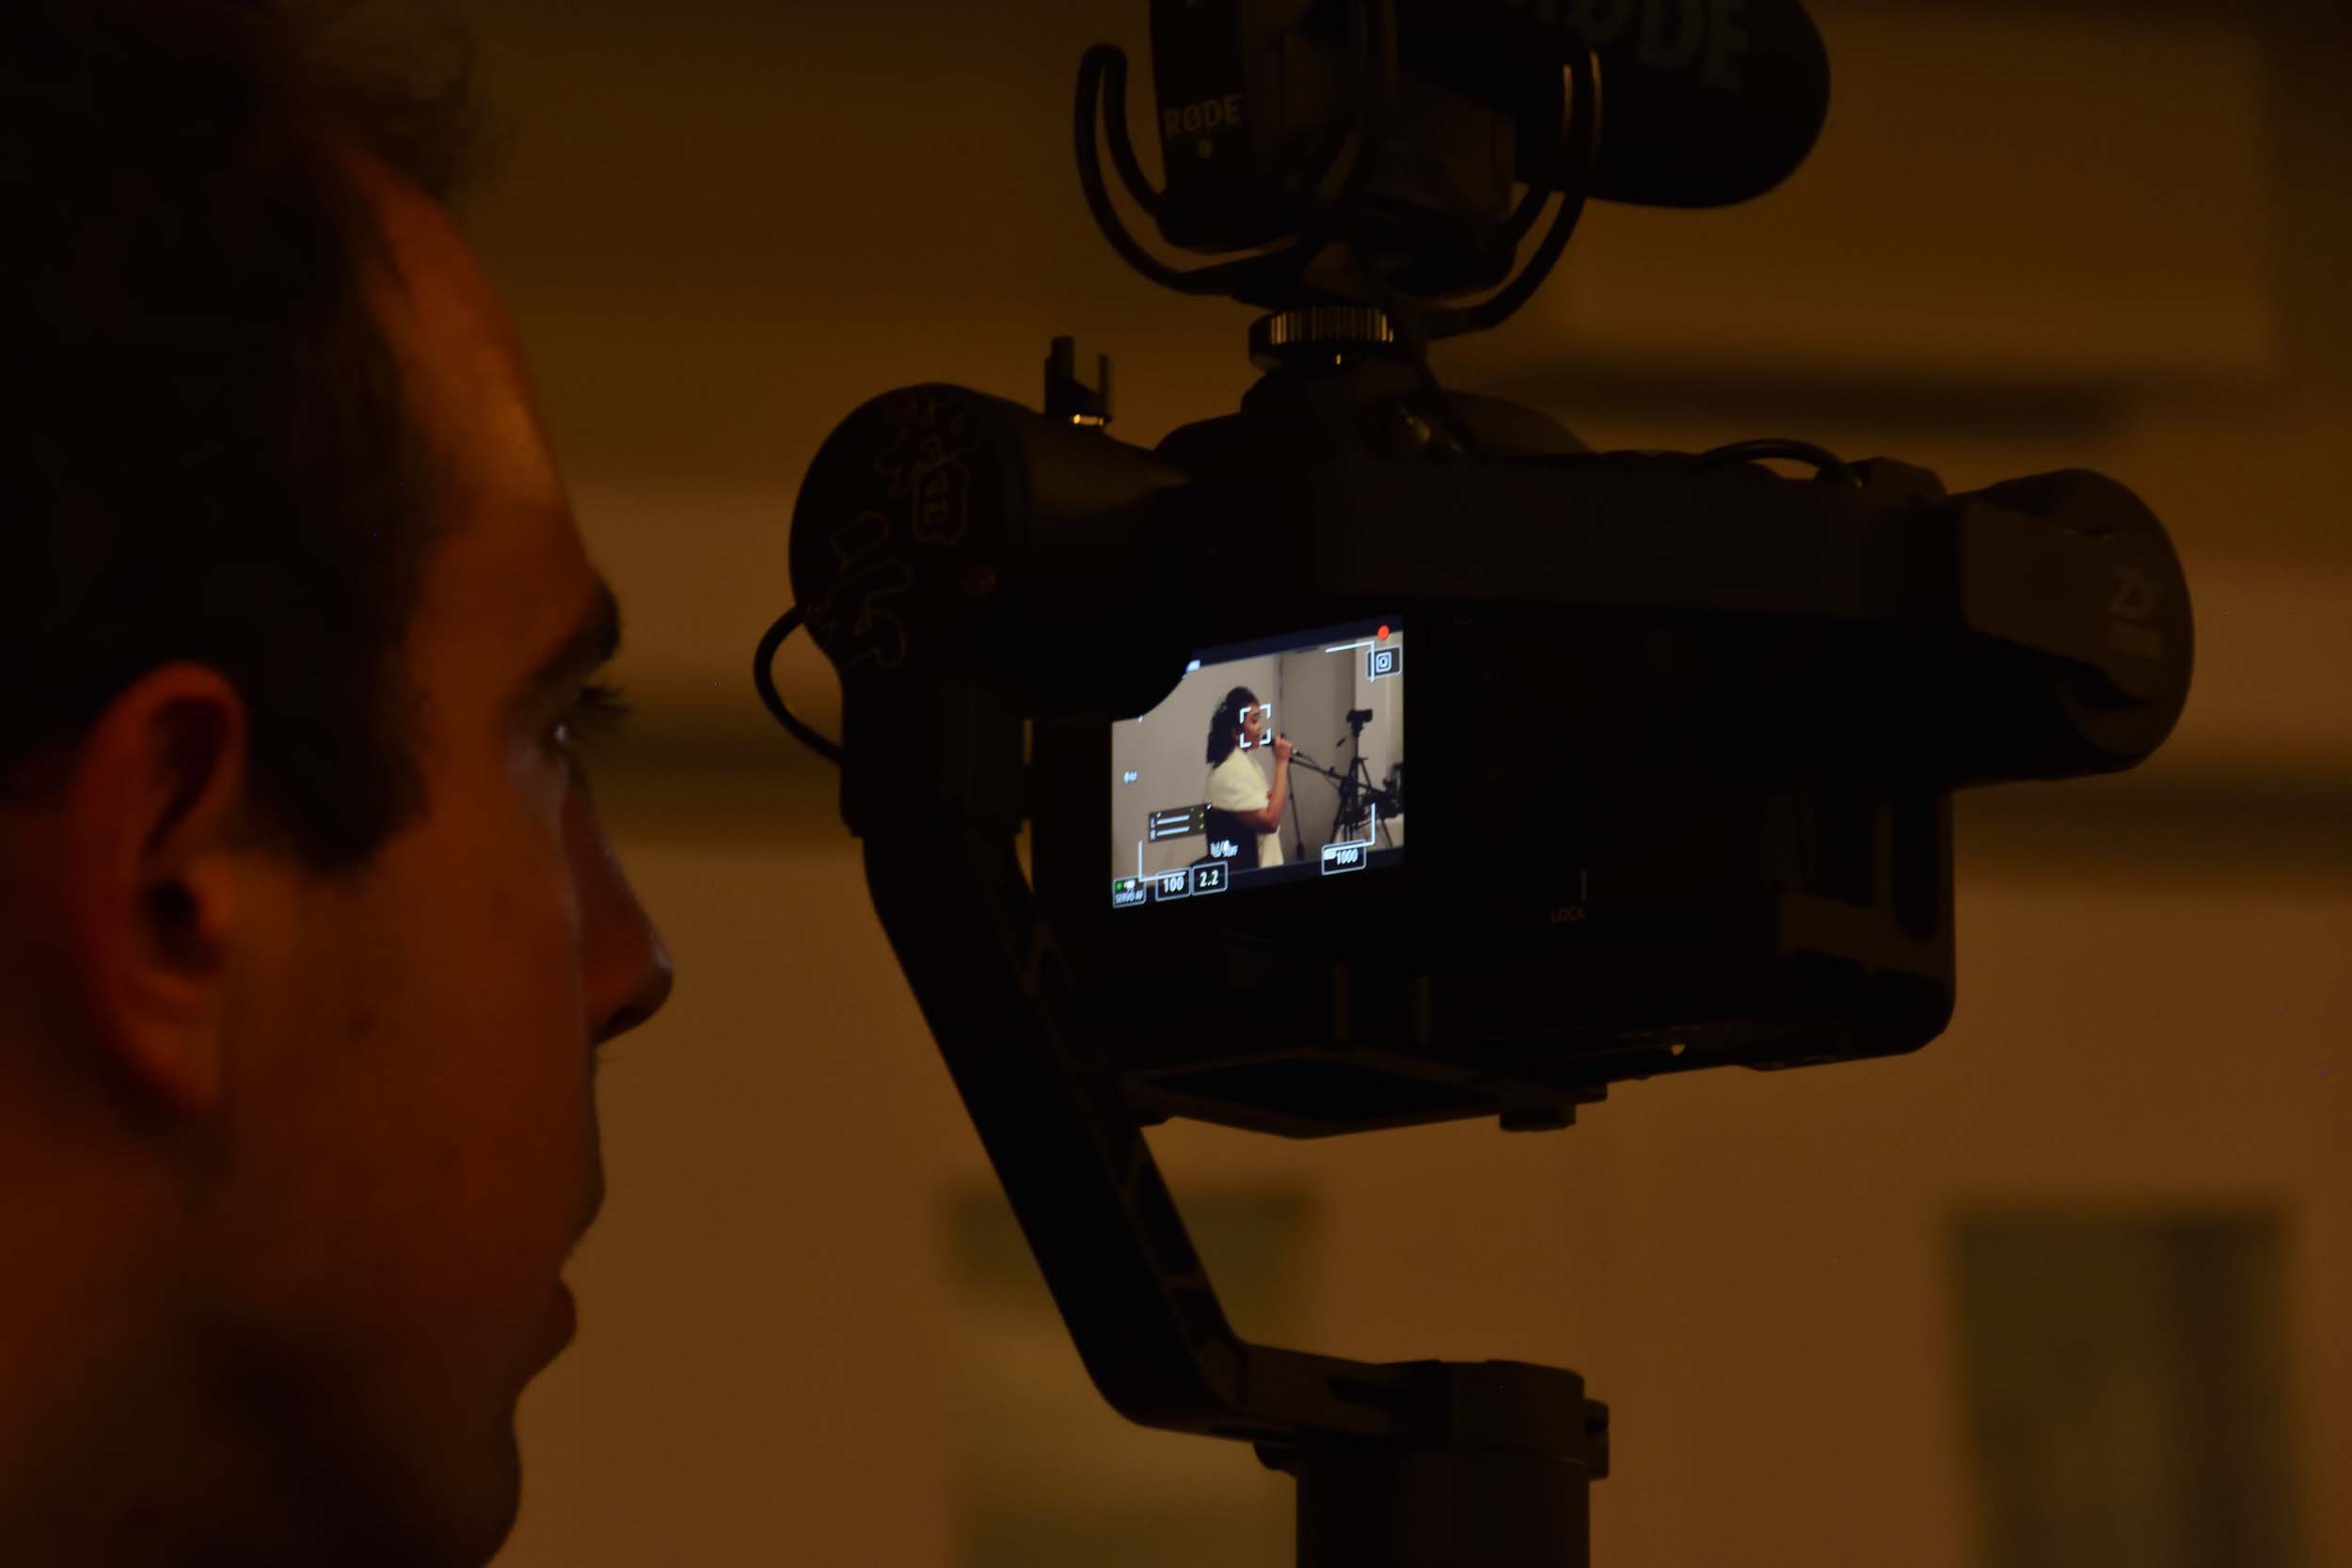
Many wedding photographers work with a FF 24-70mm and a 70-200mm f2.8. This is the safest option because you cover the 24-200mm range, from the 'safest wide angle' to a reasonable long lens with good 'compression'. In good light the Nikon 18-140mm lens covers this range and a 50mm f1.8 on the second body could serve as a portrait lens. 50mm on dx isn’t quite right for headshots though as you can see in the tests I did. This picture was taken with a D7200 and the 70-300mm VR lens at 240mm which is like 360mm on a full frame lens. My second shooter was posing the couple and I stood off to the side - they were actually live-streaming their day to family back in the Phillipines and stopped to chat with them for a while. A long lens allows one to capture moments like this without them even knowing you are photographing them.

Another option is the 'slower' [f4-5,6] 70-300mm lens. On a DX body it gives the equivalent of 105-450mm which may sound extreme but comes in very useful at an outdoor wedding
Macro: Many pros have a dedicated macro lens. generally a 105mm f2.8 is better than a 40mm f2.8 because you can work from further away and not block any of the light on the subject. This also gives you the ability to light it with a softbox or similar if you have a decent distance from the subject. These days a macro lens isn't essential for wedding photography, though nice to have, because many of today's lenses can already focus pretty close and you can still crop in and get a decent shot of the rings. After all how many macro shots are you going to include and how big are they going to print them?
Primes:
This is the part where I advise people to think carefully about their choice. During a recent discussion on a photography forum a professional wedding photographer with over 400 weddings under his belt stated “I got all my best shots with a zoom lens”. I’ve also often seen the statement “People like to look at artsy images but they don’t buy prints of them”. Just because some pros are happy to shoot a whole day with a 35mm f1.4 doesn't mean it's a good choice for you - your style may be different. Every few months at least one person puts up a poll on my wedding photographers group "What are your favourite wedding lenses?" Usually "24-70mm f2.8 plus 70-200mm f2.8" gets the most votes. Then there is the occasional "24-70mm f2.8 plus 85mm f1.8 'because the 70-200mm is a heavy beast to carry around all day'" [Many Nikon photographers are finding that the f1.8 G lenses are sharper than the f1.4G lenses and totally adequate in low light, besides being lighter]. Amongst the prime shooters we have people choosing "35mm and 50mm", "35mm and 85mm" [most popular combination] with the occasional comments "But I want to get a 24mm because I'm feeling restricted by 35mm" and sometimes you read "I'm going back to zooms because I miss too many shots changing lenses with primes". Those who "only shoot primes" will often say "When the light gets low I can simply use a wider aperture!". That sounds ok until you realise that this is the part where you lose the control over depth of field you had by being able to choose the aperture you shoot at - now you are being forced to go to the shallowest depth of field to get your shot. Fair enough if a shallow depth of field works for the situation, but it won't always be enough to get all the important elements in the image. That's where I advise learning to use flash as well - that way you can still use a smaller aperture, for example, when doing group photos.
Obvious fact: Though primes can get impressive results we don't see the pictures people miss by not having a wide enough lens to catch all the action when it happens. Other photographers will be impressed by the results they see - the customers will be the ones who know what was missed - who do you want to impress? As mentioned primes have their place but don't overdo them simply to impress other photographers - think about what the customer would like. As per the quote at the beginning "With great power comes great responsibility" - being able to really blur the background also allows for the possibility of blurring out something or someone important in the background if you're not 100% sure of what you are doing.
Also, if you aren't accustomed to the shallow depth of field of f1.4 primes then the "limited" aperture of an f2.8 or even an f4 lens serves as a 'protection' against you having too much of your image out of focus. There is a good chance you will have to delete a few out of focus images if you shoot with an 85mm f1.4 prime. At the last wedding I shot I may not have got any competition winning images but with my 18-140mm and 70-300VR lenses I never had one out of focus image out of 2500. Not one.
Do yourself a favour and run a check to see your most used focal length in Lightroom. If you're one of those people like me who doesn't use Lightroom then download a free program like Exposureplot and let it analyse a batch of wedding or social photos you have taken and see which focal length you favour before choosing which prime to get. Keep in mind that whether you shoot with primes or zooms can also be dependent on which part of the wedding you are shooting. Getting ready shots and the ceremony along with the congratulations after the ceremony may require the ability to zoom. But the formals where you take the bridal party for some posed shots and fun stuff may allow you to choose a prime for a planned shot while perhaps having a 24-70 handy on the other body for 'just in case'. If the ceremony is in a dark candle-lit church on an overcast day you may have little choice but to go with your fast primes and take what you can get. It's like choosing what settings to use on the day - it's not something you can do in the morning when you start and then forget about it, as much as we would all love to be able to do that - you have to be adaptable and adjust depending on the conditions. They may have an outdoor wedding planned and after scoping out the venue you choose the gear that will suit you perfectly - then on the day the clouds roll in and it gets really dark and rainy and everyone rushes indoors to the plan-B location which may not quite suit the gear you have chosen.
How sharp does your lens need to be? These days all digital cameras have more than enough megapixels and the majority of lenses are more than sharp enough to capture the detail you need on the day. The Nikon 60mm f2.8 has actually been described as "too sharp for portraits" because it shows all the flaws in a person's skin. How sharp is it? DXOMARK is a very useful site to check lens sharpness on. What they do is compare a lens on various camera bodies and show the actual sharpness in megapixels that a lens is capable of on a particular body. For example the 60mm f2.8D Nikon registers 13 megapixels of actual sharpness on a 24 megapixel Nikon D7100. I have been given permission to copy and paste these screenshots by: www.dxomark.com


This site can be quite an eye opener when you start checking up camera and lens combinations. Many people will tell you to rather shoot with the 35mm f1.8 prime on a D7200 than the 18-140mm "kit lens". How do they compare in real world sharpness?


Ooh wow, 12 meg vs 11 meg about 4% difference in linear resolution. Aside from the fact that the f1.8 would be very useful in low light situations and would put the 18-140mm f3.5-5.6 to shame in that situation do you think anyone would tell the difference outdoors in good light? That is where the 18-140mm would put the 35mm to shame in regard to versatility. Don't be restricted by the "but primes are much sharper than zooms" mentality when the light is good - nobody will know the difference at f8. Also did you notice we had 11 megapixels of sharpness while the 60mm 2.8D is described as "too sharp for portraits" at 13 meg? Obviously the 18-140mm is more than sharp enough to capture a wedding with. Now let's take the highly regarded Nikon D700 full frame with the 50mm f1.8G lens - a combination that many pros have made a living with.

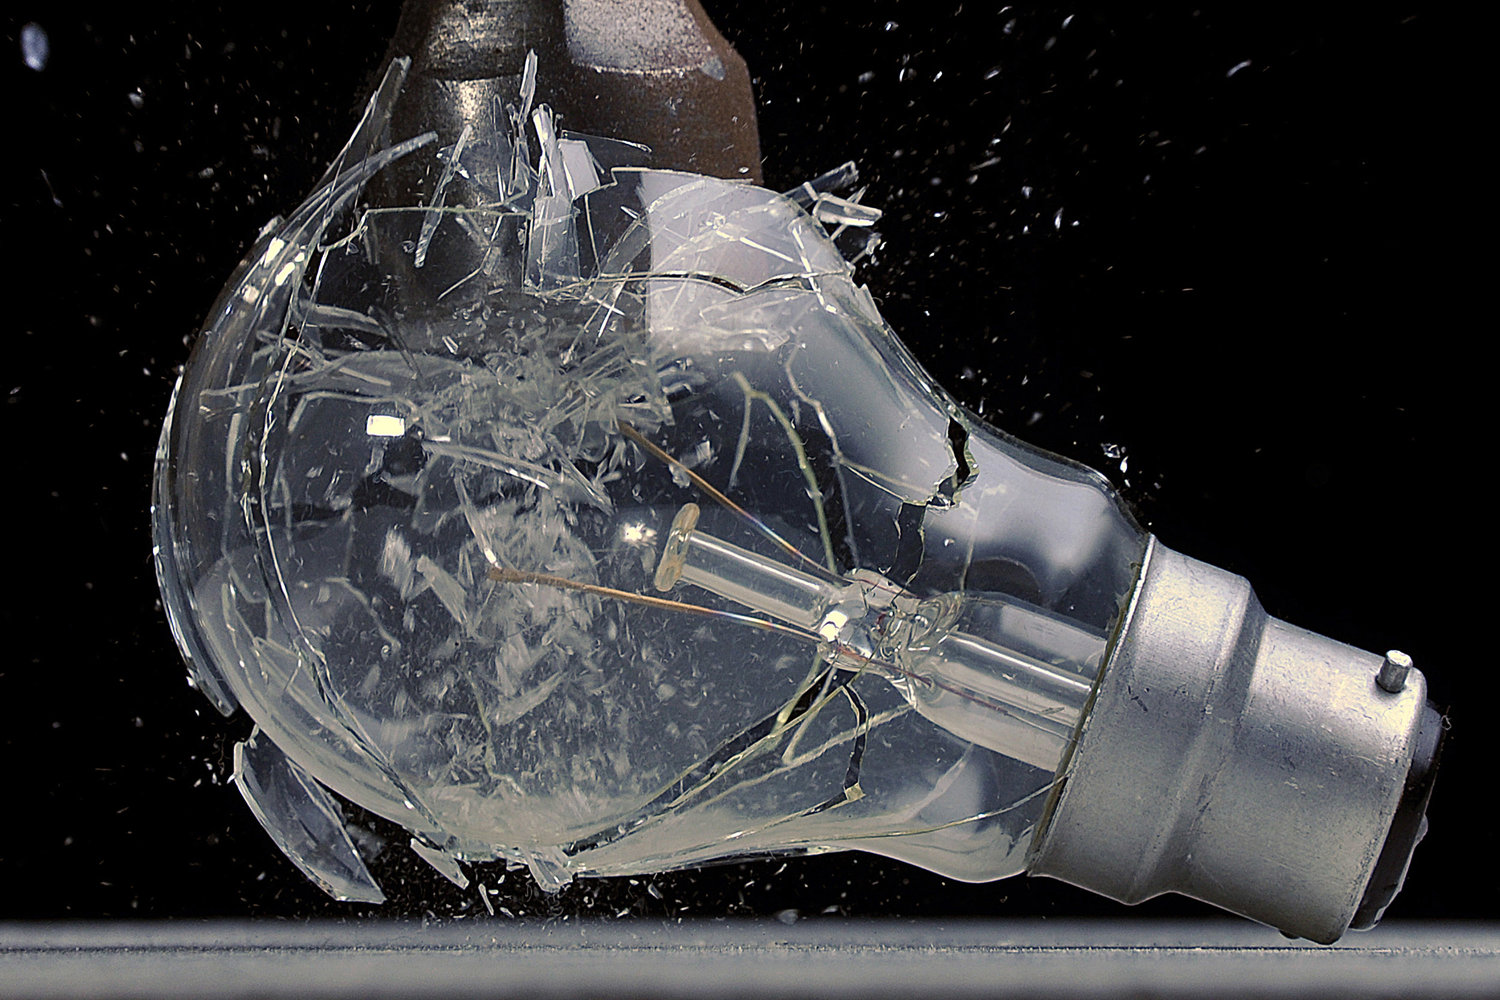
9 megapixels of actual sharpness! This is not a comparison between full frame and crop sensors because there are plenty of 24 and 36 megapixel full frame sensors out there that can make the numbers look very different in favour of full frame and primes - it's just to show that 9 megapixels of sharpness can wow the crowds and earn someone their living, so don't let anyone tell you the 11 megapixel combination of a D7200 and 18-140mm "kit lens" isn't good enough to shoot a wedding. There will always be more megapixels and sharper lenses that will have the purists dumping their gear to "upgrade" but at the biggest sizes anyone will print wedding photos, any of today's cameras and lenses can do the job quite sufficiently. Have a look at these images. All taken with either a kit lens or a super-zoom lens. The sharpest one of all, the smashing light bulb, was taken with an 18-105mm lens and a 12 meg D90. The cameras used range from the 6 megapixel Nikon D40 to the 24 megapixel Nikon D7200 - can you tell which is which?
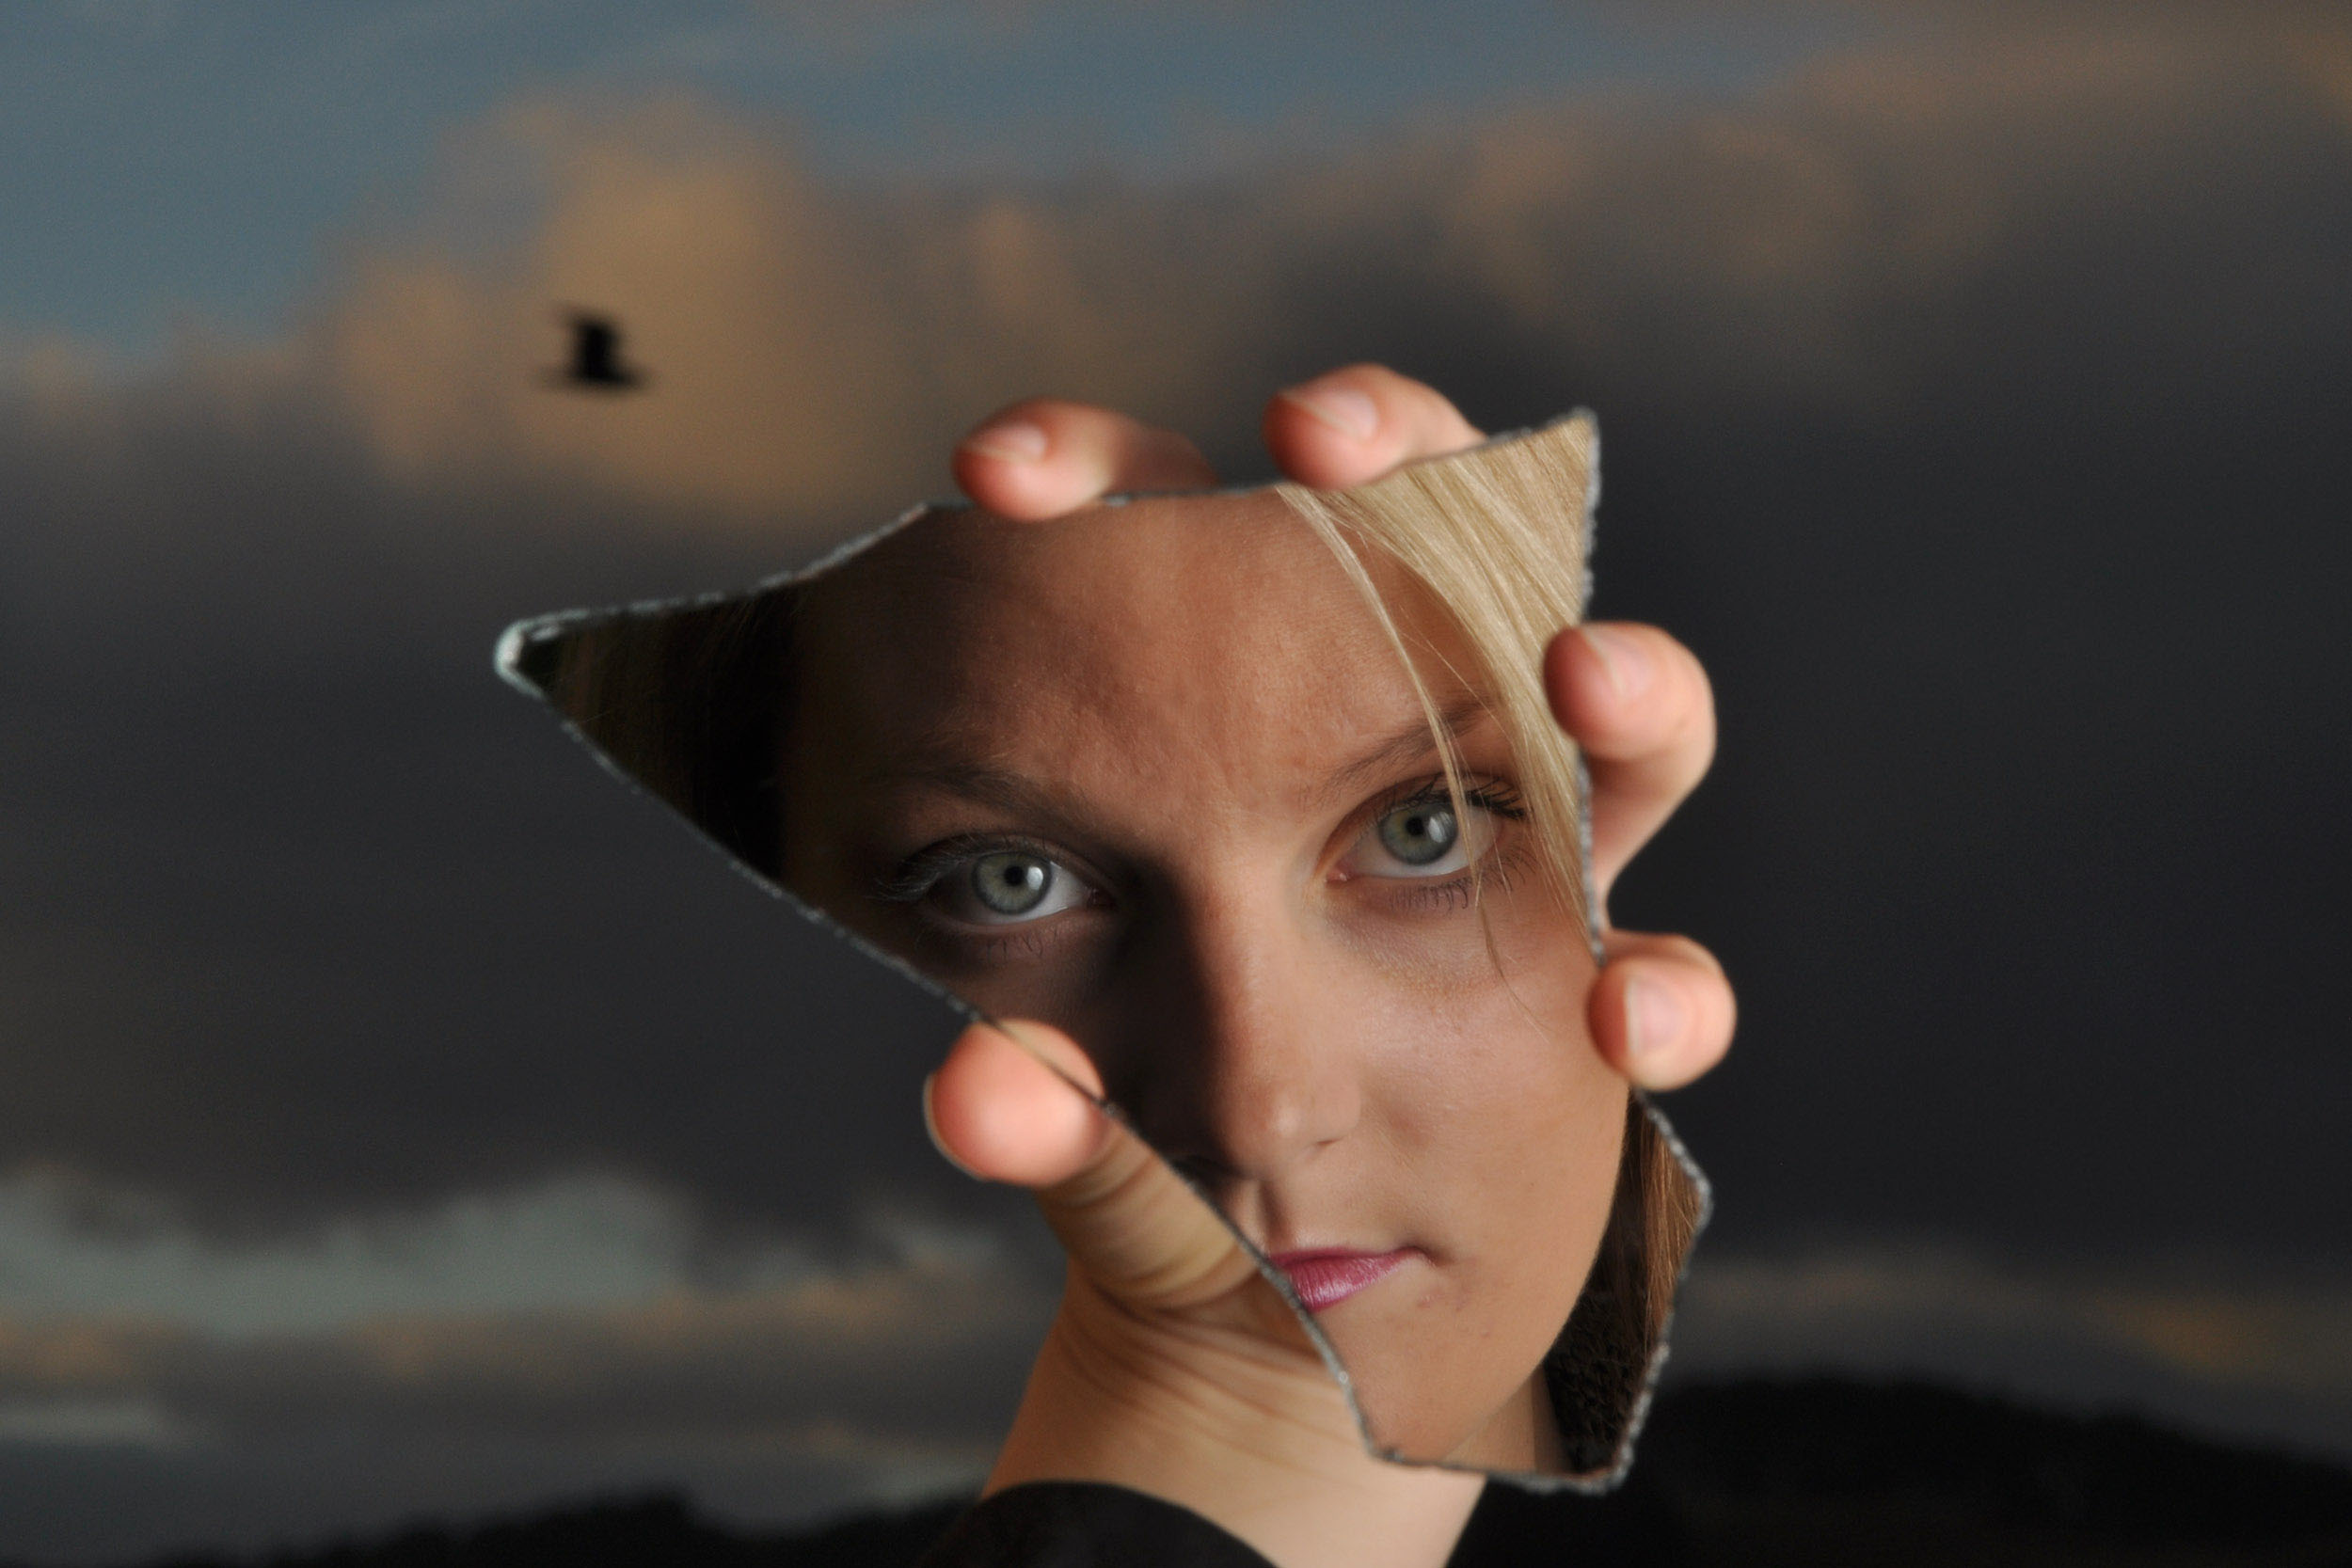


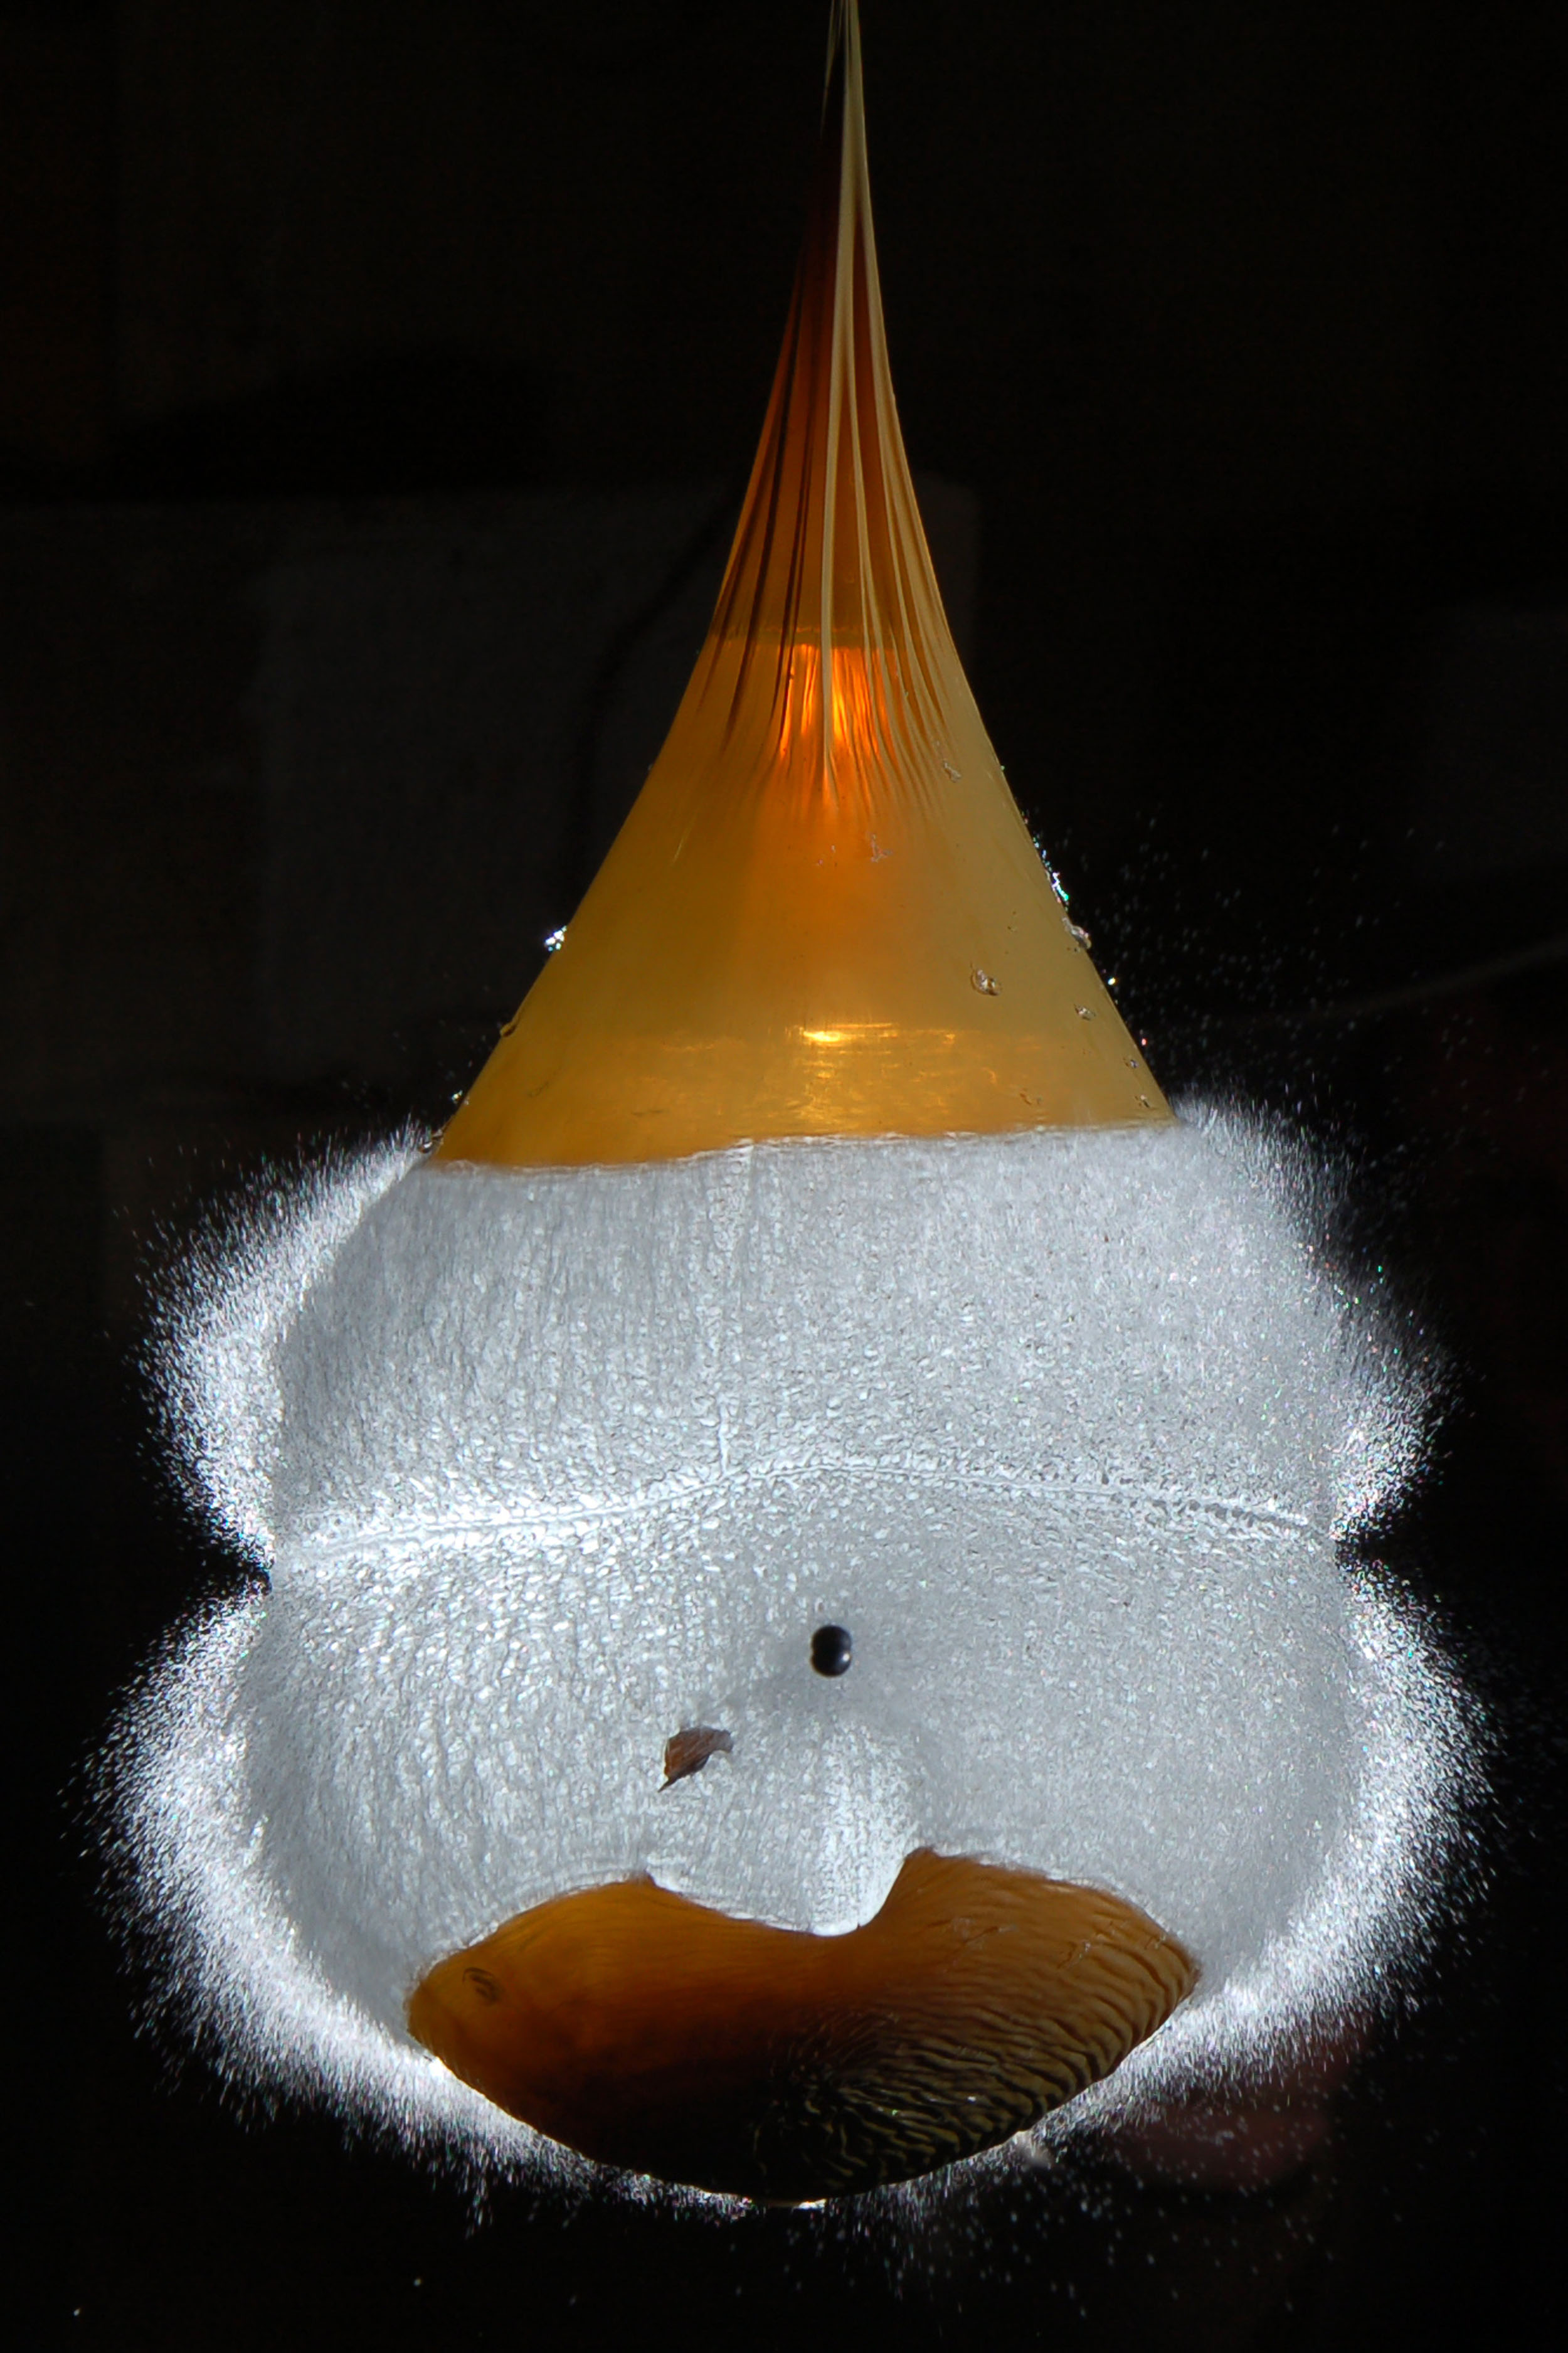


In case you didn’t flip through the images have a look at this one in particular from my gallery of high speed photography. The image was taken in the dark with the flash set to 1/128th power which makes it fire in 1/41600th sec resulting in very little visible movement. One comment on it was “'The sharpness of this image is sublime”. What kind of gear do you think this was taken with? Actually it’s a cropped version of an image taken with a 12 megapixel Nikon D90 using the 18-105mm KIT LENS. Though expensive professional gear has advantages over the “lesser” gear there is no reason why you can’t still get impressive results from cheaper gear.
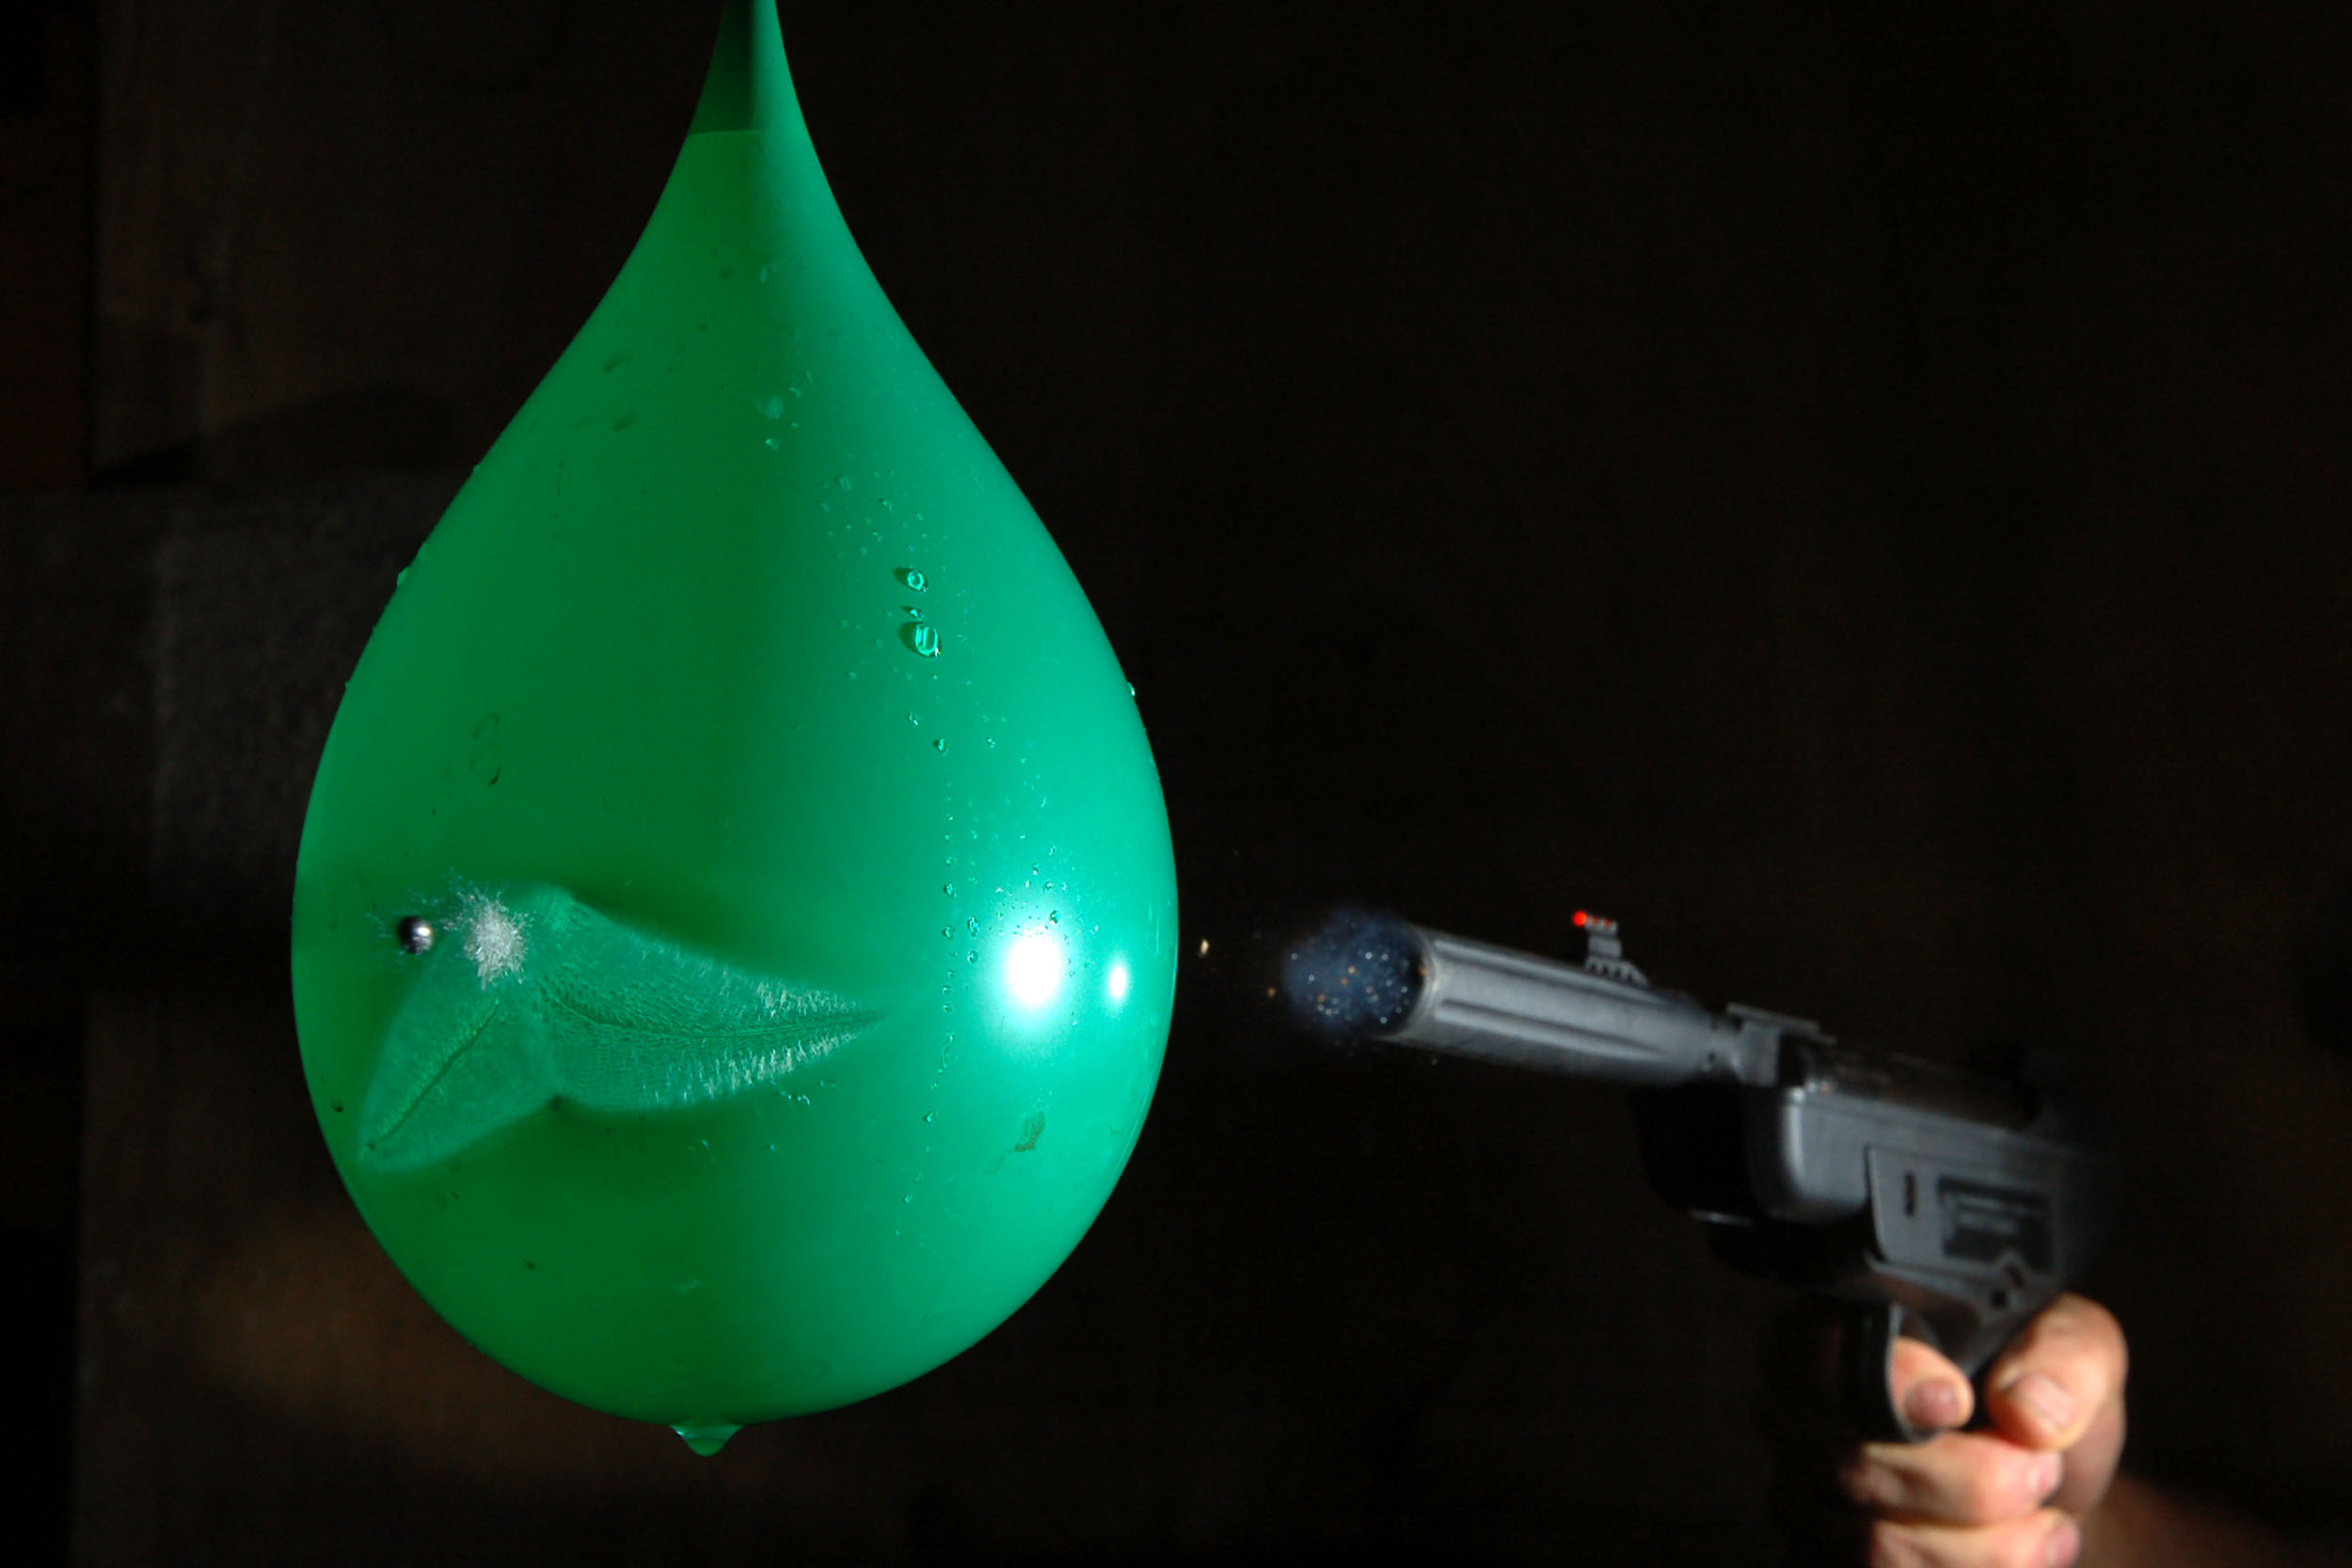
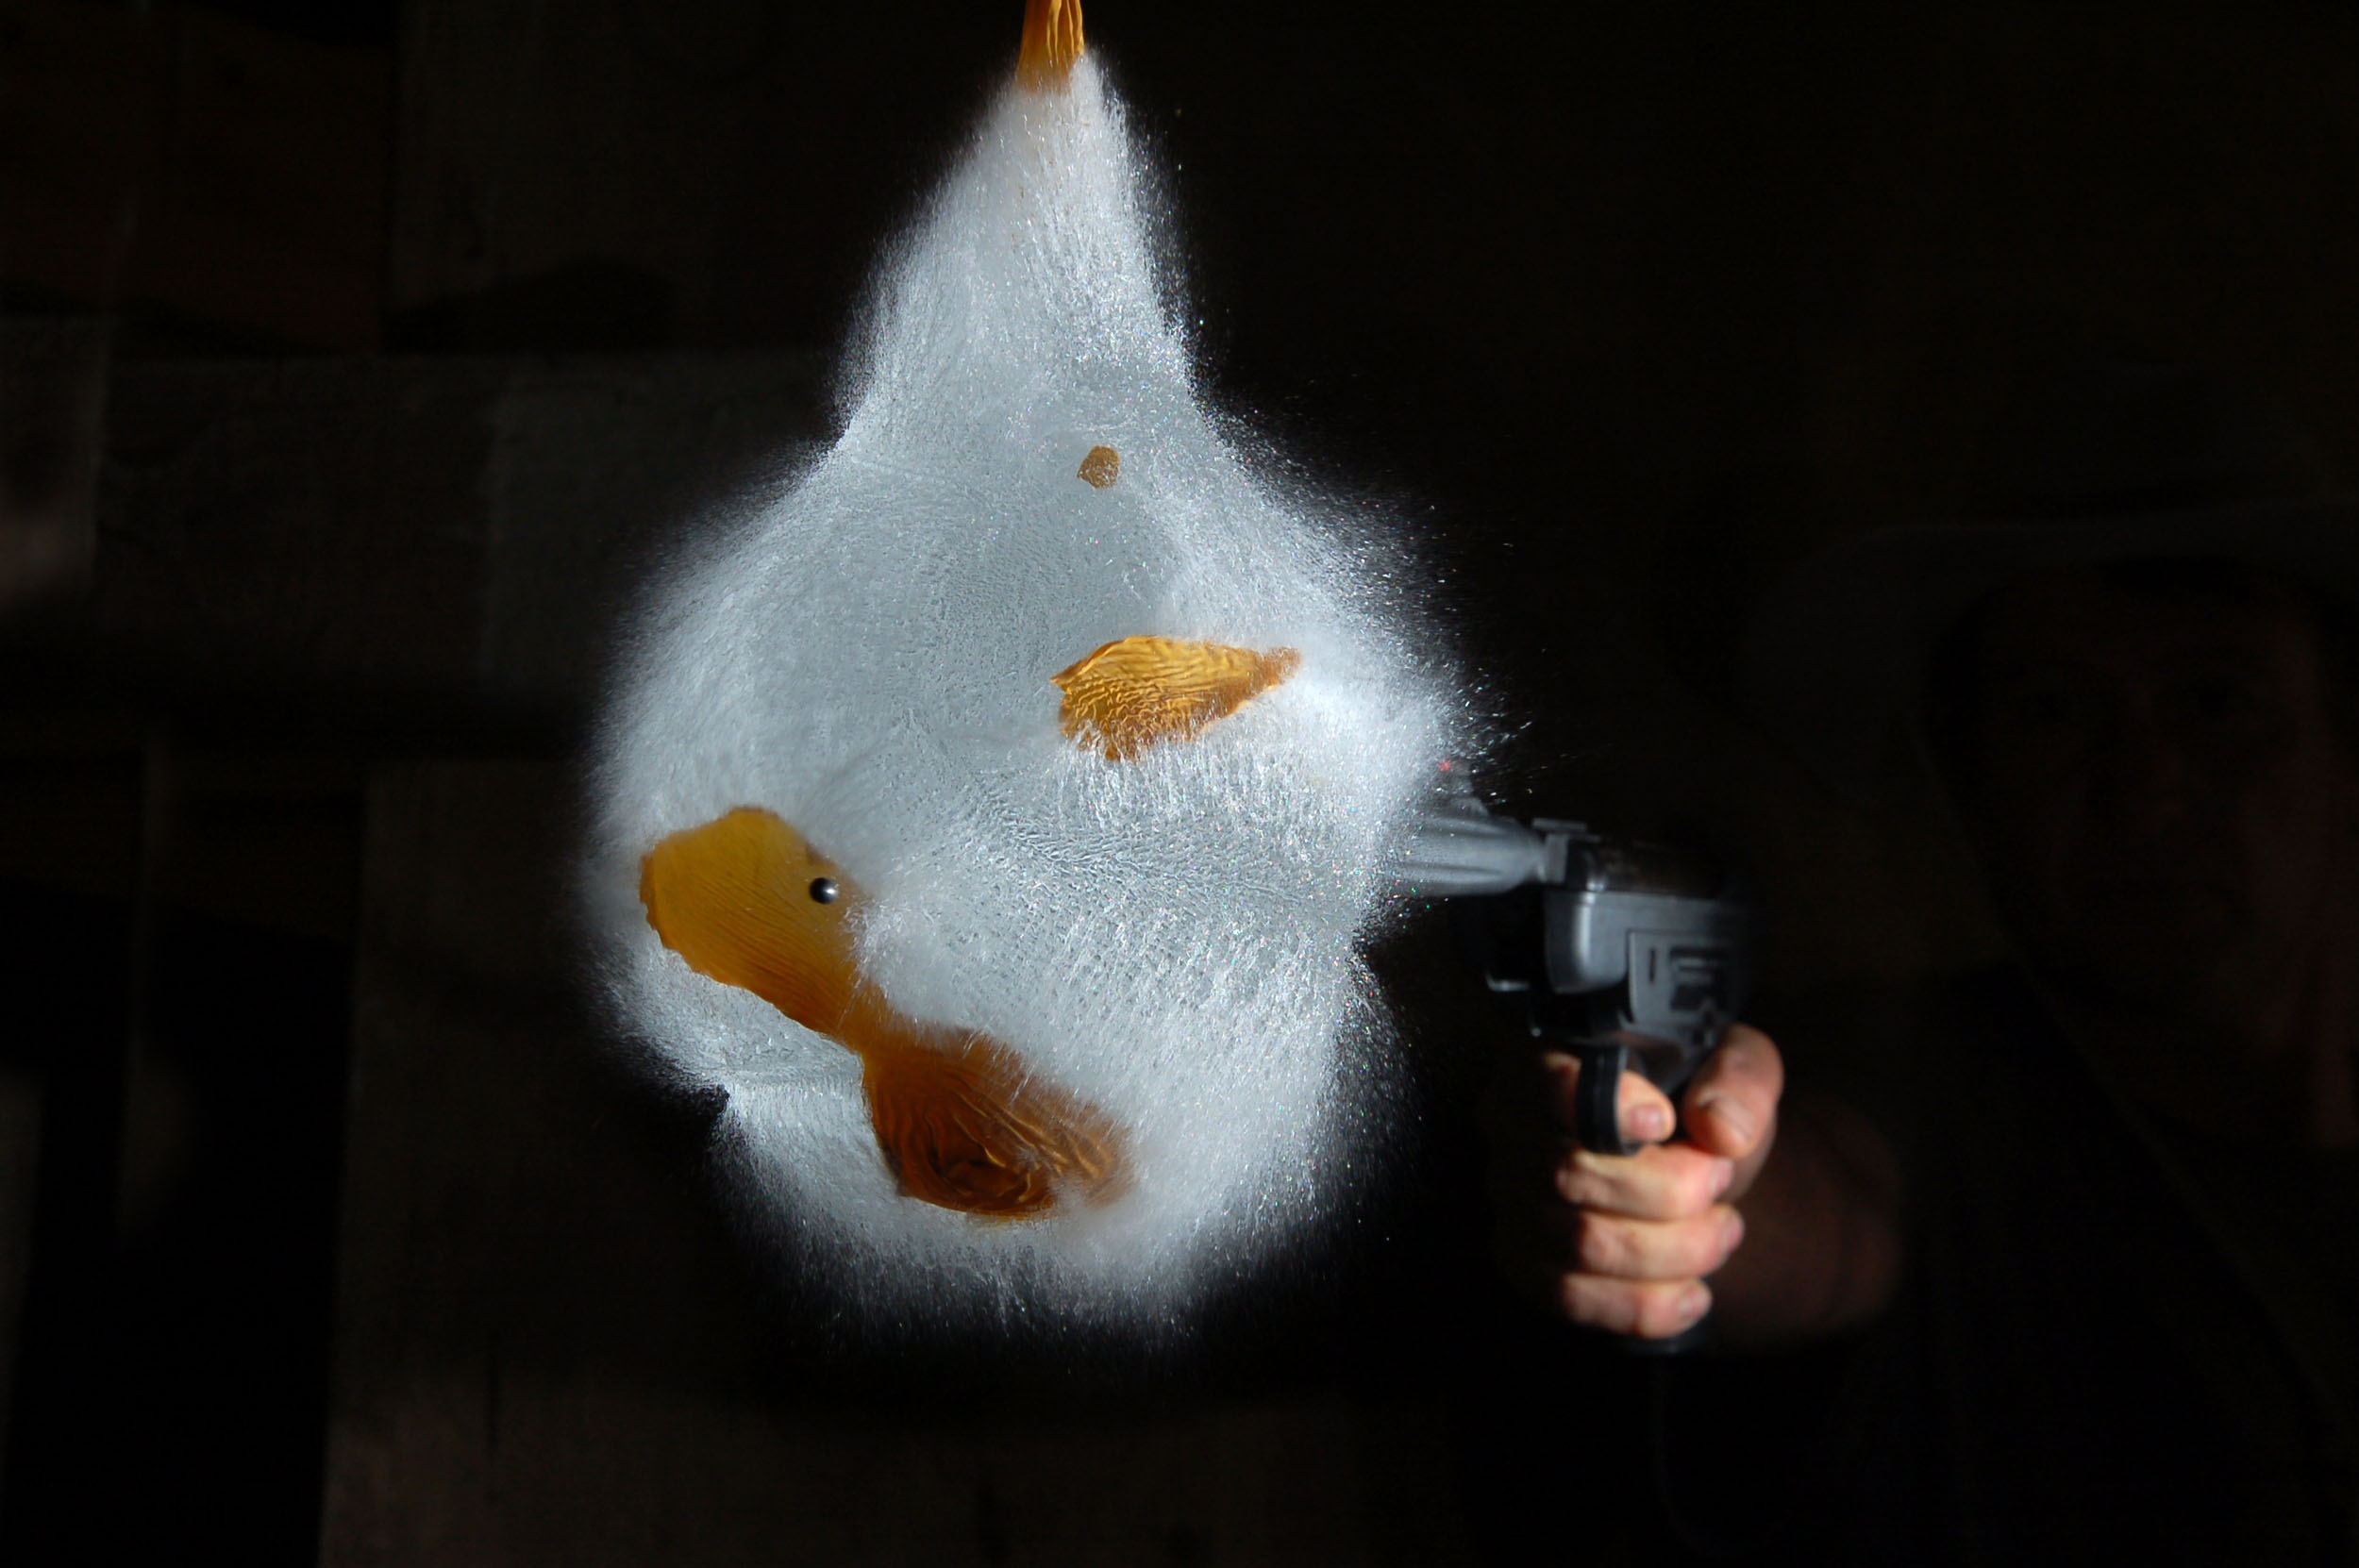
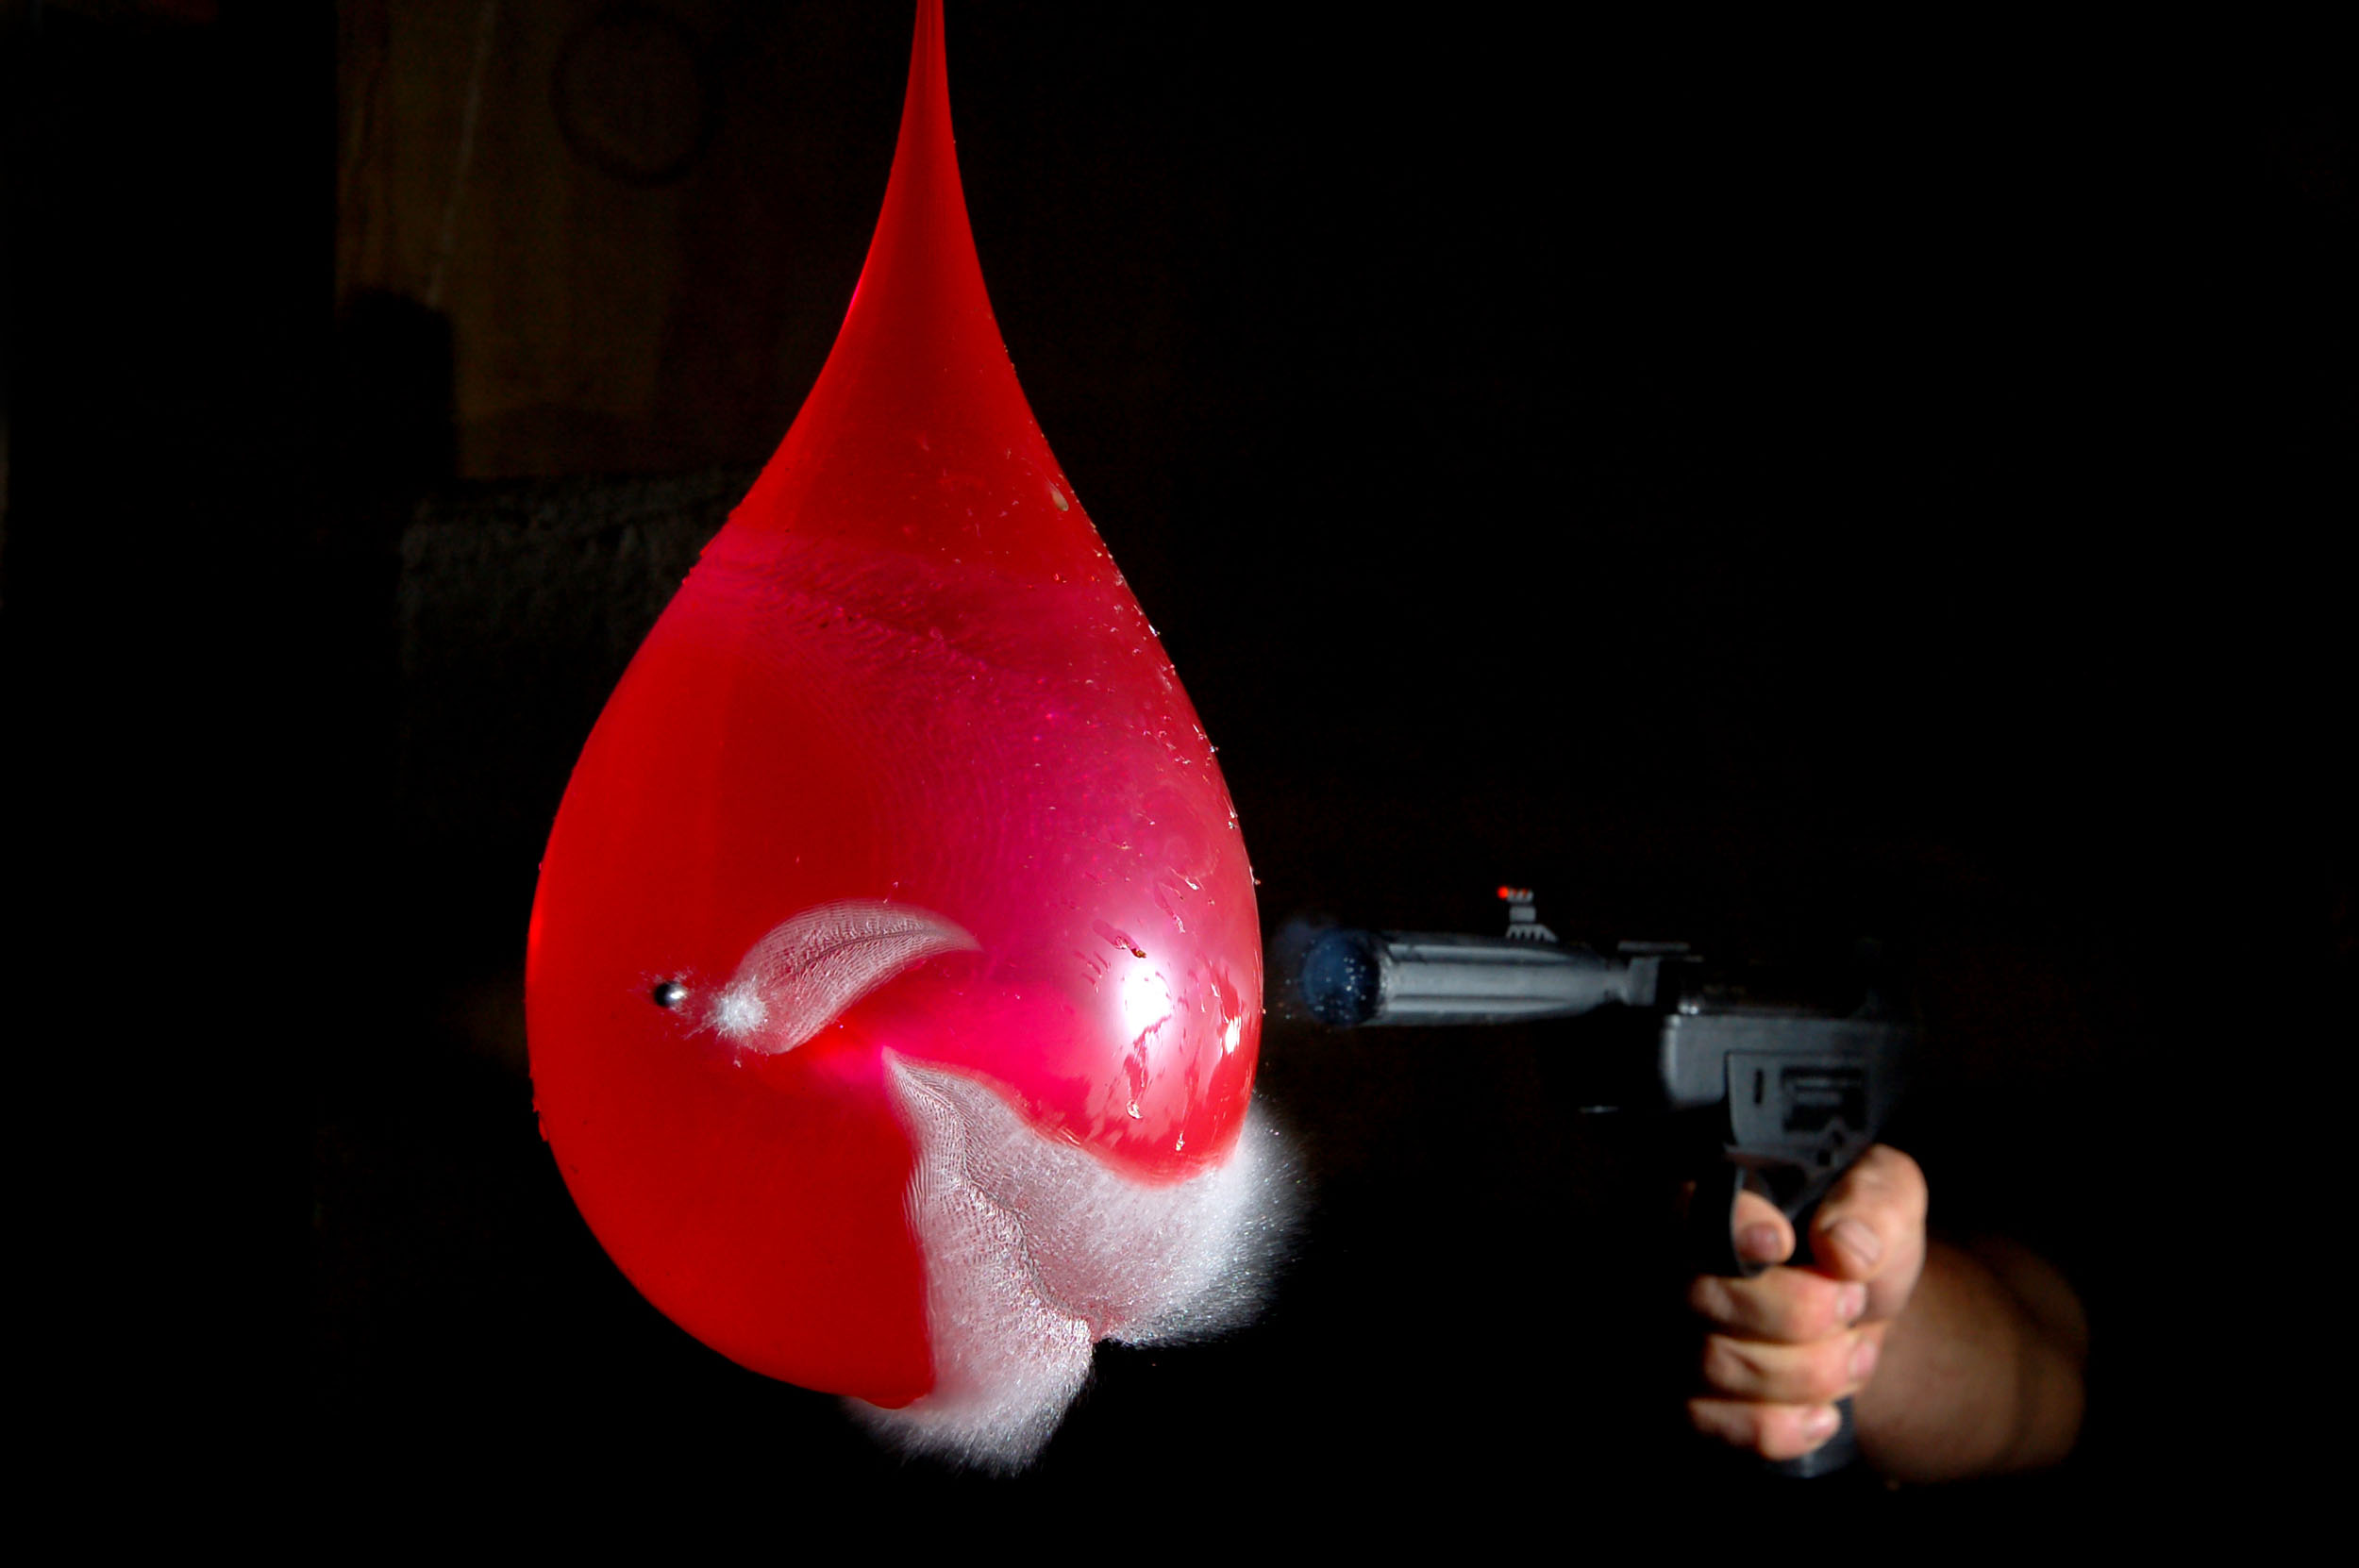
What about filters? I collected some information from various discussions on the forums - cheap filters and bokeh This is a highly debated topic which means it's a matter of personal choice. Keep in mind that as per my other blog on cheap filters you can get focus issues, lose 1/3 of a stop of light or have 'nervous bokeh' due to a bad filter. The filter can also protect the front element from dirt. However, on one discussion on the subject a photographer who also works for an insurance company stated that they get more claims for "filter scratched front element when lens was dropped" than they do for "damaged front element due to no filter". The front element of a lens is pretty tough [there will be variations amongst manufacturers] but I did several tests including shooting a lens with an air pistol. It survived without a mark!

I also dropped a faulty lens that wasn't good for anything else, connected to an old film body, just to see how the lens would handle it. My conclusion was that if you were to drop it from high enough to damage the front element then the internals would fly apart anyway. If something were to hit the front element hard enough to damage it a filter won't help anyway, it will just help to scratch it. I used to get a filter for every lens I bought but no longer bother with them. It does add resale value though if people know it "has had a filter on from day one".

Camera bodies: if you're going to do this full time then go for a full frame camera with two memory card slots [Two of them of course]. Having said that "back in the day" professional photographers were shooting with the 8 megapixel Canon 20D and then the 10 megapixel Nikon D200 which they thought was amazing. There were even pros shooting with the 5 megapixel Olympus E1. So there is no reason why you shouldn't be able to do it with any of today's DSLR's, apart from the fact that twin card slots is highly advisable in case one card fails - [it does happen!]. In normal daylight the results will all look pretty similar between the camera bodies but in low light situations each stop of light helps. A full frame sensor is 2 1/2 X bigger than a crop sensor meaning just over a stop of high iso advantage [cleaner images at higher iso's]. An f1.8 prime will give another two stops over the f3.5 of the wide end of a kit lens. A prime lens with less elements [lenses] will have a better "T-stop" meaning that both lenses may be at f4 but the prime may transmit exactly f4 of light while the inferior kit lens has so many extra [inferior] elements that at f4 it blocks some light and maybe only lets through the equivalent of f5 meaning you will need a higher iso or slower shutter speed to get the same exposure as the prime. A filter could lose you 1/3 of a stop as well. At the end of the day in a candlelit church this could be the difference between shooting at 1/100th sec f1.8 and iso 800 on the pro setup vs 1/100th sec f3.5 and iso 5000 [not 3200 because of the lower T-stop and a filter on the lens perhaps] at the wide end of the kit lens. Keeping in mind too that the pro full frame body will have a cleaner iso 1600 than the iso 800 of the crop sensor body. But there is no reason why you couldn't get almost the same results from a crop sensor D7200 with a decent prime lens in low light situations, and again, outdoors nobody will be able to tell which image was taken with a full frame or crop sensor Watch this enlightening video comparison.
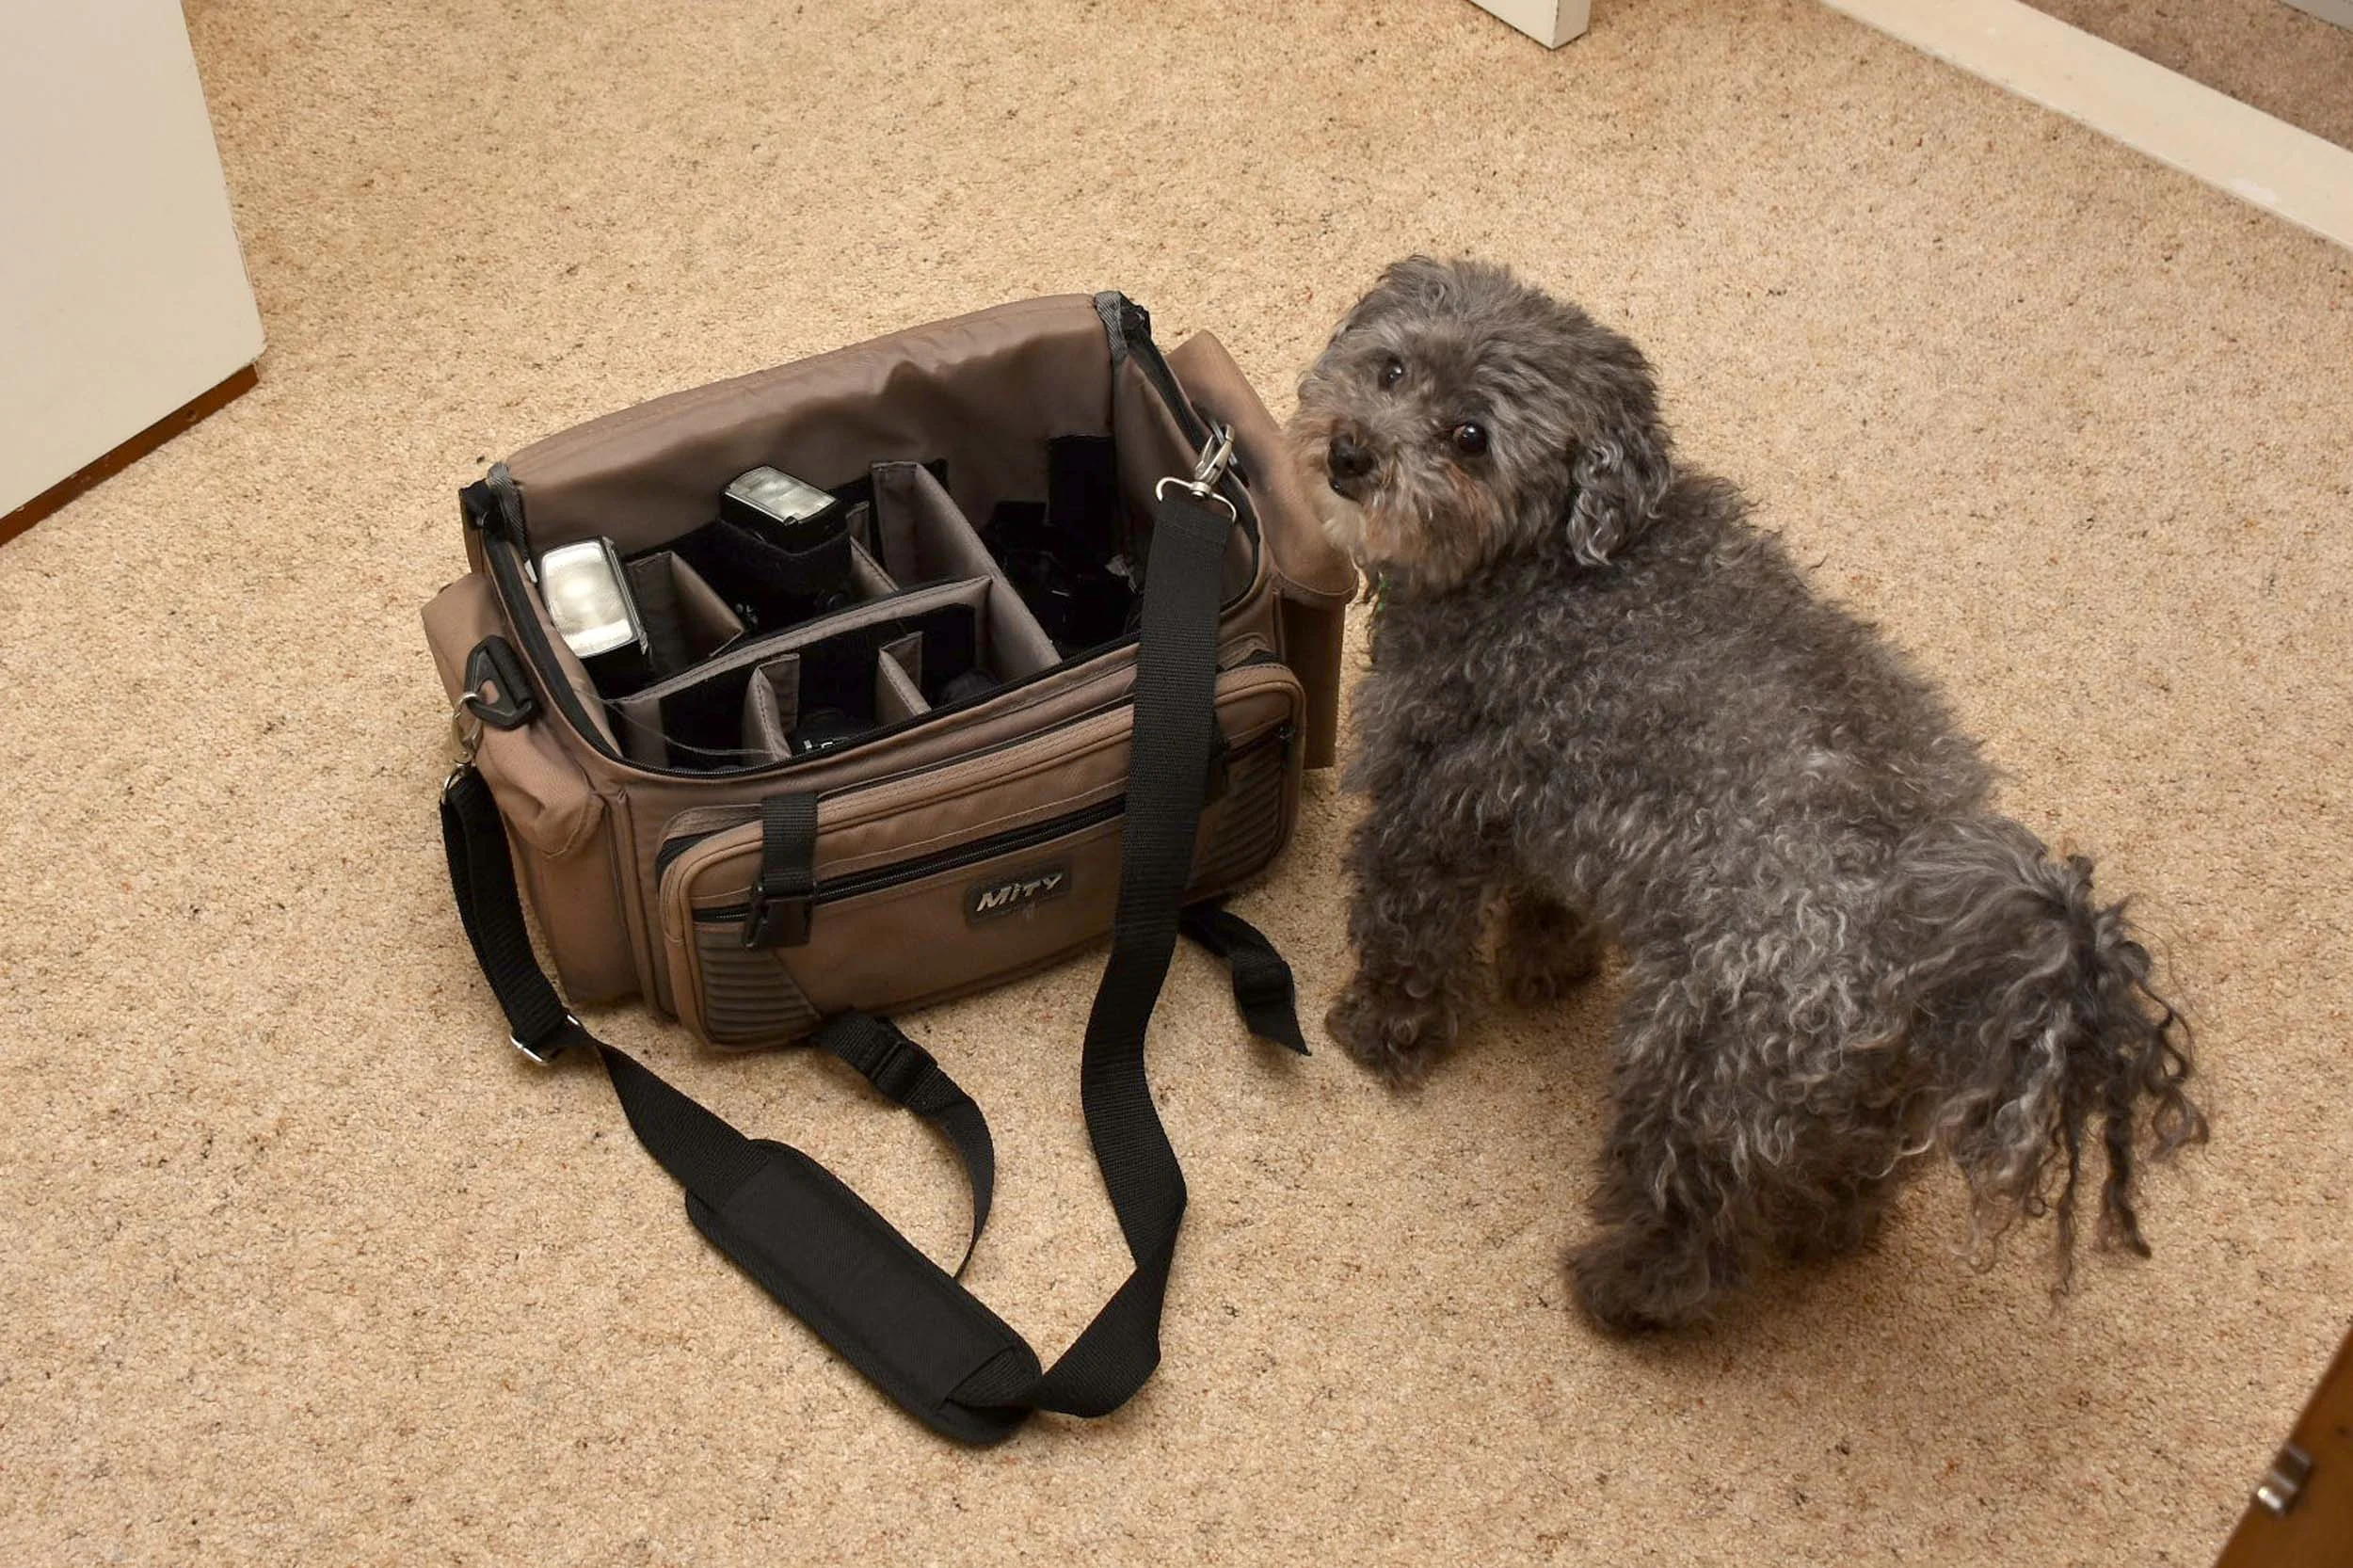
Camera Bag: My advice is to get a 'top loader', not something that needs to be zipped up every time you want to move it somewhere, like those backpacks that have to be fully zipped up to prevent distracting 'crashing' noises behind you from cameras and lenses falling out when you're walking along a concrete path - besides being distracting those noises could test the strength of your heart as well. I have found that a large top loader bag is very convenient when you want to quickly reach into it and pull out a lens or flash without having to zip and unzip each time you move. "Piggy" also approves of it. Actually I think he was waiting to bite it, he doesn't like anything put on the floor.
Camera settings: Again, if you need to ask then you shouldn't be charging to shoot weddings yet and hopefully you're simply doing it because the couple has no other options. This is also personal, even though shooting fully manual is the purists idea of how all photography should be done some of us don't have enough "RAM" in our heads to do this through the whole day. If you can adjust your settings without thinking in the same way you drive your car then by all means do it - but for people like me who get caught up in the action, forgetting your camera on the wrong setting when you follow the bride around the corner into much brighter/dimmer light can be disastrous. I'd rather let my camera do the thinking in these situations and only have to make small adjustments later rather than trying to rescue a disaster of an image. If you're going to be in the same lighting for a while then manual is a good idea, you will get greater consistency. If you're worried you will panic on the day then have a look at my camera settings for beginners , better to shoot in "P for panic" than try to take manual control but totally make a mess of the day.
"A" 'Aperture' priority mode is what many photographers choose through the day so they can determine how much of the photo is in focus - it is a way of 'taking control' of an aspect of the pictures while letting the camera still make sure your exposure is 'in the ballpark'.
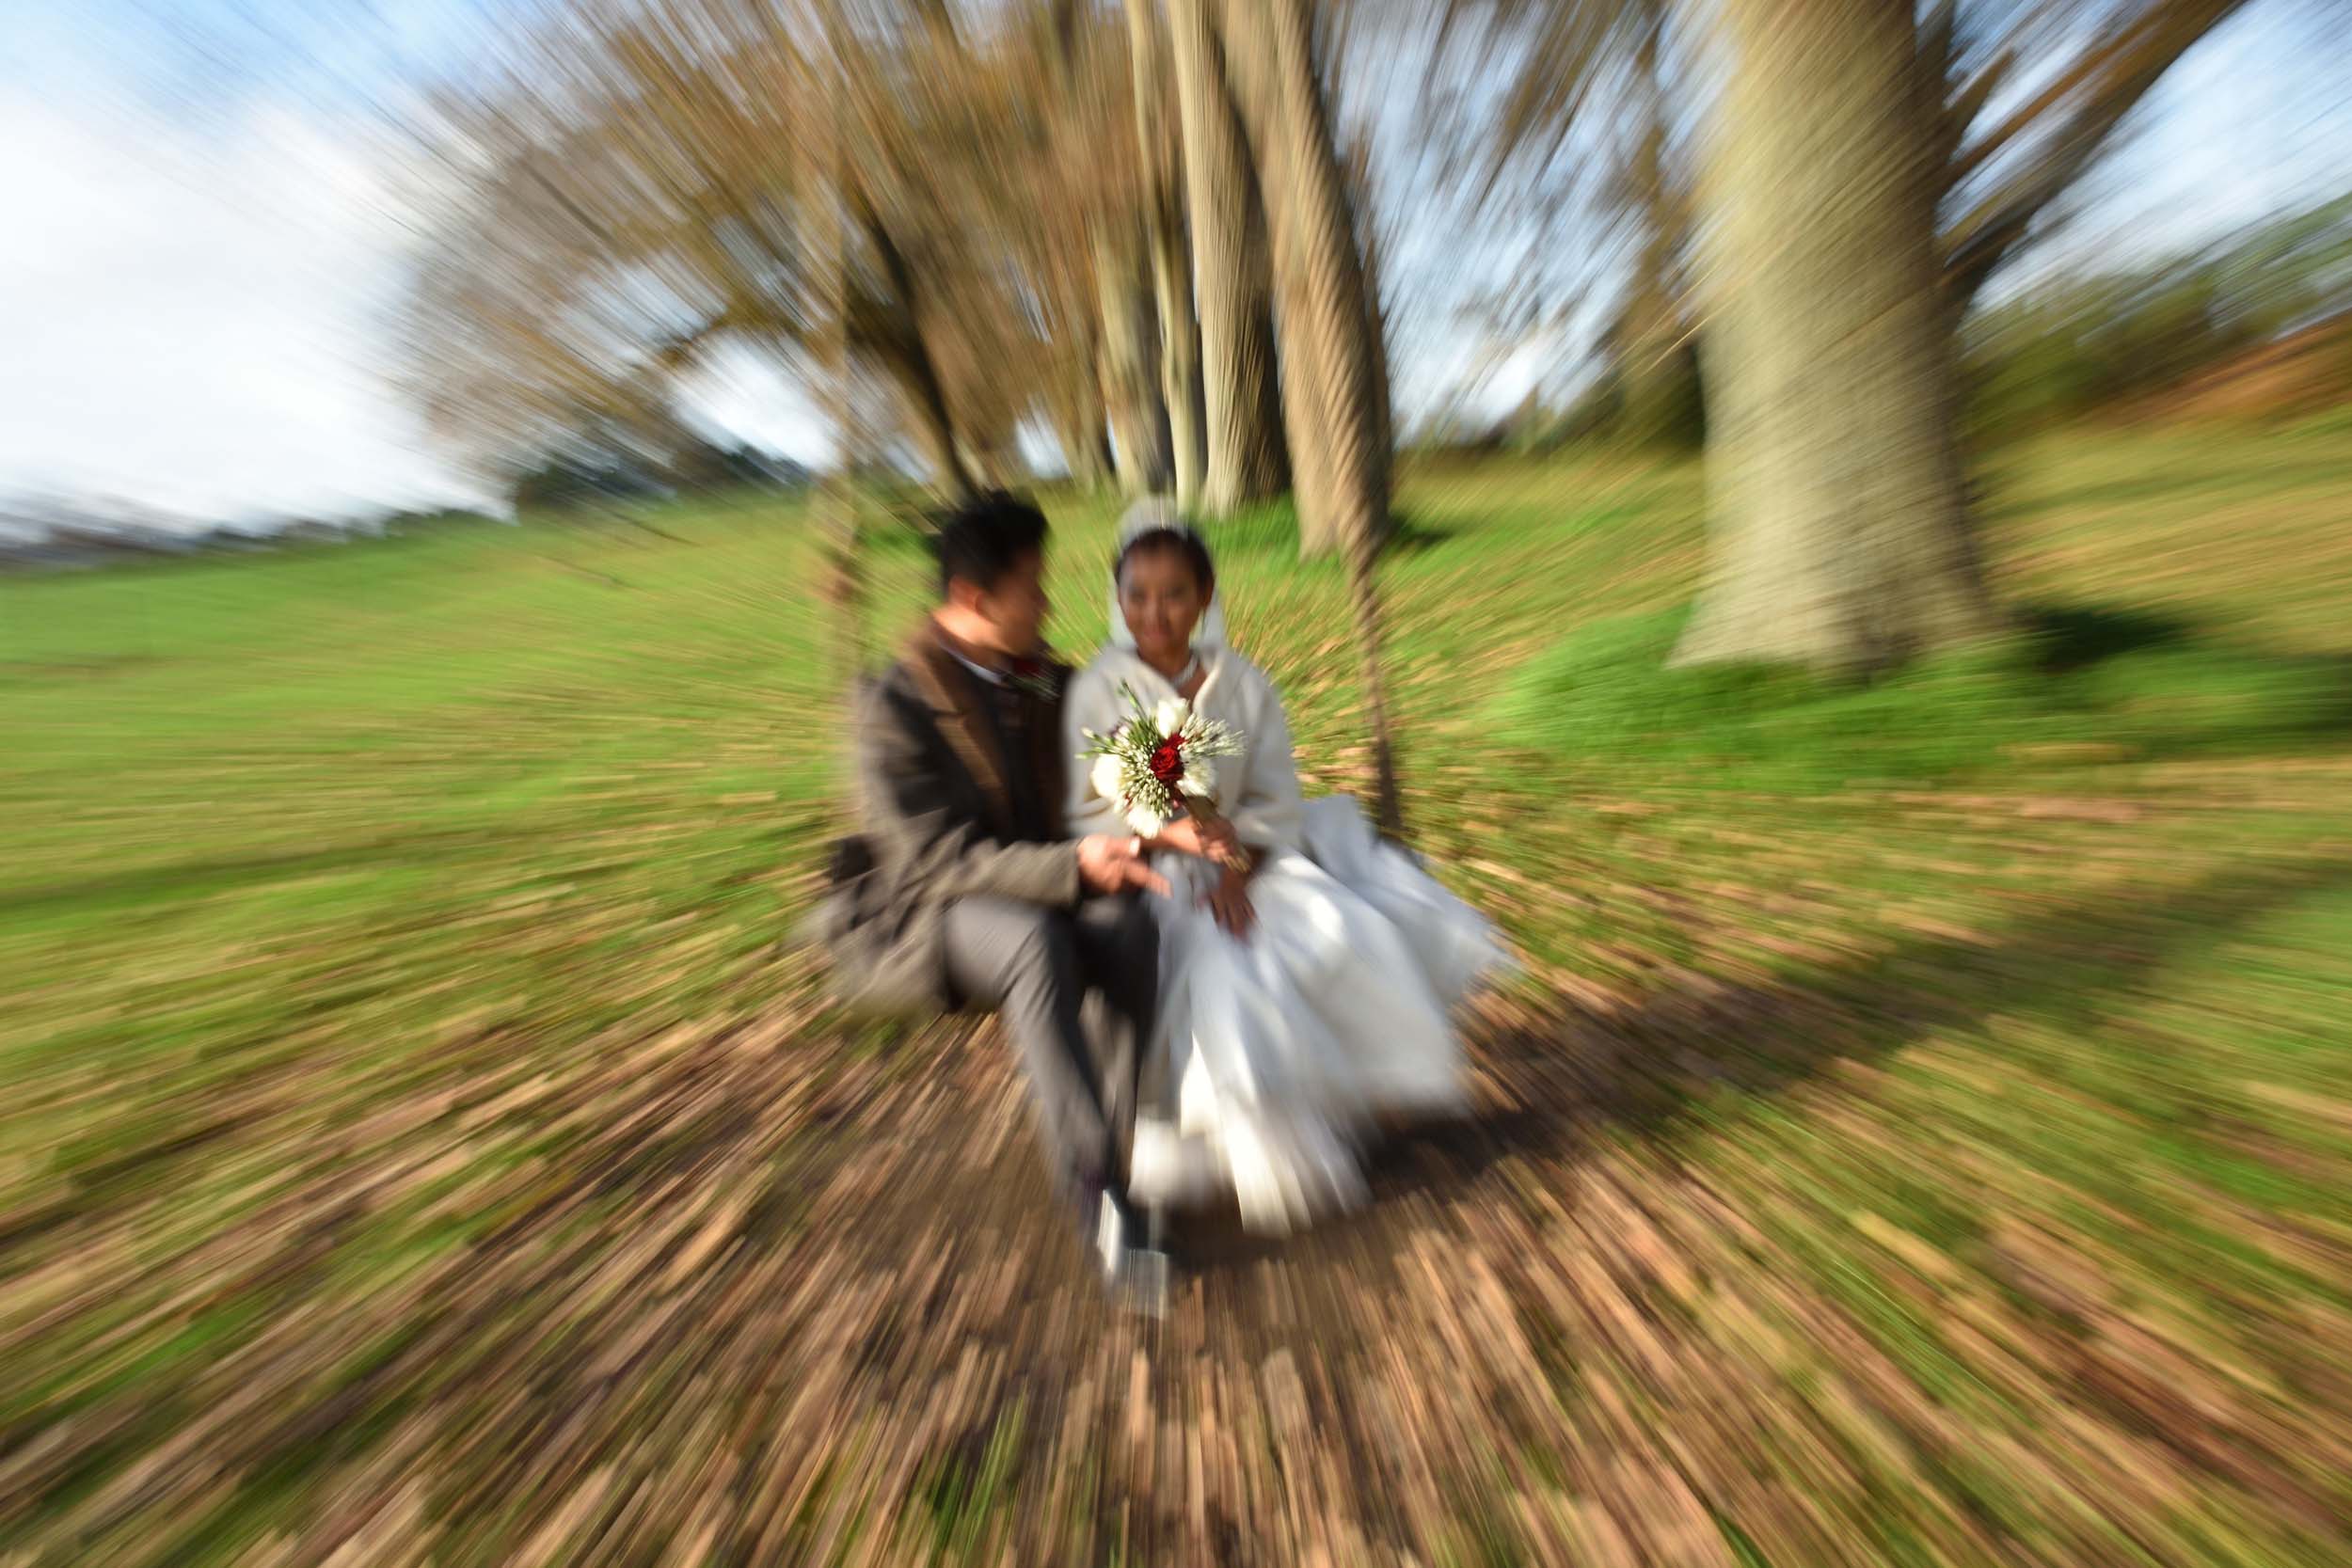
"S" [Tv for Canon] 'Shutter' priority mode is what some will use during the reception or perhaps if you have the couple doing some dance moves among the trees and want some "artistic blur" then you may want to dial shutter speed down to 1/15th sec and make things look dreamy. Just don't forget it at the wrong settings. Other possibilities are when you are using a longer lens which will show more movement in the images, you dial up the shutter speed while the camera opens the aperture up as much as it can before increasing iso to compensate.
"P" 'Program' mode. Tell the customer it's "P for Professional" while you actually know it's "P for Panic". There are pros that revert to this mode when the action speeds up and they don't have time to choose the perfect settings - there is no shame in using this mode - your main objective is to present memories of the day to the customer, they don't care how you got them. And the thing is, as long as you know why you are choosing a certain mode and getting the results you want it doesn't really matter. For example I know that Program mode will choose a high enough shutter speed while making sure it opens the aperture to its widest before raising the iso - which is pretty close to what I would do anyway. And since I set my auto-iso to kick in at 1/125th sec I will have a fast enough shutter speed to prevent blur and catch most of the wedding action you will have on the day. If the settings reach their maximum [I have auto iso set to go no further than iso 6400] and there isn't enough light the camera will then decrease shutter speed below my 1/125th limit to get the correct exposure - as I would do. It's all about knowing what the modes do so you can choose one that would get as close to the settings you would choose if you were in manual mode and had the time to make adjustments. This also means setting auto-iso accordingly.
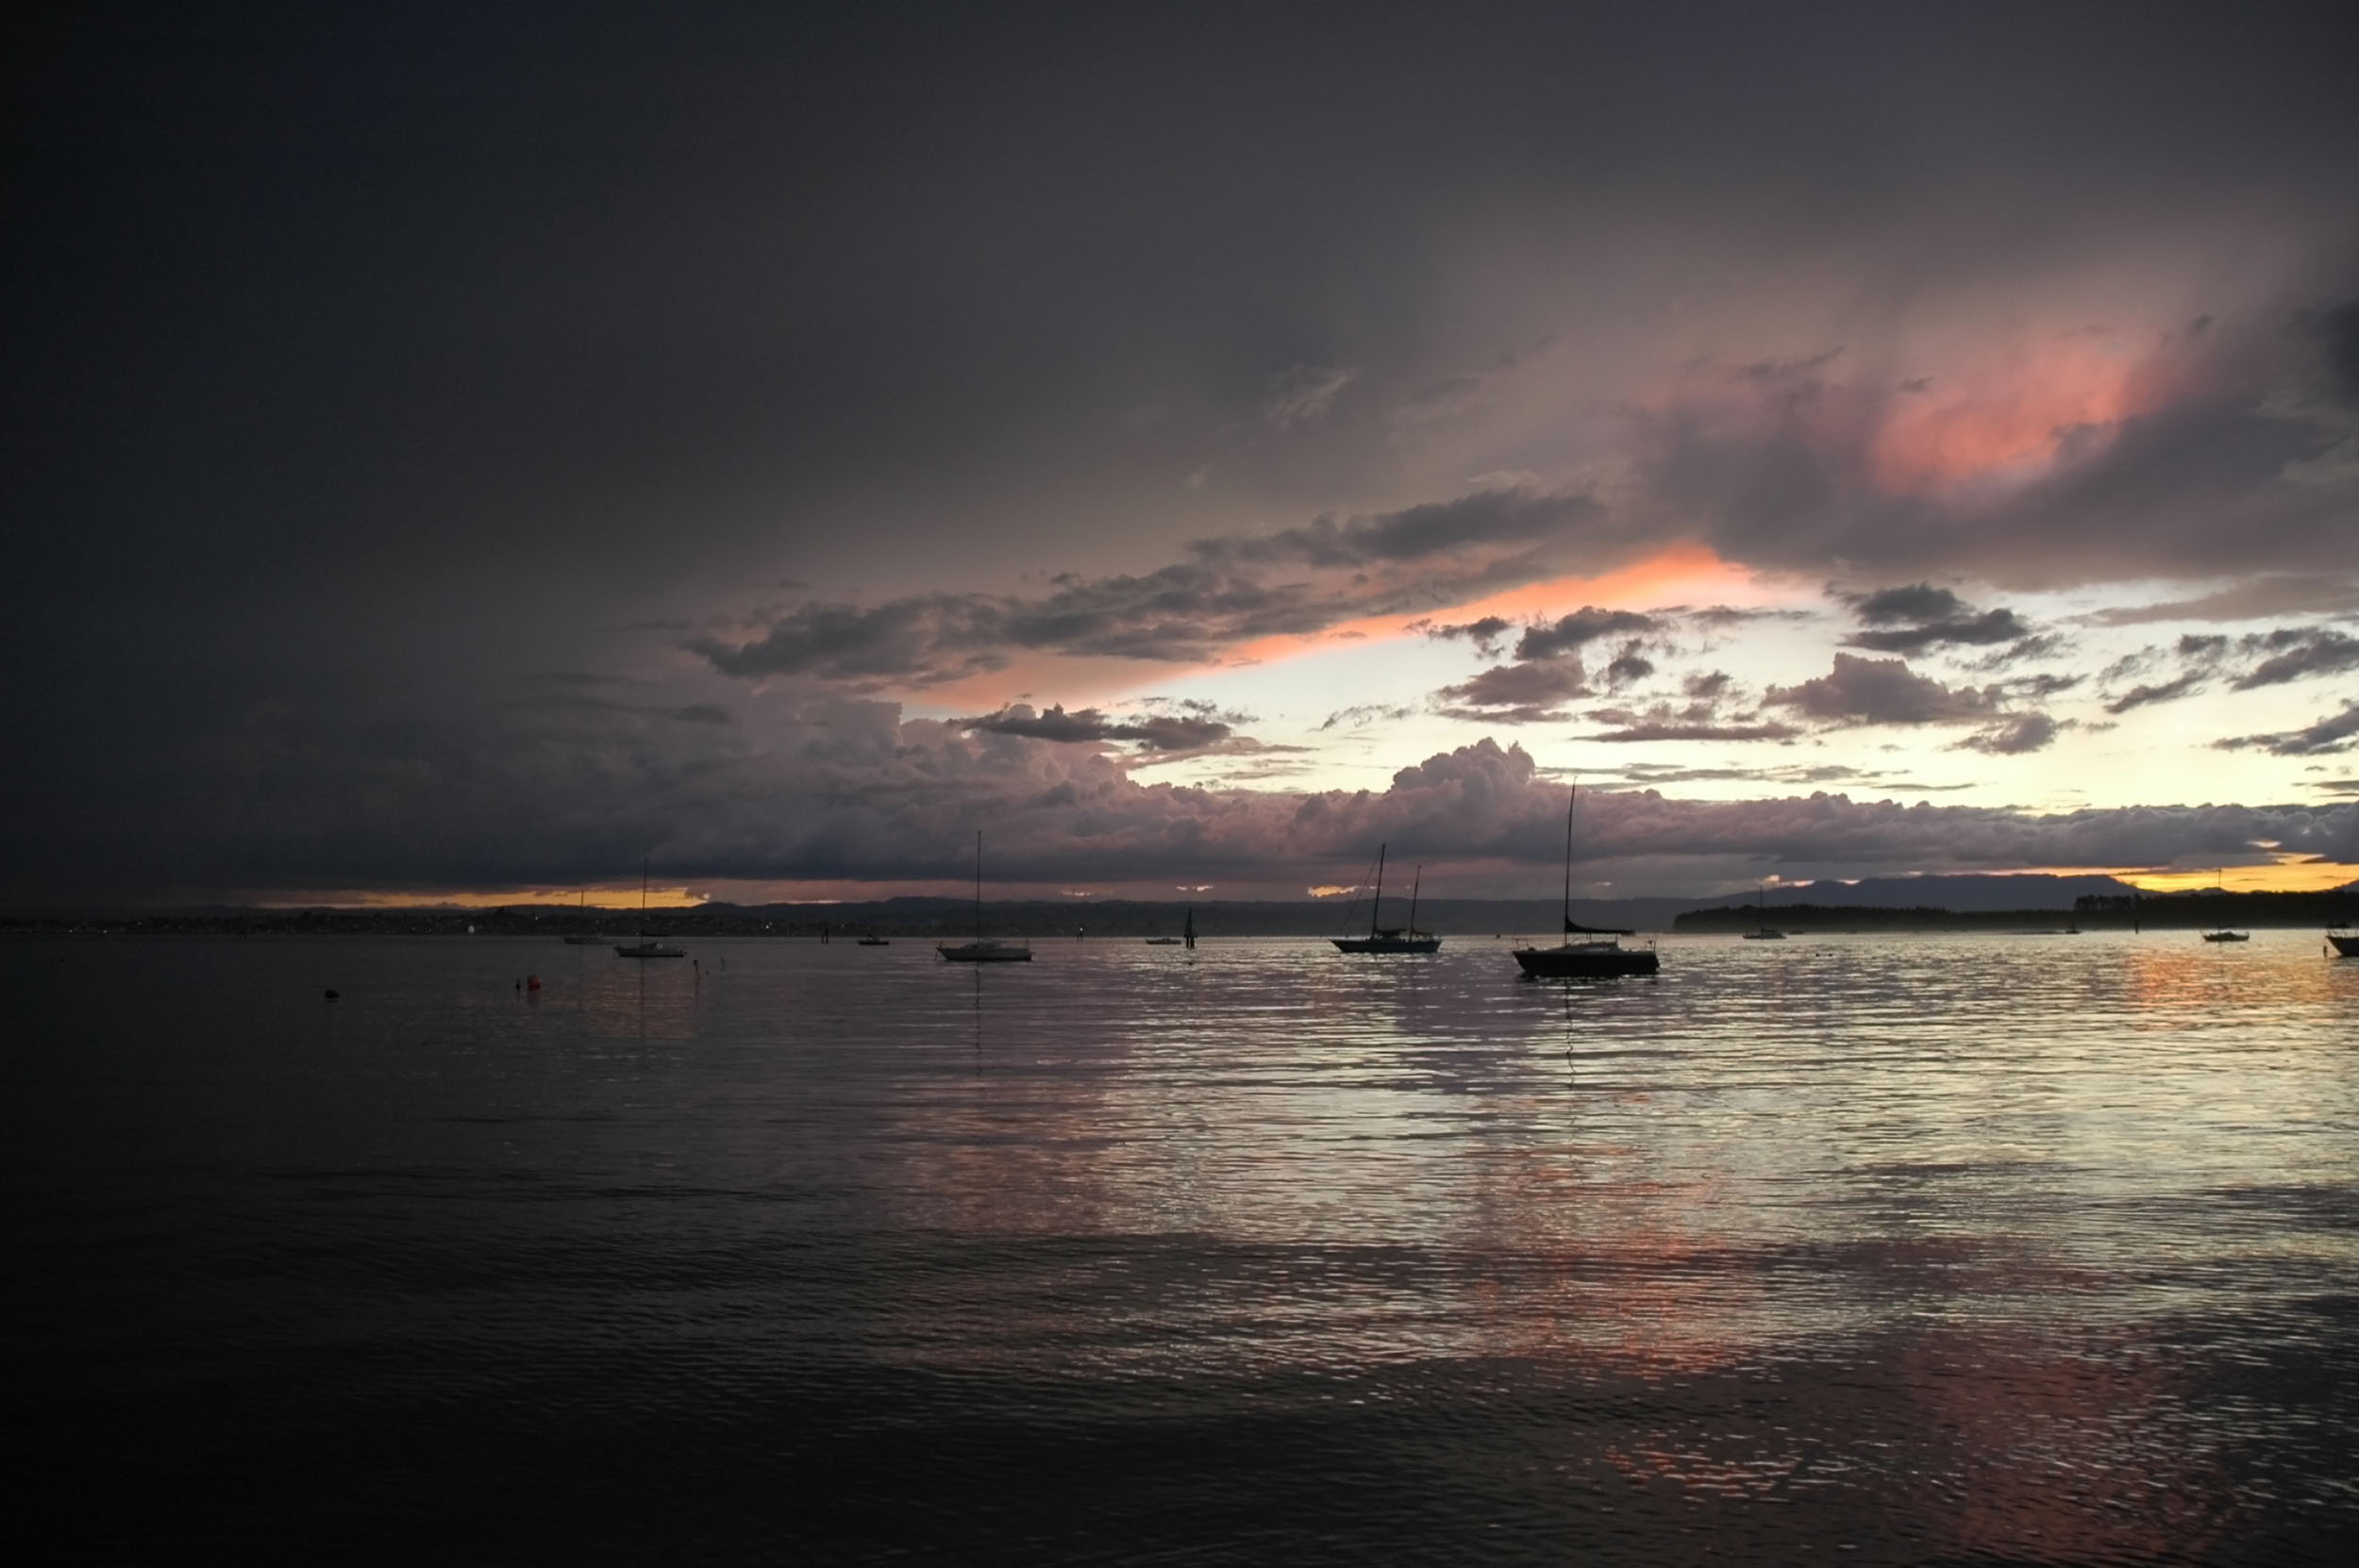
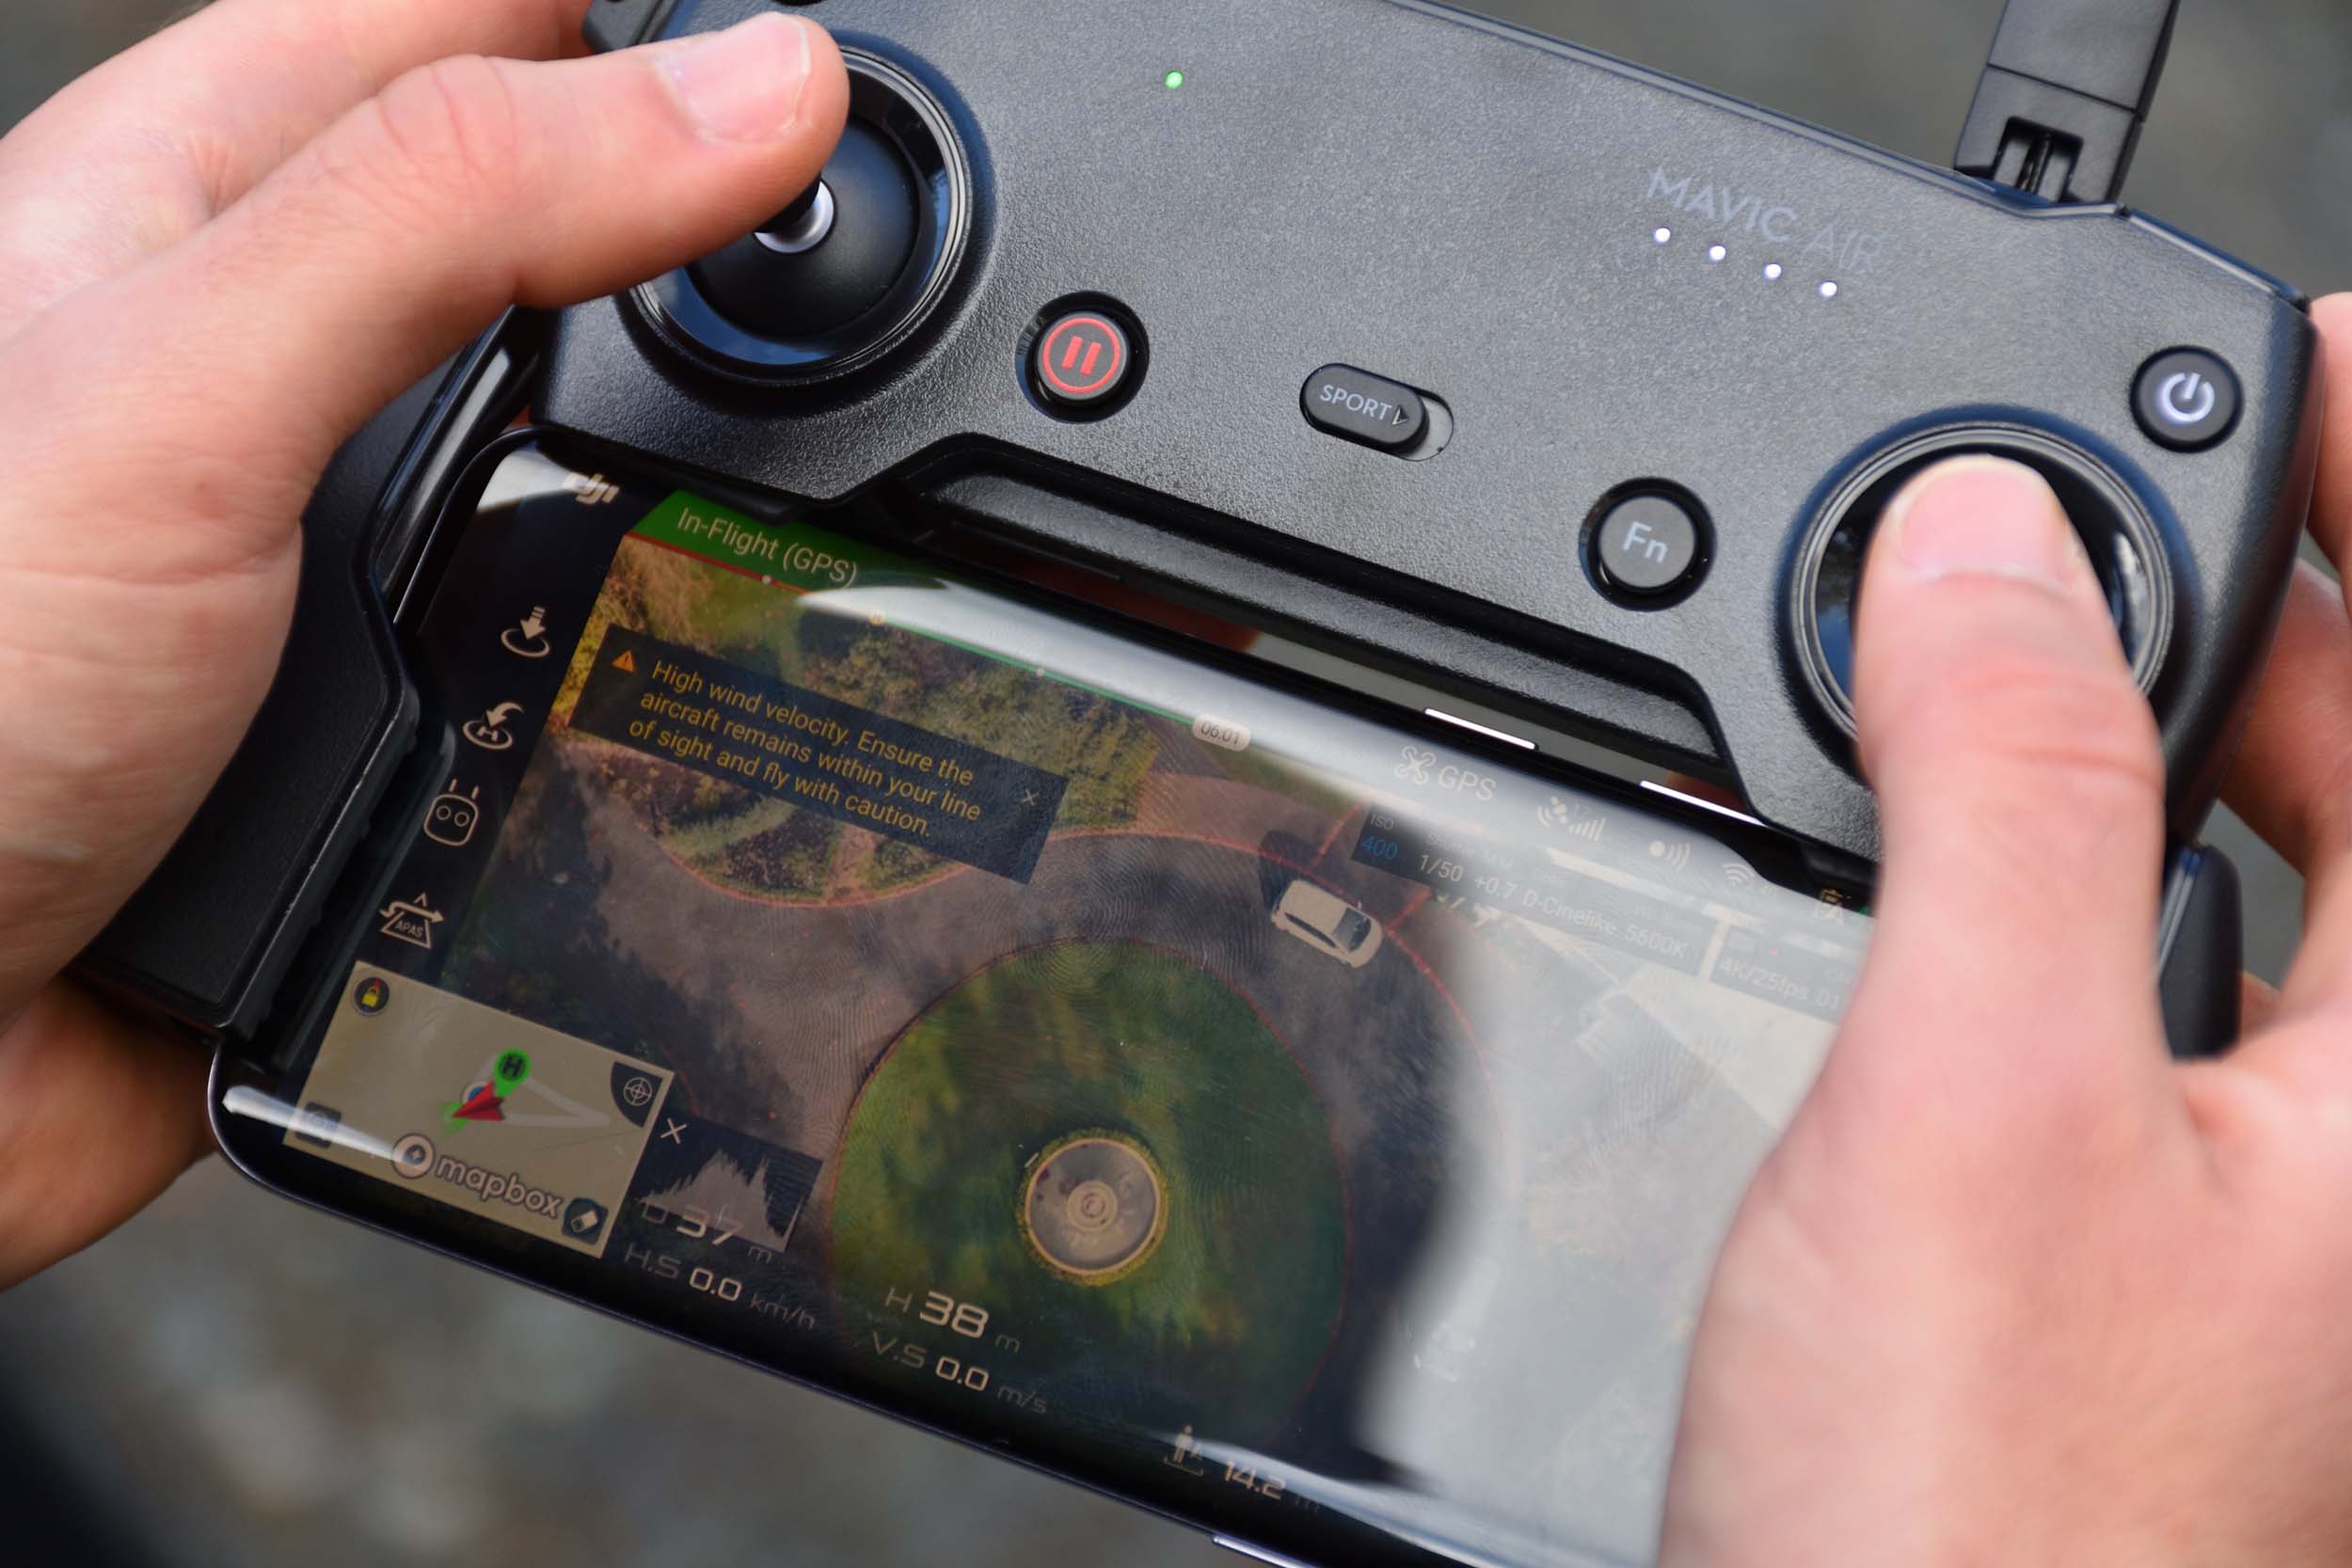
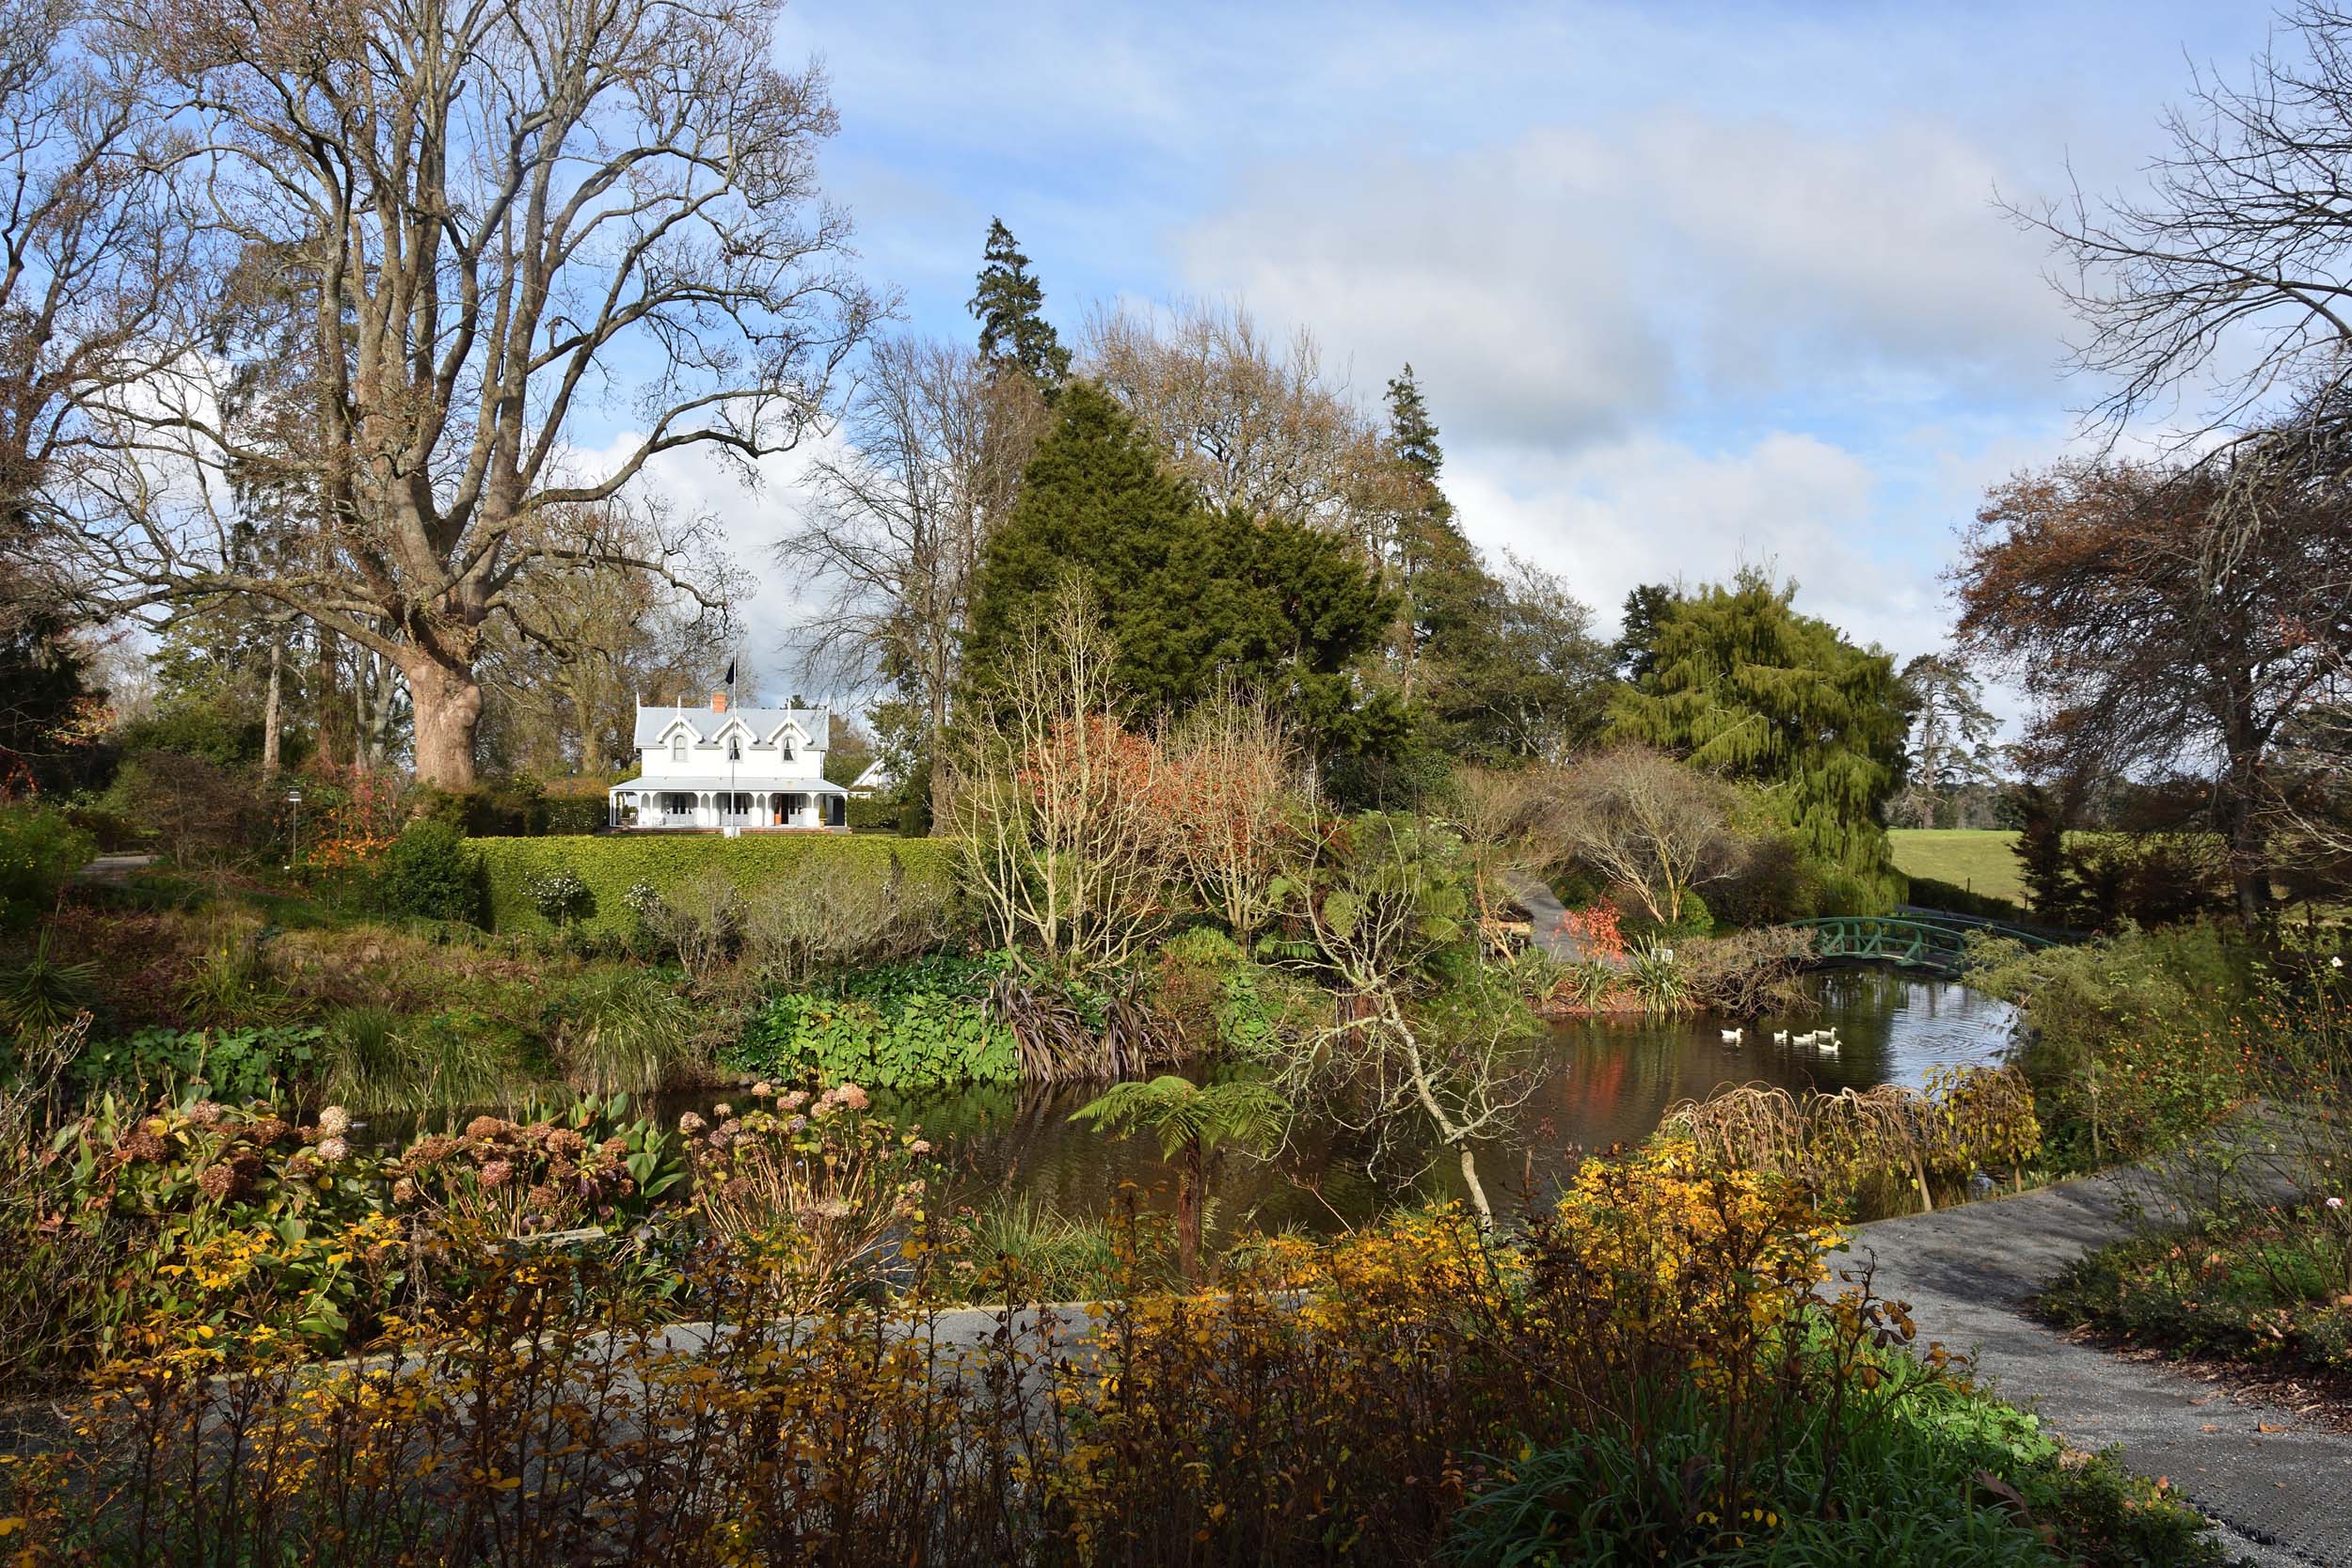
Flash: This falls under "gear" but I thought it pertinent to leave it until after "settings" because the first thing you need to learn about flash is getting the settings for your ambient right - but that's a topic for another discussion. This is also one of those topics highly debated by amateurs who, for some reason, seem to think they actually have to pick a side between "flash" and "available light". Meanwhile professionals are more mature and simply use whatever tools do the job for a situation. You will hear people saying "I love natural light" when they see a picture that has been taken in really nice diffused light - not realising that harsh sunlight is also 'natural' light. People just seem to name it 'natural light' when it looks good. The fact is that natural light doesn't always look good and sometimes needs 'help'. It also depends on what kind of look you are trying to achieve - or perhaps you want to give them a view of their location but the light is less than ideal in all directions. Here's a situation when I wanted the nice cloud formations in the background. The light looked really good in the other direction but why not add some variety to the day? If you expose for the couple the background is totally blown out, if you expose for the clouds the couple can hardly be seen, and as much as dynamic range has improved on sensors these days they still have their limitations.

This is the part where you add some flash from the front. [D7200, 18-140mmVR plus SB800 on-camera flash.] As you progress you will find that off camera flash looks a lot more professional but is not always an option when things are moving quickly.

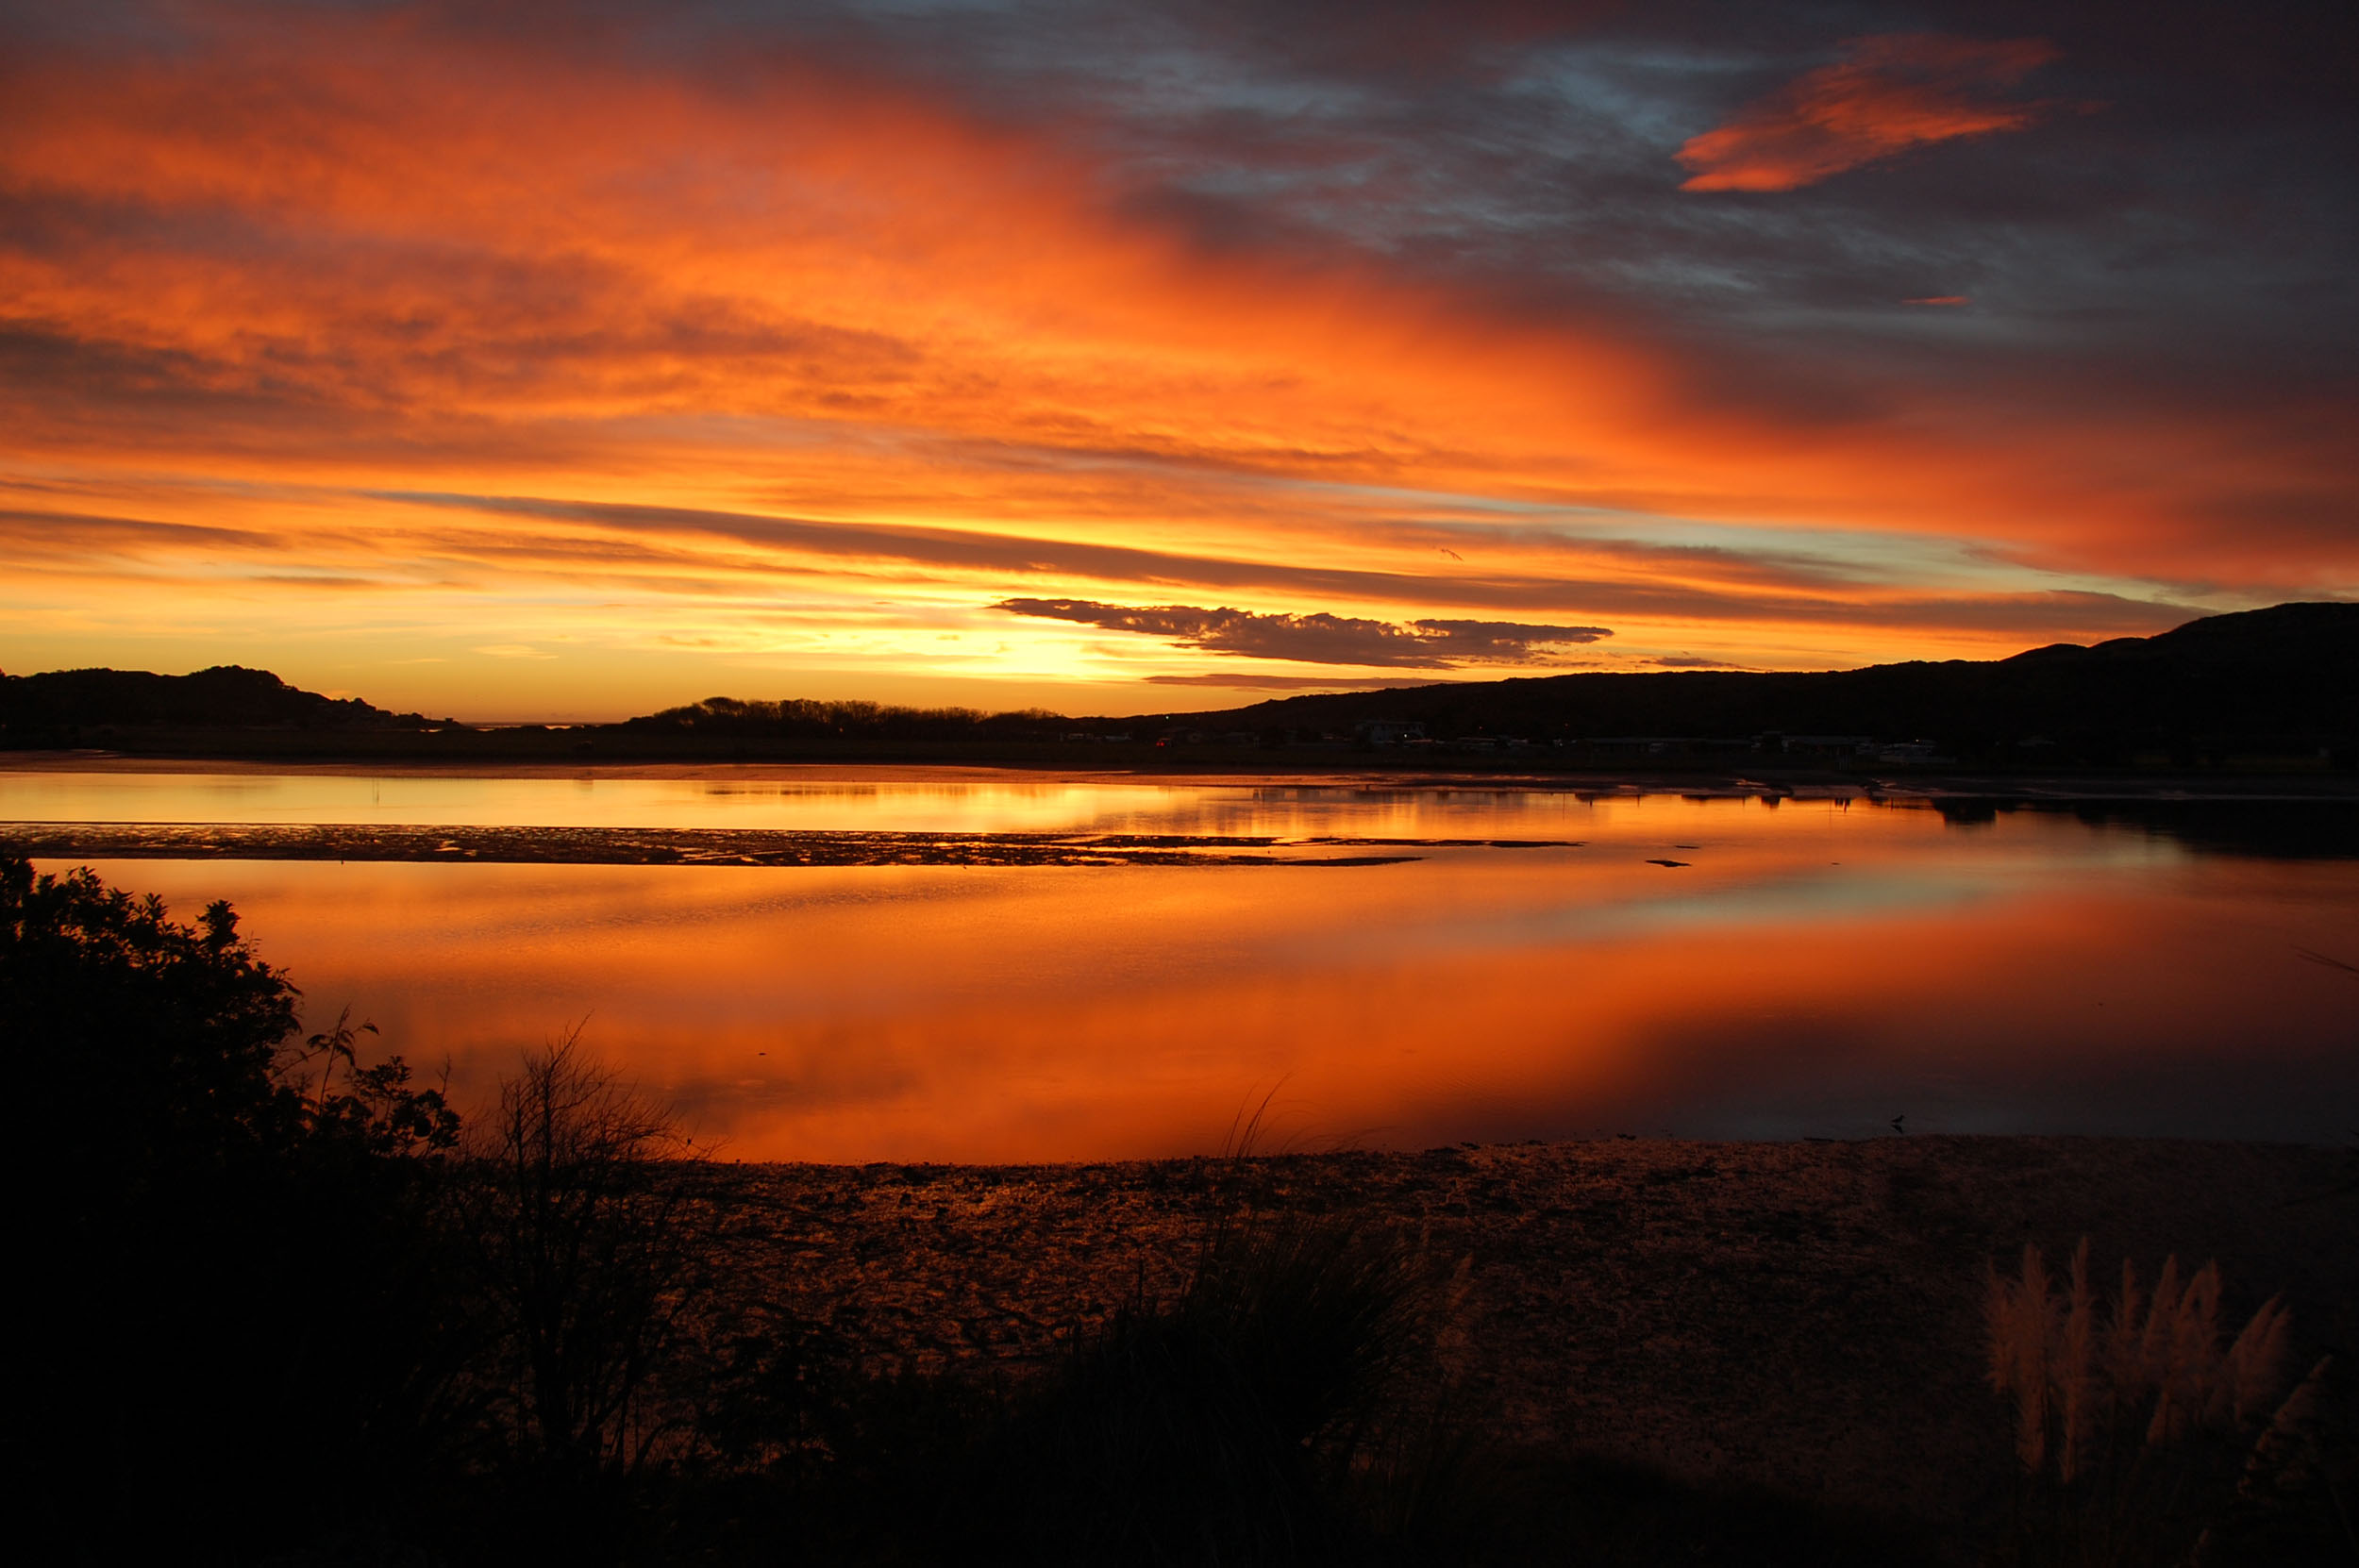
Remember it's not a competition between which is better, flash or natural light. It's a way of being a more versatile photographer and presenting more options to your customers. This is what the scene looked like with frontal light from that huge white diffuser in the sky. A totally different look to the image and could just as well be two different locations [taken with the D7200 and 70-300mm VR lens] which actually emphasises how useful it can be when you have a flash at your disposal to add to the lighting.

Batteries: Eneloop rechargeables are very good for flash, I've done tests with them and they are the best. As mentioned in the section about backups, you should have at least two camera batteries for each body, preferably 3, even if you know your camera can do 1000 photos on half a charge. Besides that, halfway through the day change your camera batteries and flash batteries whether they are showing as being low or not, don't wait for a warning on your display at an awkward moment. Godox offers an option for a wireless flash that takes a lithium battery which apparently lasts the entire day. You would also want to be sure you have backups of those batteries as well though - which is why for now I’ll just stick with the AA battery versions I already have.
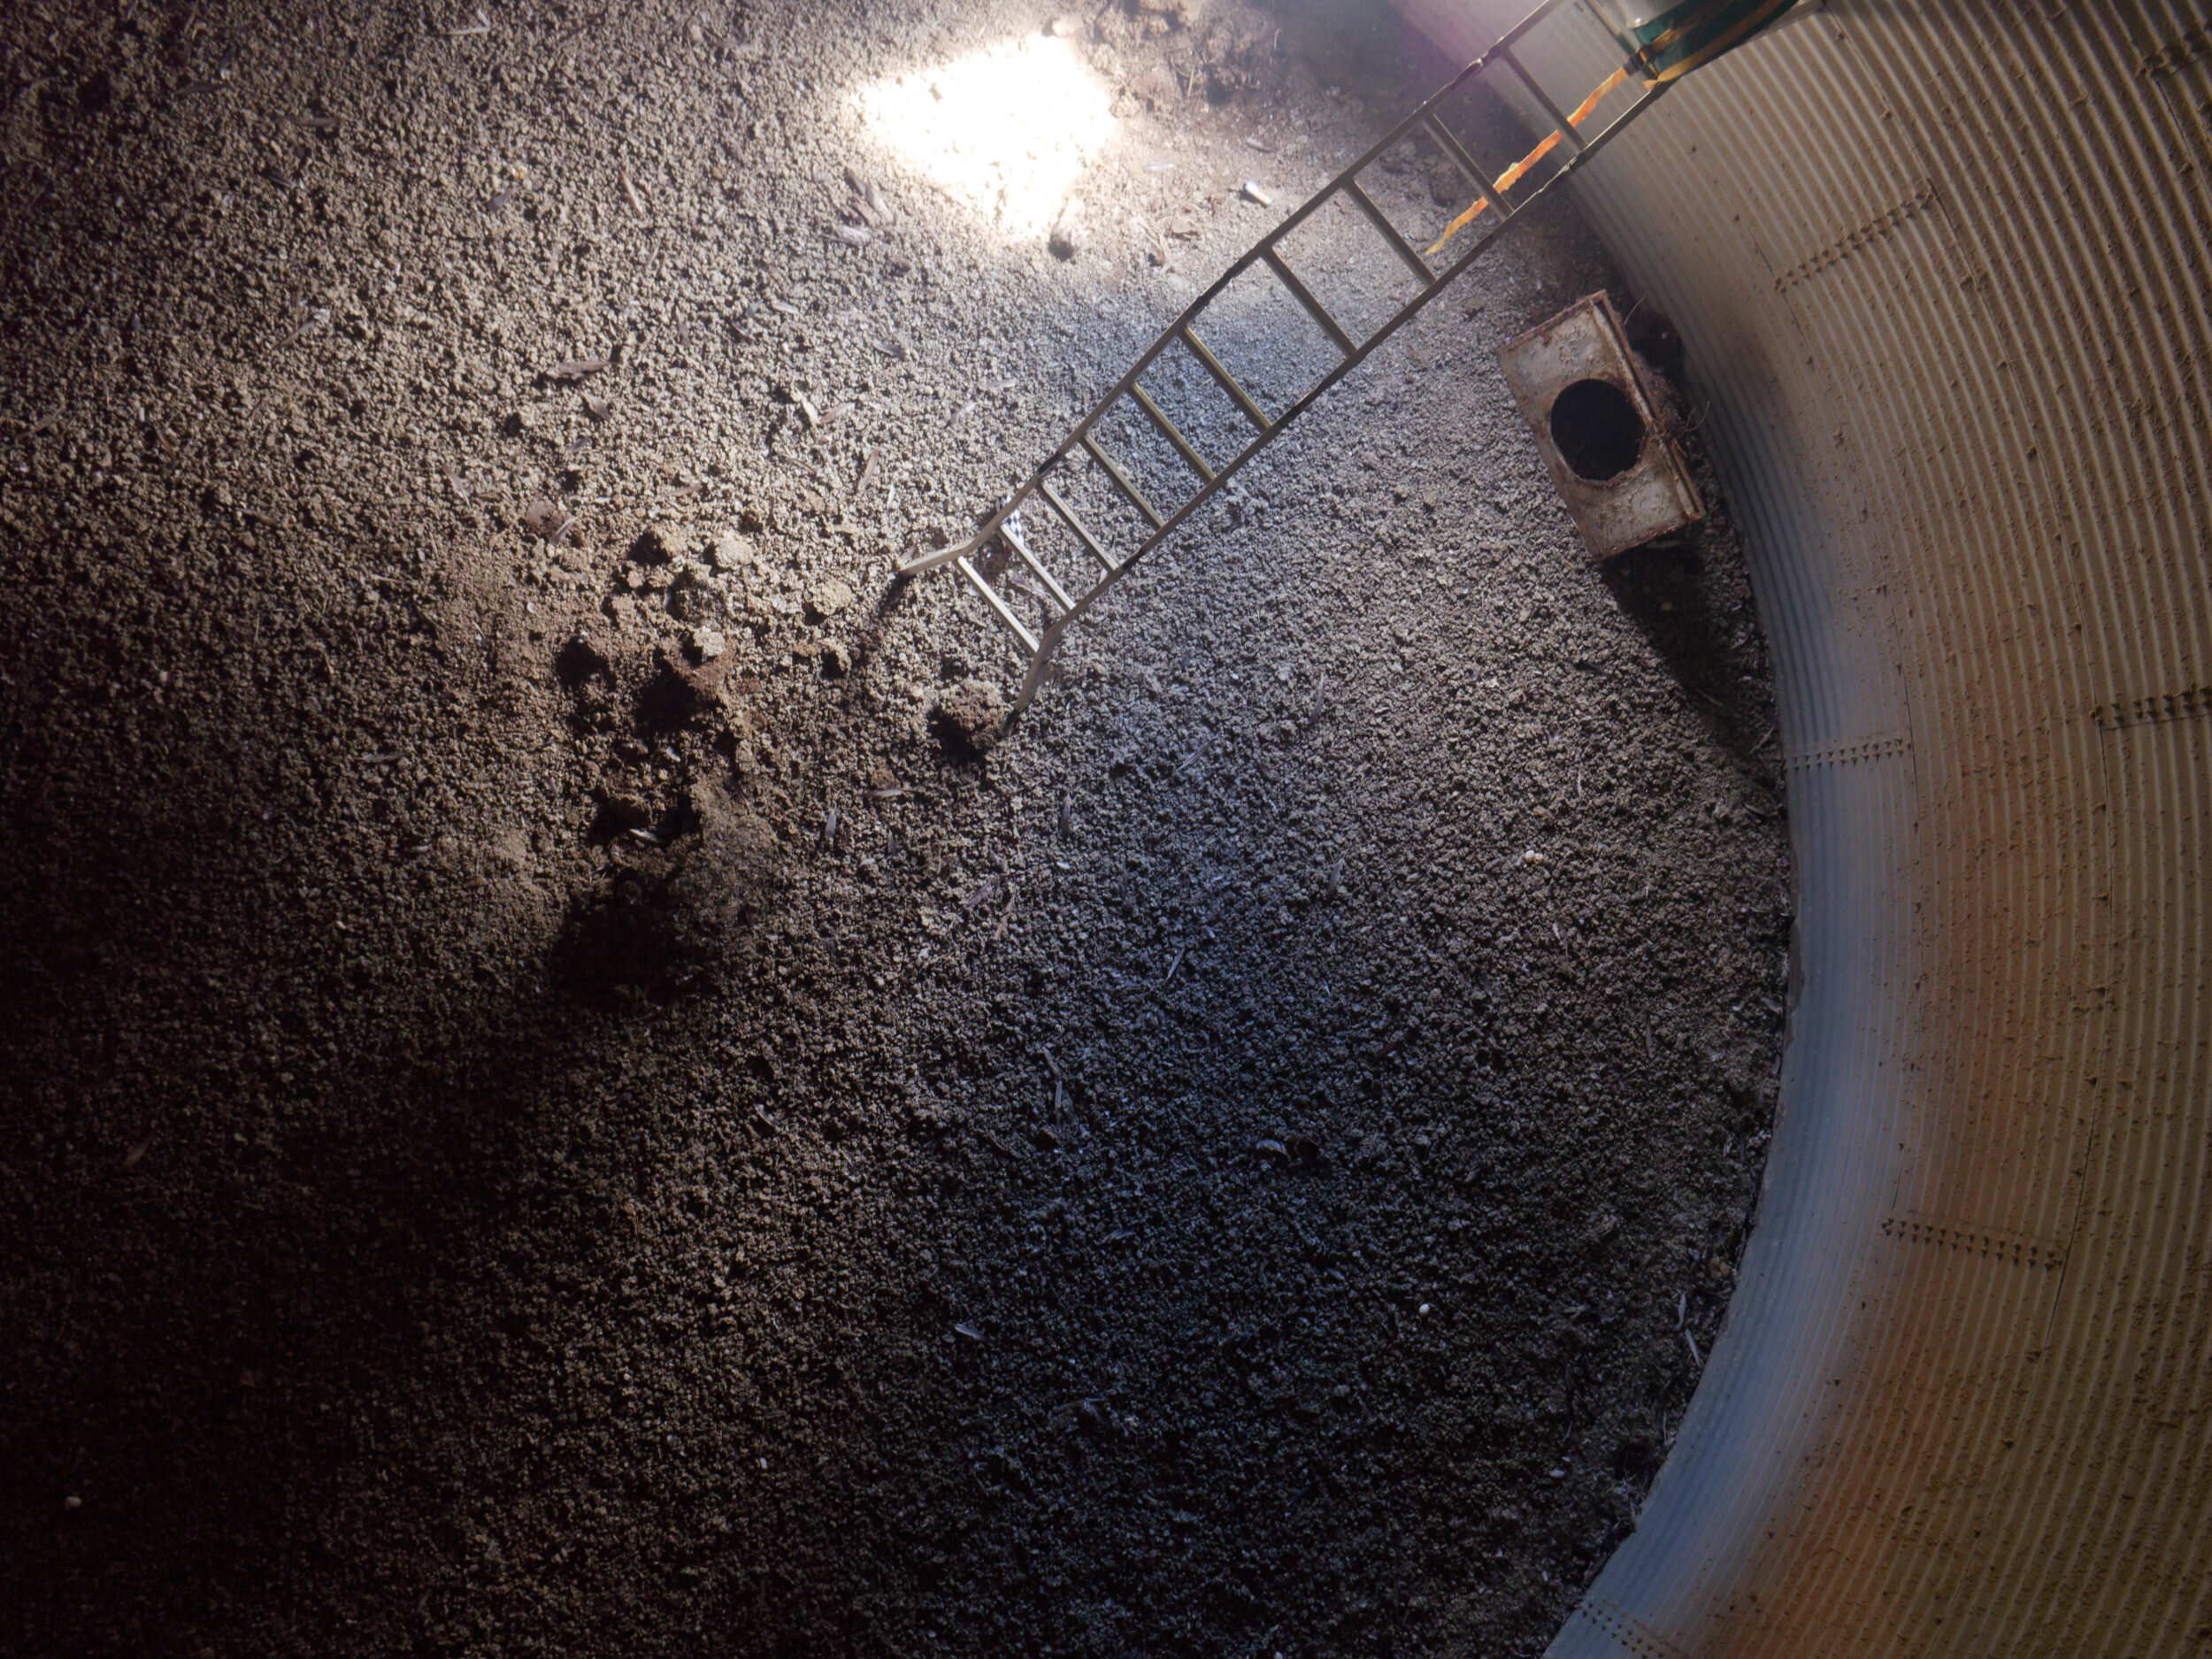
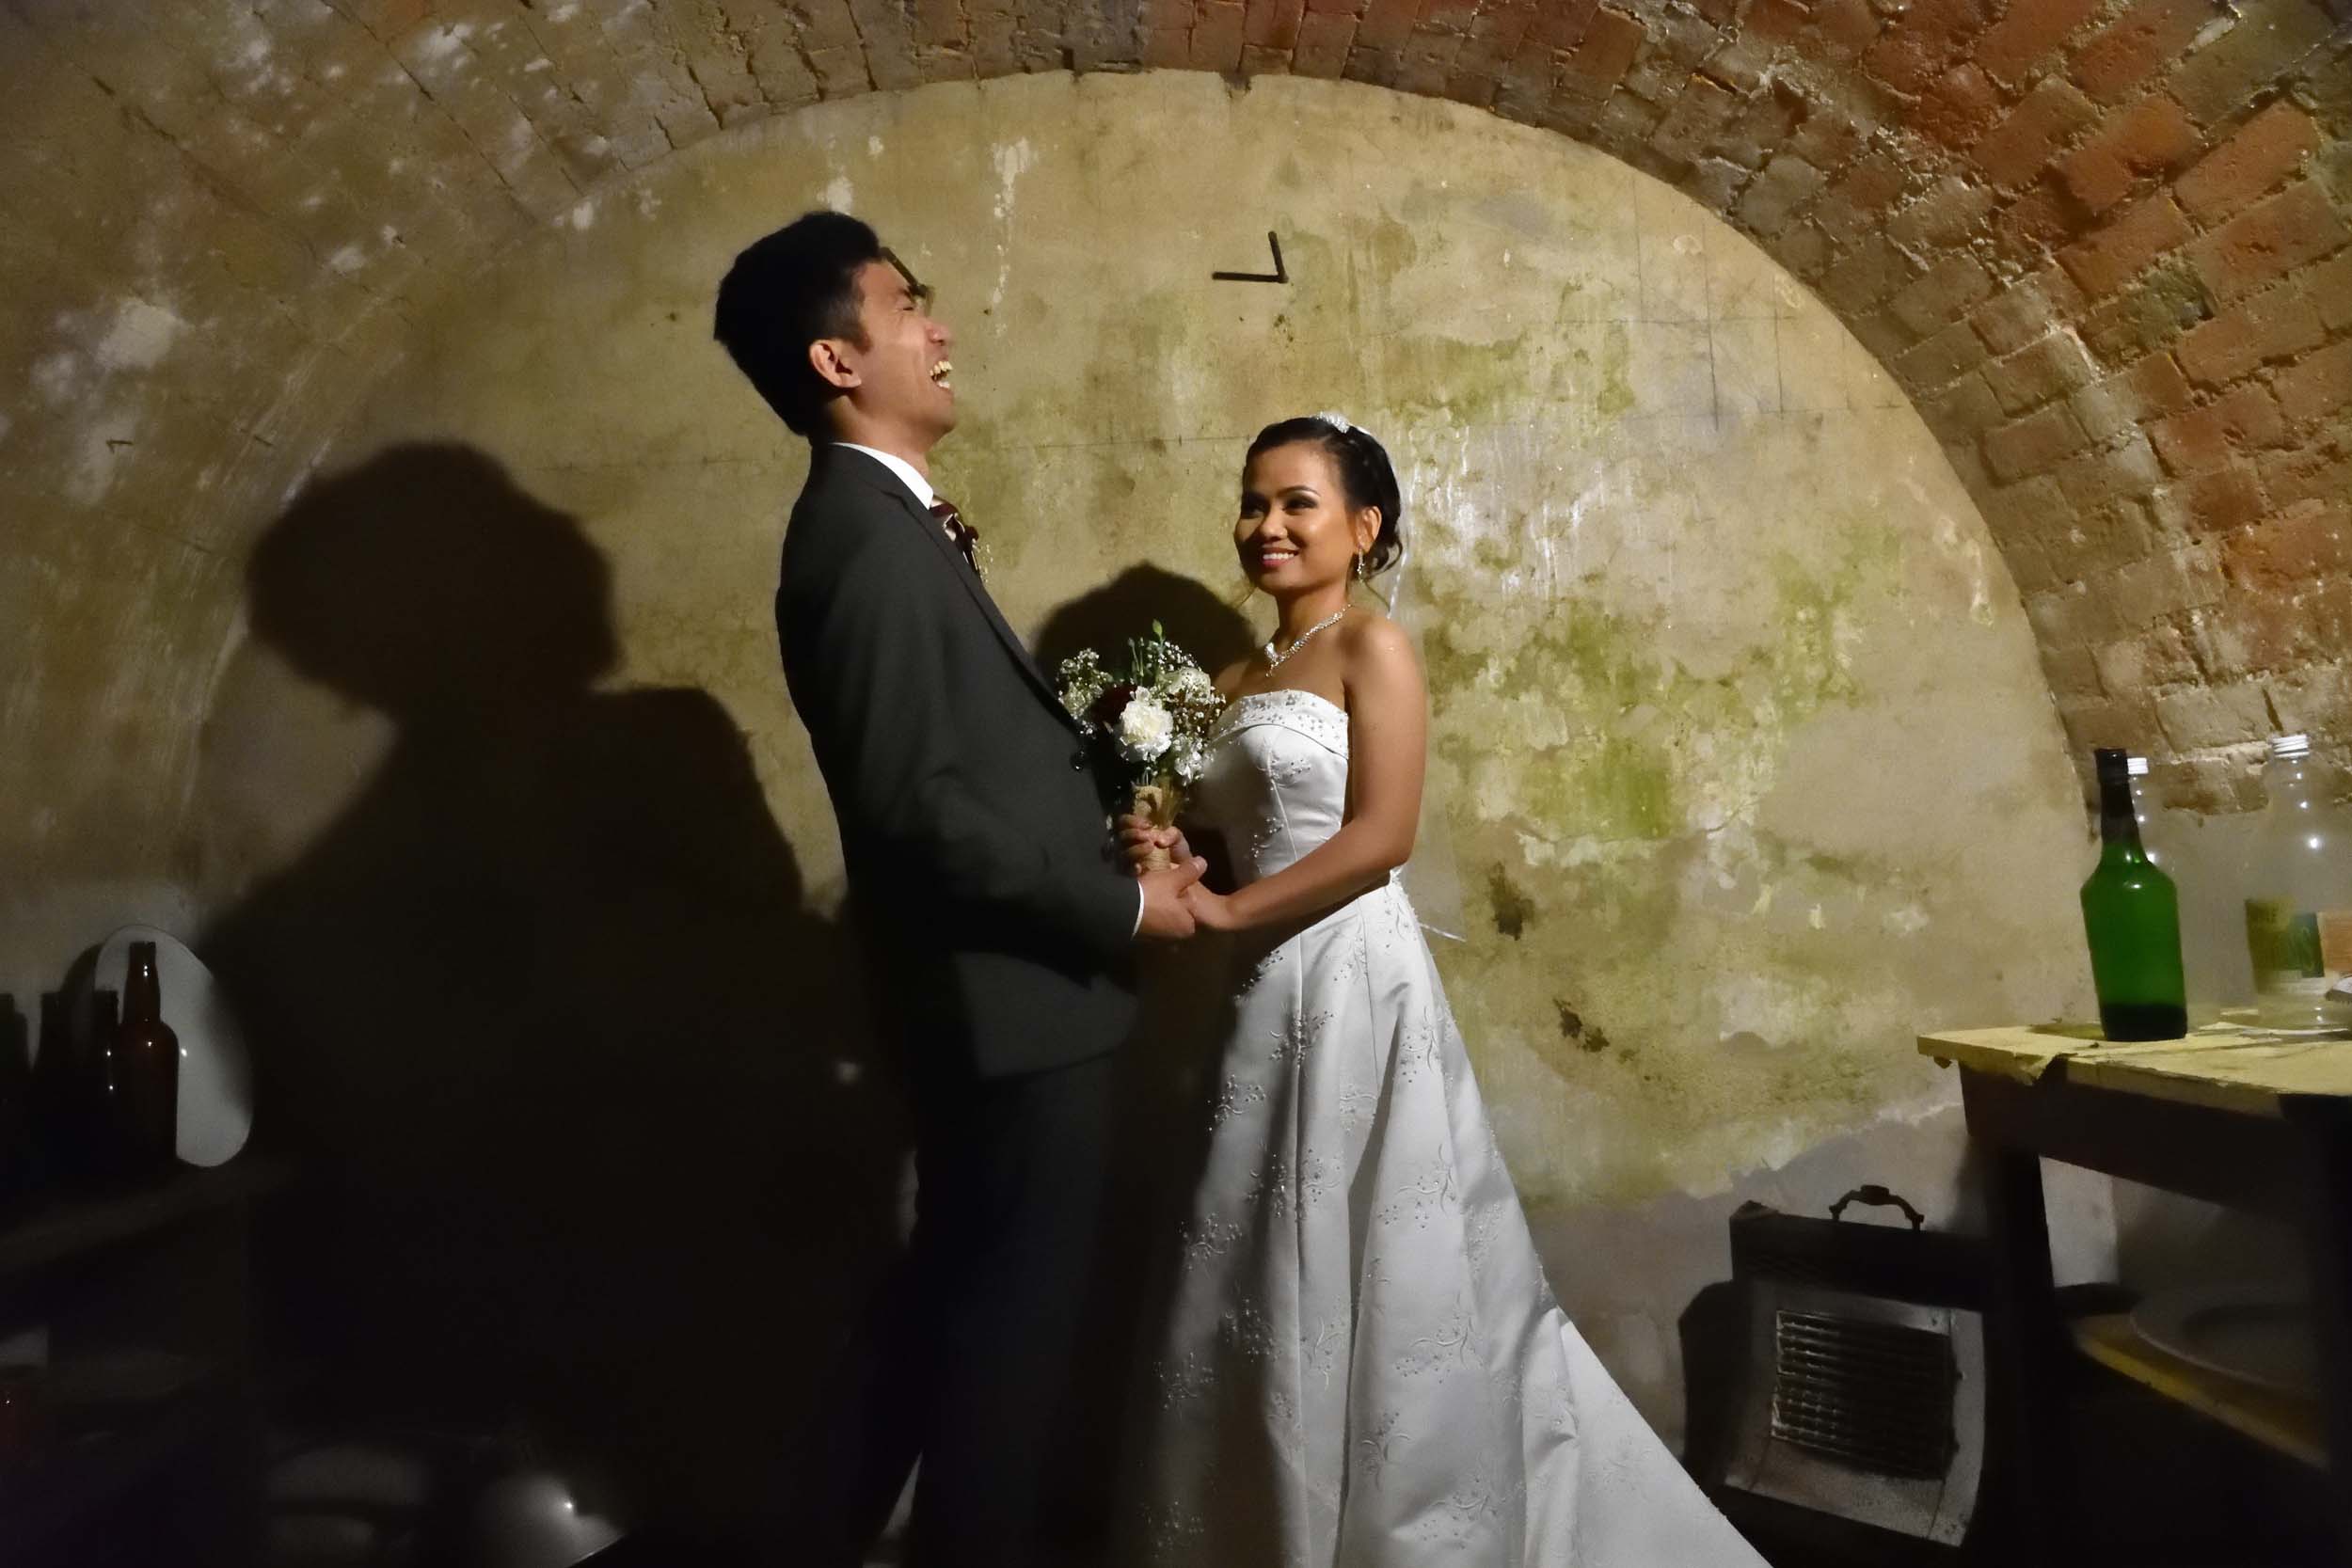
What about iso limits? How far are you prepared to go, how much quality are you prepared to lose and how long are the couple going to look at the image before they flip over to the next image [in other words, how important will the image be in their album, if they even print it]. Some images are just for fun. In this case the couple wanted some pictures in the cellar of this old homestead. I knew I would be using flash but decided to see how the D7200 would do at iso 25600 with no help from the flash. Many pros would never dream of handing over such a 'washed out mush' but I gave this image to my friends - I charged absolute minimum for the day and they were happy with this image, they're my friends and that's all I care about.

Back to the discussion about flash. Many beginners buy their first flash, put it on the camera and fire it directly in someone's face, the camera automatically sets the background to turn out black [because the photographer chose the wrong settings] and the picture looks awful. From then on whenever they read a post about someone asking about flash they respond with "Whatever you do don't use flash, it will ruin your pictures!". Meanwhile there are many pros making a living using flash in their photos - maybe someone should warn them too? Have a look at this website demonstrating how to use flash and still have the light looking natural.
Bounce flash is the most underrated technique possible. People will tell you that good lighting is about having the largest diffused light source possible, and will go to great lengths to shoot with the biggest softbox they can assemble. Meanwhile bouncing the flash off a suitable white surface provides a light source 5 or 10 times bigger than their softbox. In the setting above I aimed the SB800 over my right shoulder, in the direction of the light that produced the shadows in the previous image. It is often better to work with the existing light source than to work against it, in this case the settings for ambient totally killed the existing light - [D7200 18-140mm SB800]. Again, it's not about whether the one looks better than the other, it's about the fact that you have the ability to use either as needed.

Posing couples: Don't overthink this one. You may see a pose you really like and try to copy it but never get the same results - this is often because the moment was spontaneous and the photographer probably told the couple "Just be yourselves" and stepped back and photographed the occasion - you can't pose spontaneity. Not every couple will be so forthcoming with their poses, some will have researched poses and will be a dream to work with as they try them out. Others may stand there like statues and say "What should we do?". The best you can do is build up a good rapport with the couple before the day and work on it through the day. One way of getting them to 'loosen up' is to move a distance from them, get out a long lens and tell them to 'stay' for a while as you back away. They will start talking to each other and feel more comfortable with the lessened pressure. Once you are far enough away get them to start walking toward you slowly then tell them to just talk with each other, maybe ask them if they can dance, tell him to 'twirl her around' - think of ways to get them into more interesting poses than a pair of statues. Reverse psychology can work wonders - tell them to stand still, stare straight at you, look serious "and whatever you do don't smile or laugh!" - see how long they keep looking serious.
Working together: Occasionally you may end up working with a videographer. There are two general approaches to this 'situation'.
1.) You both say "You do your job and I'll do mine - just stay out of my way!"
2.) Or "Let's work together and do our best to make it a happy day for the bride and groom!".
I personally prefer the second option. If both parties work together it is perfectly feasible to get good pictures and video for the couple - which is what they would want. Starting the day thinking about having a competition with each other is a distraction you don't need, and neither does the couple, they're paying for professionals, act like one [both of you]. Being professional means more than charging for your services, it's the way you behave as well. Talk to each other, agree on who will stand where during various parts of the ceremony. If the videographer wants to get a clip with the bride walking toward the groom for the ceremony discuss where they will be standing and work out where you can stand so as not to mess it up. Hopefully the videographer will do the same for some shots you would like to get. Be prepared to sacrifice one or two shots to make it easier for them to get a stunning video for the couple. Having a videographer can also relieve some of the pressure from you especially during the formals after the ceremony. Find out what 'scenes' they would like to set up with the couple and stand back and get some nice 'candid's from a distance. Then while you are setting up your shots they can do the same with video. Once again, ask yourself "What would the couple want?" or "What would I want if it were my wedding?".
Workflow: This is something that may take a while to work out. Depending what software you use [I find Nikon NX-D perfectly capable and useful software for editing] there could be several approaches to this topic. First you need to have the time on your cameras set the same. It's not nice trying to "arrange by time taken" when one body was set to daylight savings and the other wasn't and they're an hour different and the pictures overlap in time, like an hour's worth of 'getting ready' photos overlapping the ceremony photos. In Lightroom you can change the time in the exif - best to simply get the time set right from the beginning. After the shoot download all the pictures to your computer - don't delete them from the memory cards yet, anything could go wrong with the computer after downloading the pictures. Once they are on the computer back them up to an external hard drive or cloud storage. Now you may need to rename them since the numbers the camera gives them could be duplicated on both bodies. After you have "cameraA" and "cameraB" files renamed you won't be asked "these files numbers already exist, what do you want to do...." you can perhaps make 4 folders "preparation" "ceremony" "formals" "reception" and copy the images to their relevant folders. With Nikon NX-D these folders can be opened one at a time and global adjustments made. If white balance is set to 'auto' there will be slight variations between images in the same lighting - select all the images taken in the same lighting and 'fix' the white balance to the same setting for all of them. After making all other adjustments you need in whatever program you use [I export as jpegs and give each image one final tweak in PSE13] then decide how you want to present them. I still present them in 4 separate folders as jpegs. How many you present is up to you. People used to say that 300 is more than enough, now it seems to be around 500 - but also think what you would like if it were you and someone said "We got 2000 pictures on the day, how many do you want?". I'd take all of them though some say "How long will it take to look through all of them!?" the answer to that is that they have the rest of their married lives and don't have to print or save them all. Most photographers though will only want to present their best work and not let any "sub standard" images be seen by potential customers. Personally with the dozen weddings I have shot the customers have really been happy about receiving all the images.
Other topics: Canon vs Nikon [Sony is starting to creep into this argument], Mac vs pc: Use whatever does the job for you, there are good options in both camps and you are buying into a system, not just the camera body - what lenses do they have to offer, how much do they cost? Nikon always seems to be slightly more expensive but their kit lenses are generally better quality. 3rd party lenses come out for Canon first because there are more of them out there and cost less than 3rd party lenses for Nikon for this reason. Mac's are more stable but cost a lot. PC's are cheaper to buy to get the same power as a Mac but they slow down over time as programs are added. My 8 year old Macbook pro is as fast as it was on the day I bought it. I recently bought a decent pc build which is really fast and 1/3 of the price an iMac would have cost - but the second month's updates wouldn't install properly and kept downloading and trying again each time I started it up. The response from other Windows users? "Just forget it, next month's updates will fix it, they always do!". PC users get used to working around problems with the system - not that Apple products are perfect, they definitely are not but I've never had to work around problems while waiting for them to fix it on an iMac. Either way at 1/3 of the price I went with a PC but if I was making a good living from photography it would have been another iMac. Of course there are full time pros who use a PC for their editing [you will also find they are used to working around their problems, like having to be a mechanic to drive a certain car :) ]

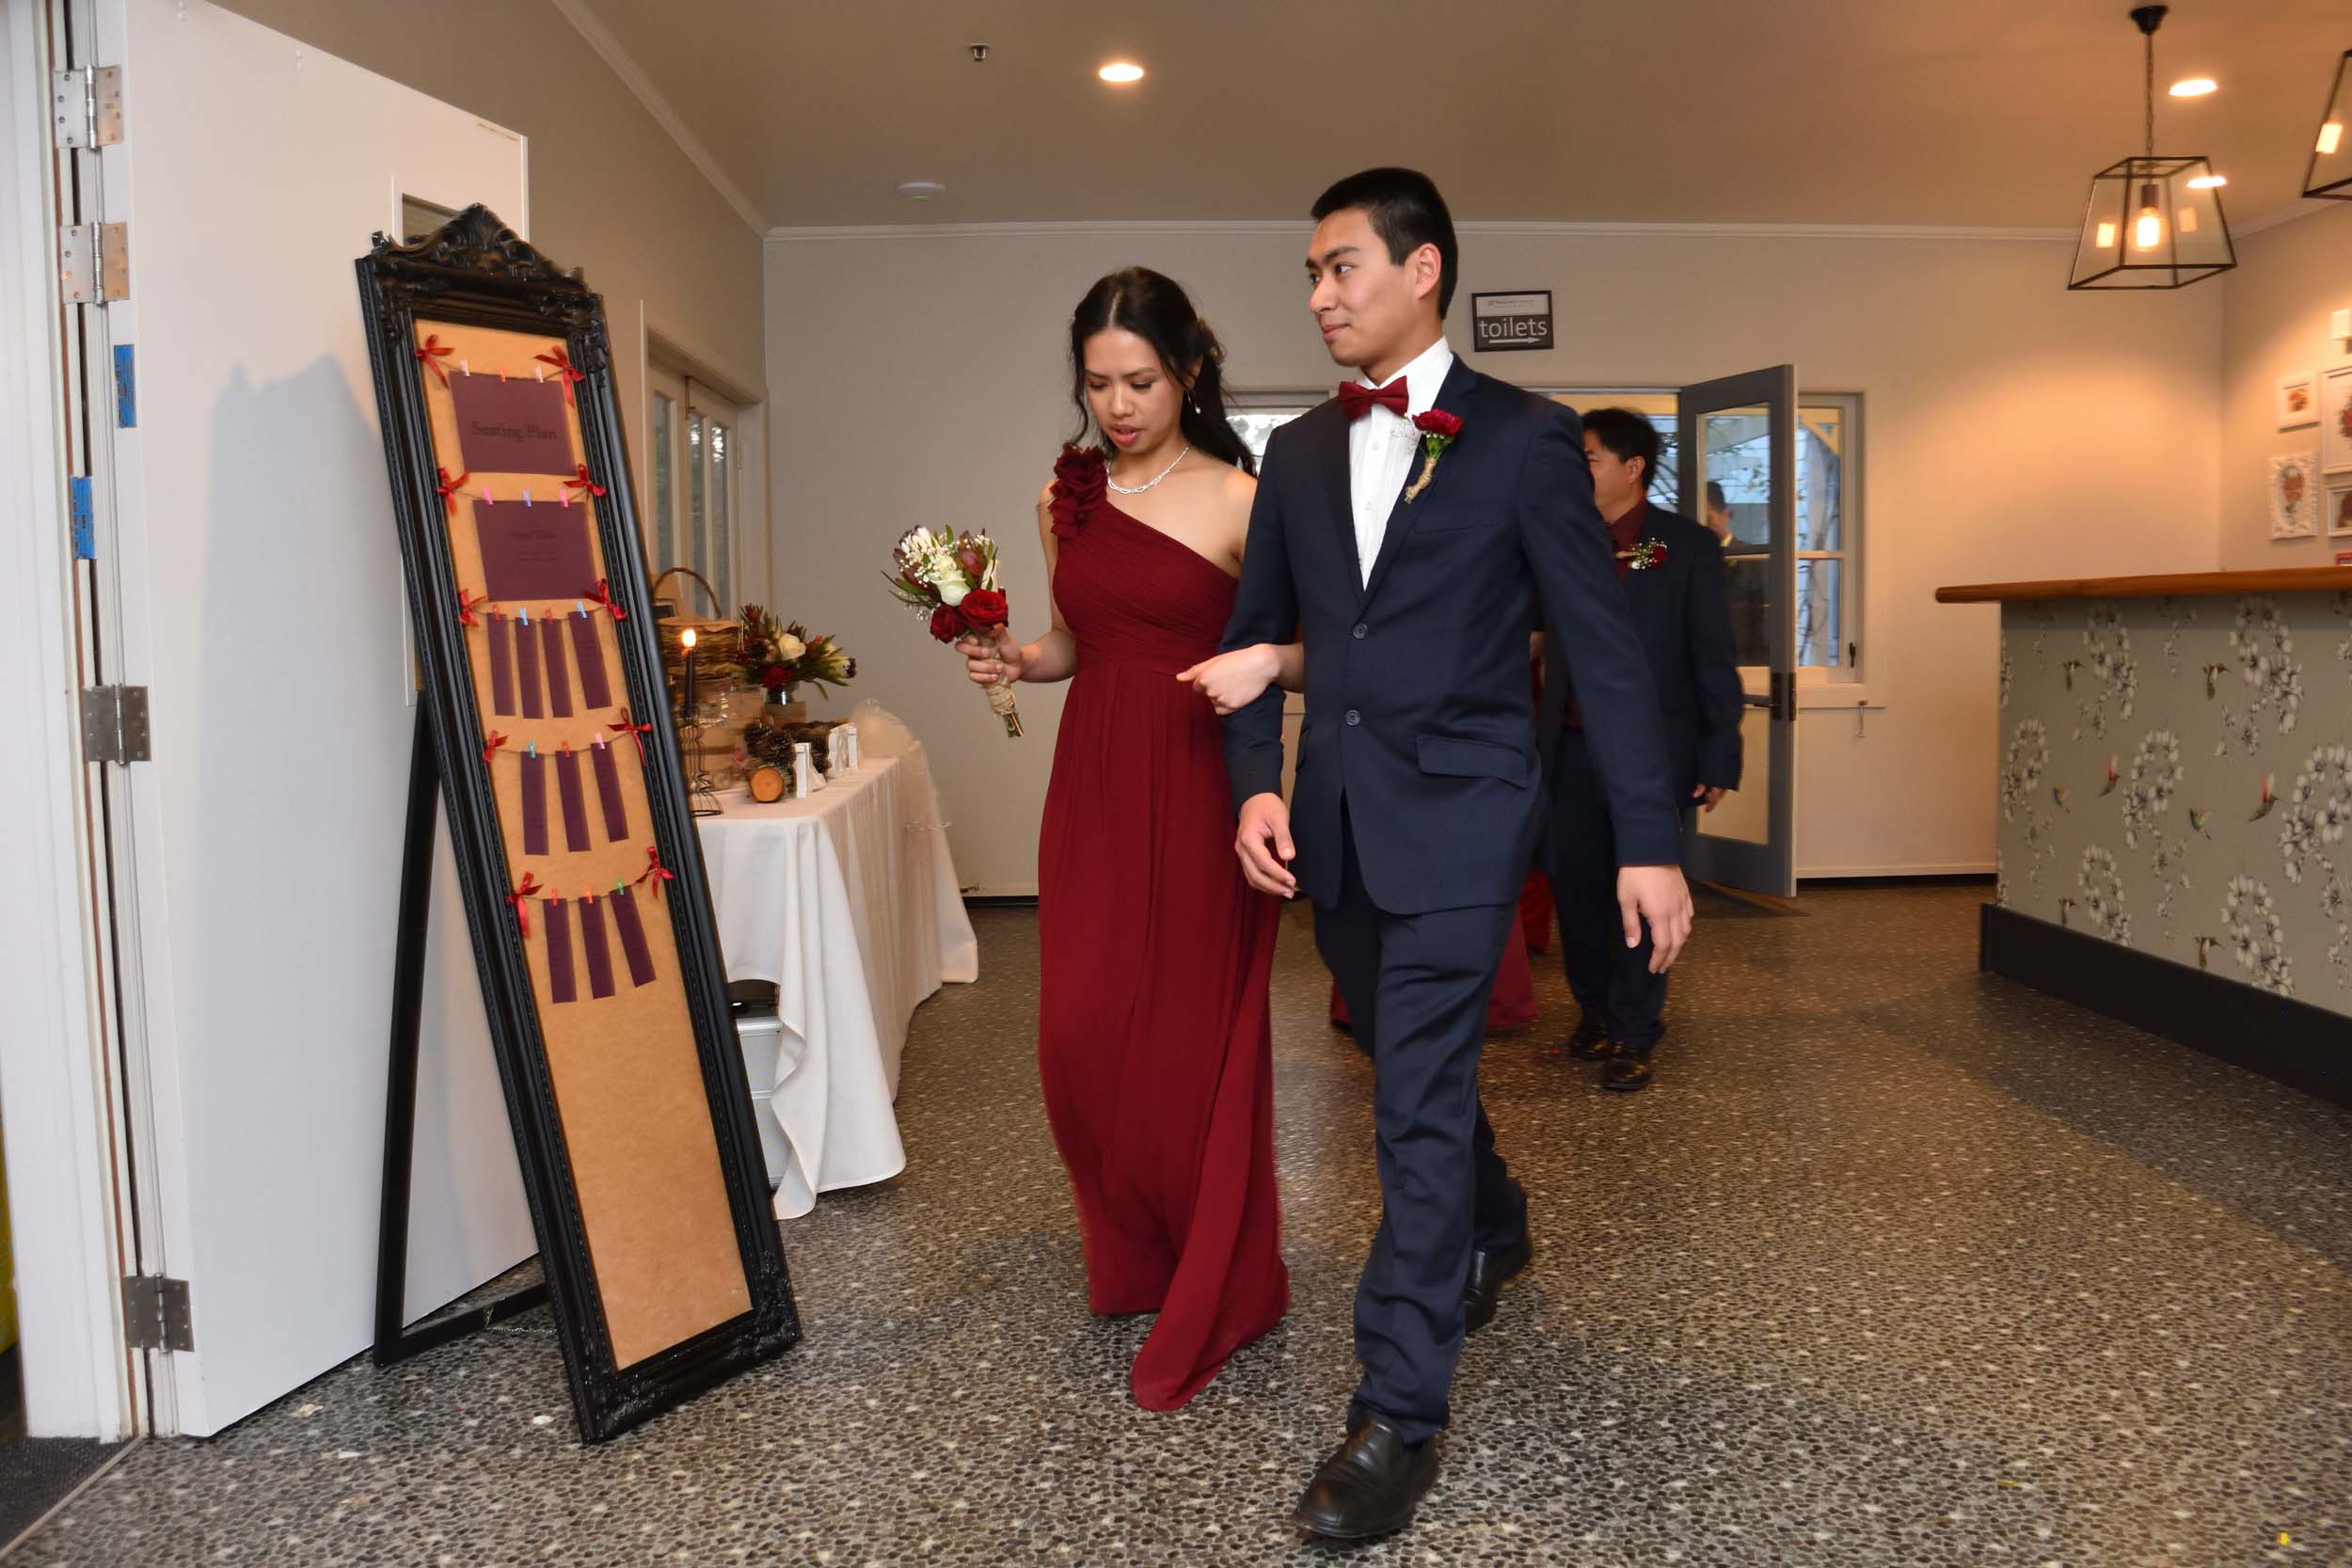
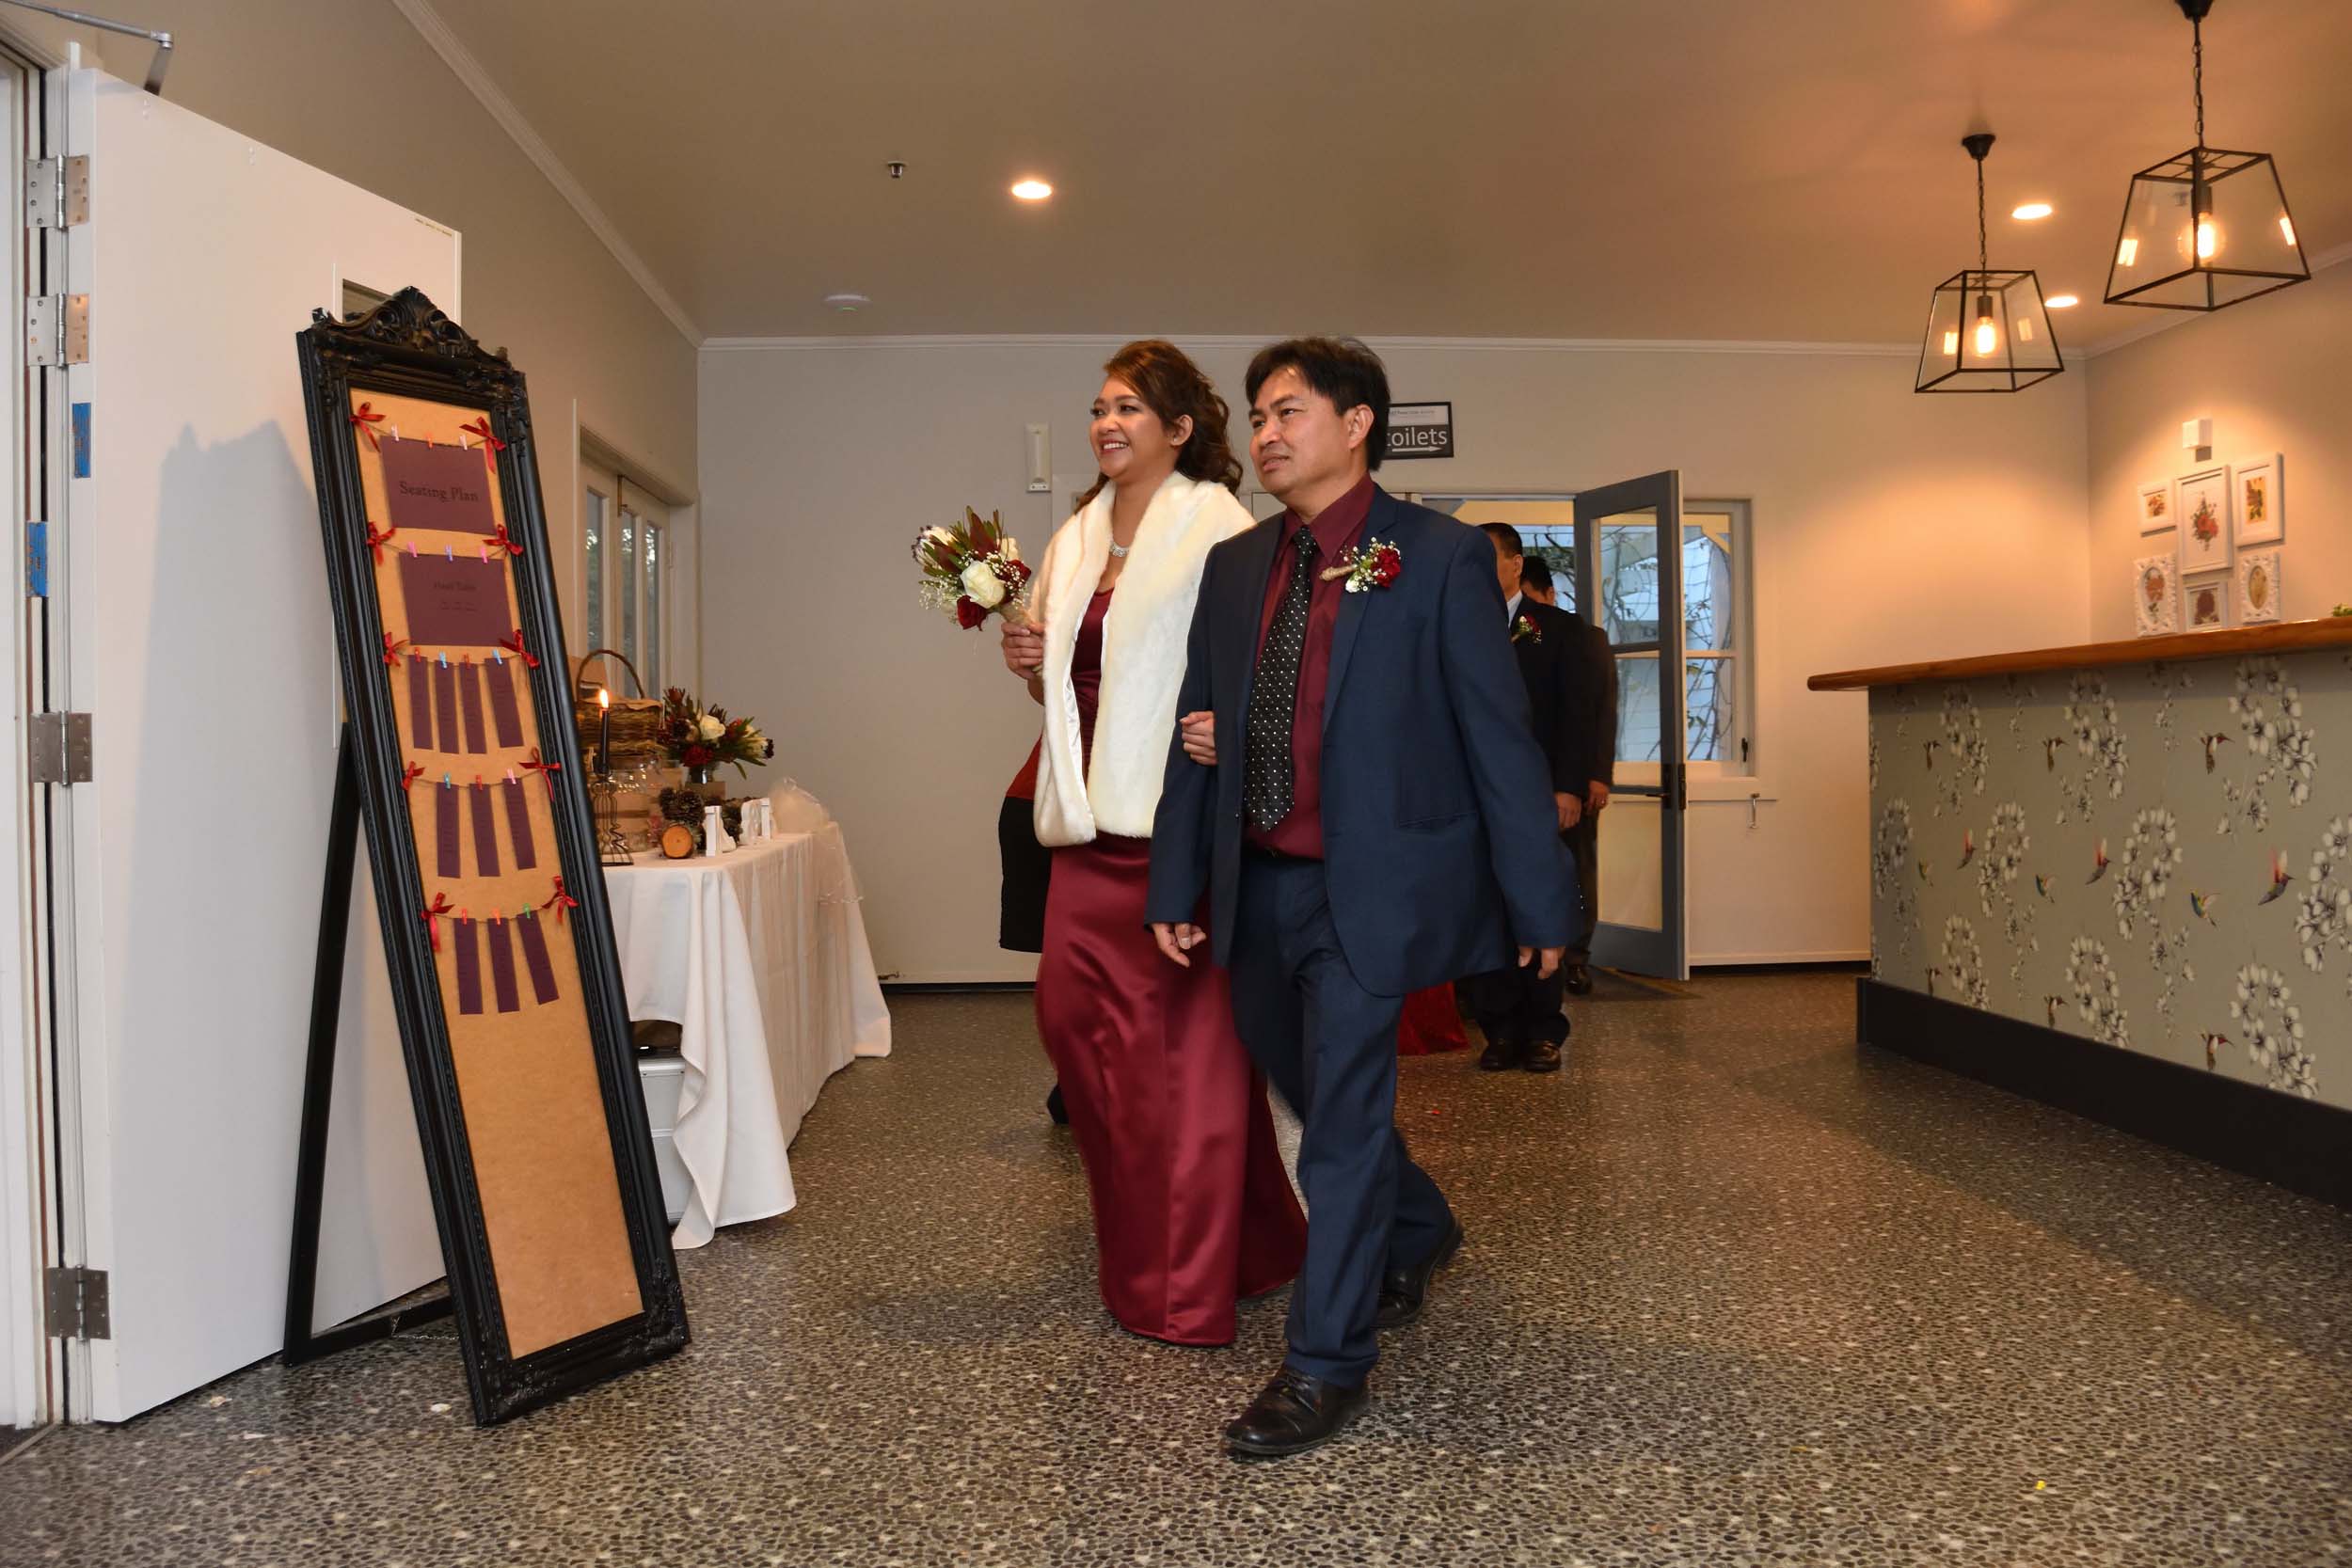
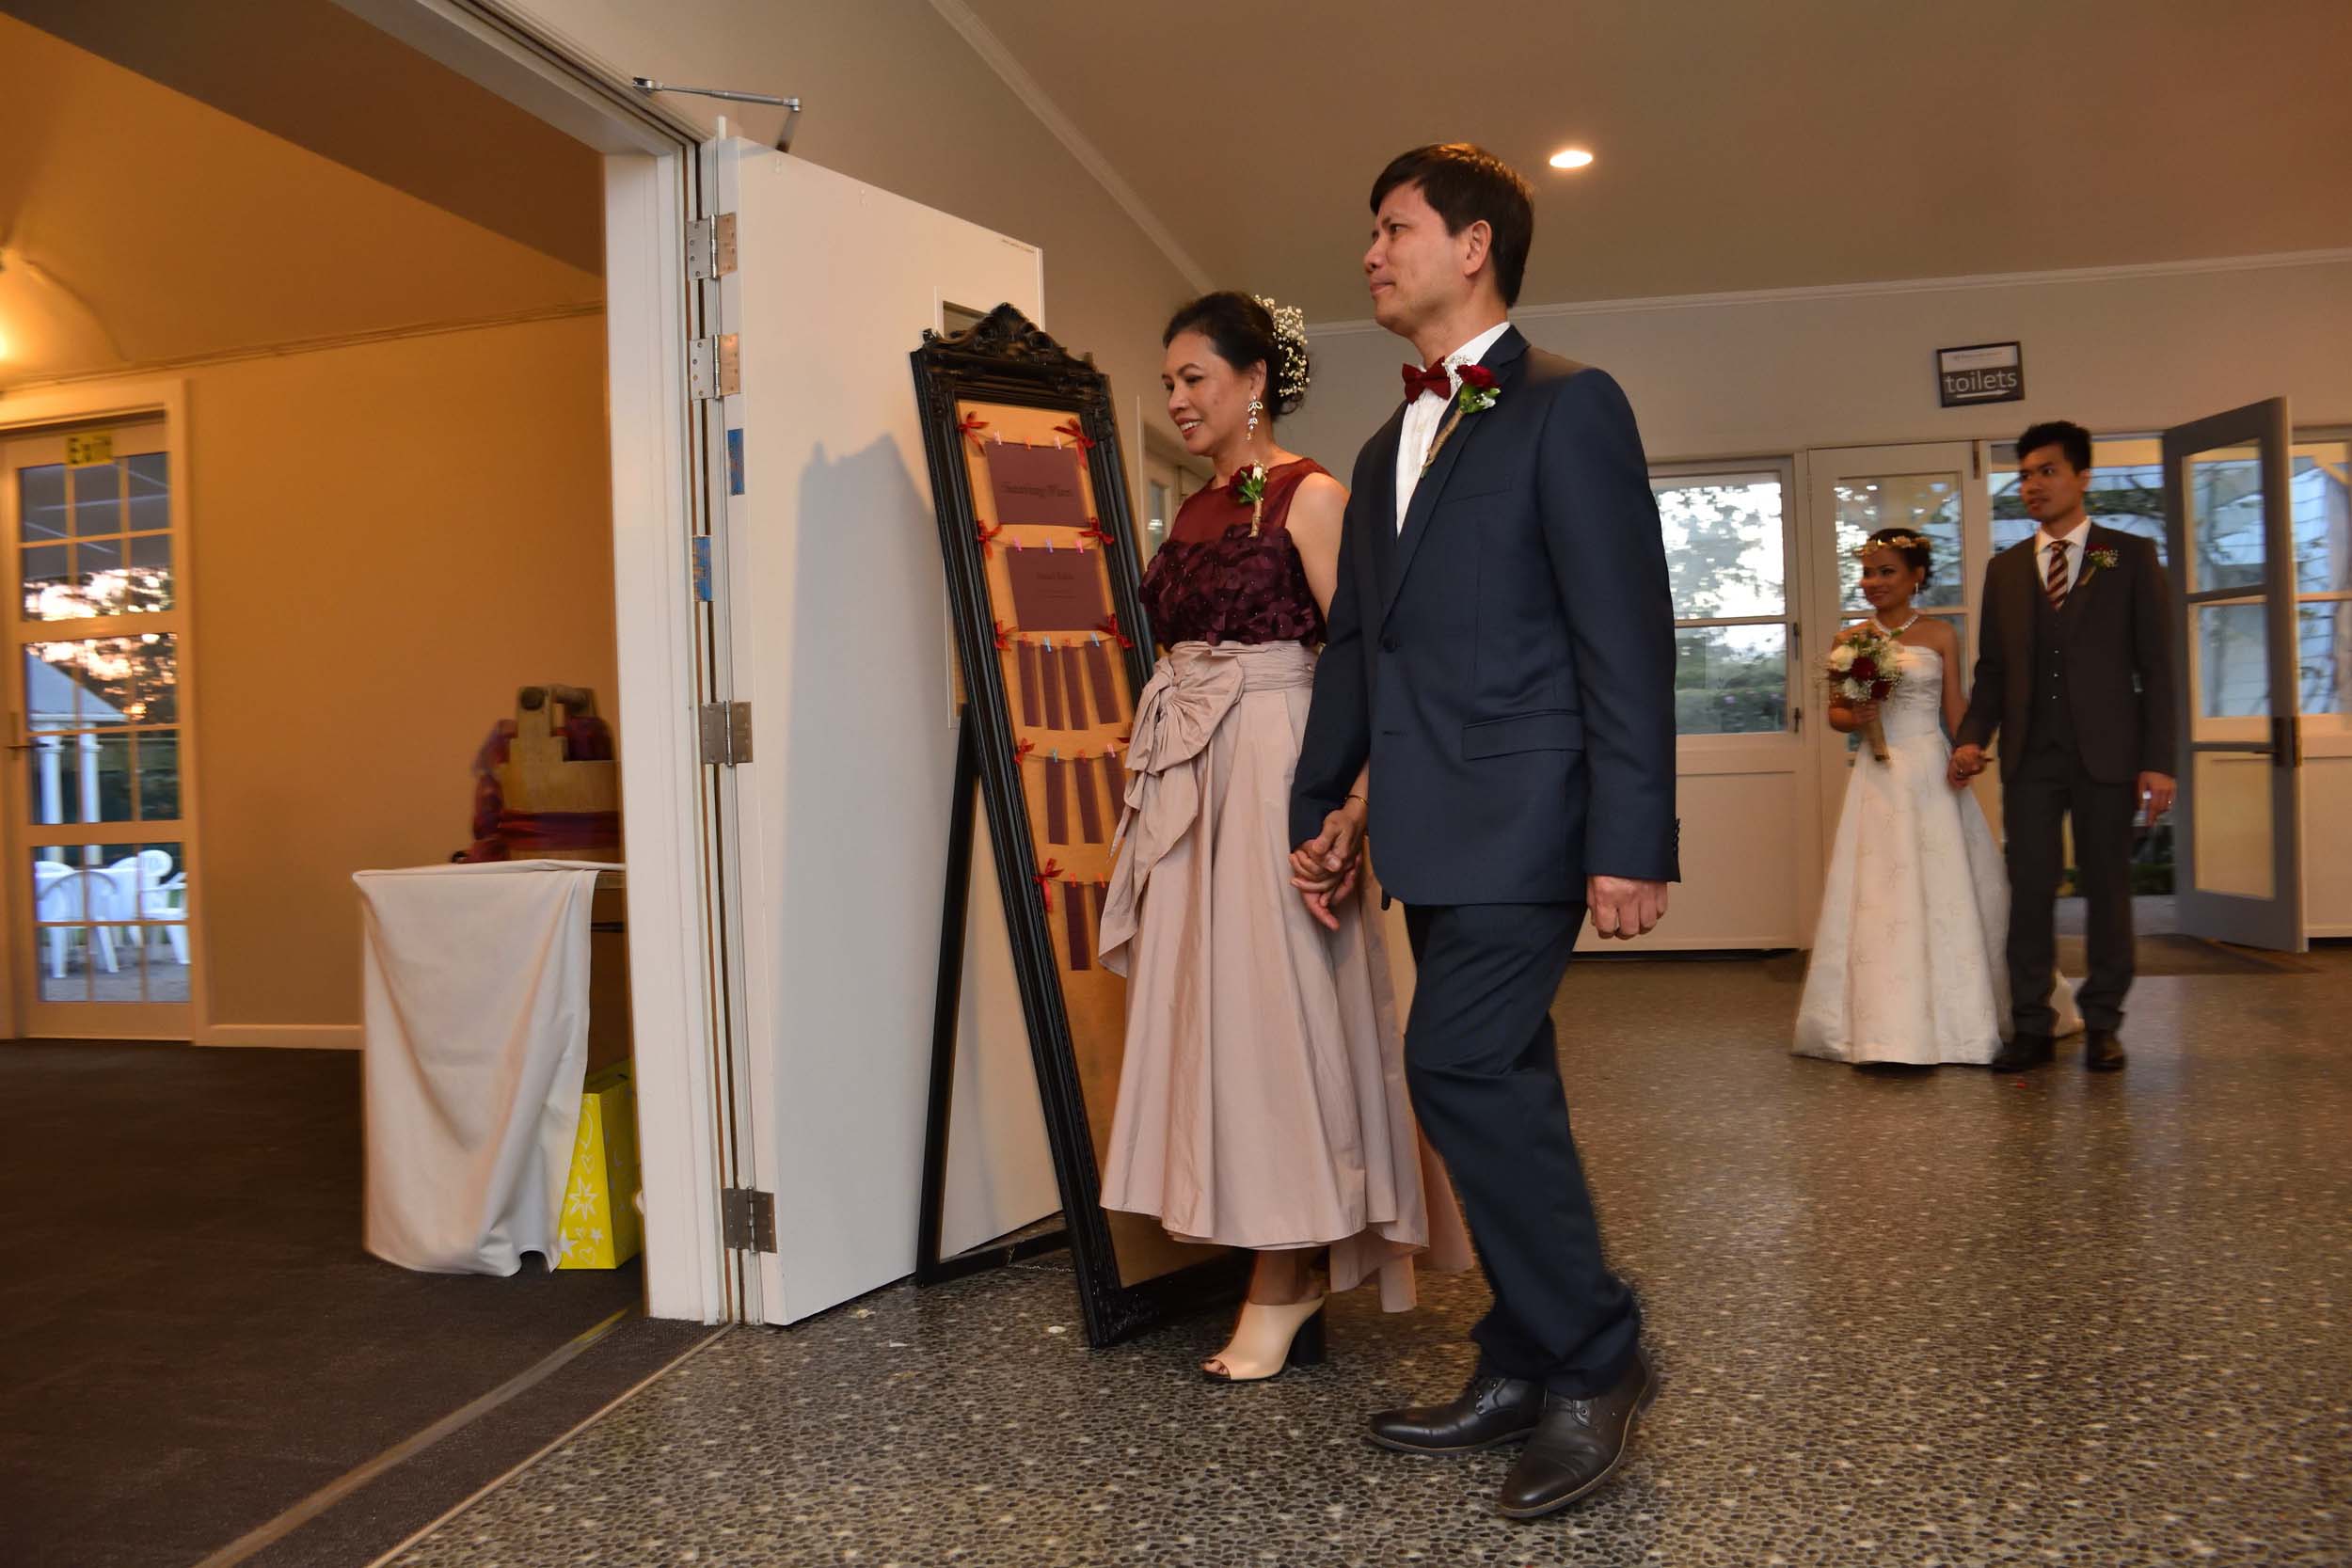
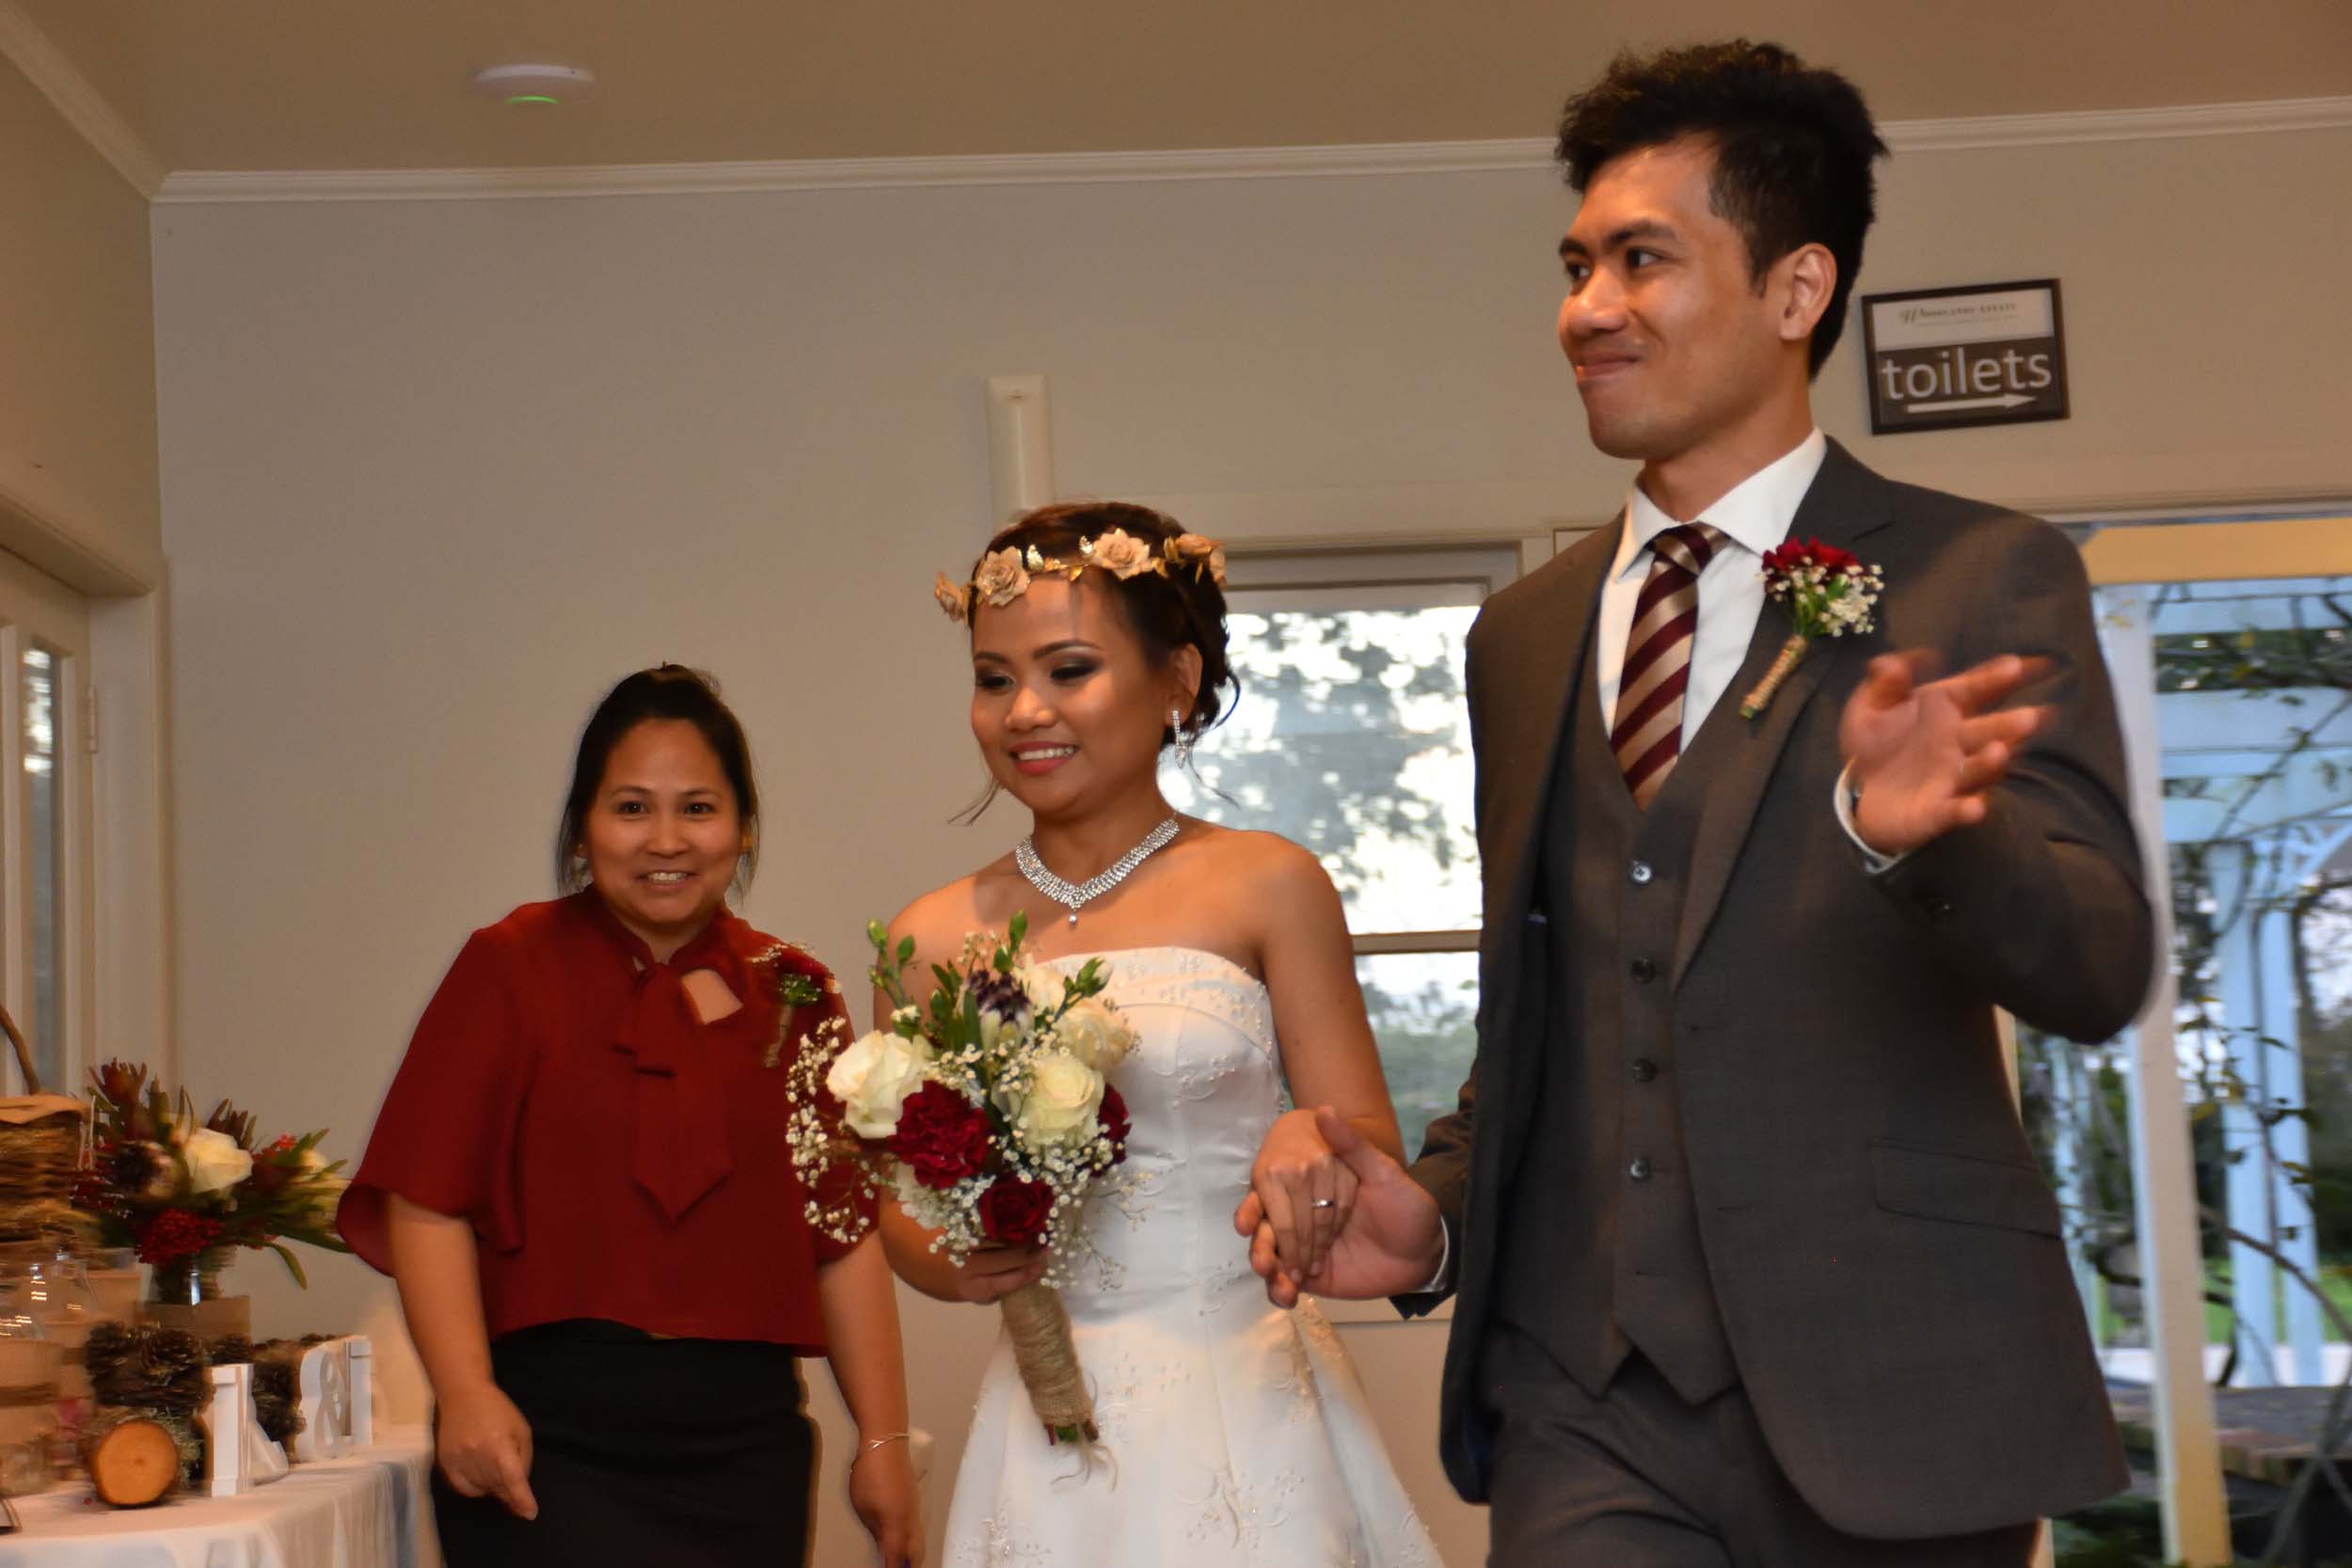
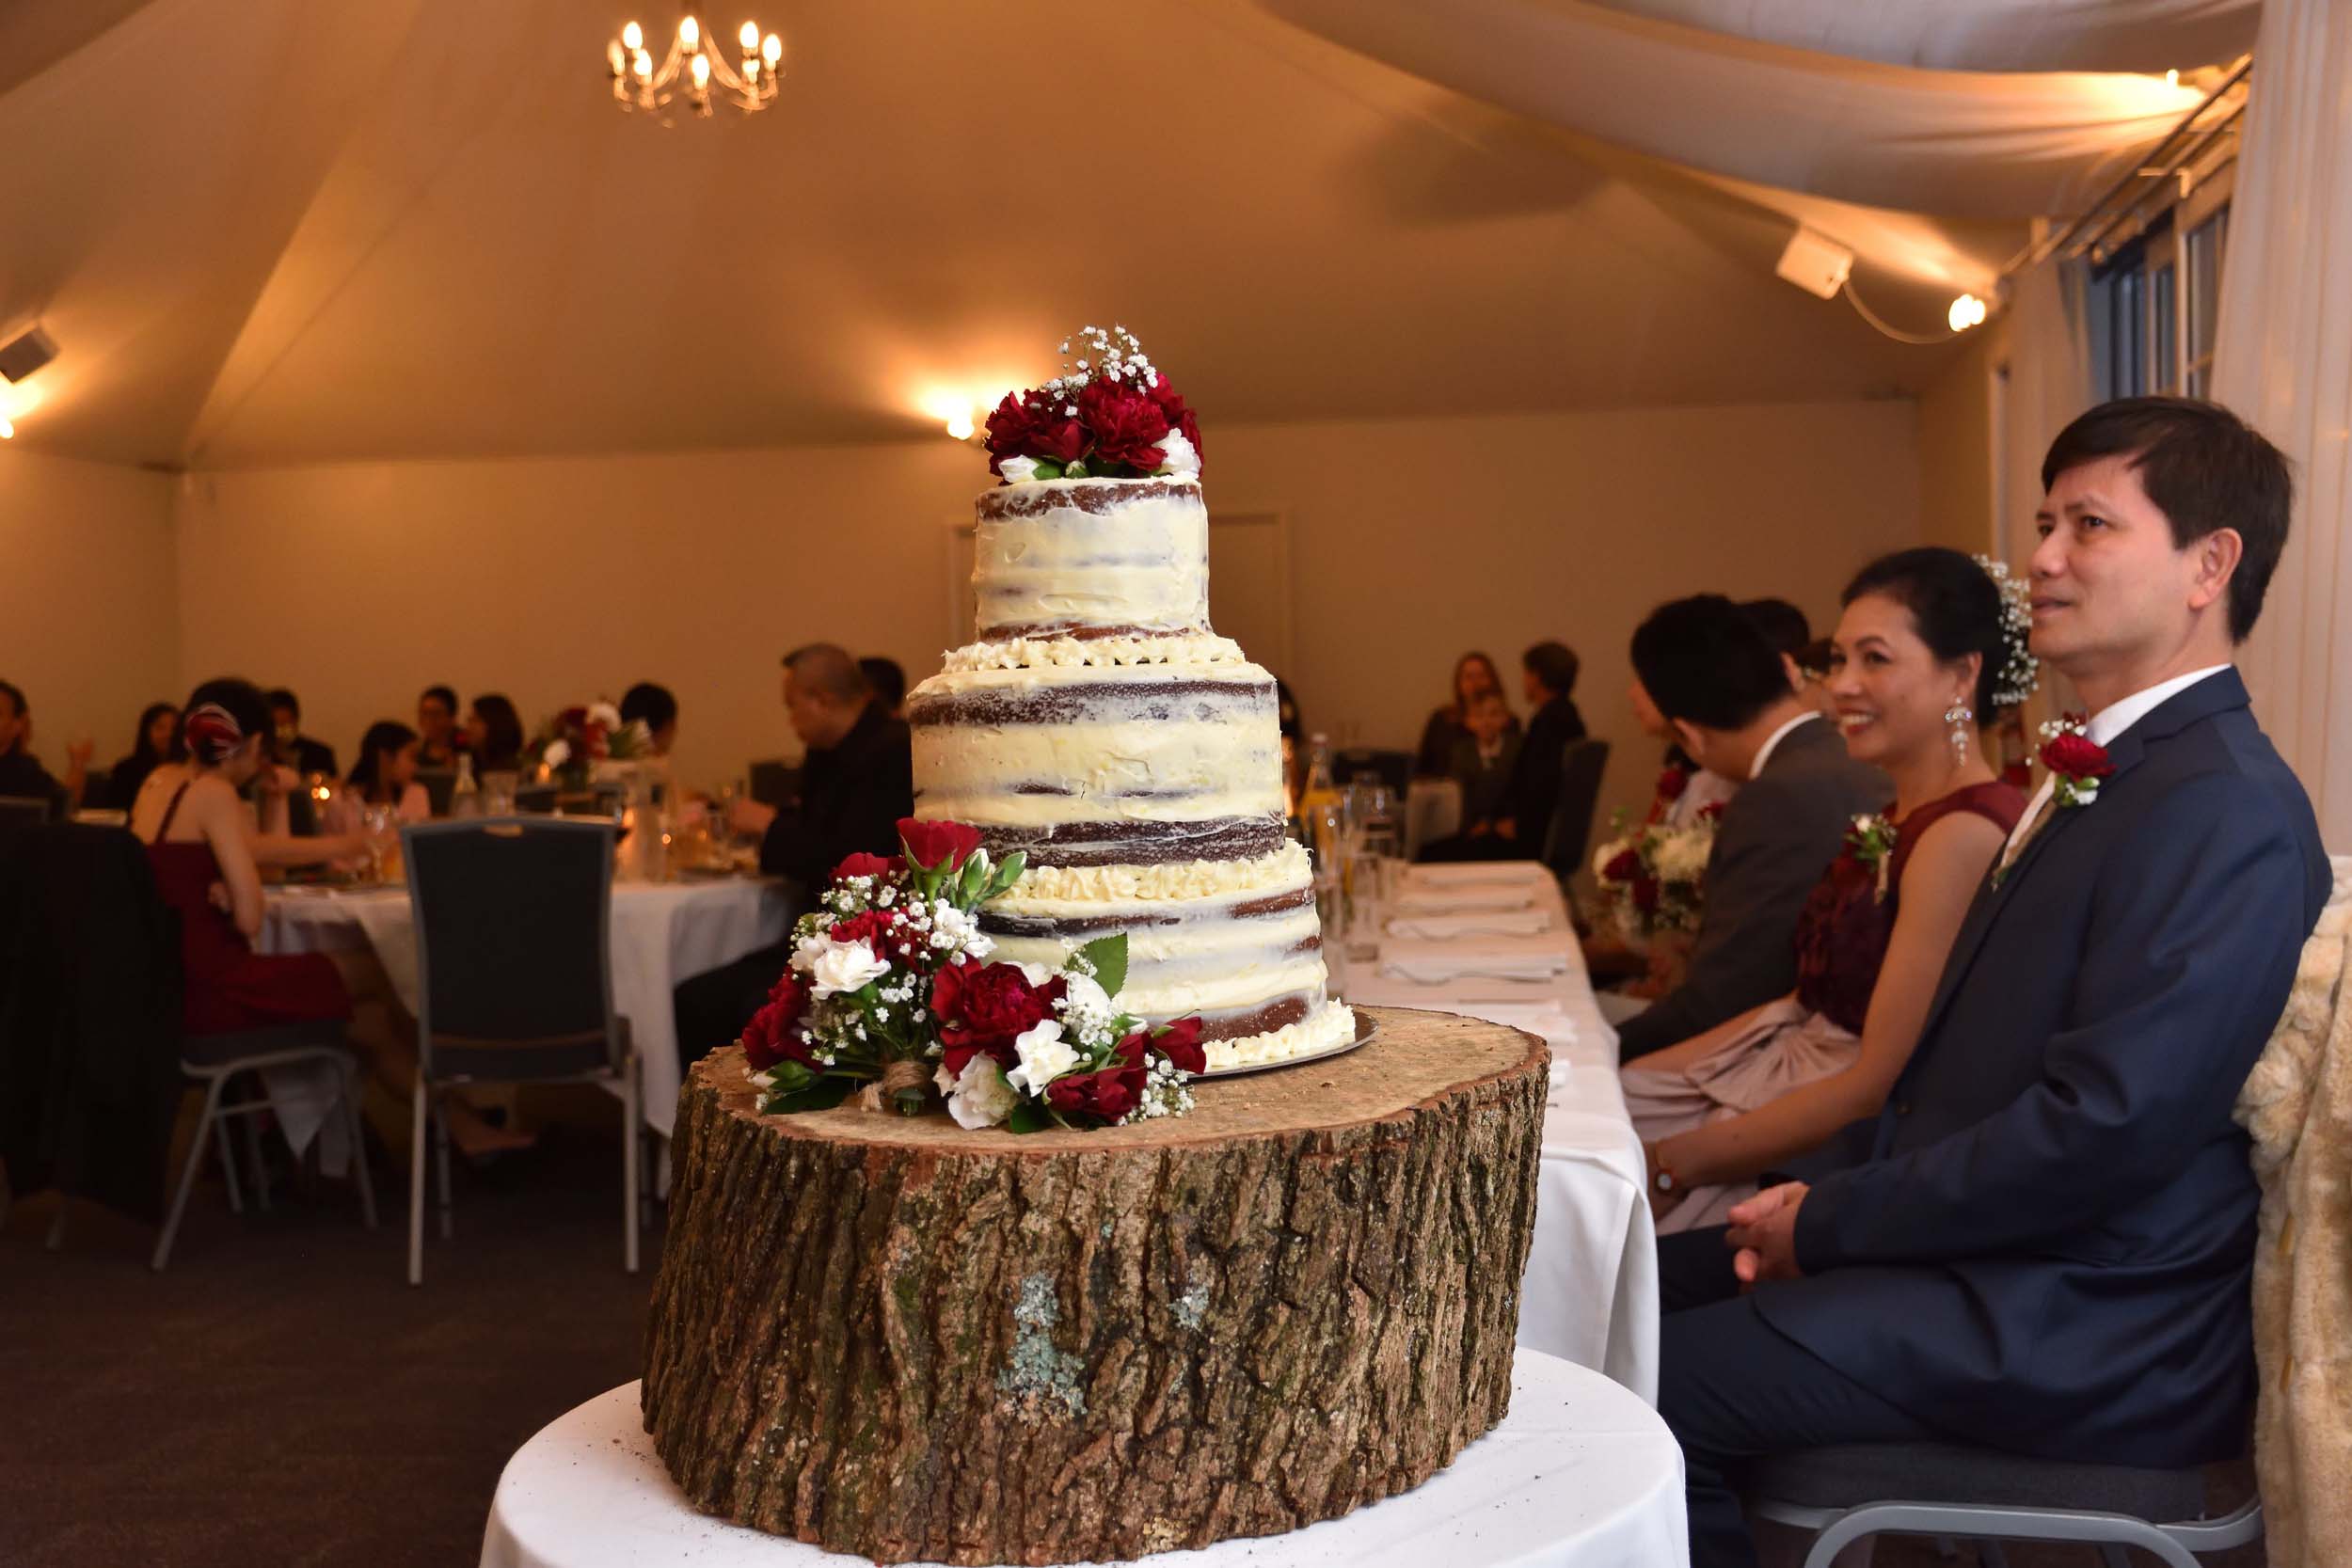
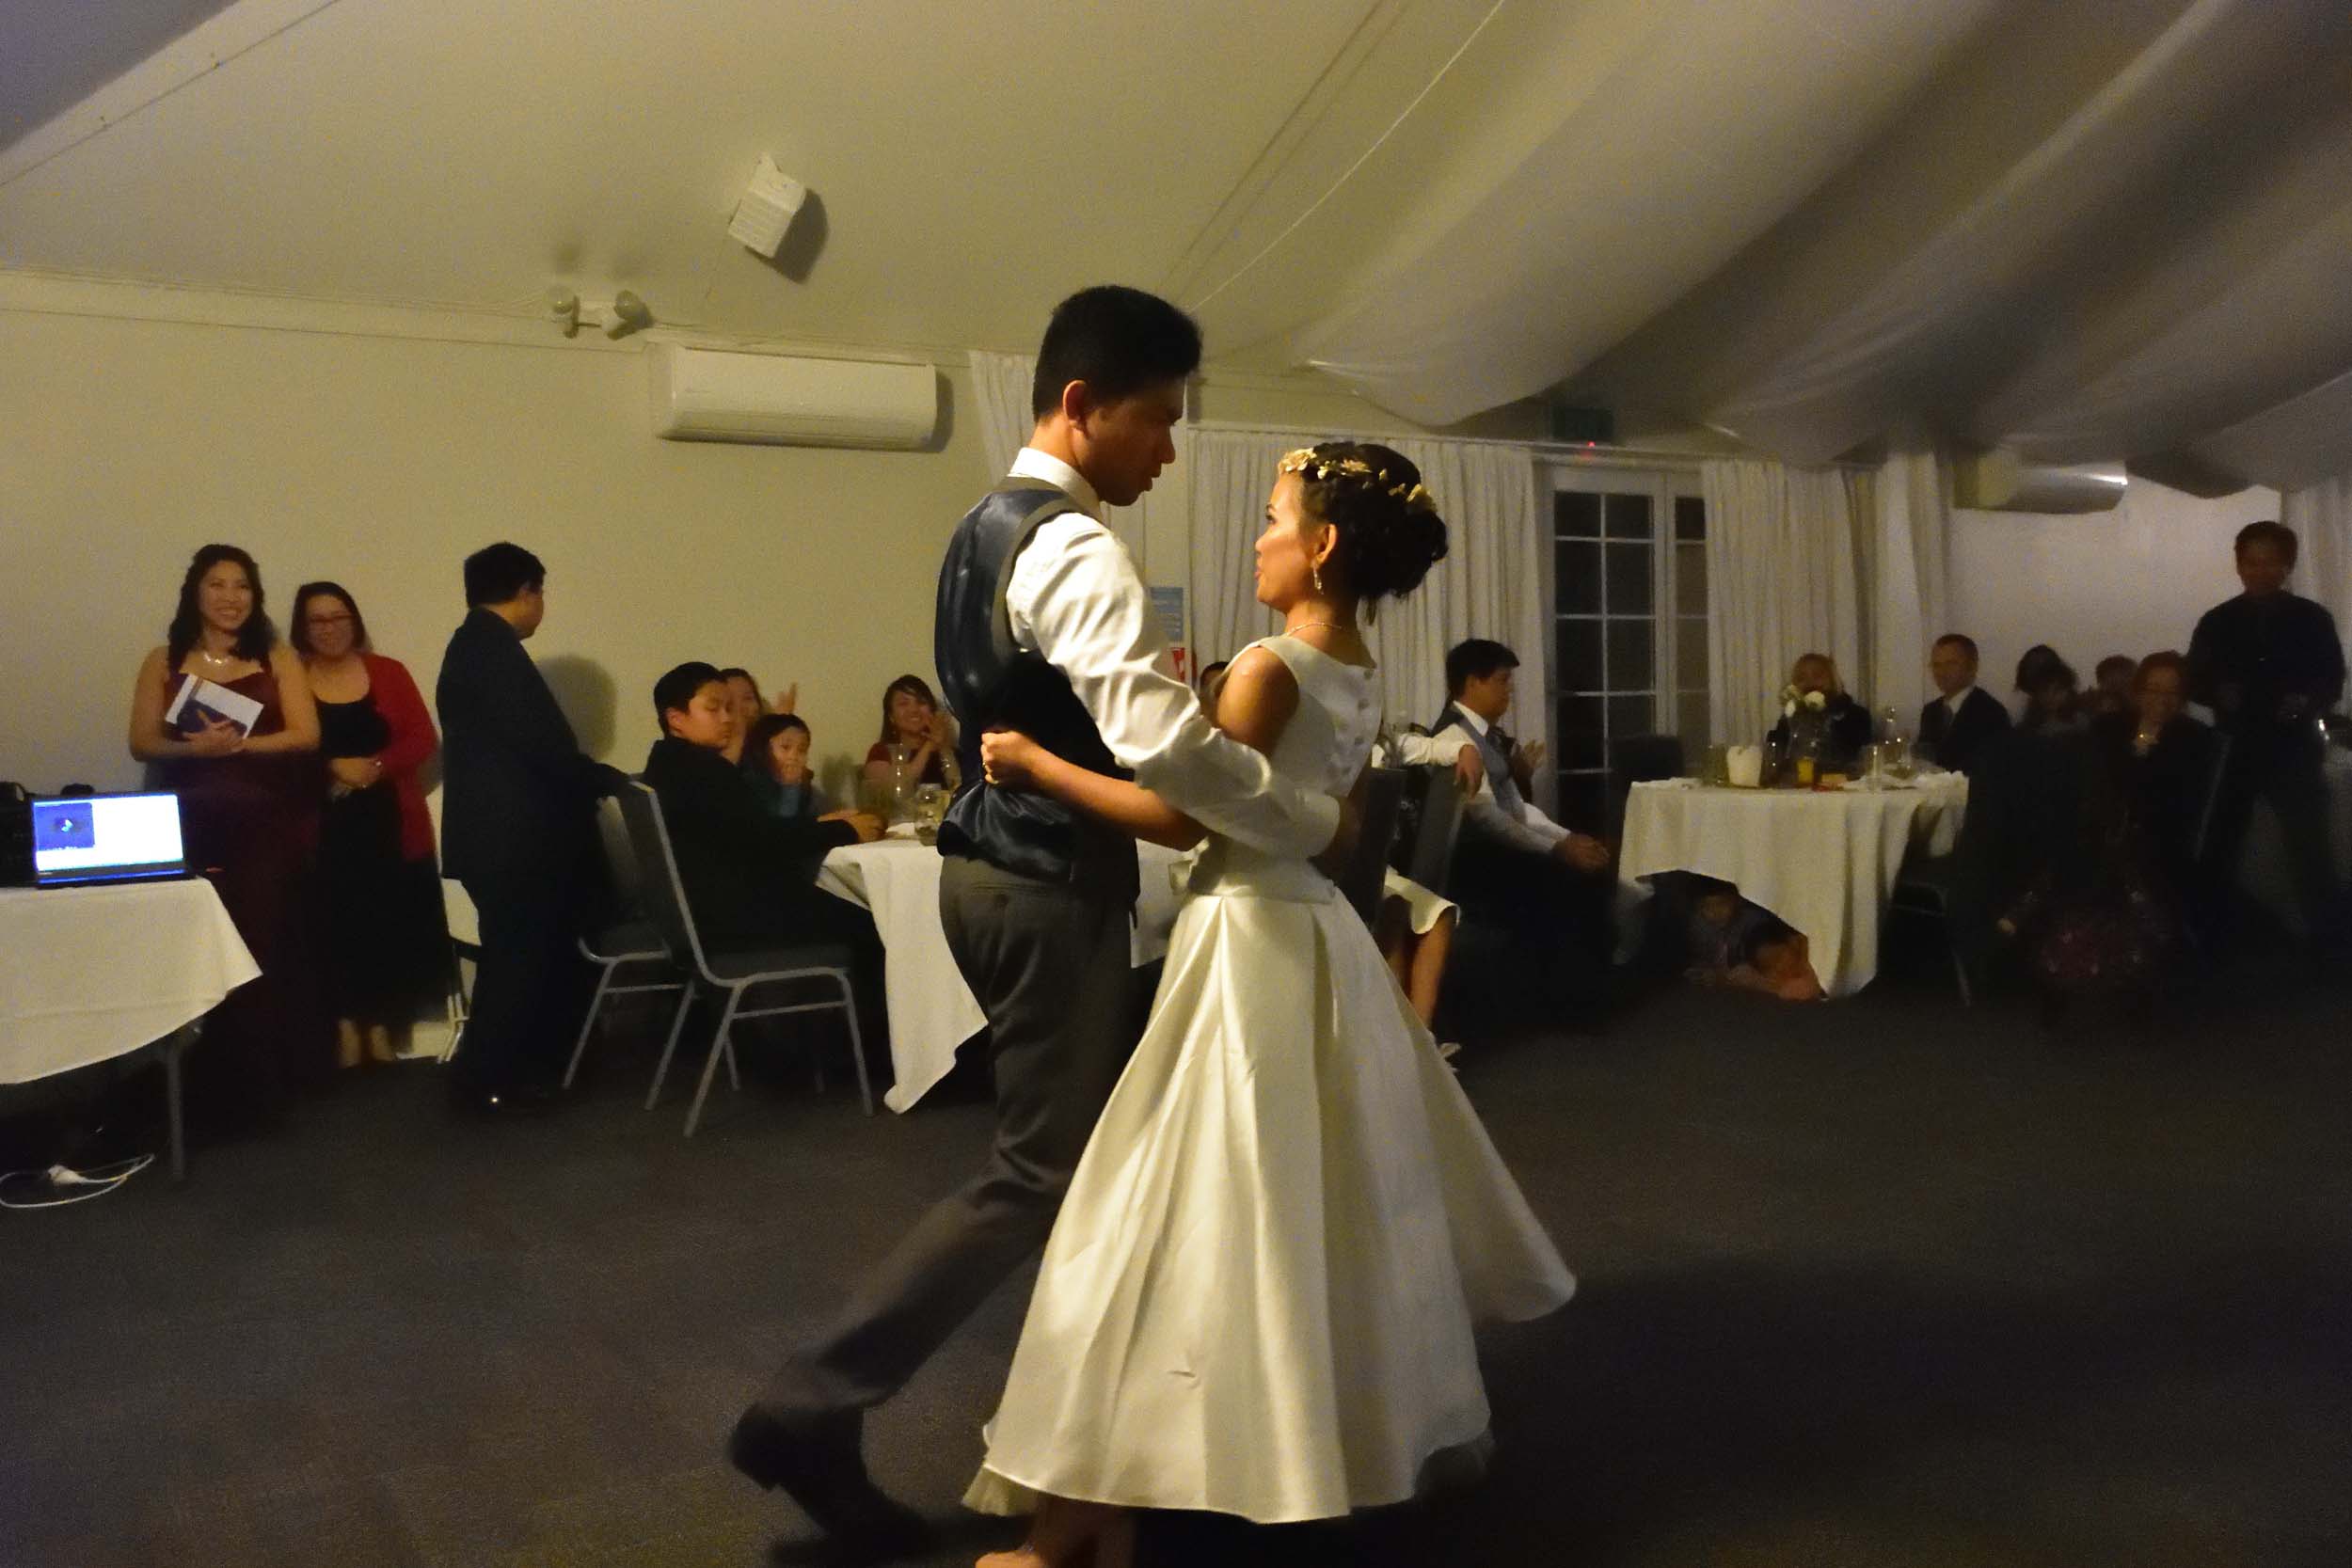
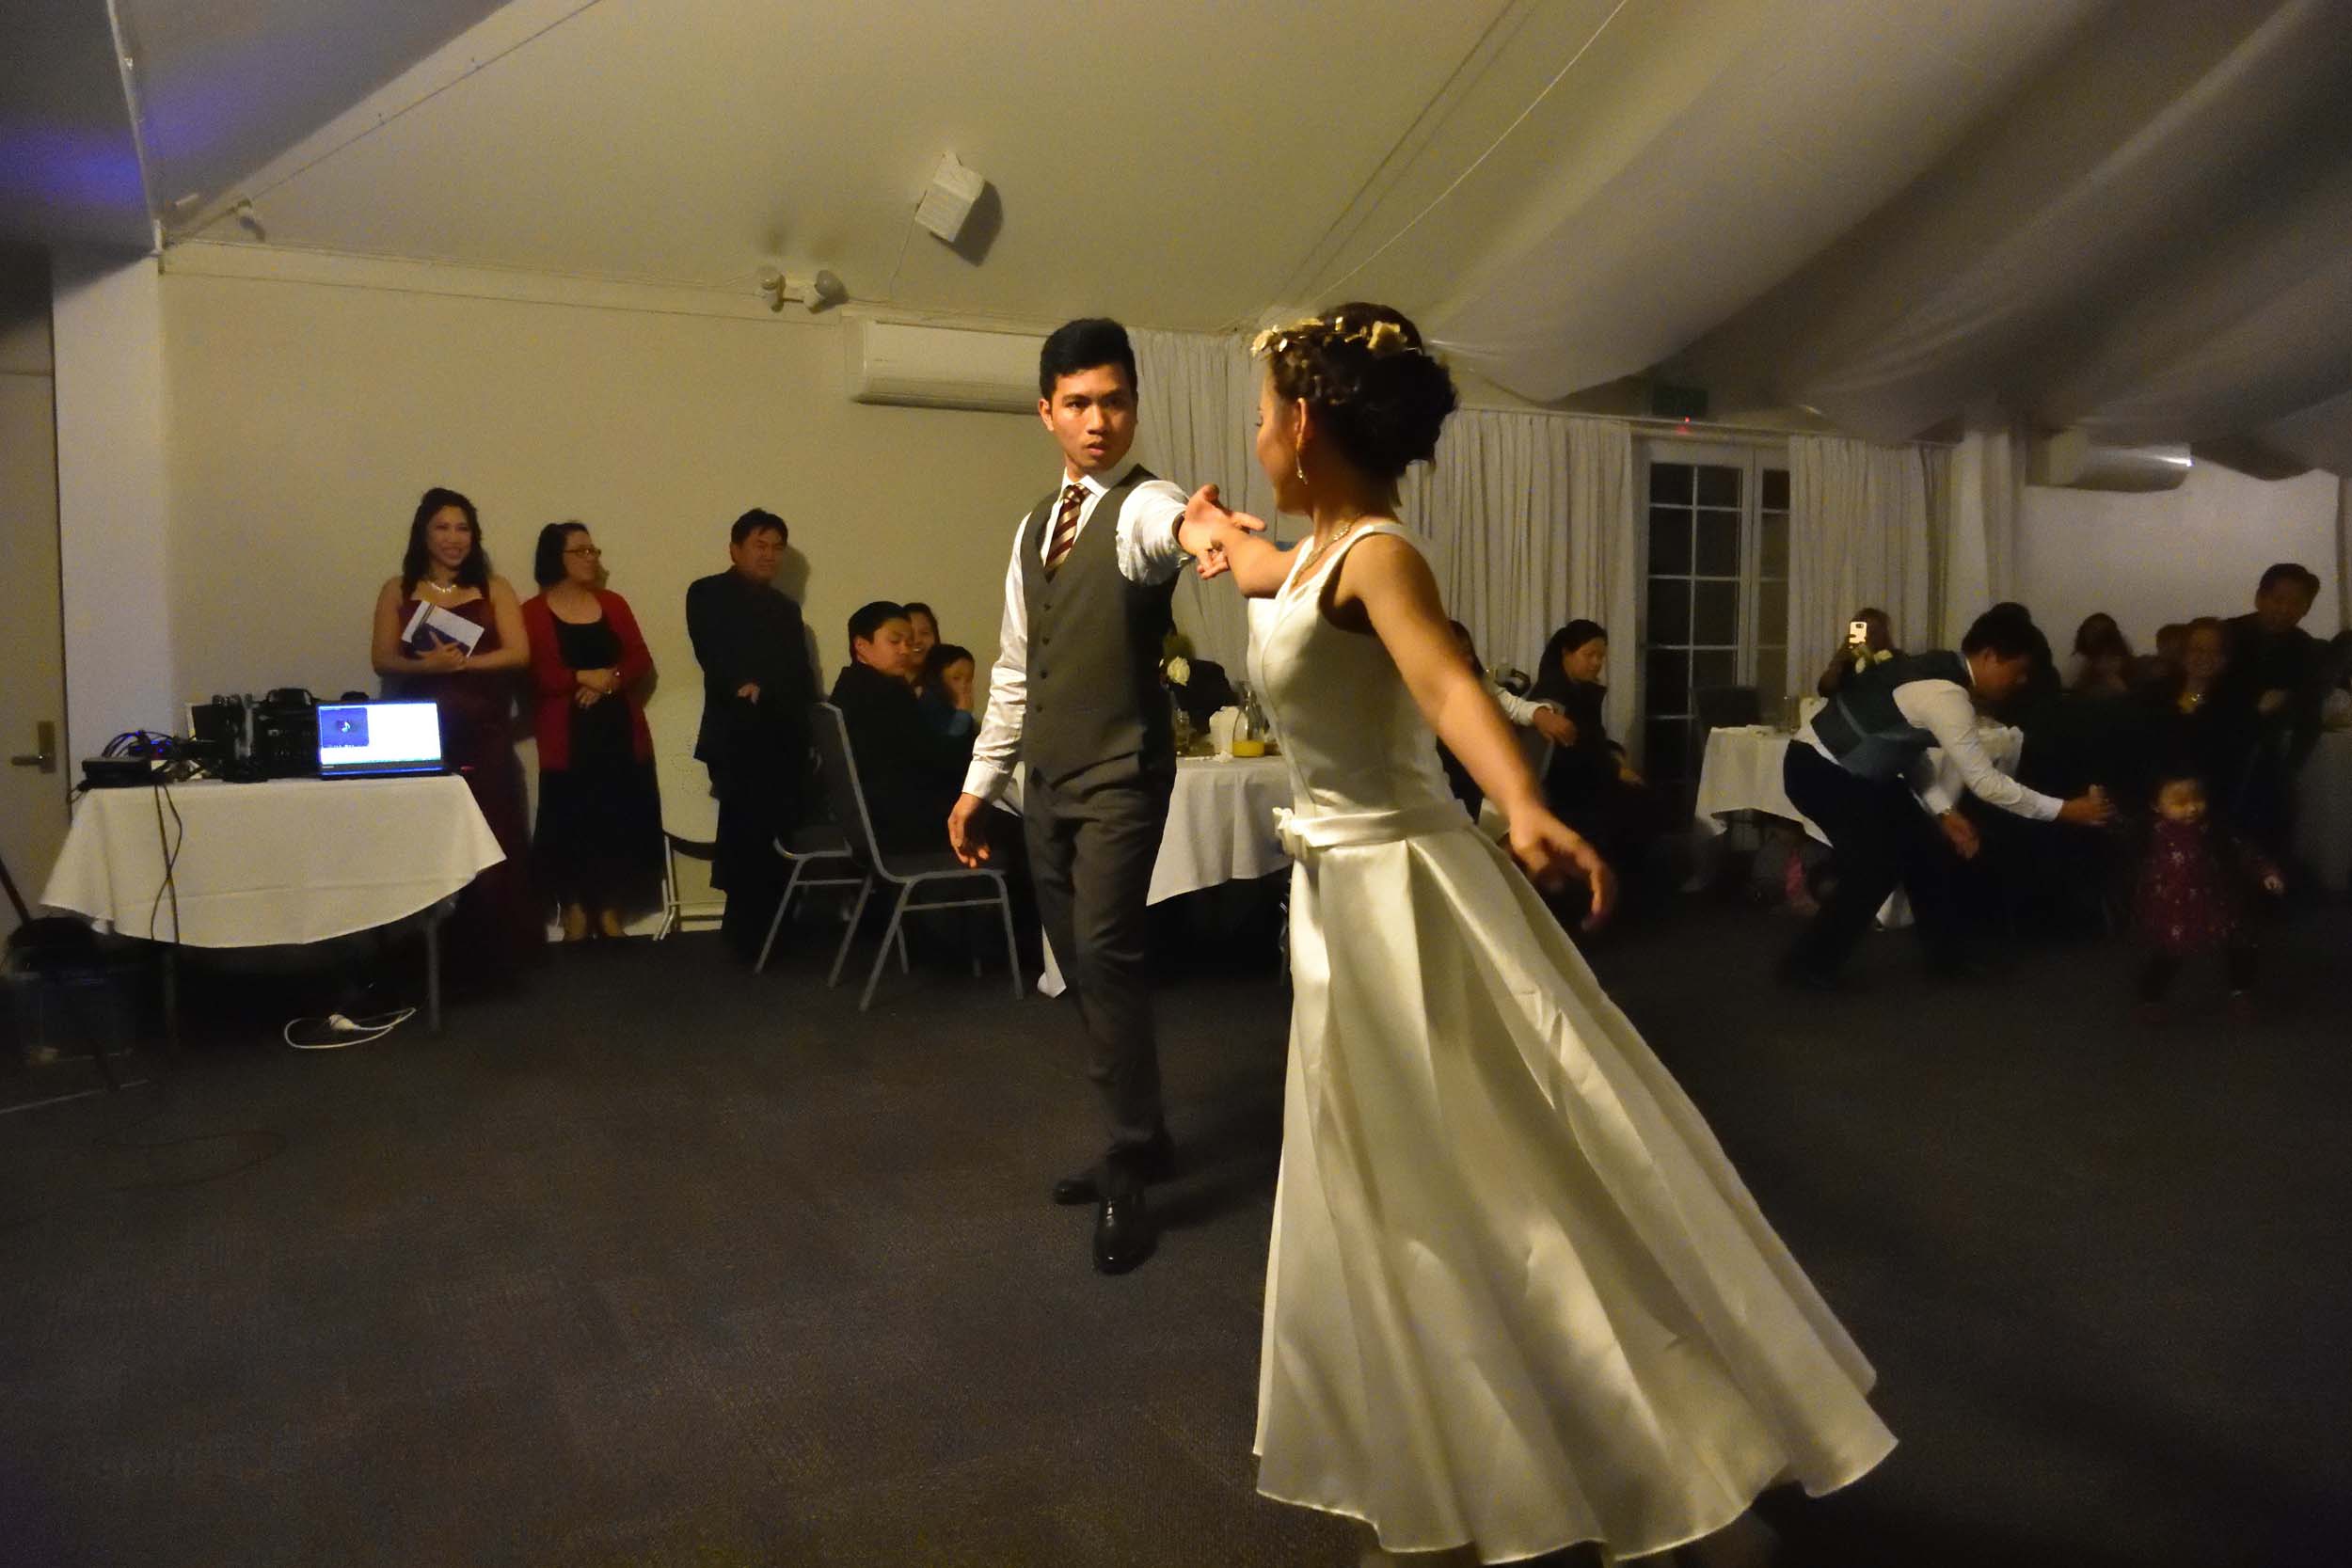
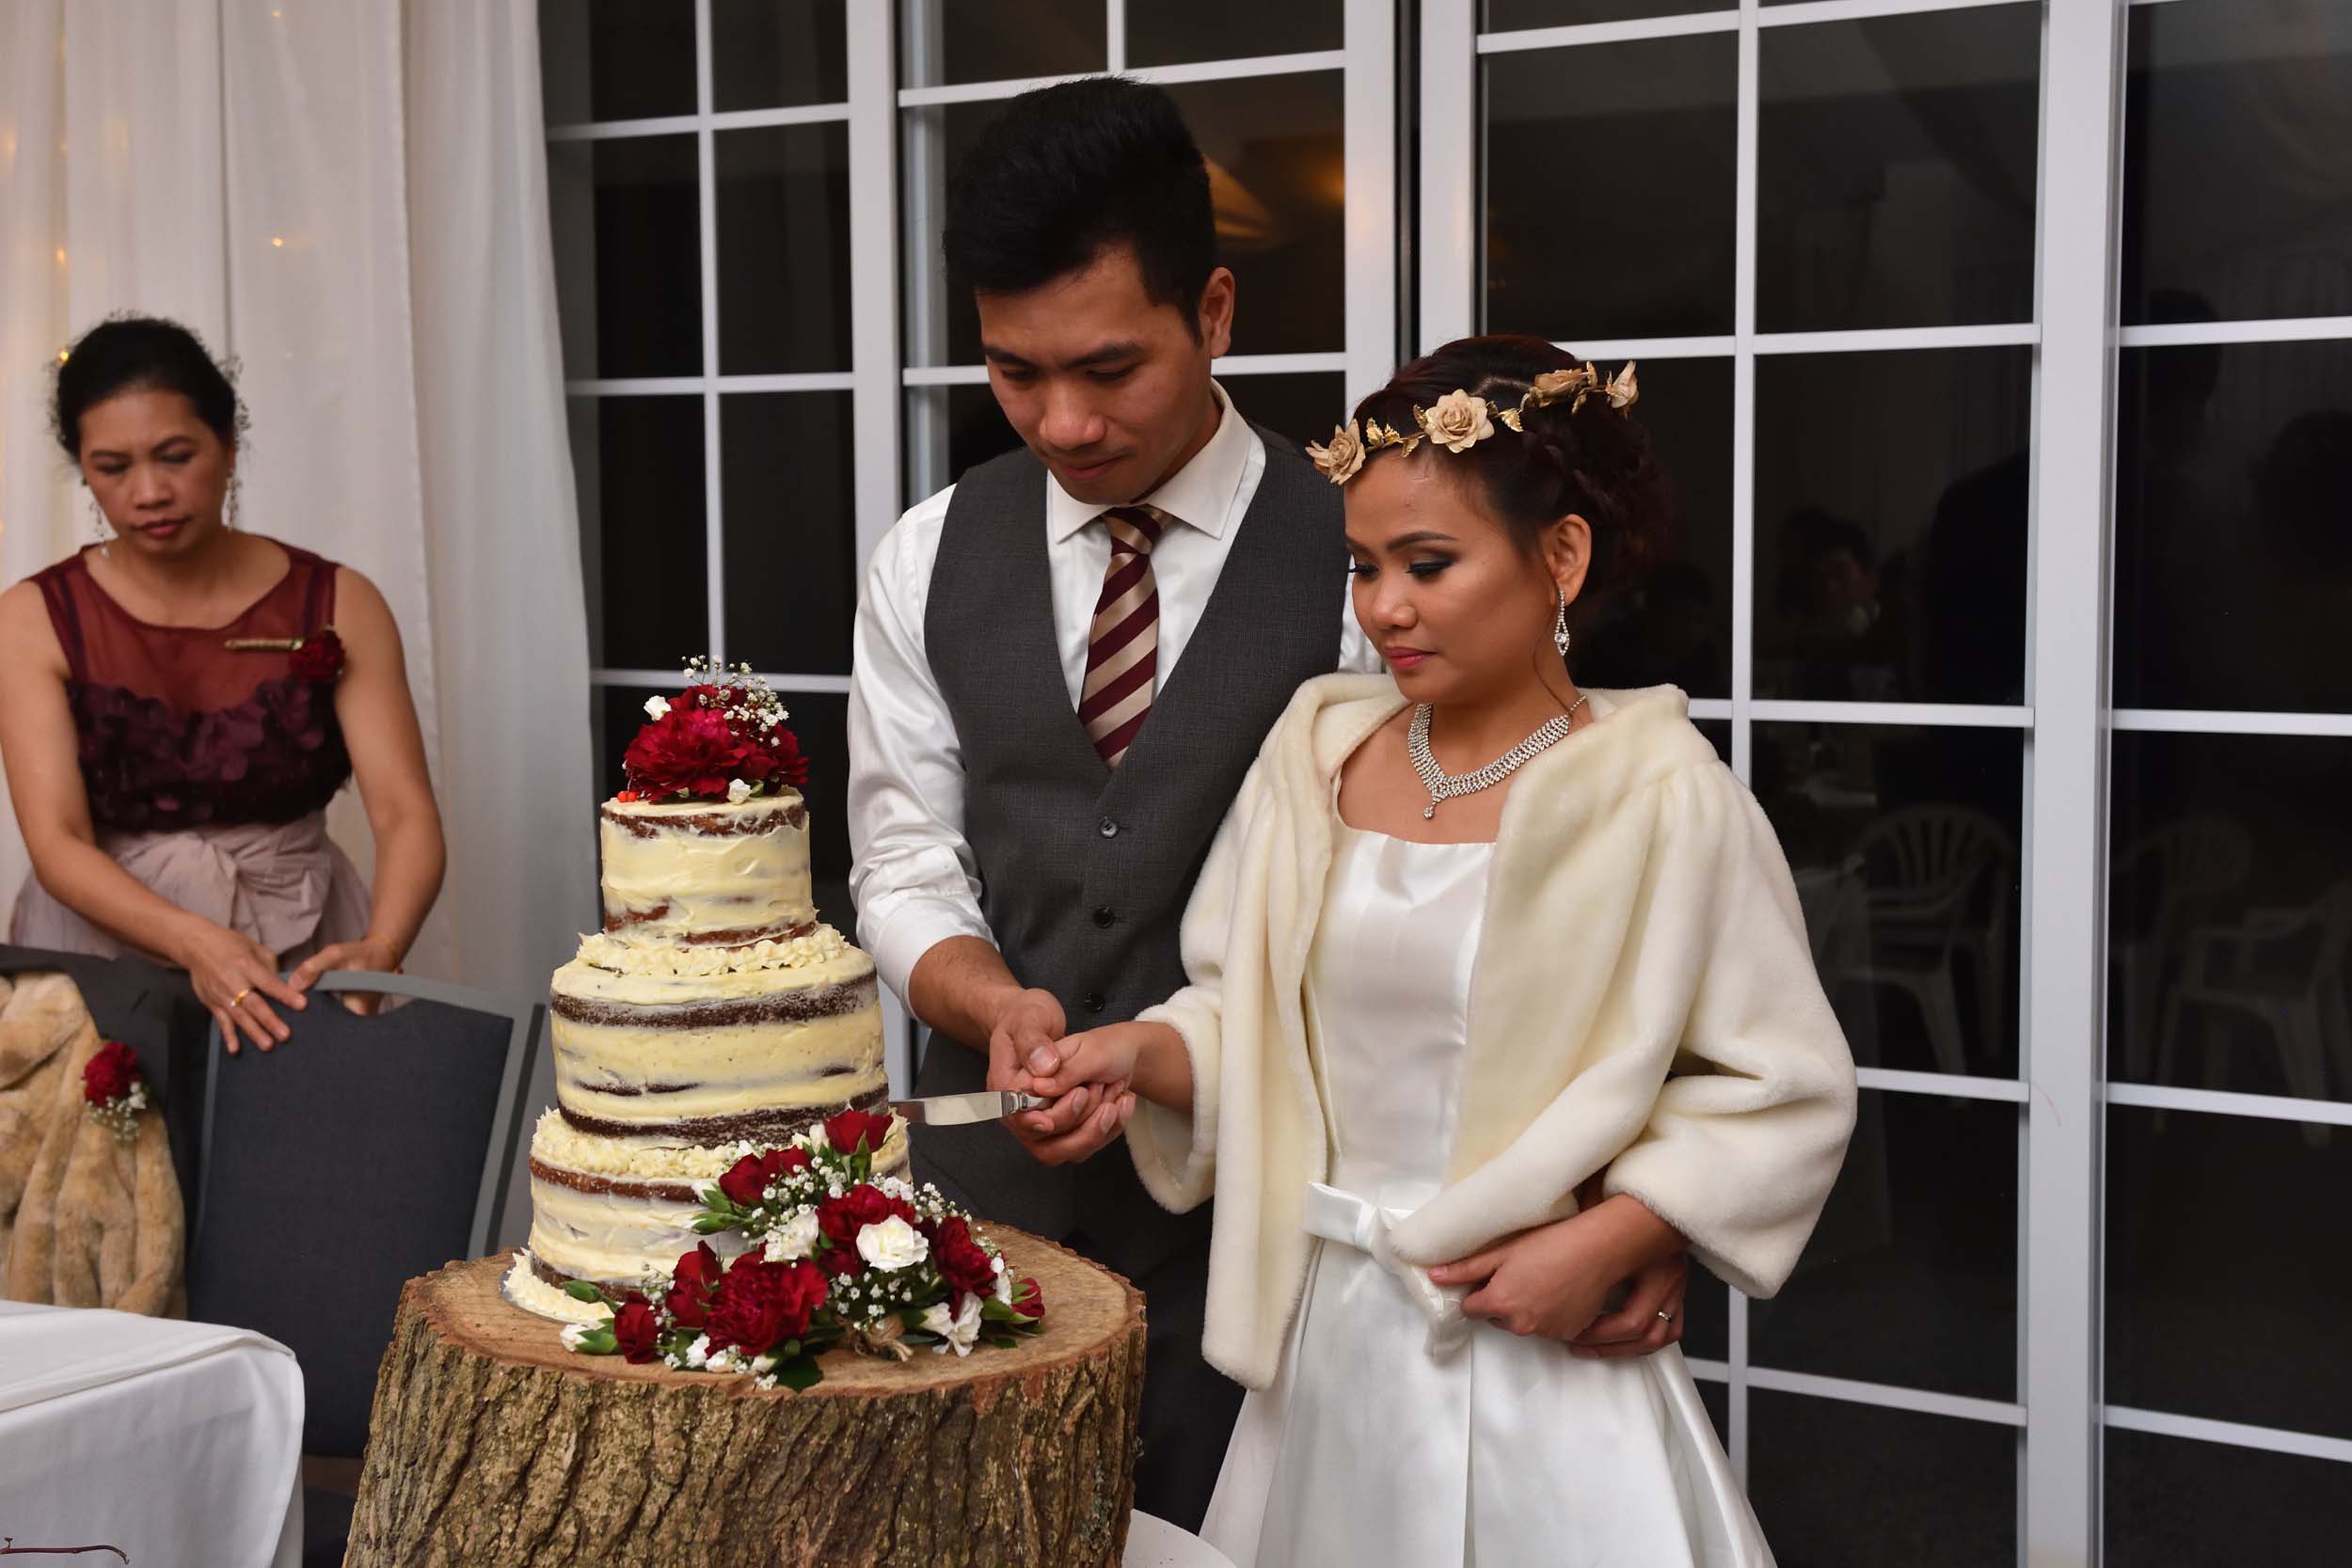
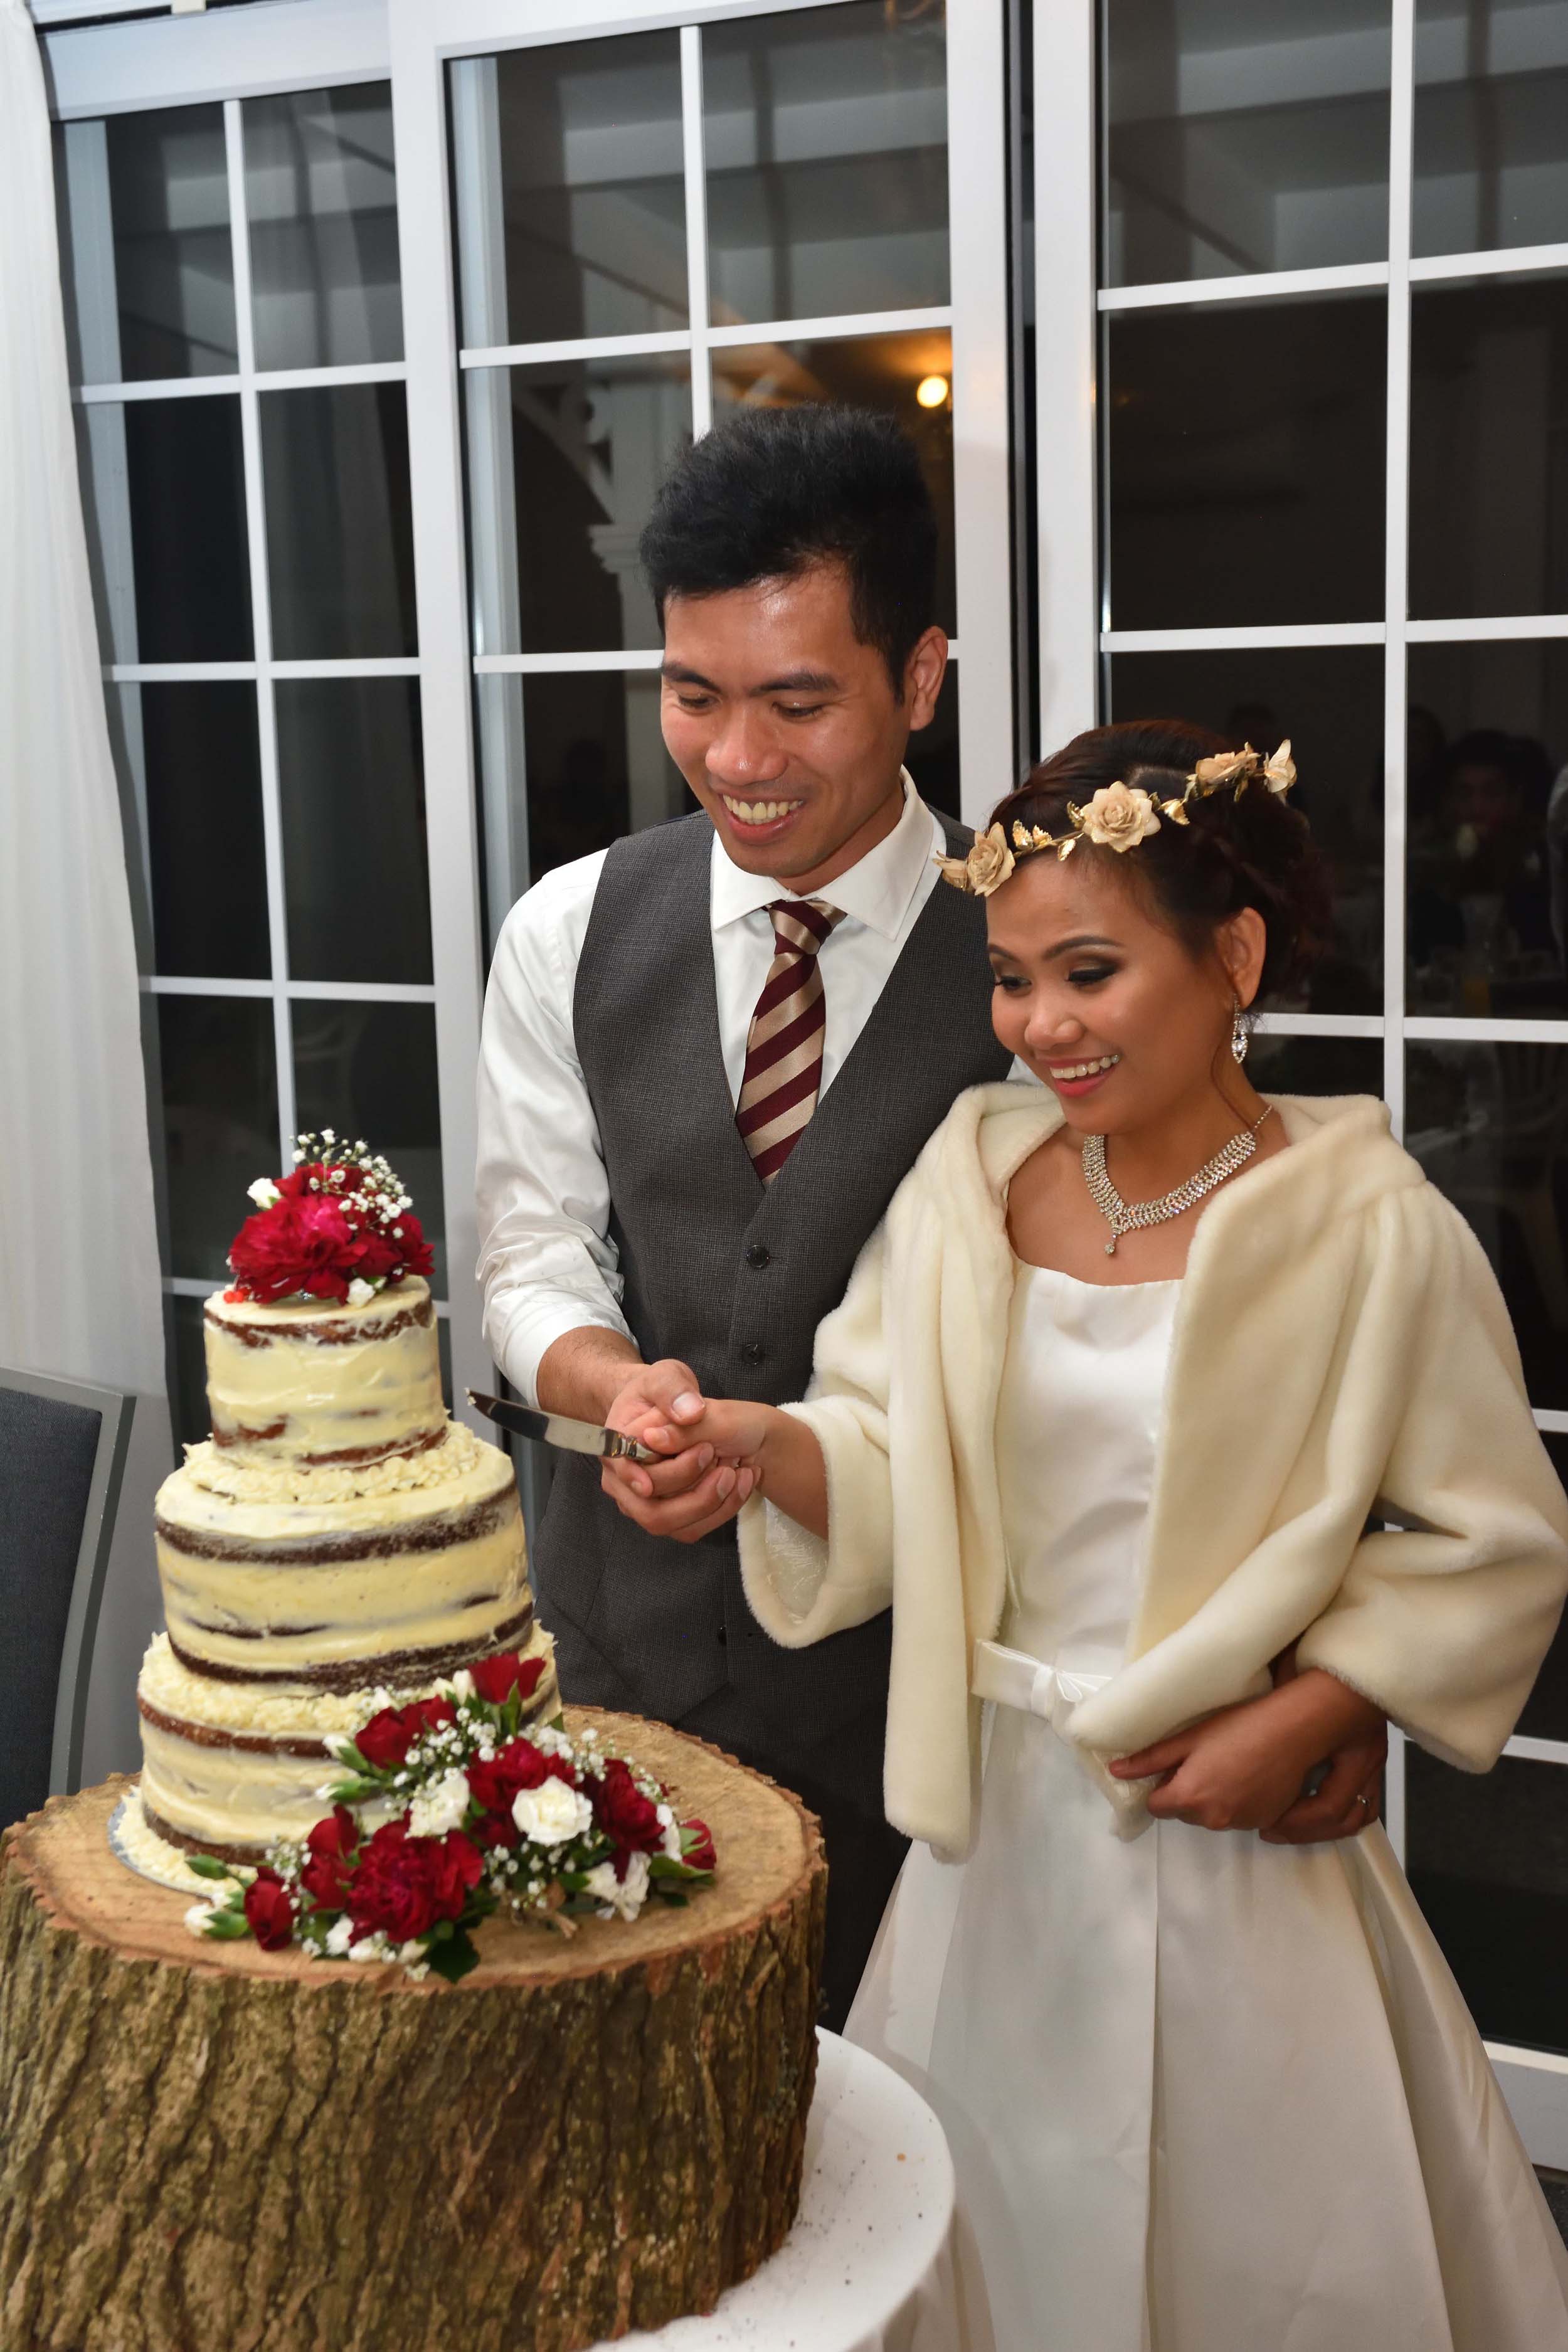
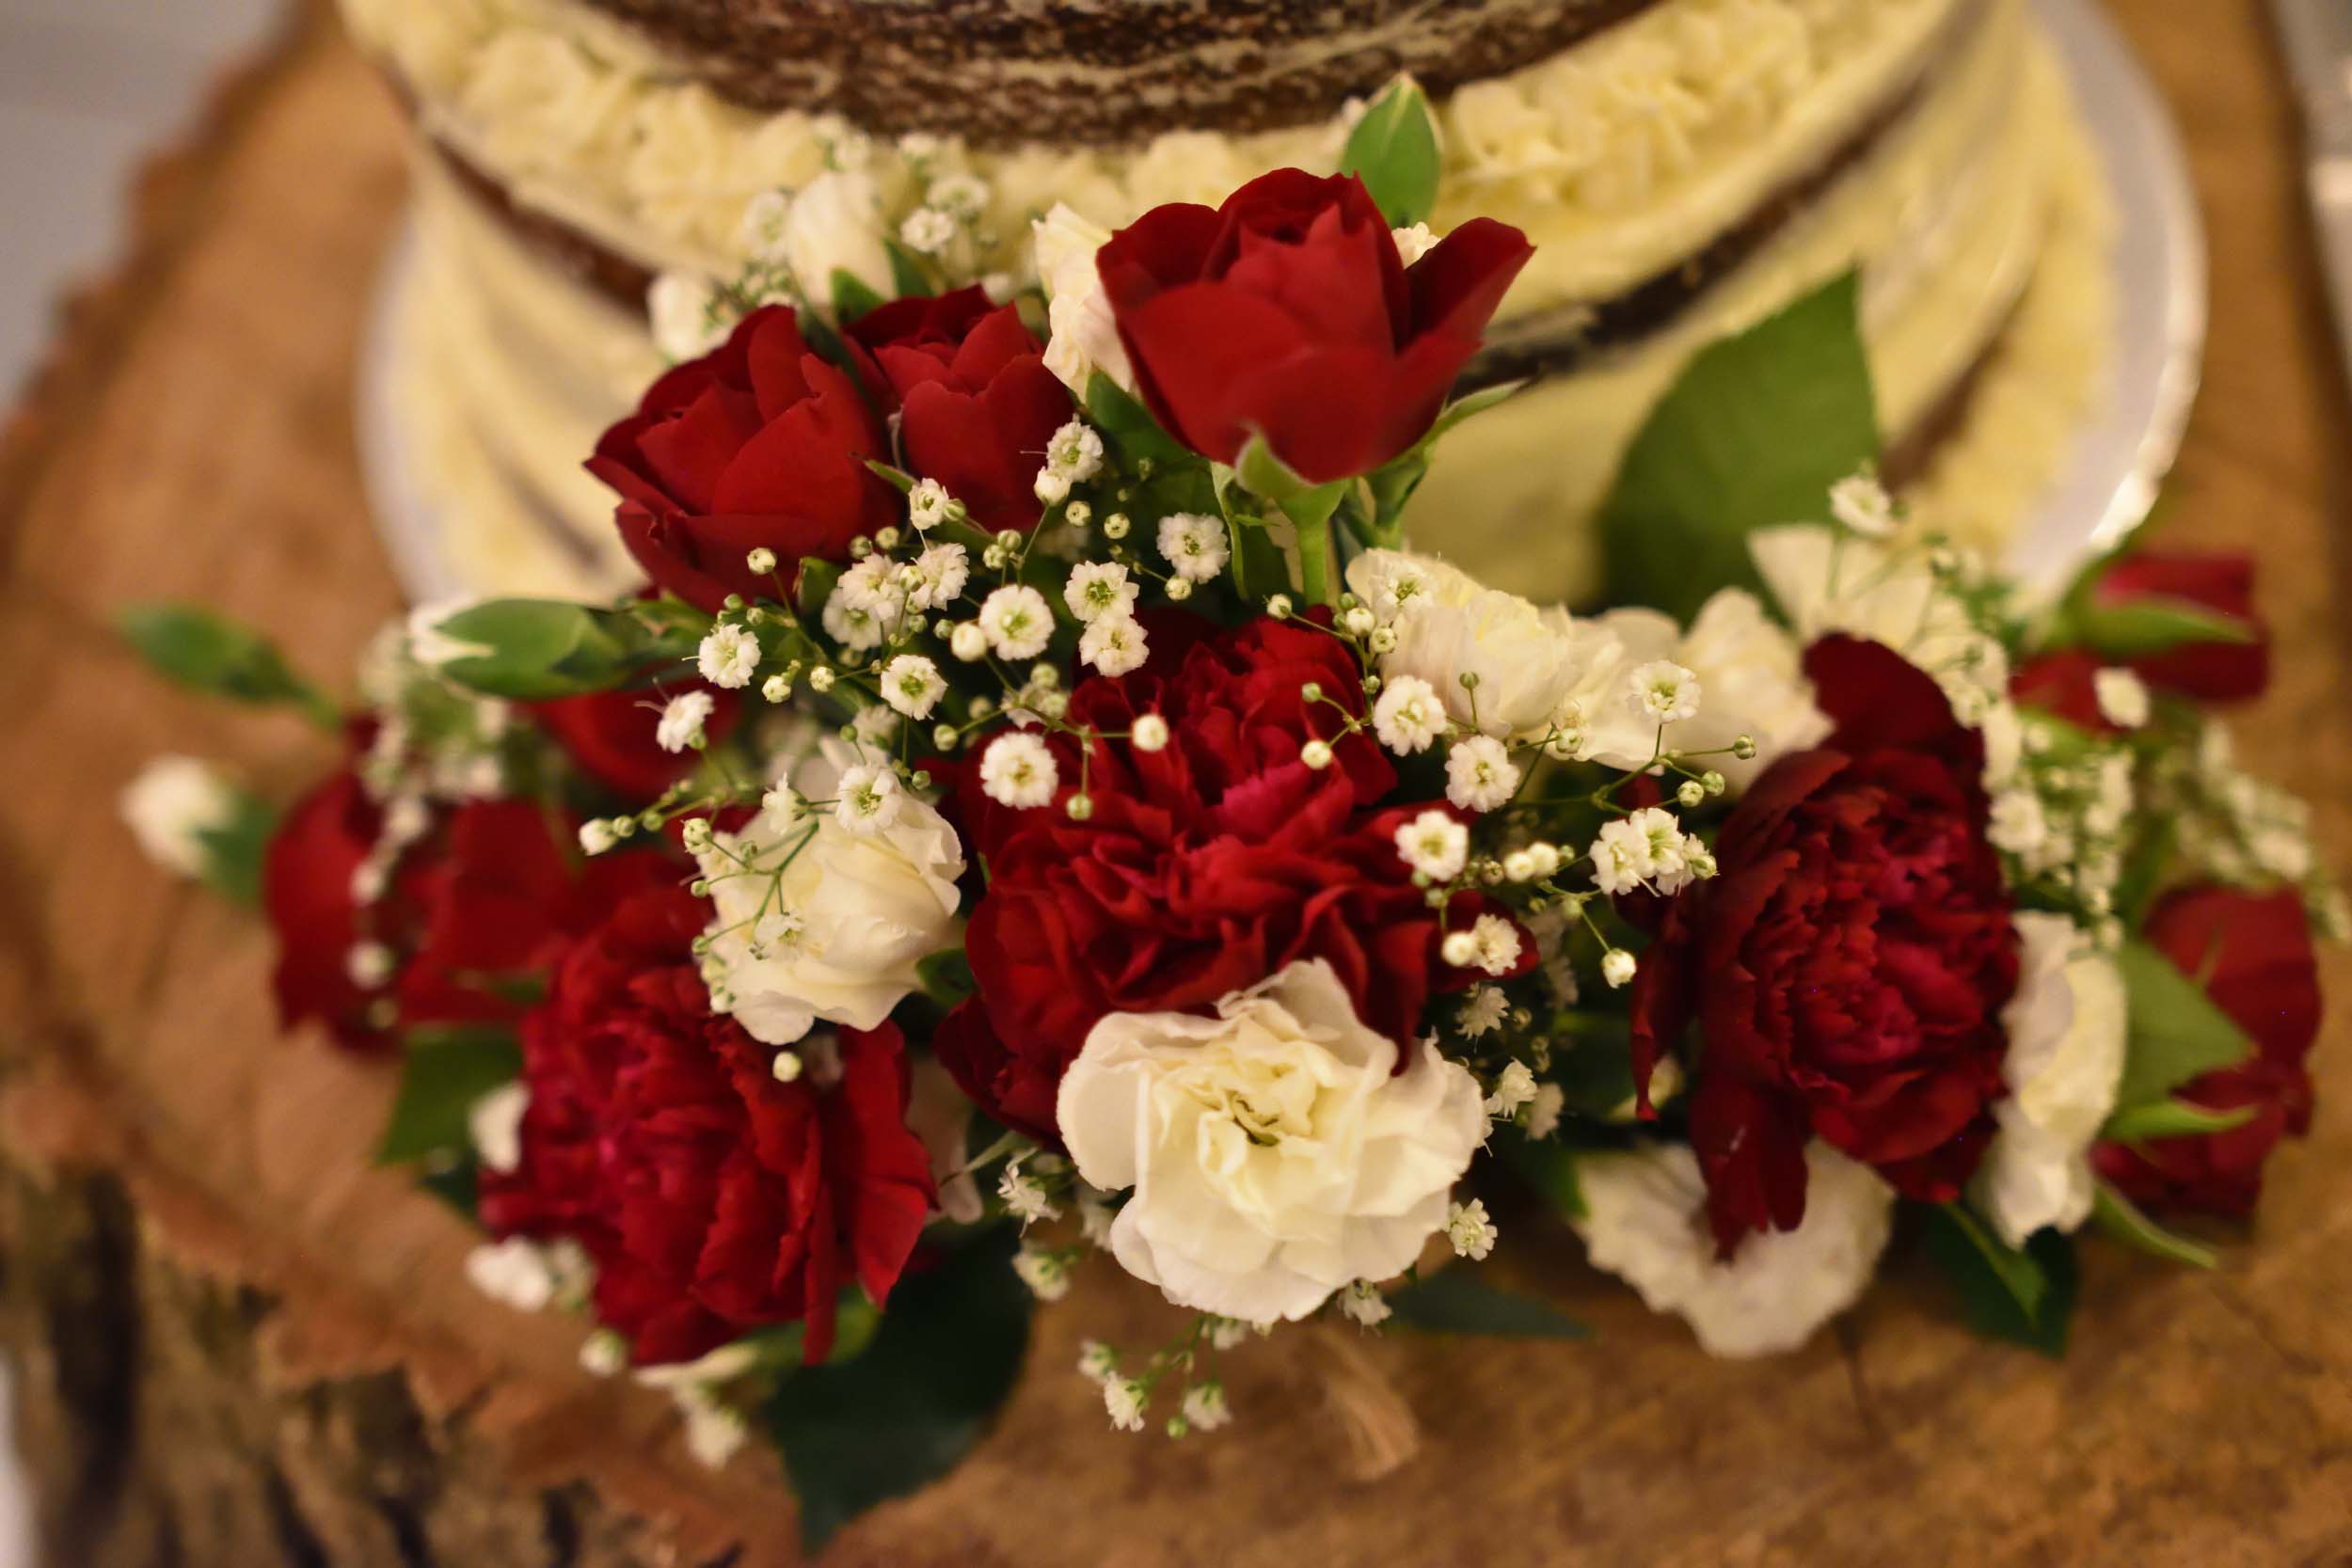
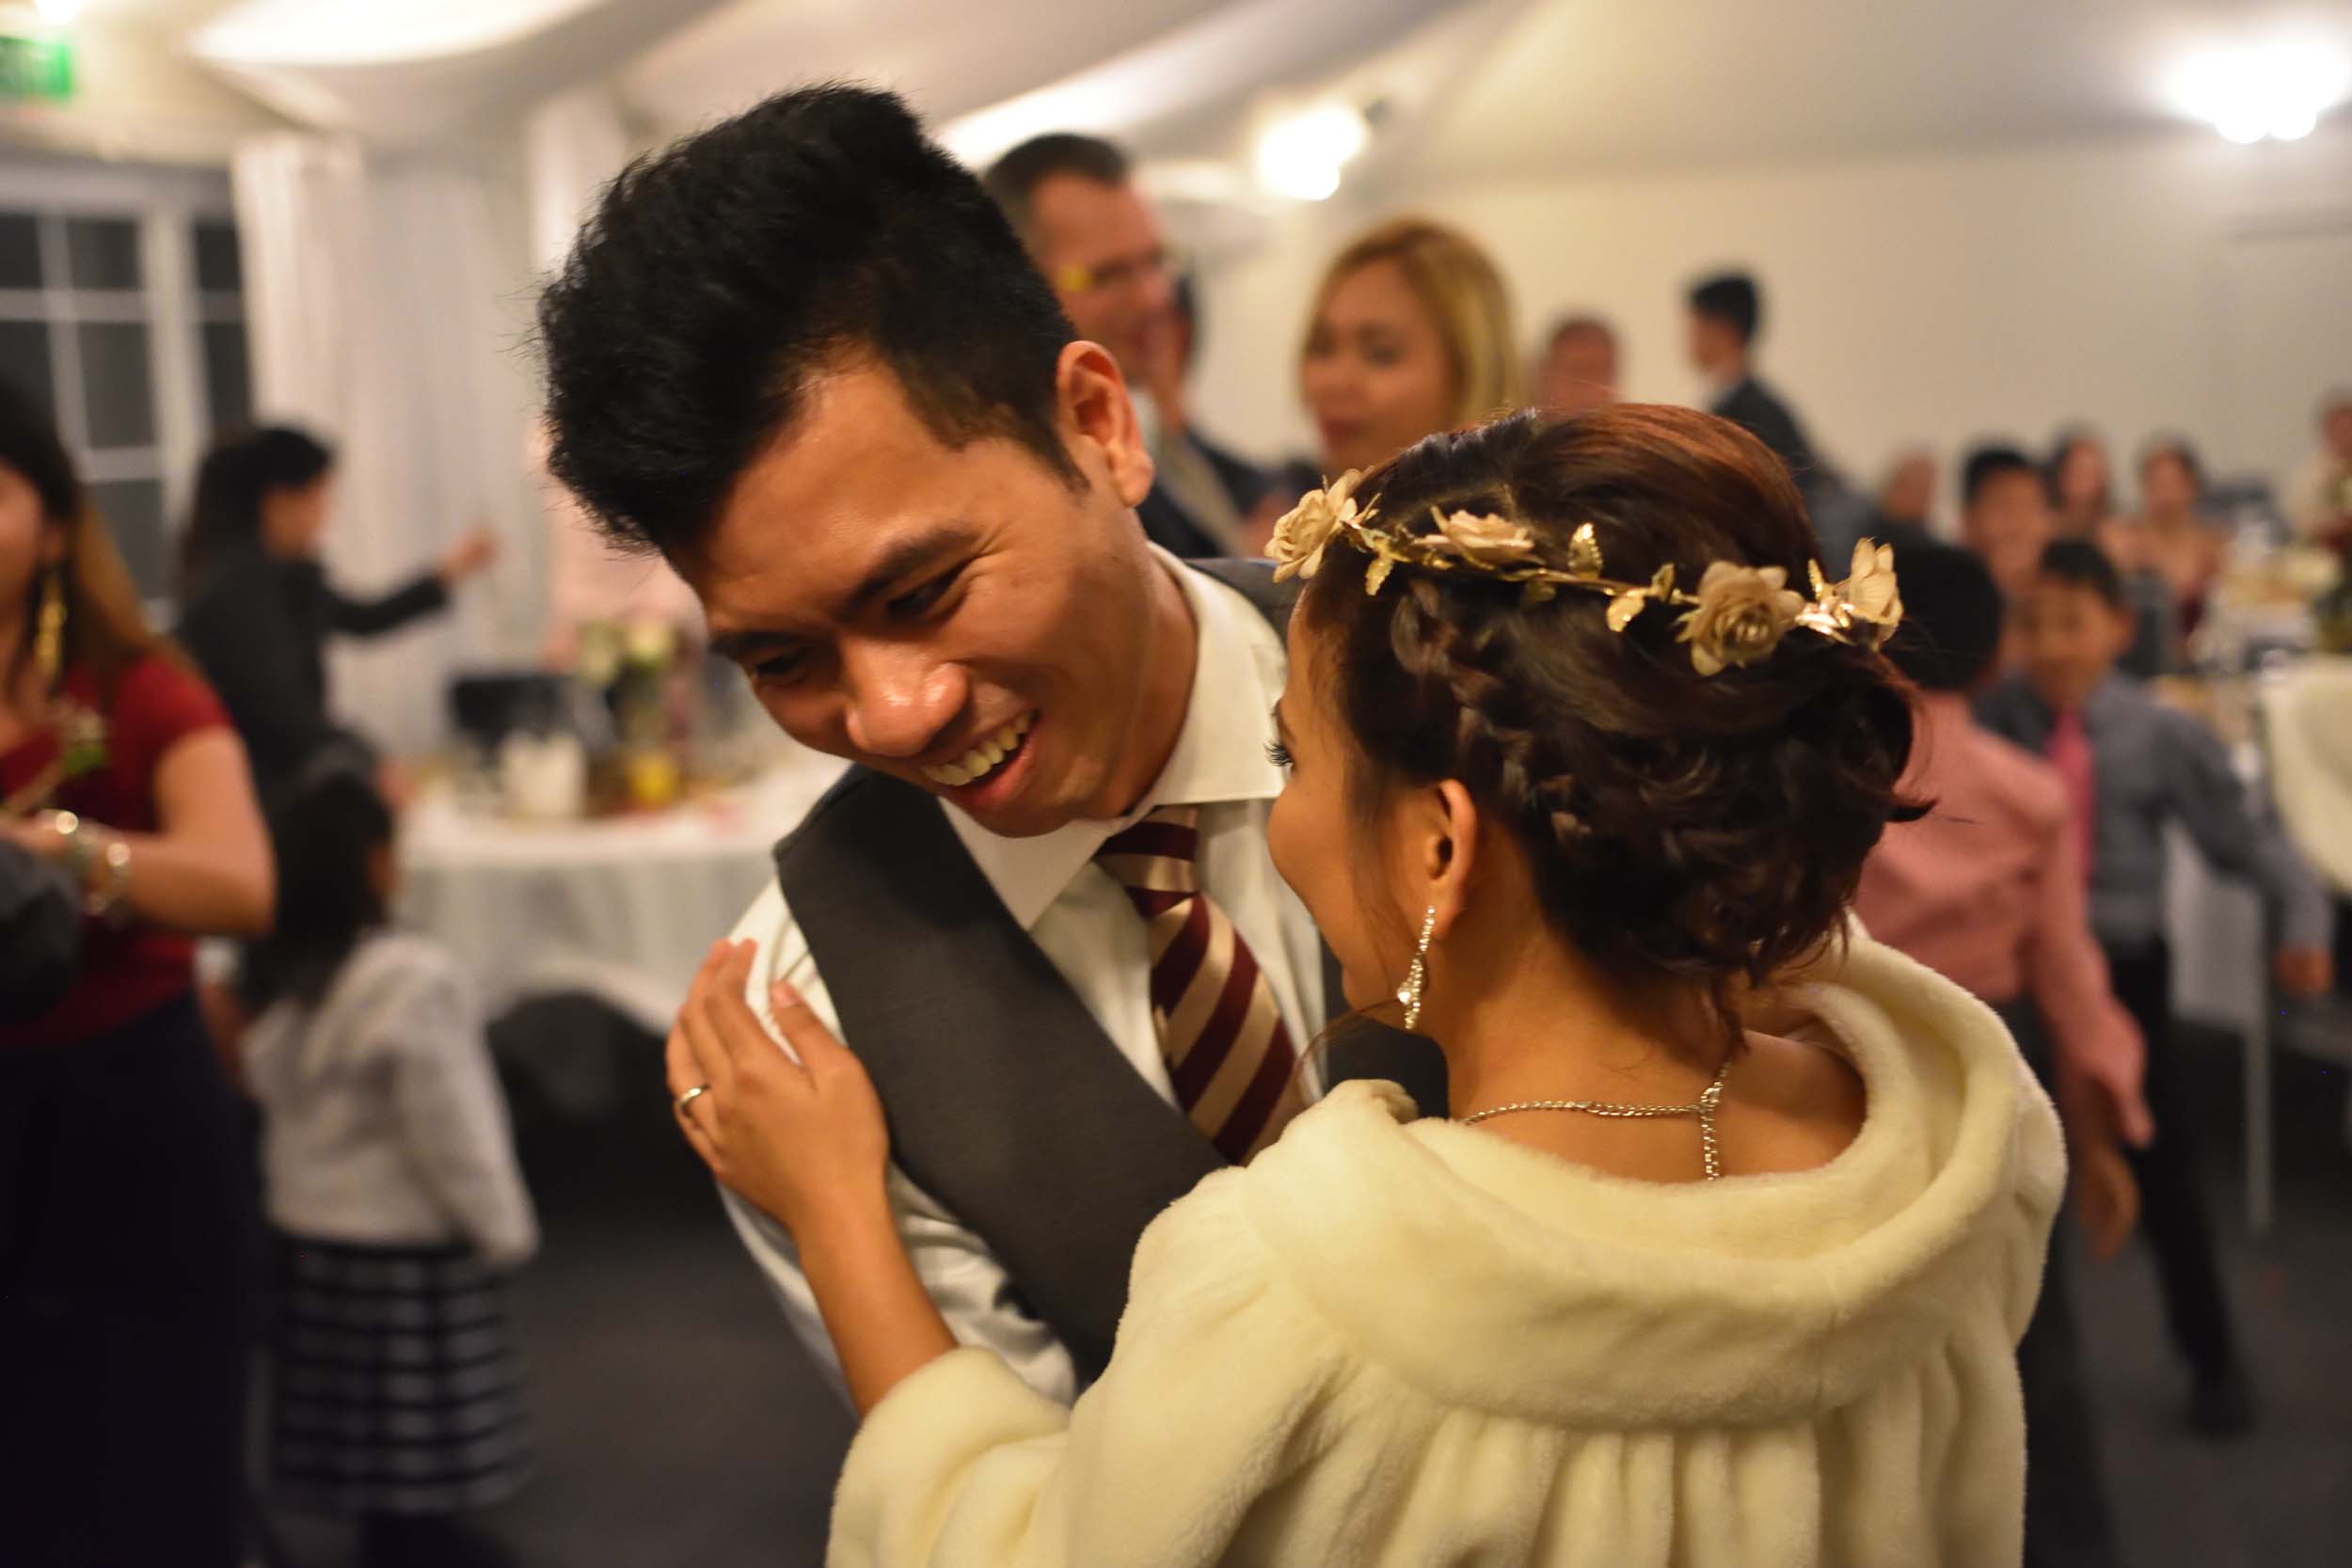
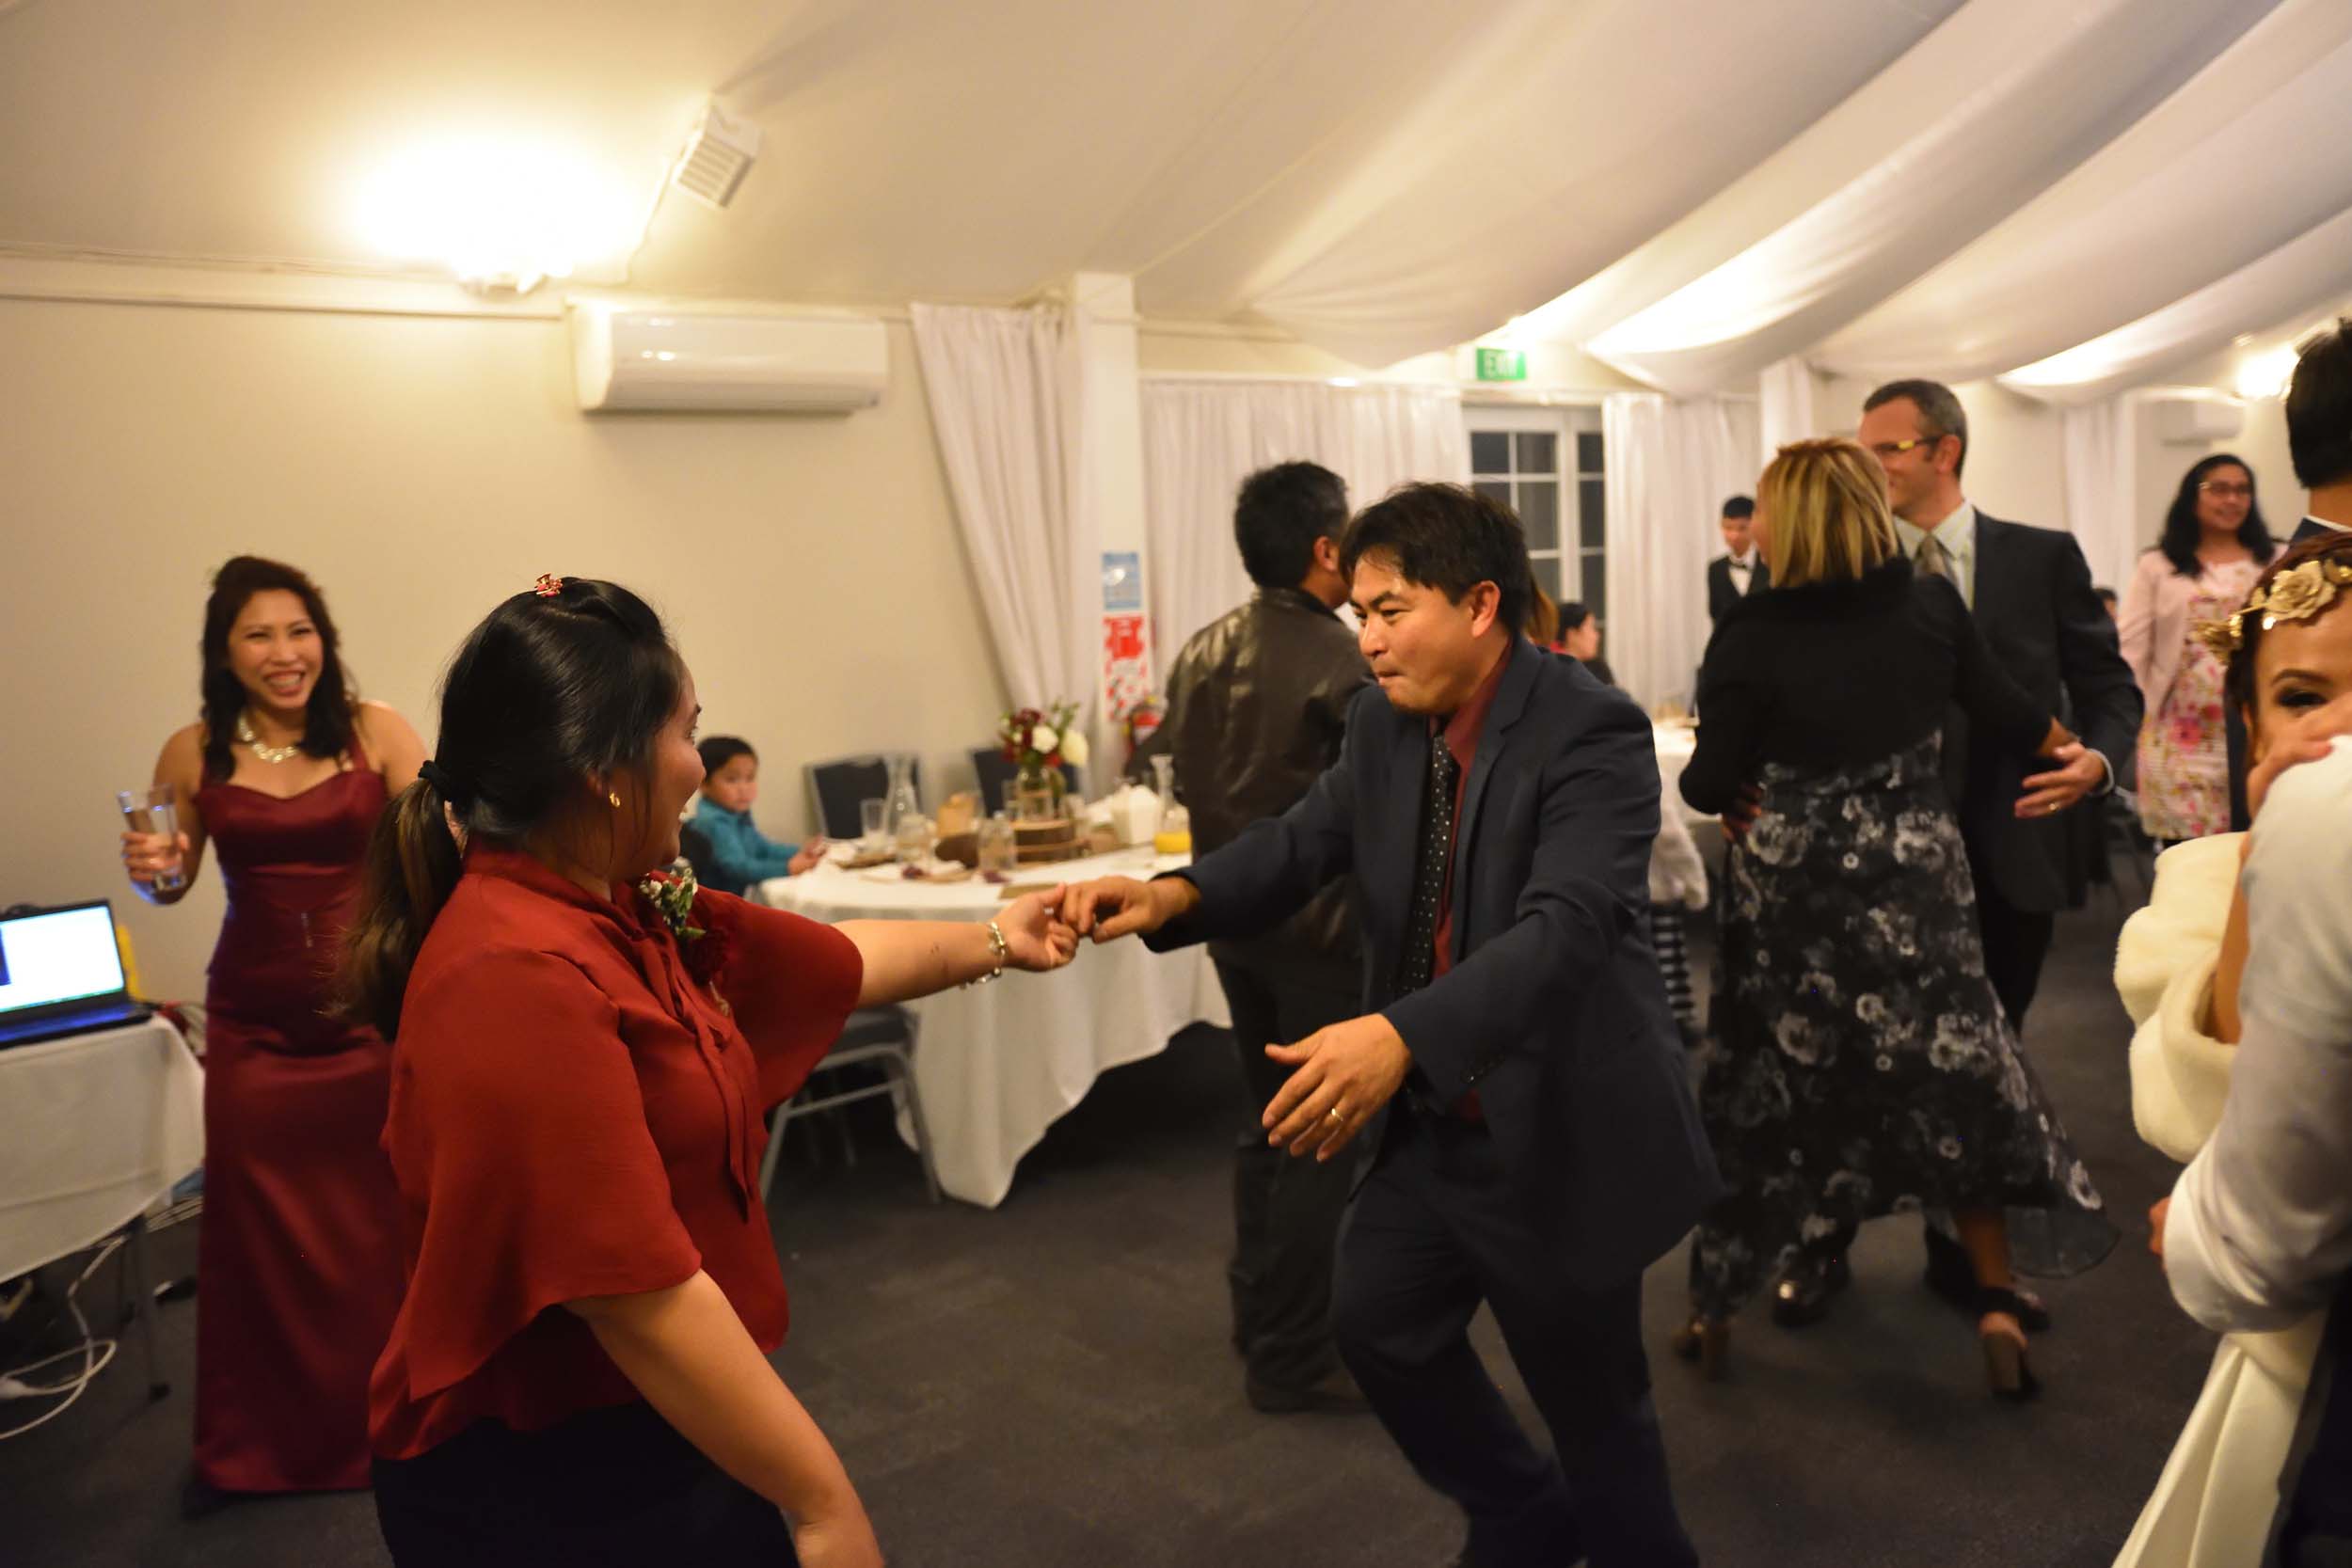
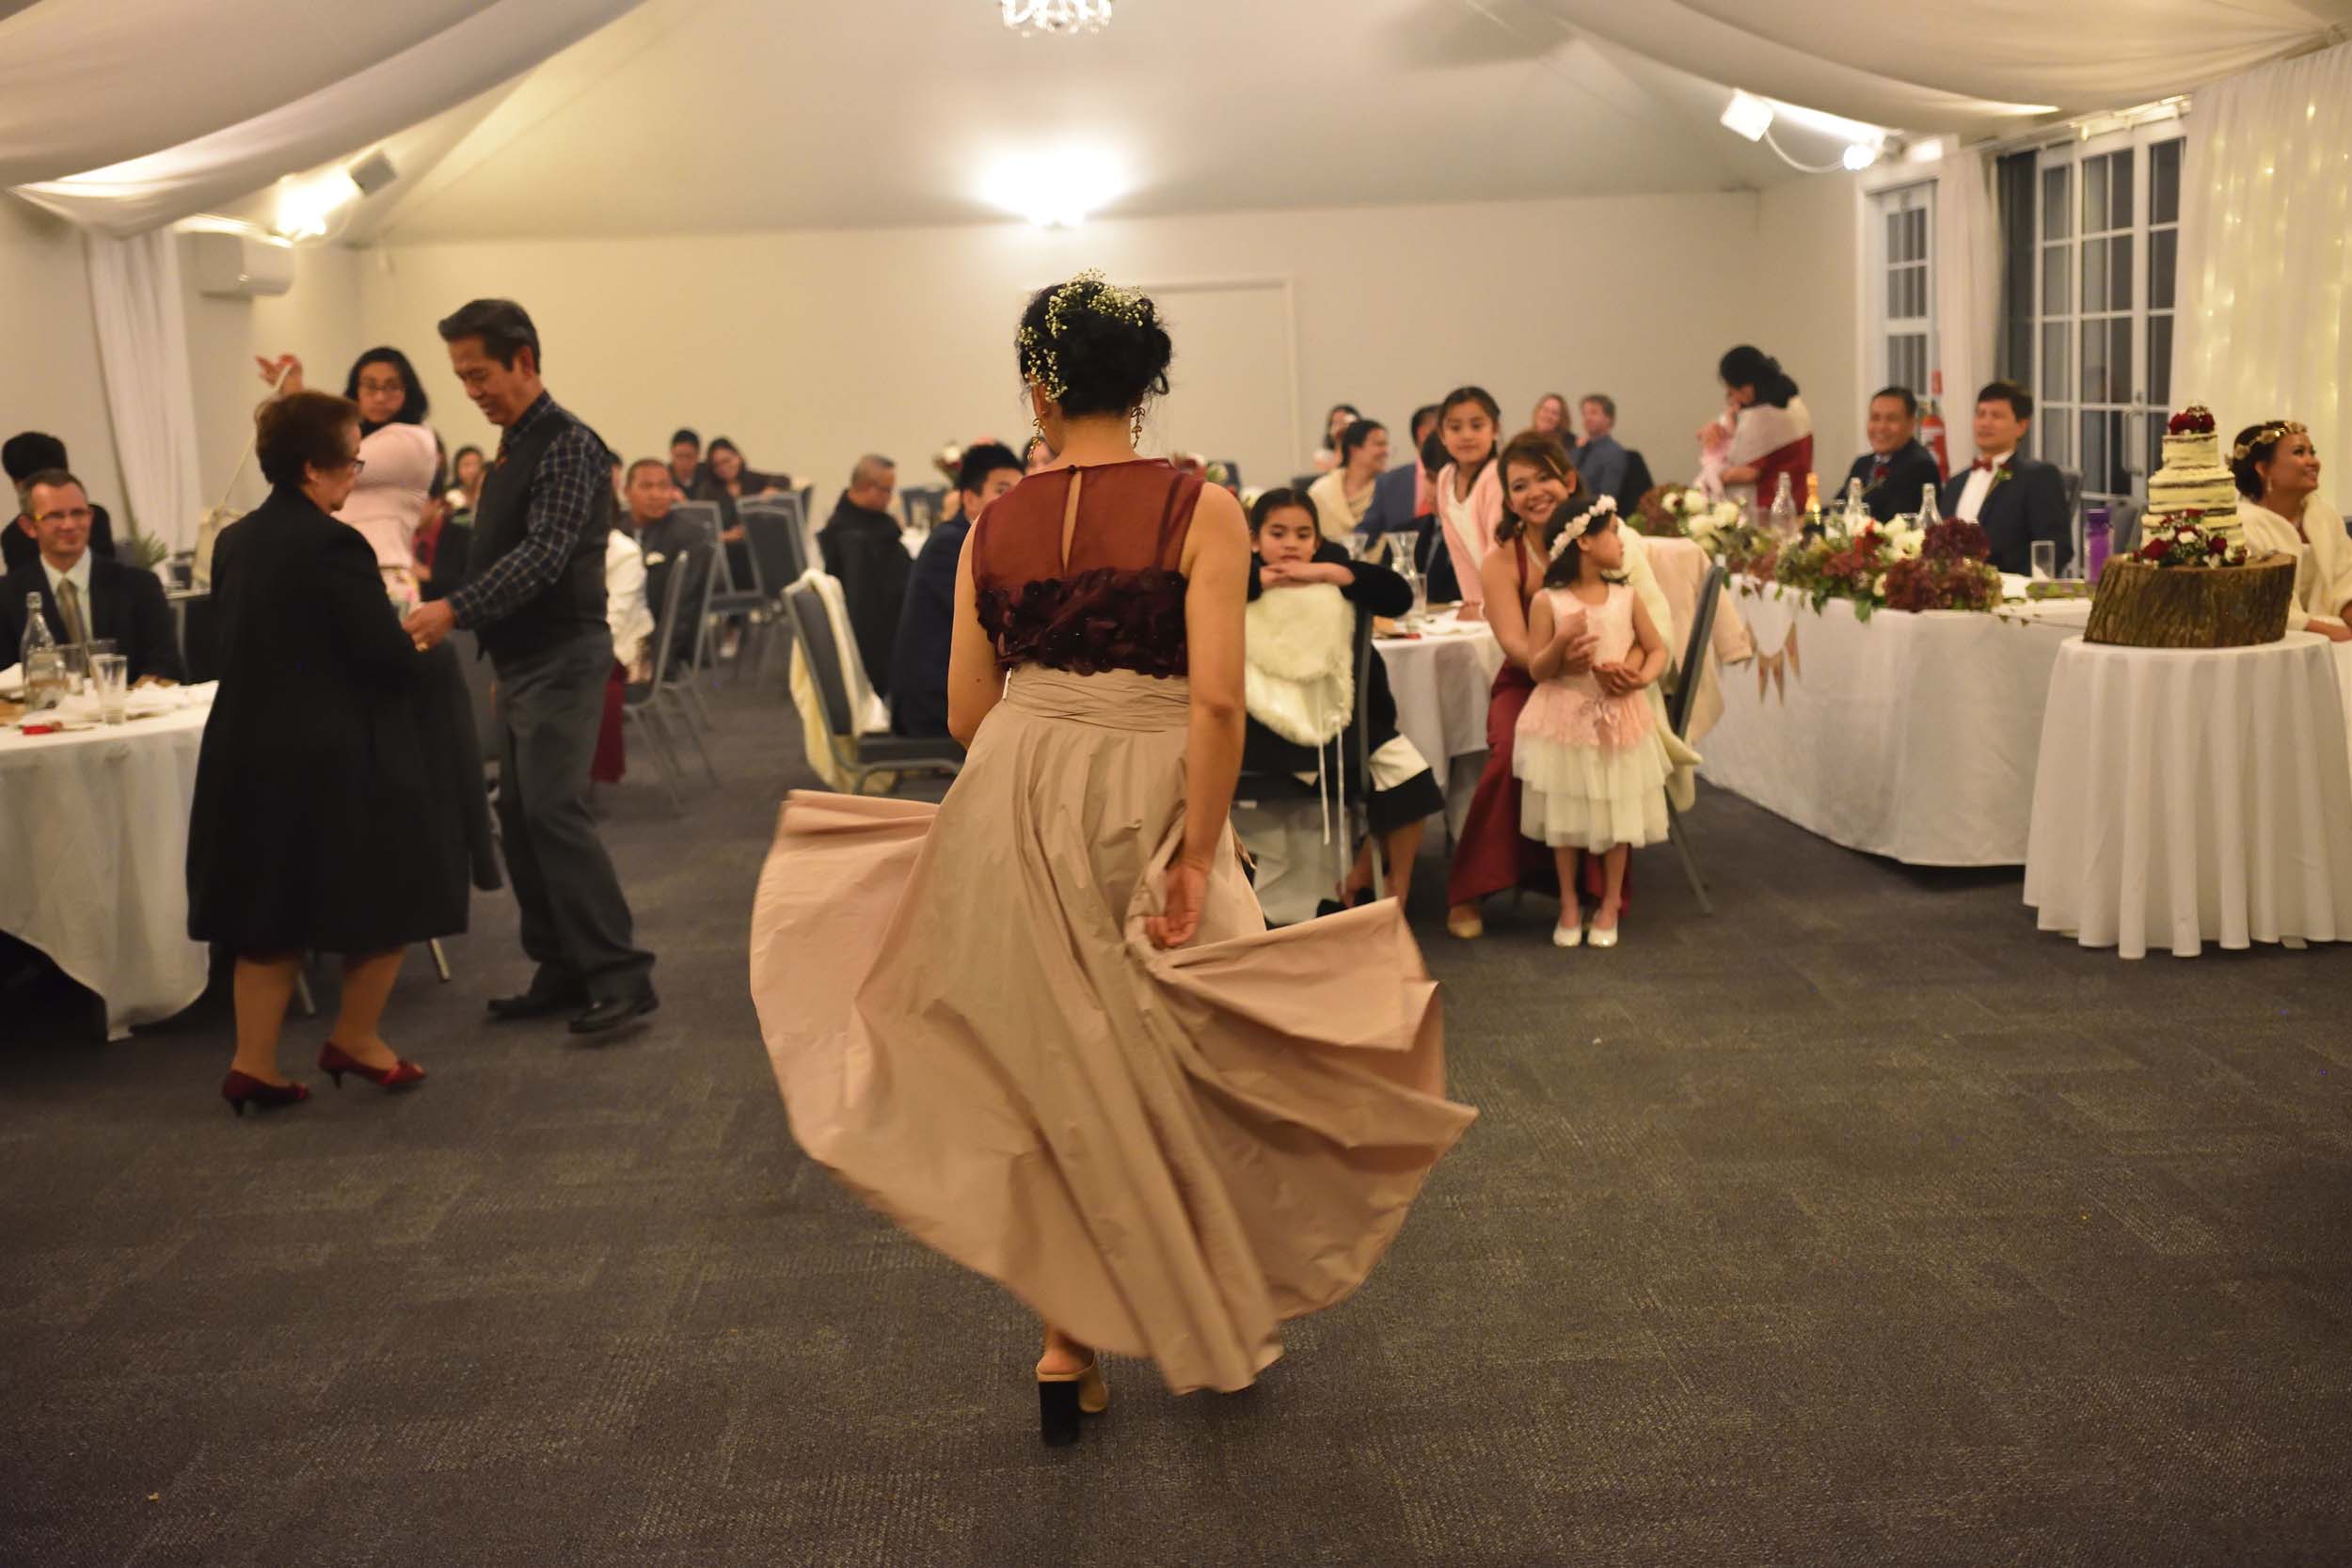
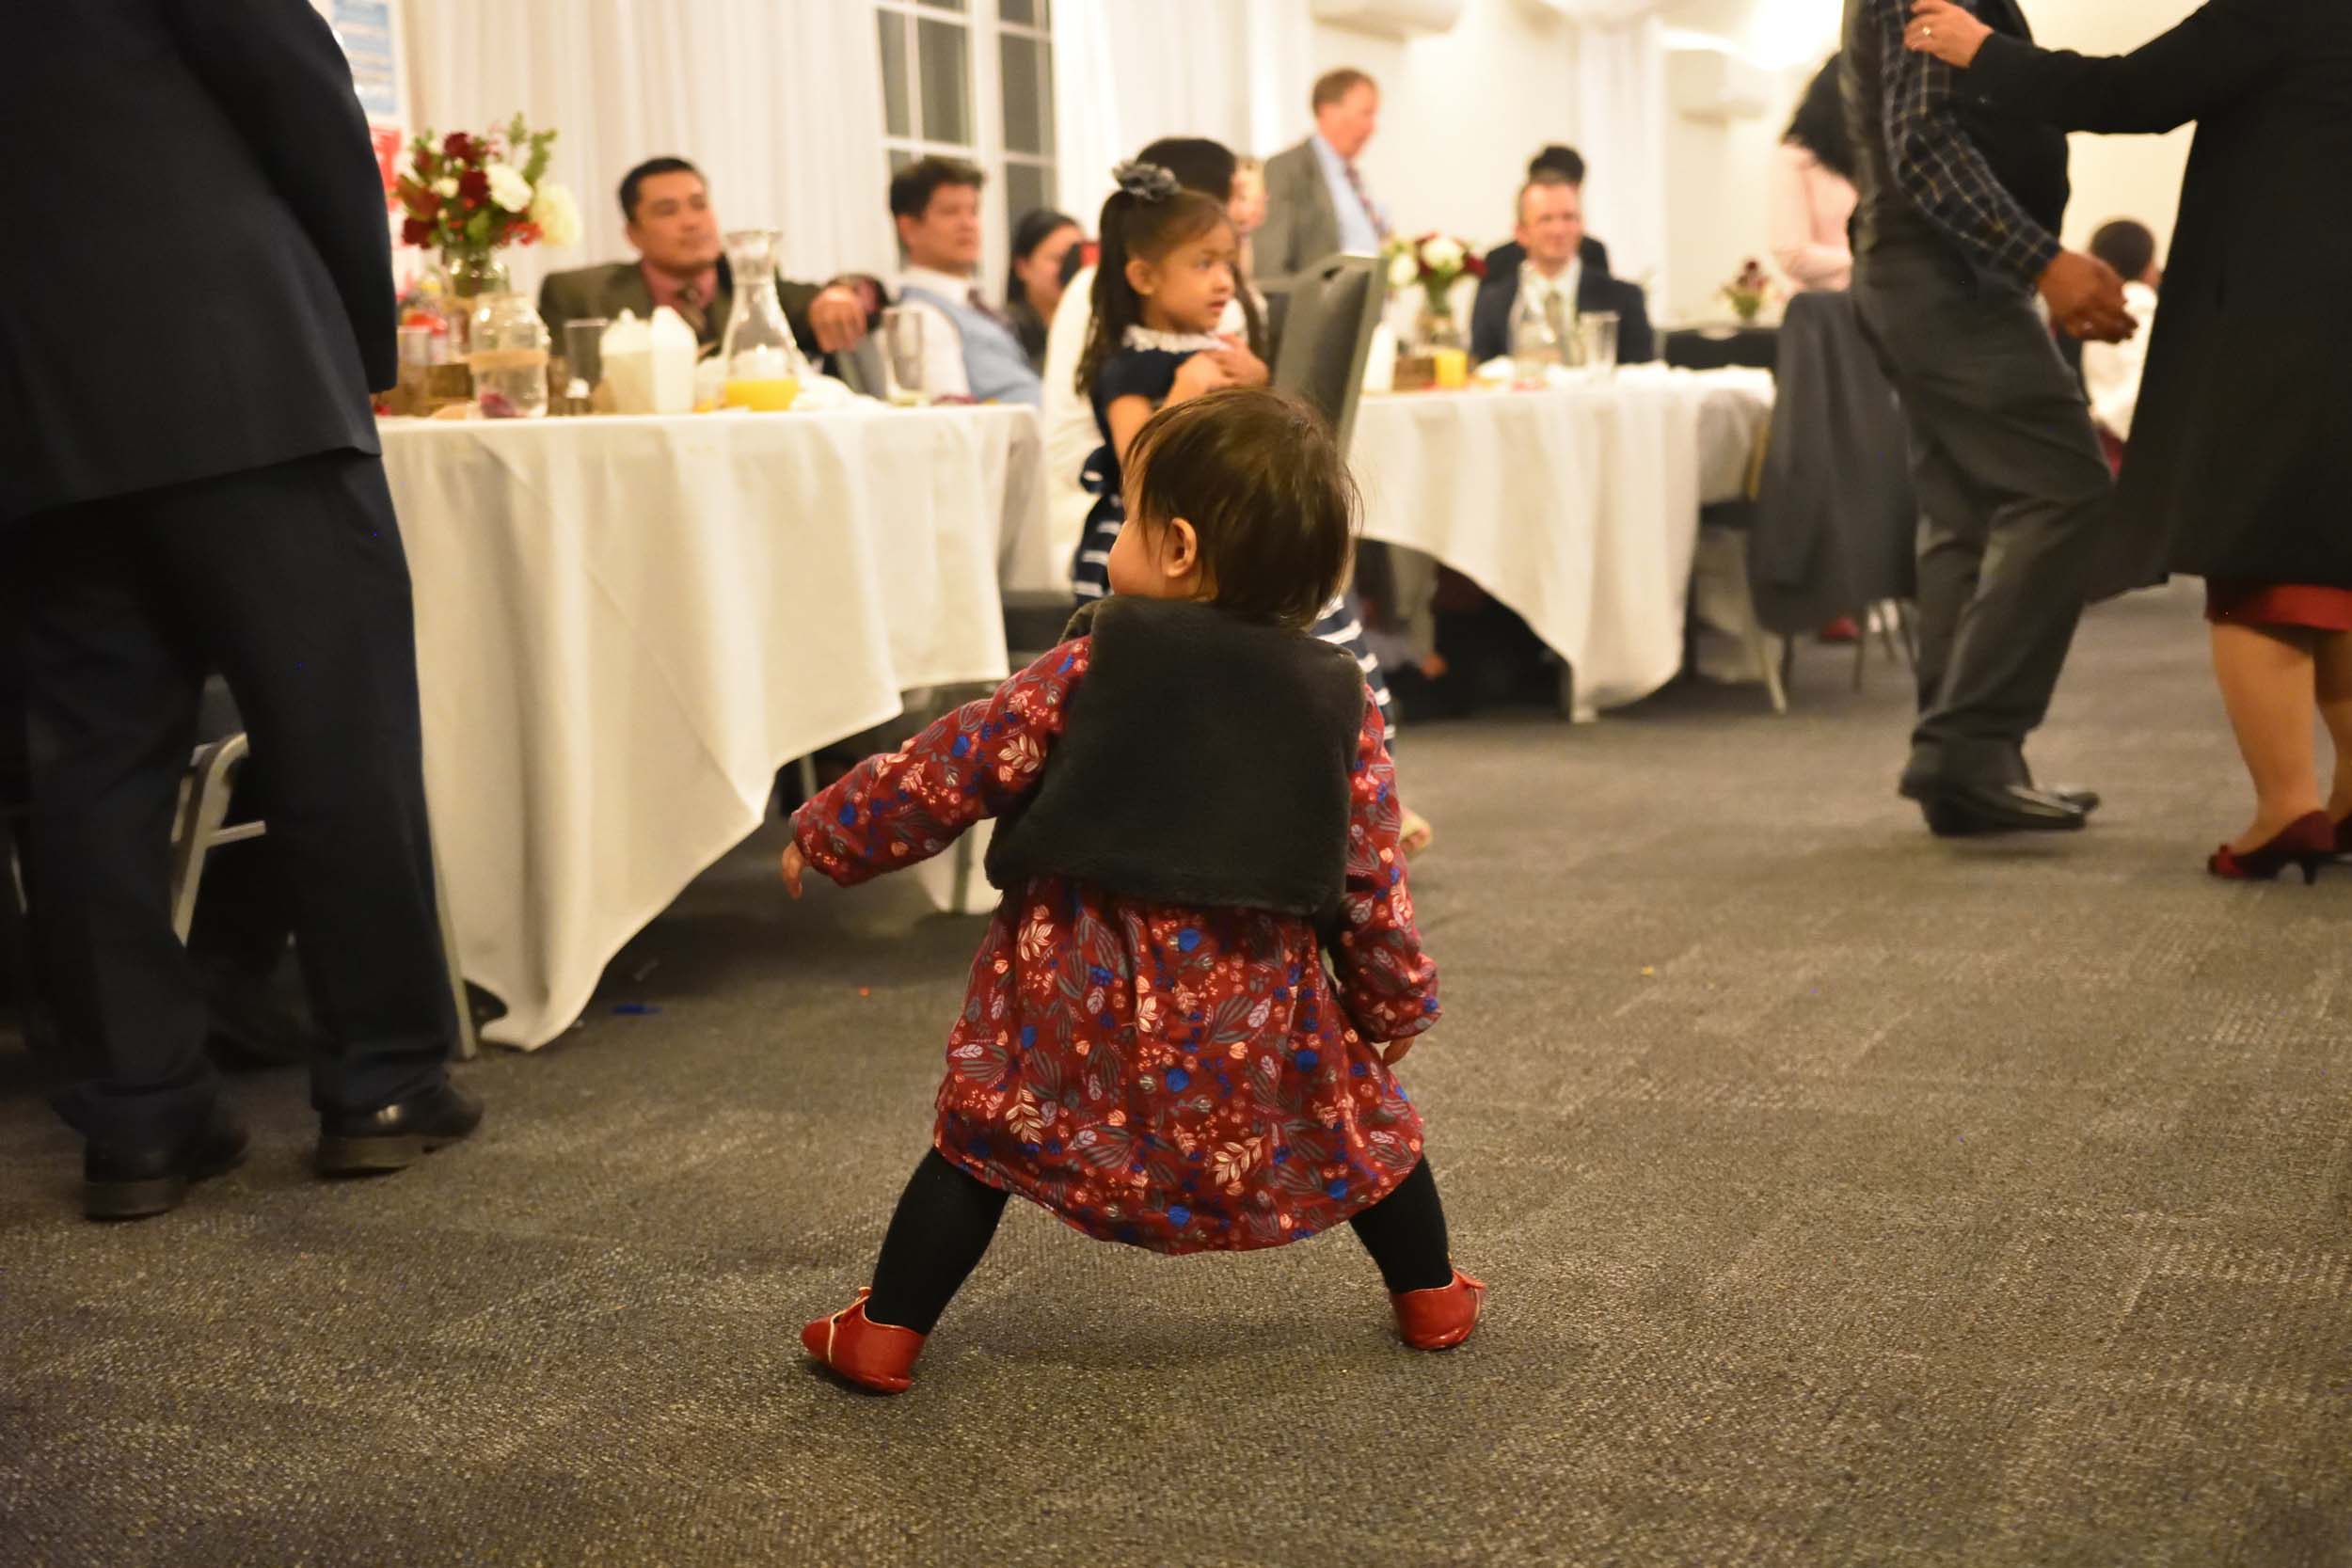
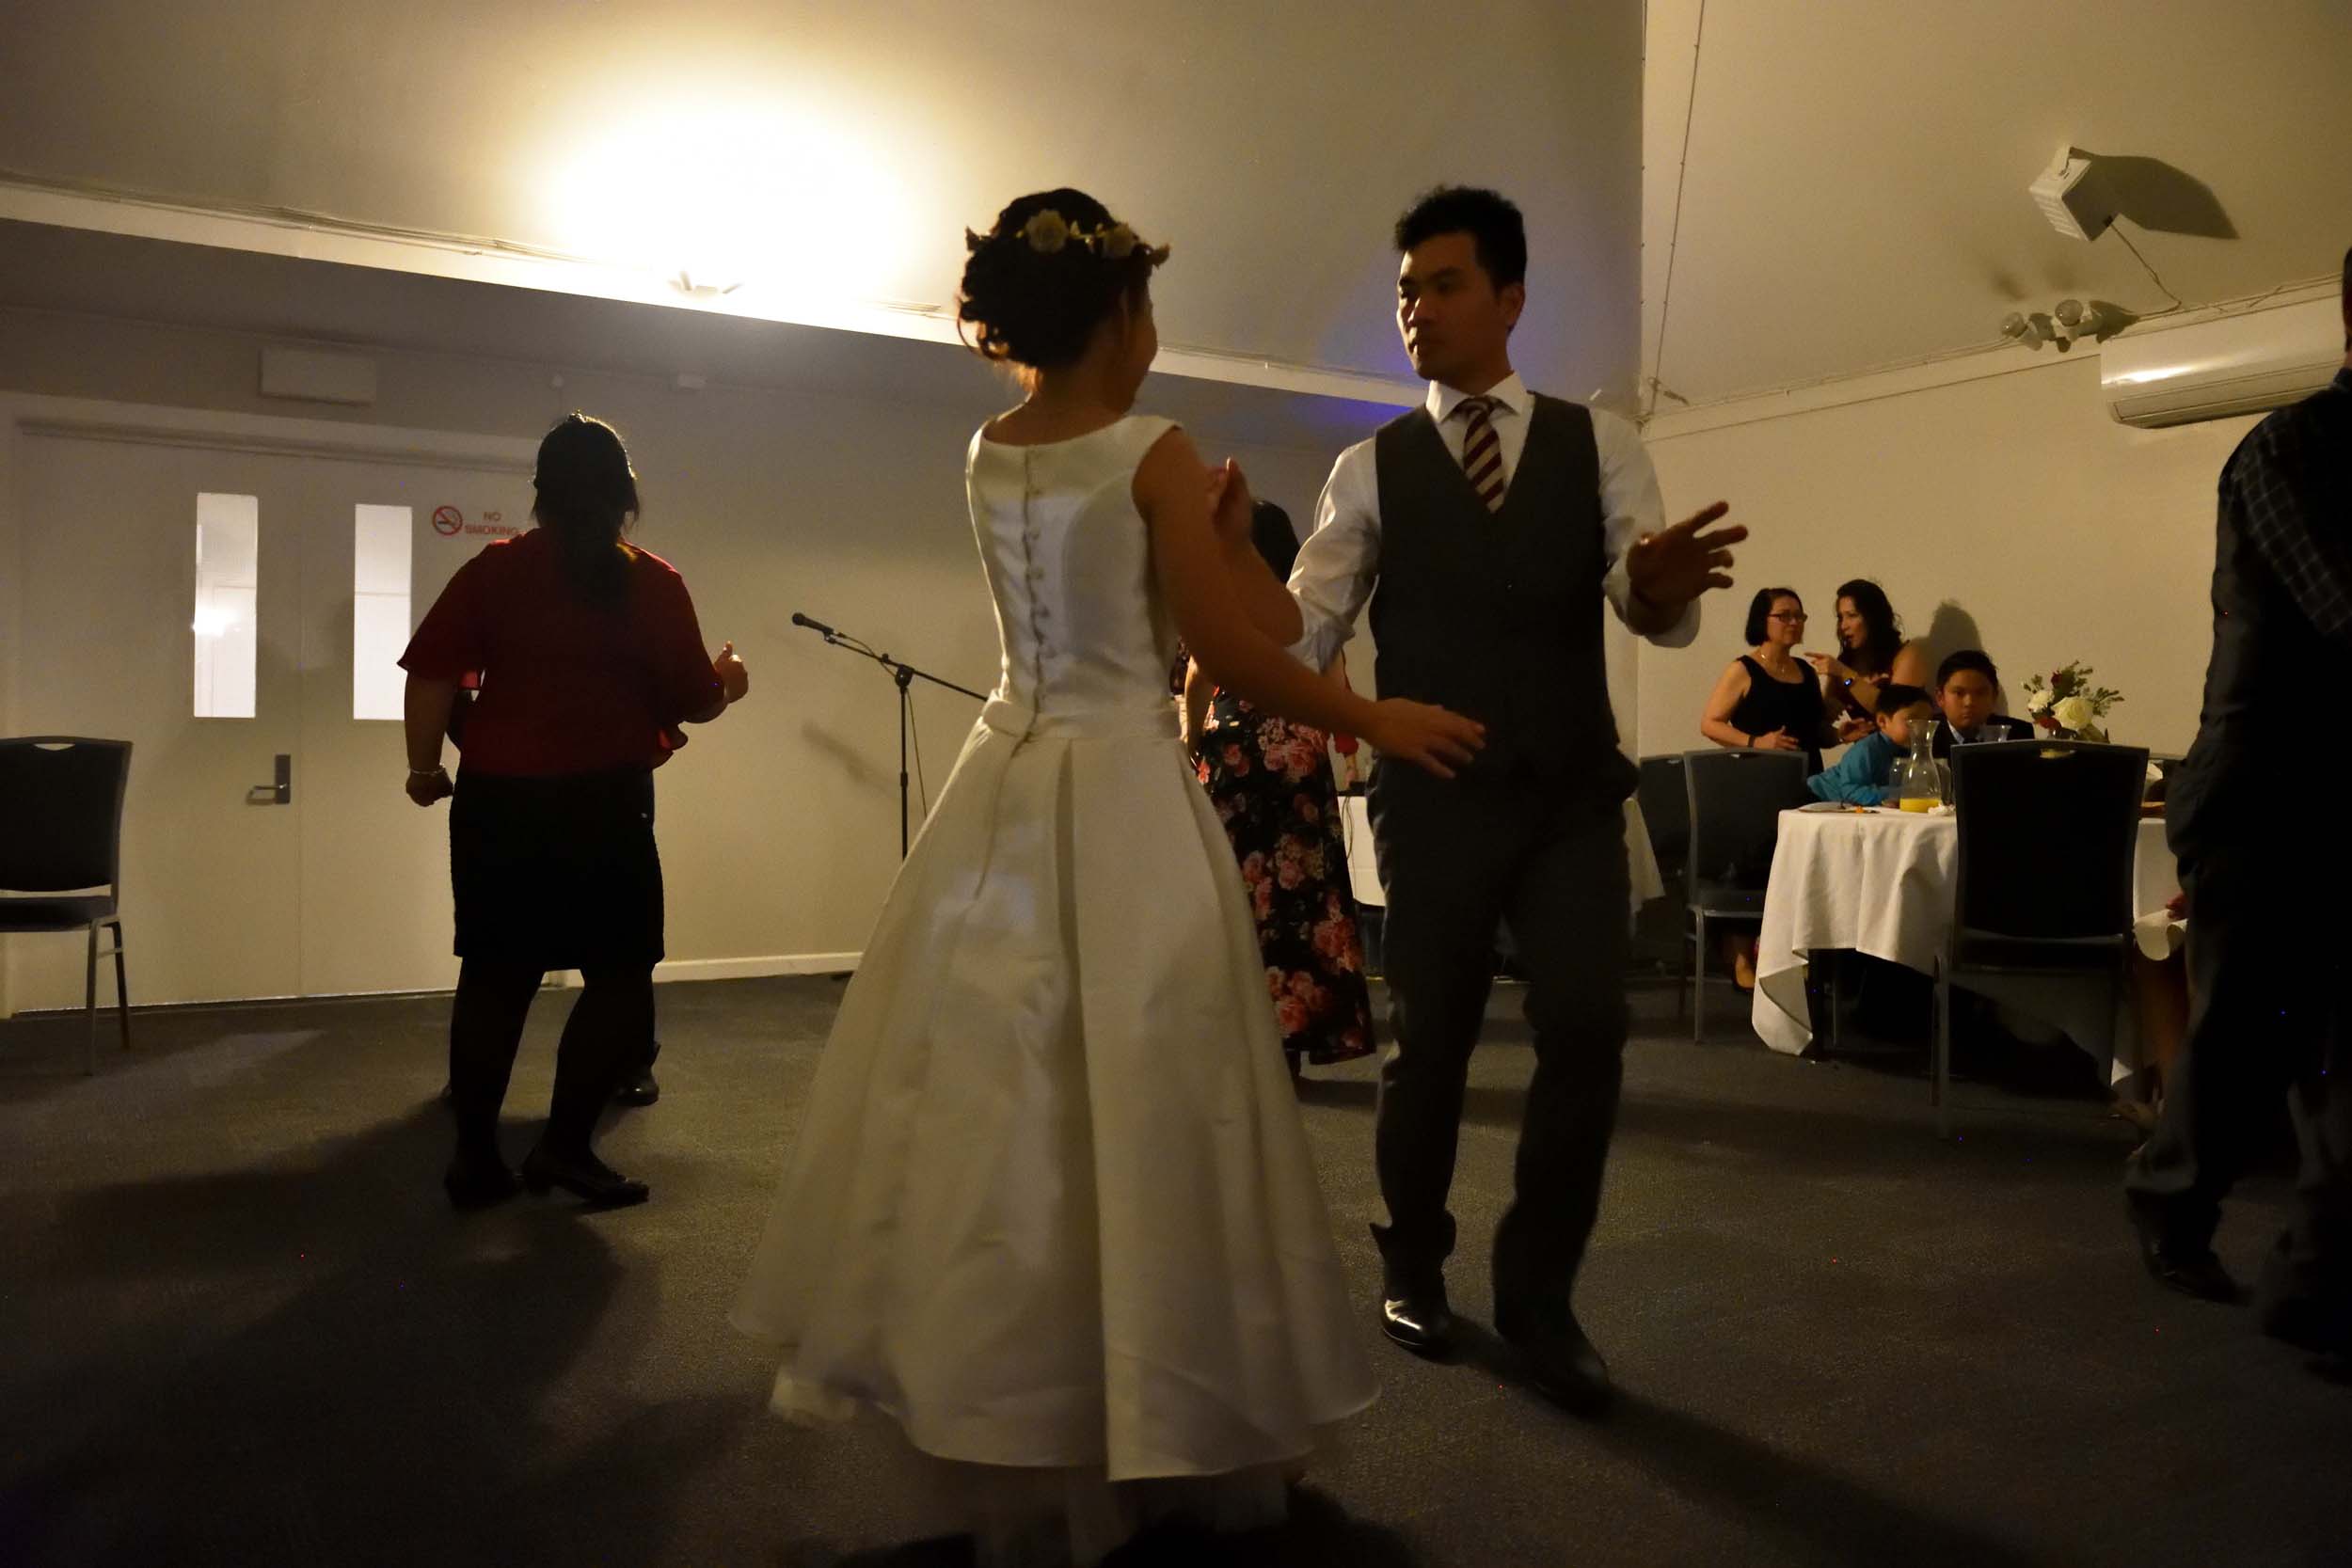
For those interested I have added a slideshow of images from the last wedding I shot with an 18-140mm lens. Most of the indoor shots involved using bounce flash with the SB800.


Search Posts
Featured Posts