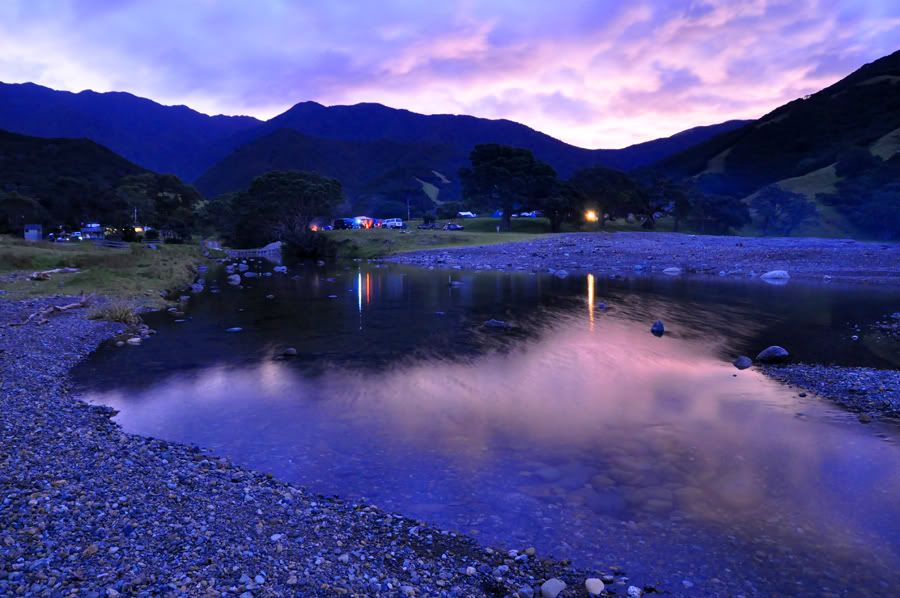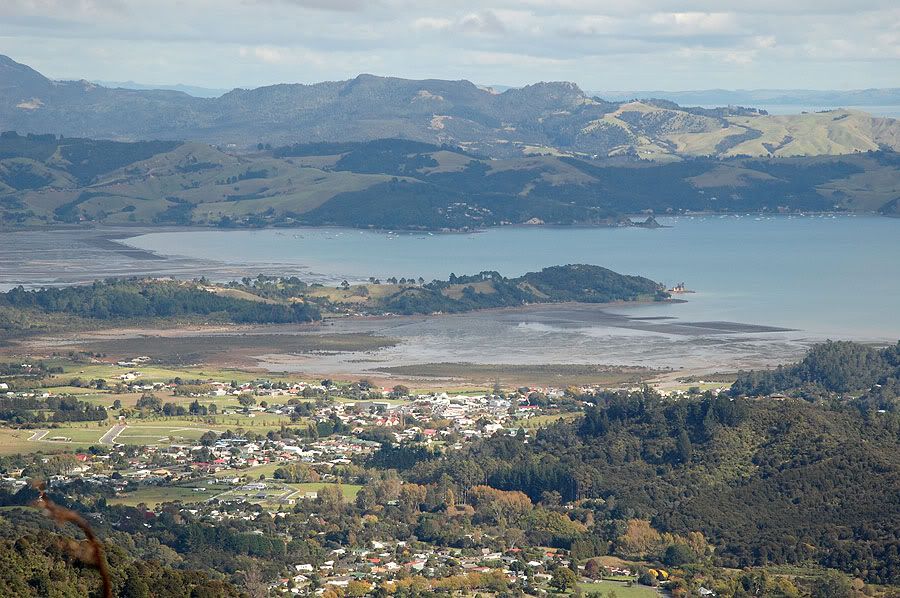
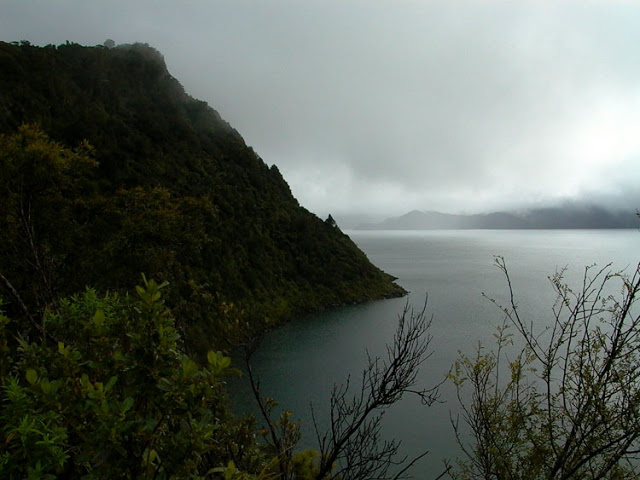
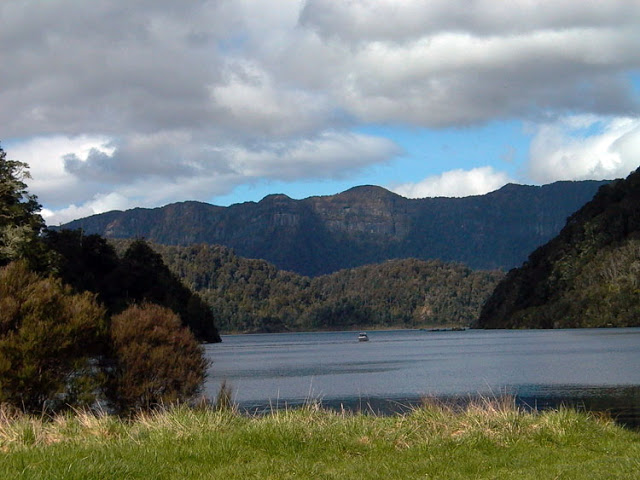
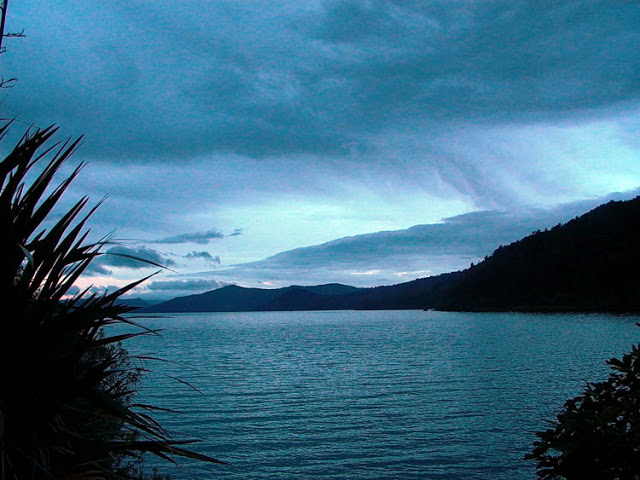
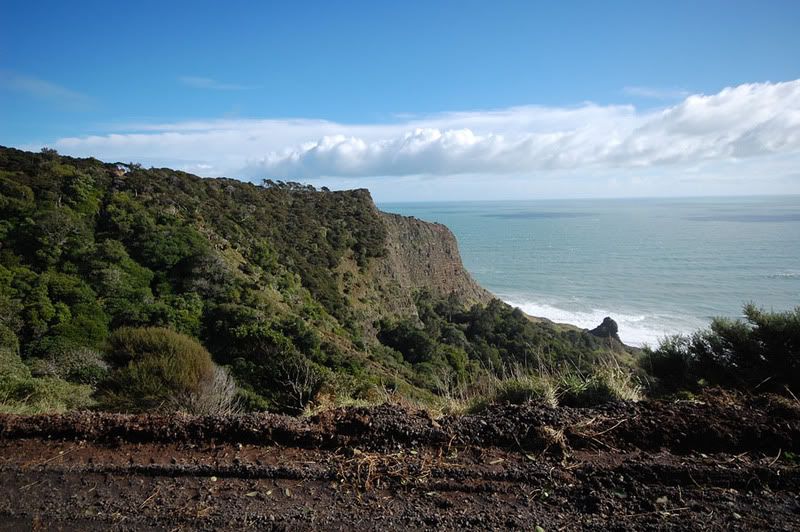
I decided to do this walk in winter , Lake Waikaremoana is in the Urewera national park
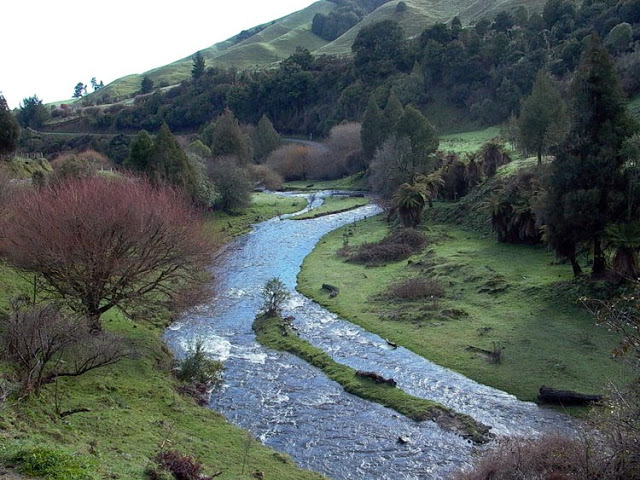


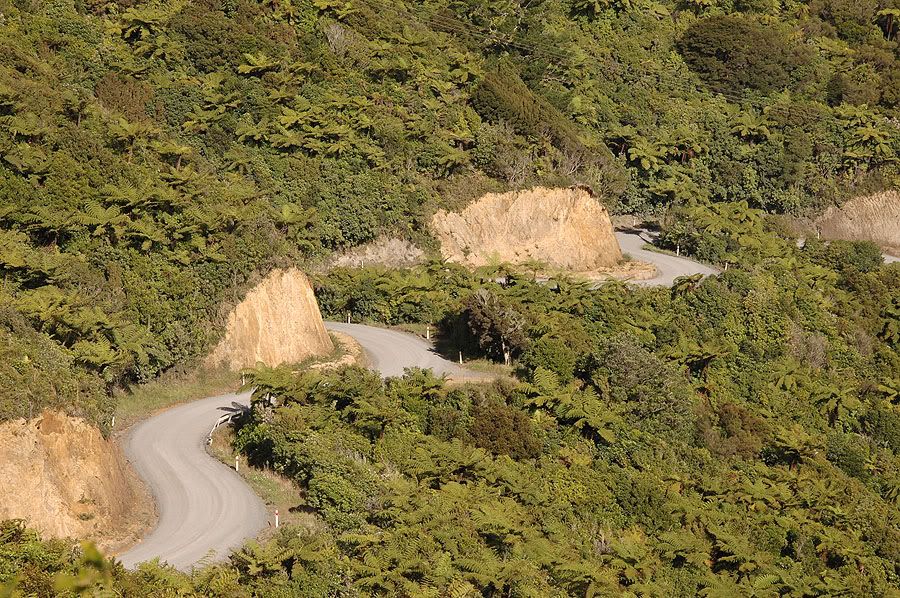
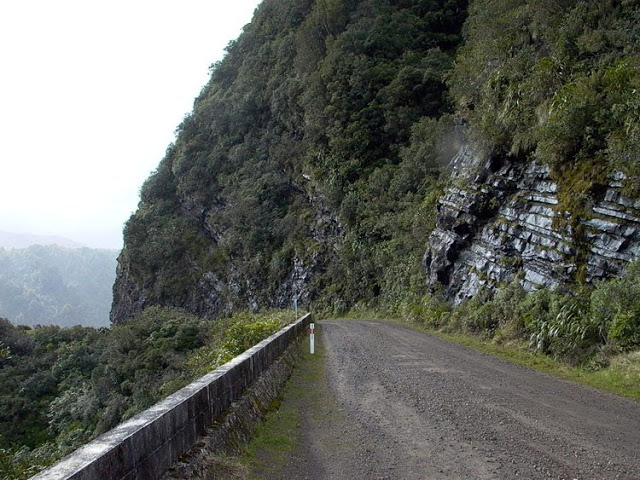
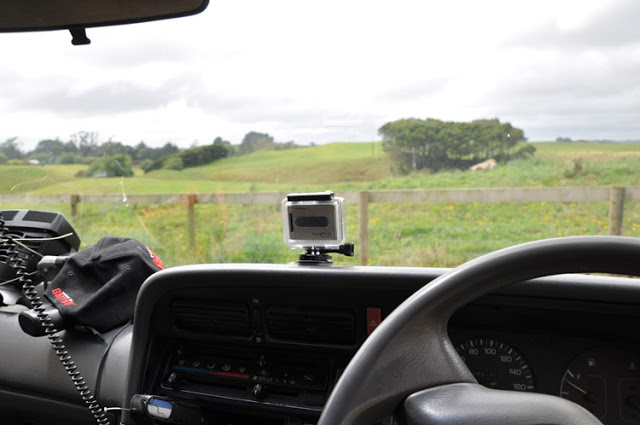
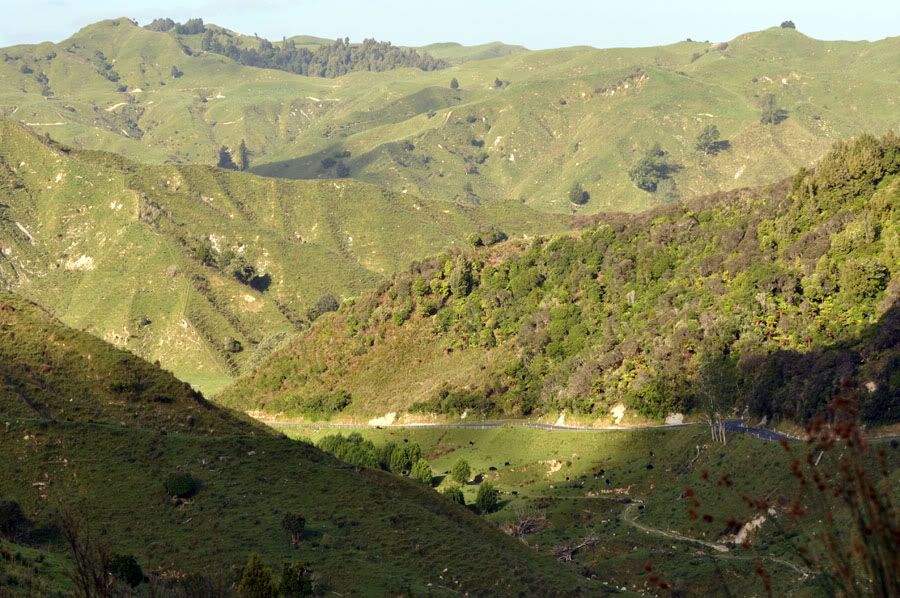
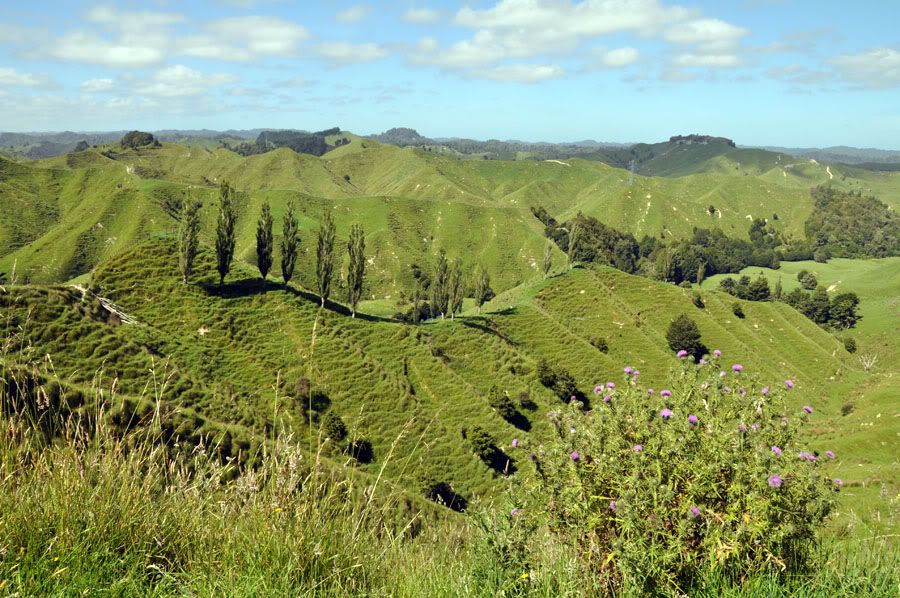
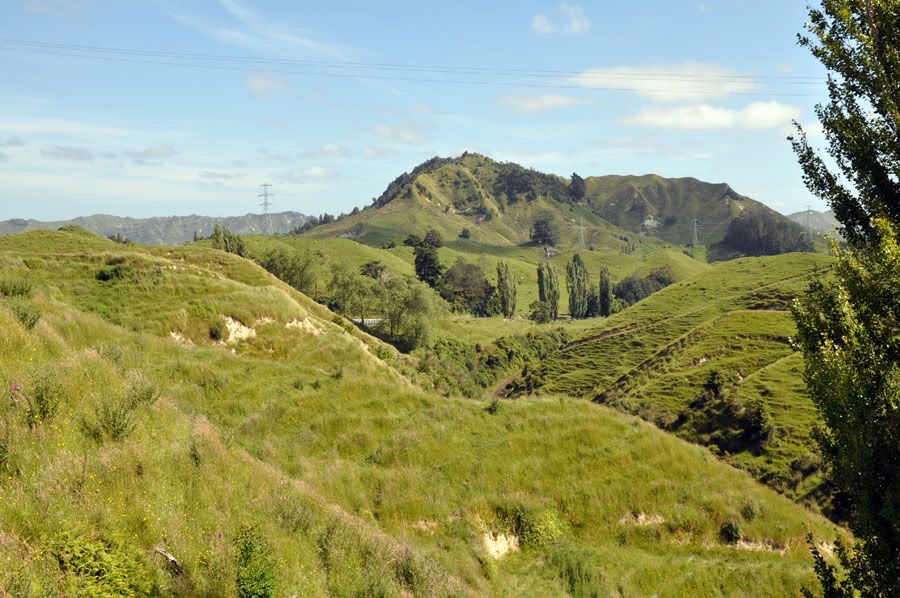
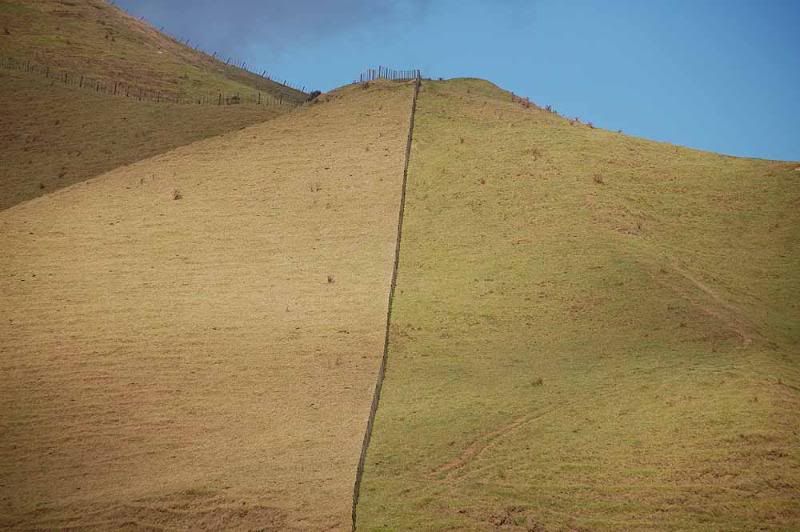
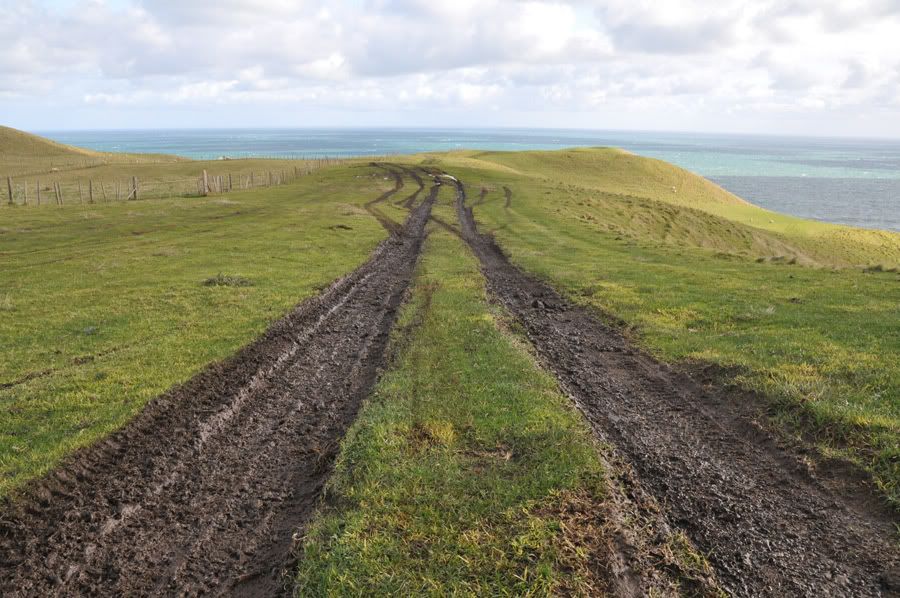
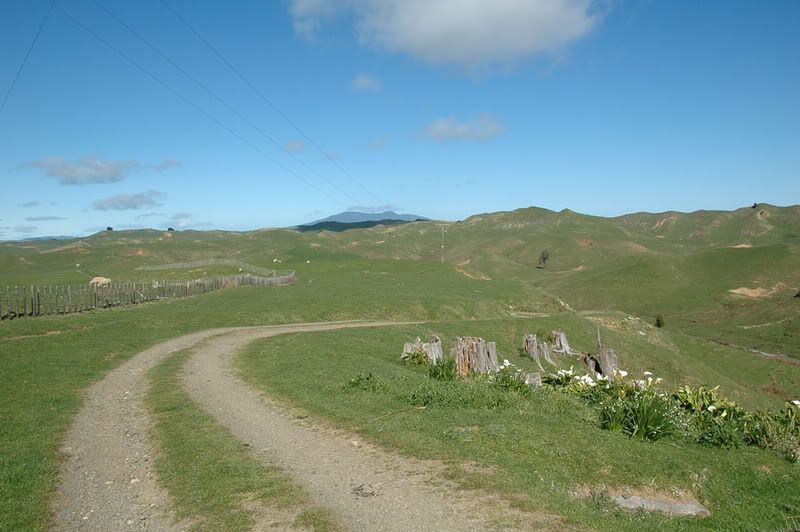
- I just about had the whole lake to myself , I think I saw 12 other people in total . After going through Rotorua you head through Murapara - 90 km of winding dirt roads . It's a good thing I left a day early because I got so tired of driving at 20km an hour that I started going a bit faster - 30 km/hr is enough to get my stomach moving on a road like that and at 45 km I was so sick I had to climb into the back of the car and sleep it off .
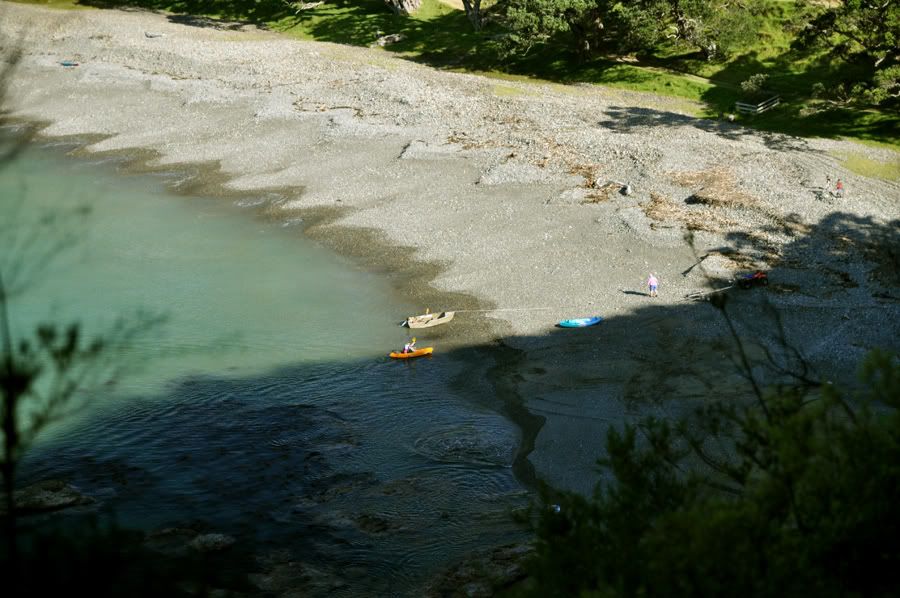
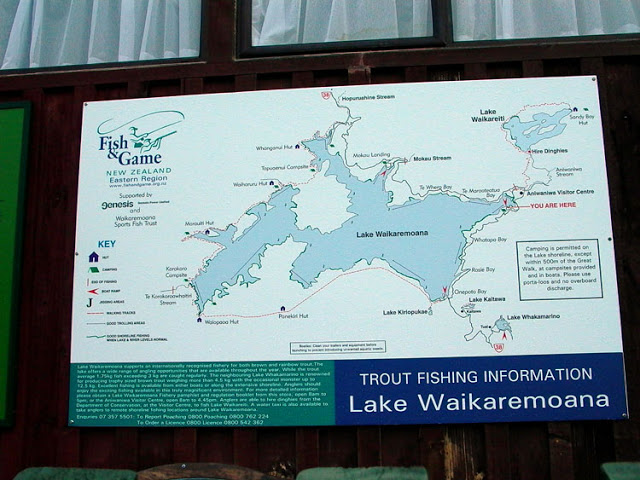
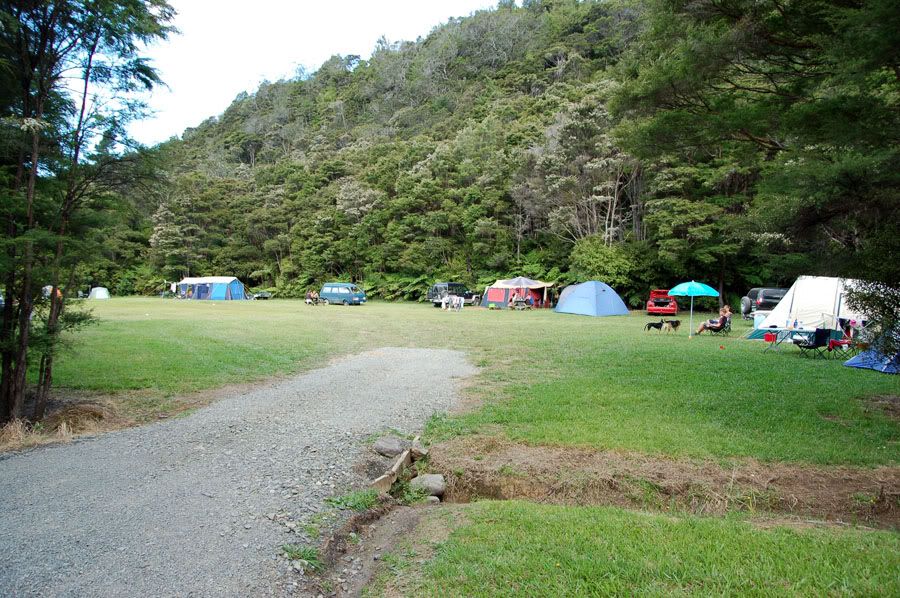
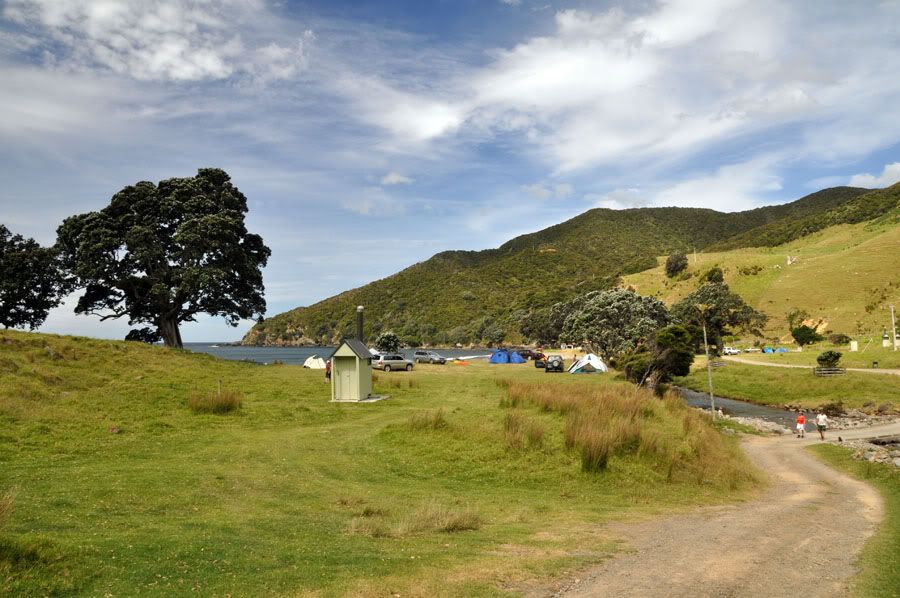
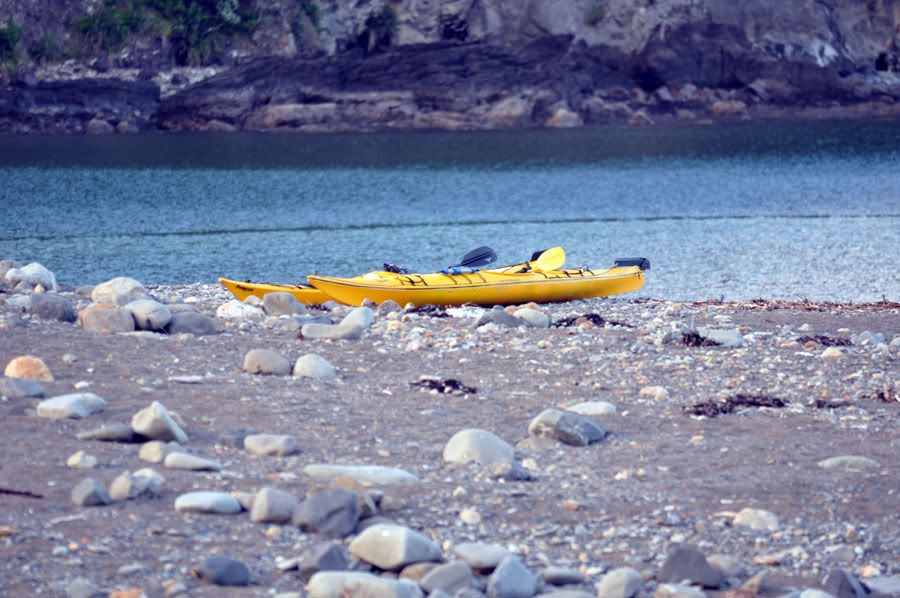
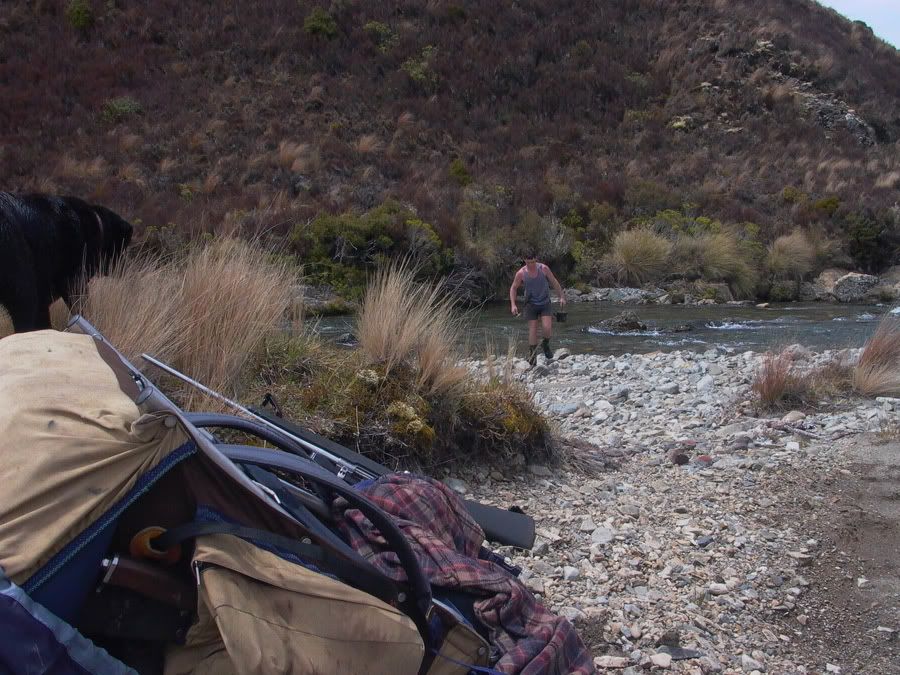
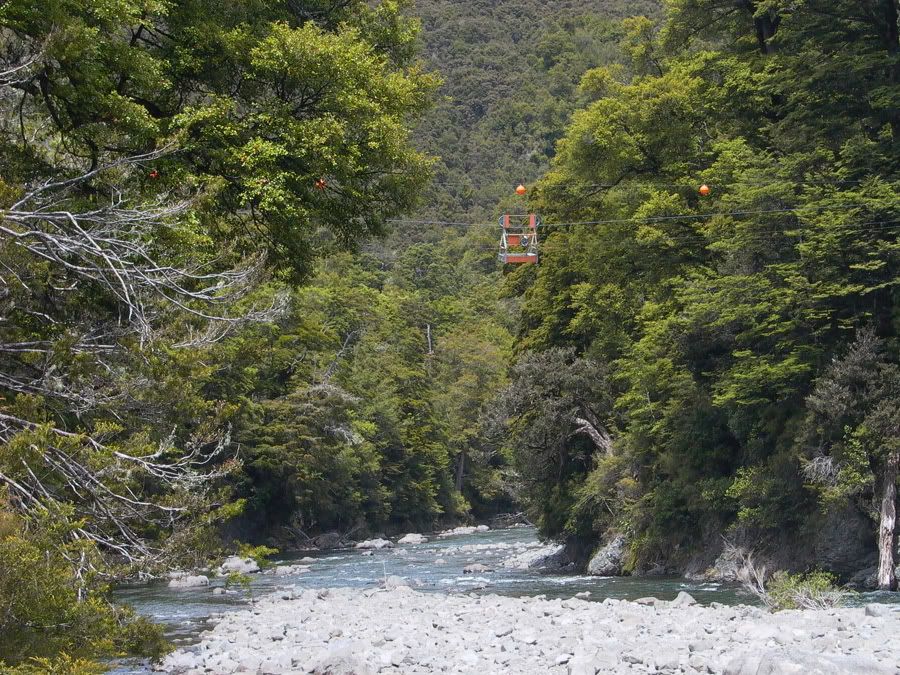
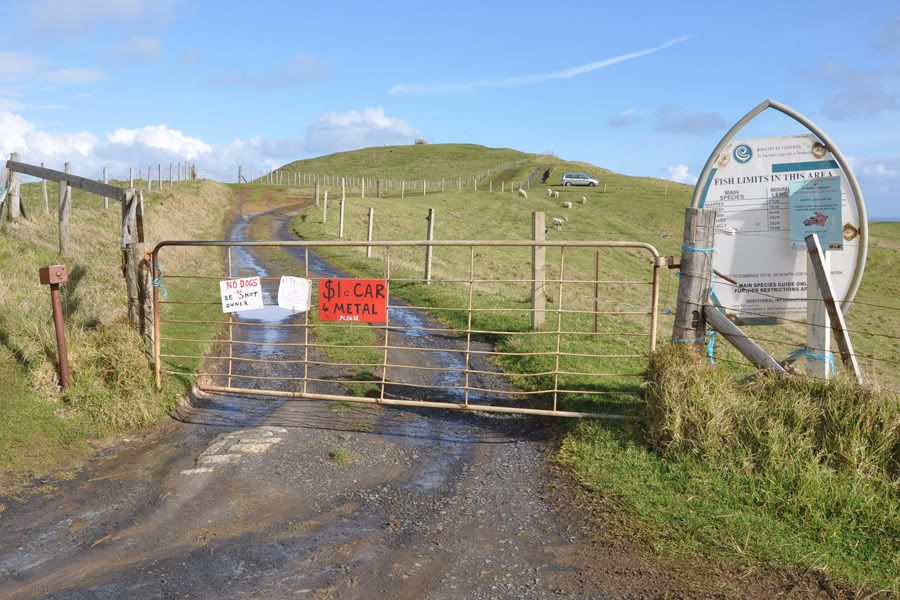
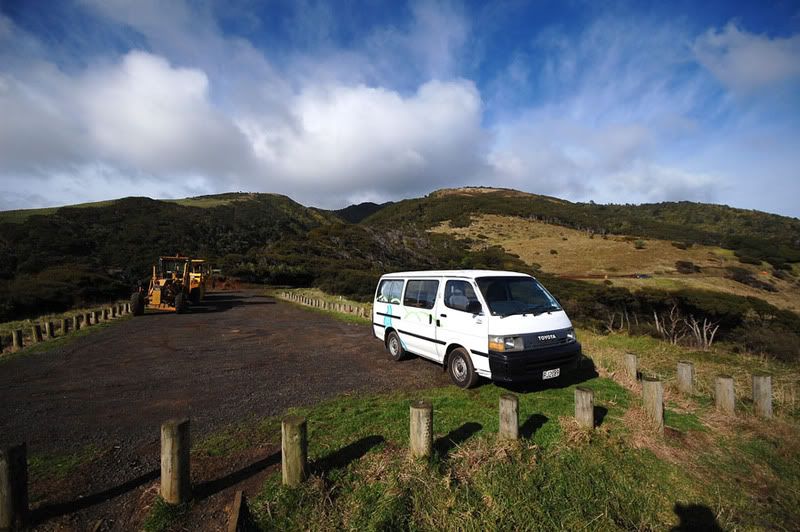
The next day I located the 'water taxi' service , they drop you off at the beginning of the track and pick you up at the end . The boat was out of service so they dropped me off by van . The driver needed reassurance that the machete and hunting knife were for trees that had fallen across the track - but he didn't look that convinced .
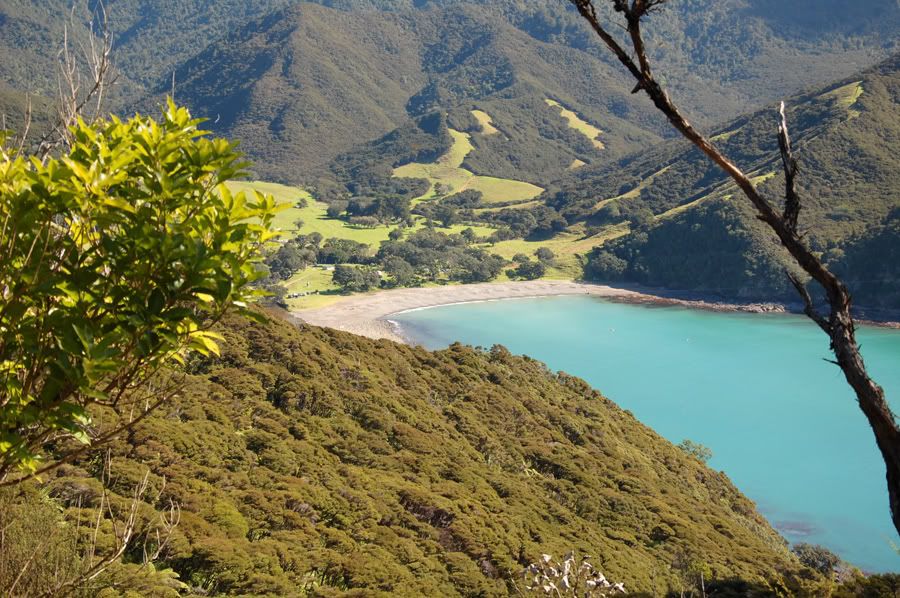
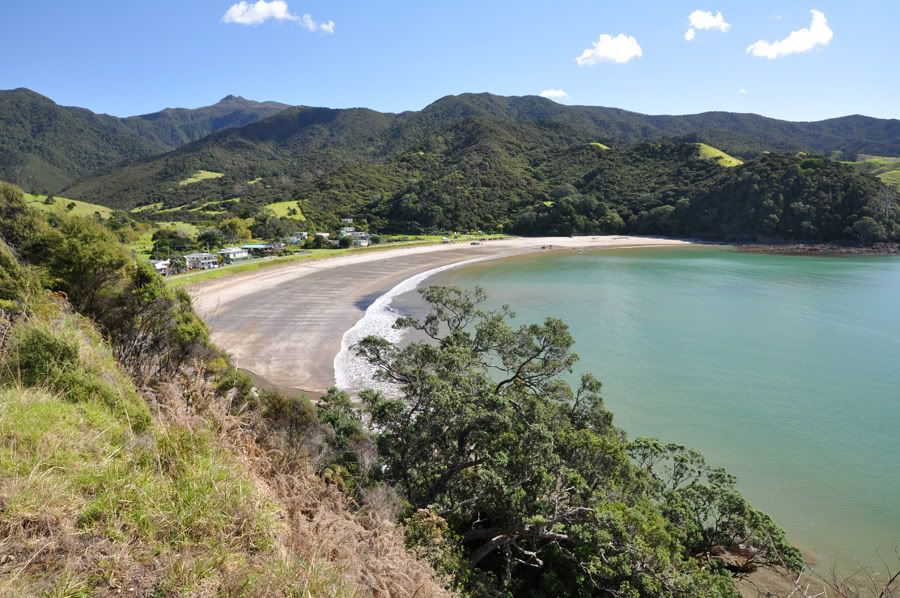
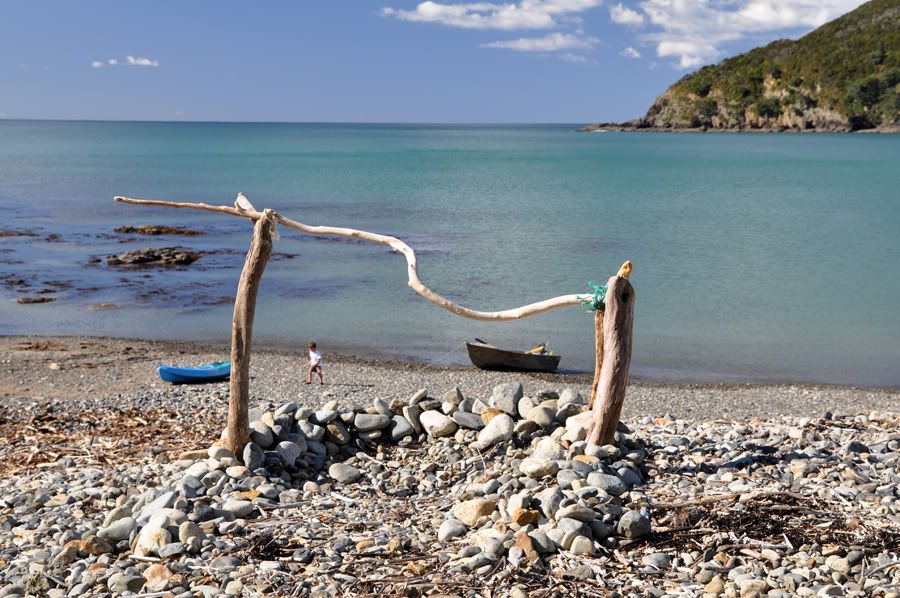
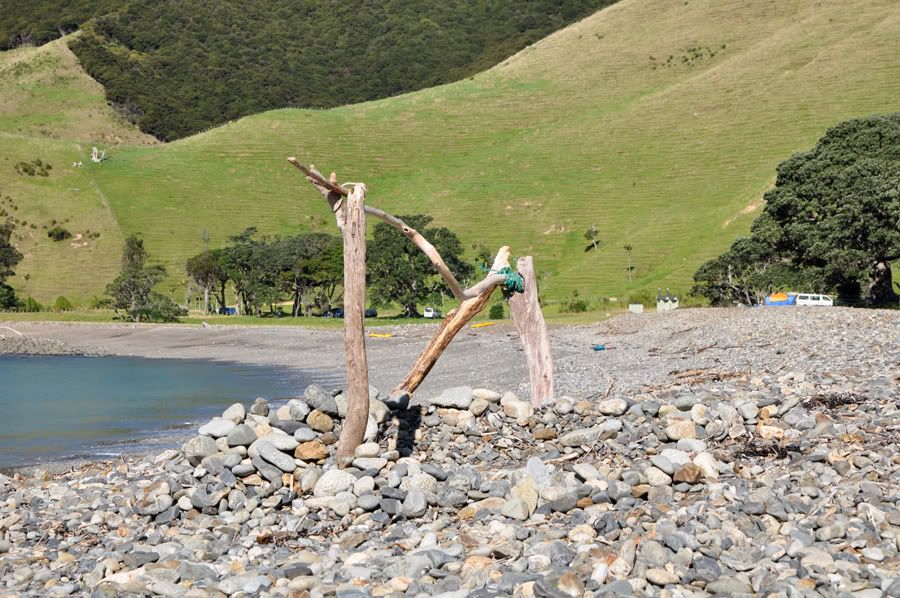
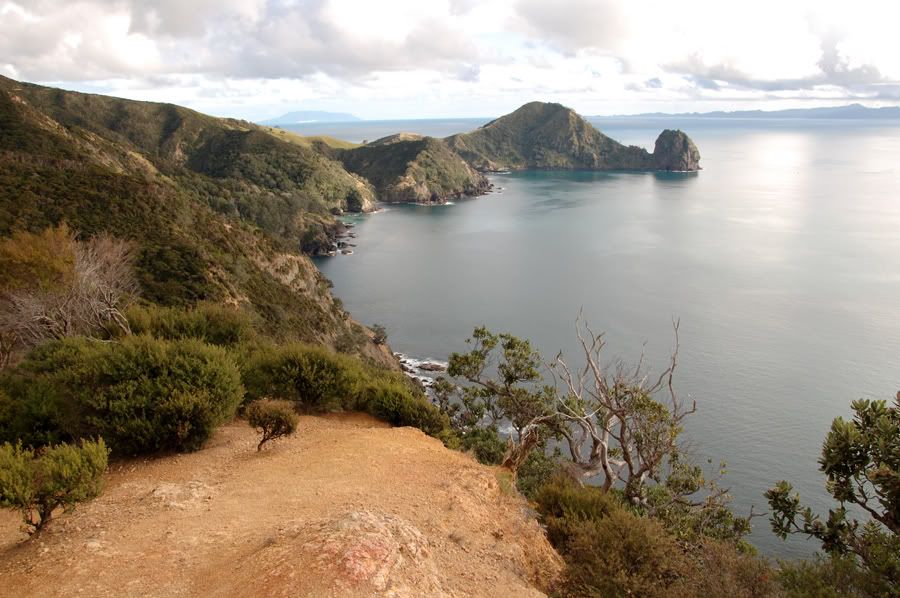
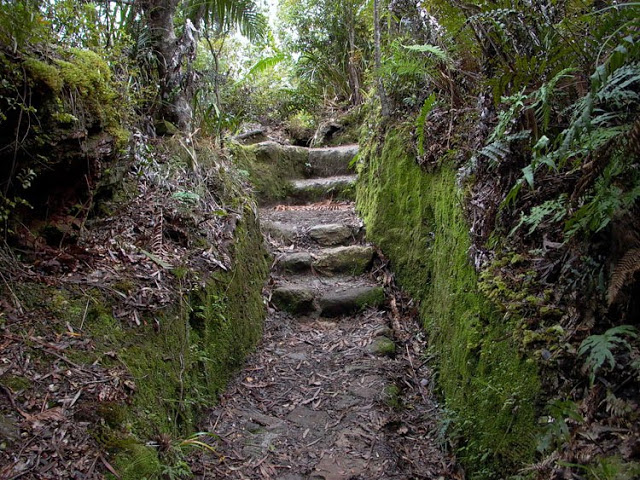
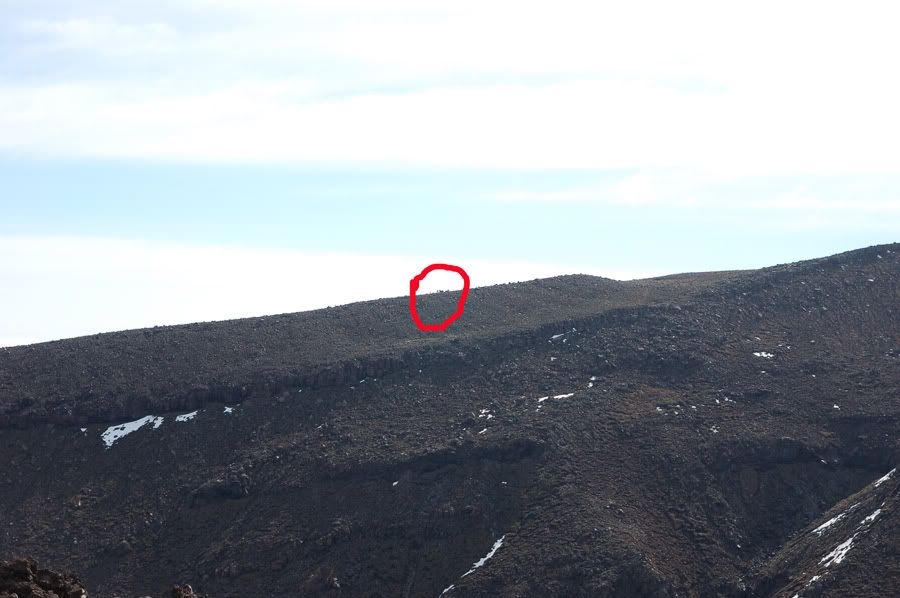
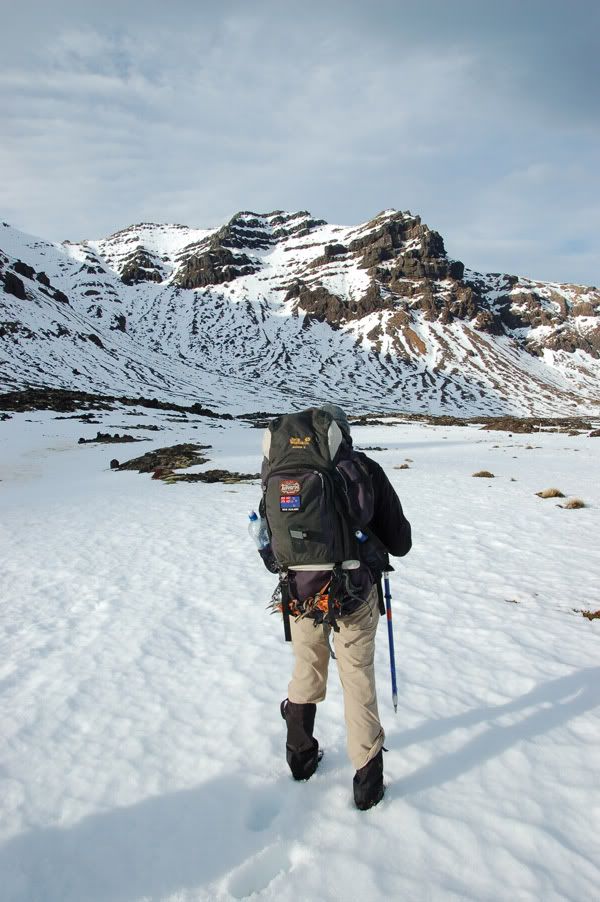
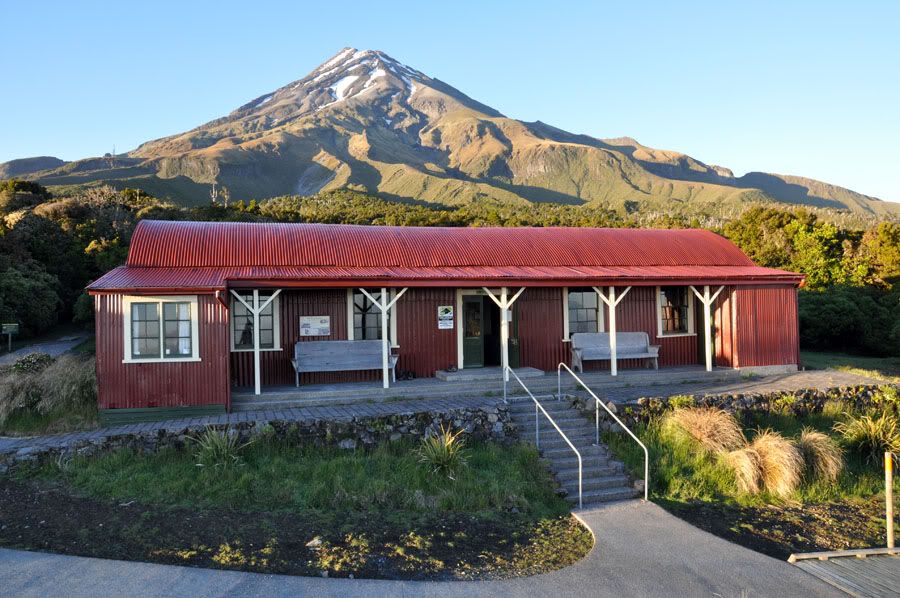
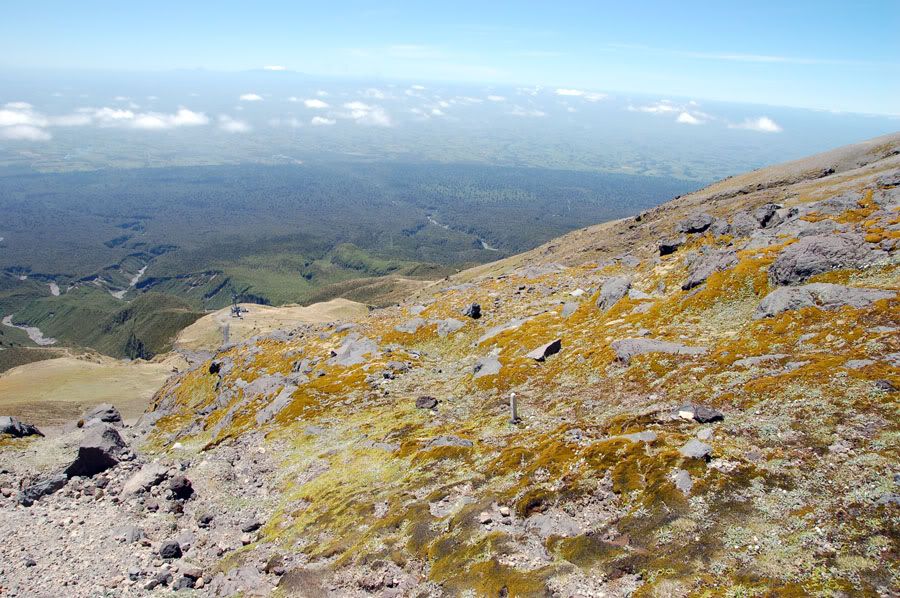
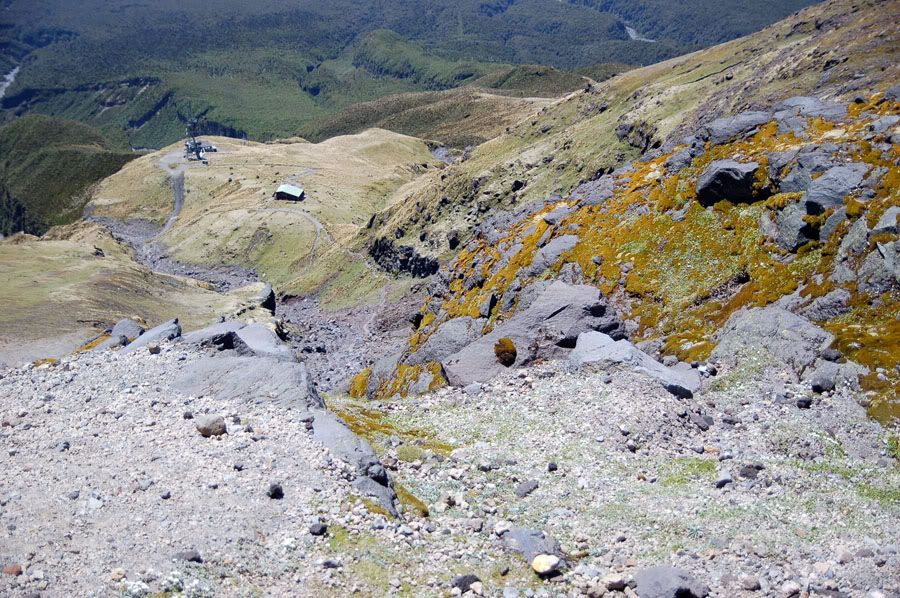
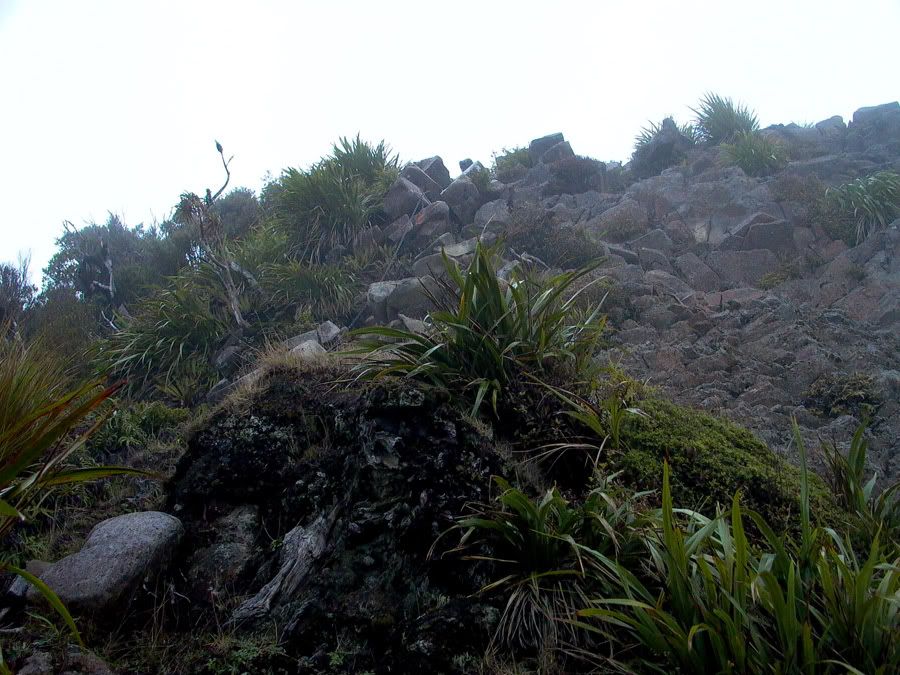
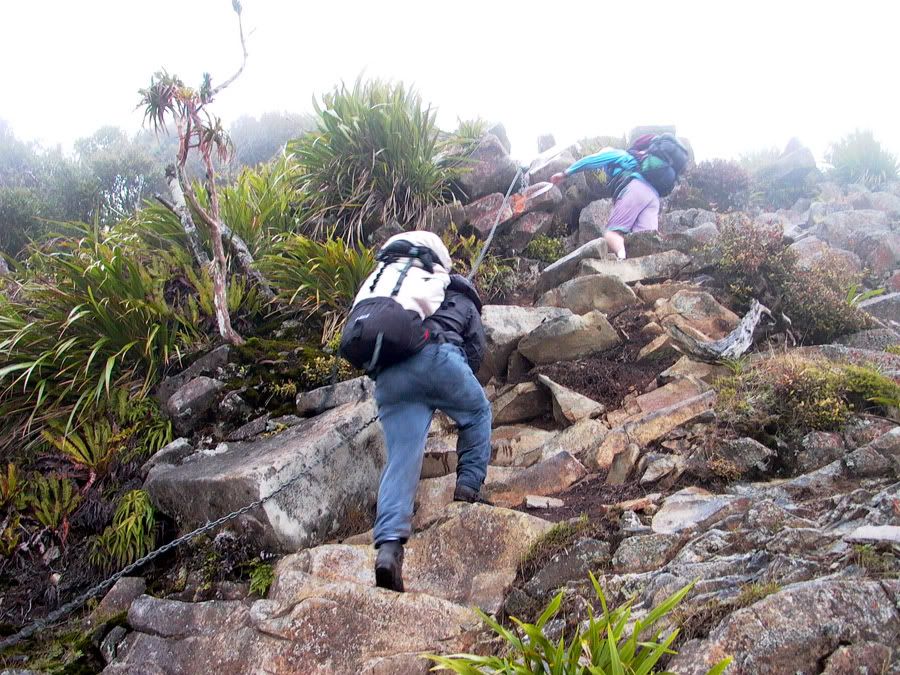
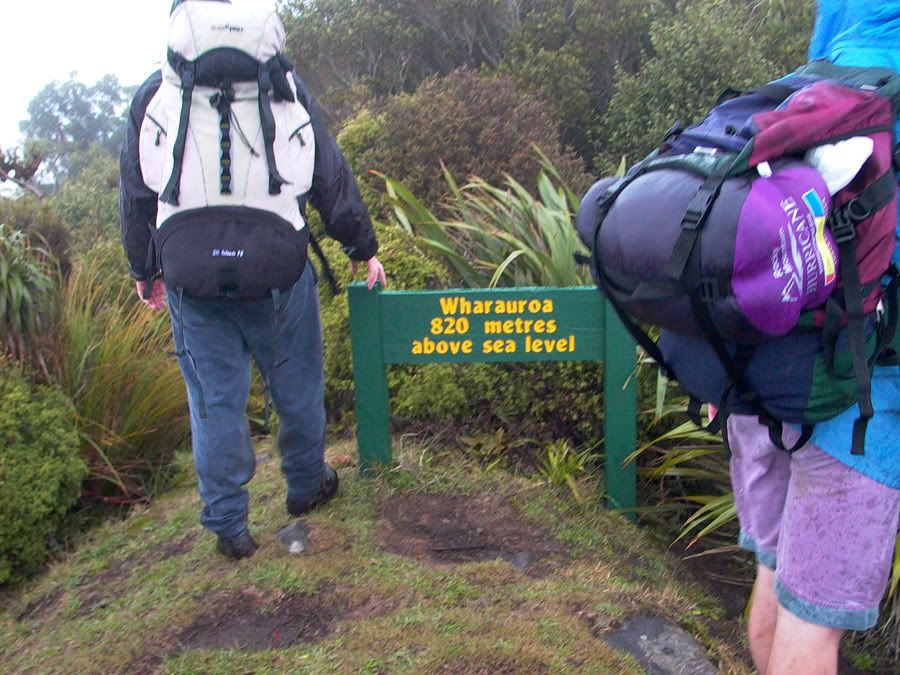
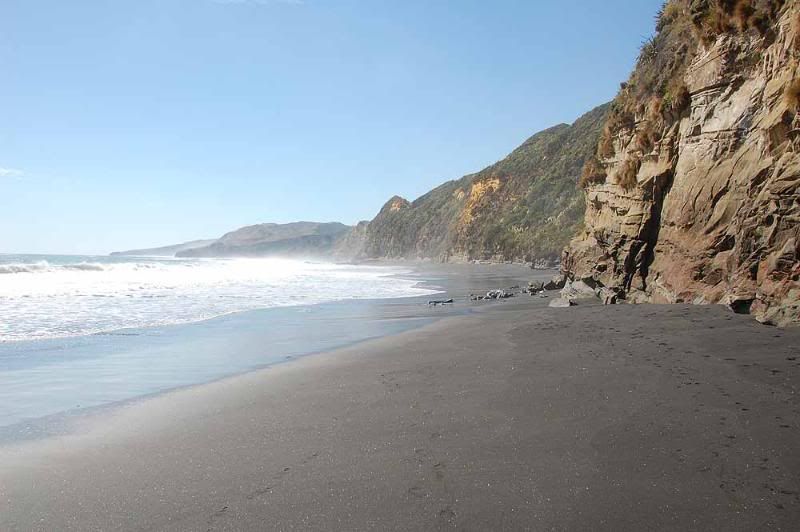
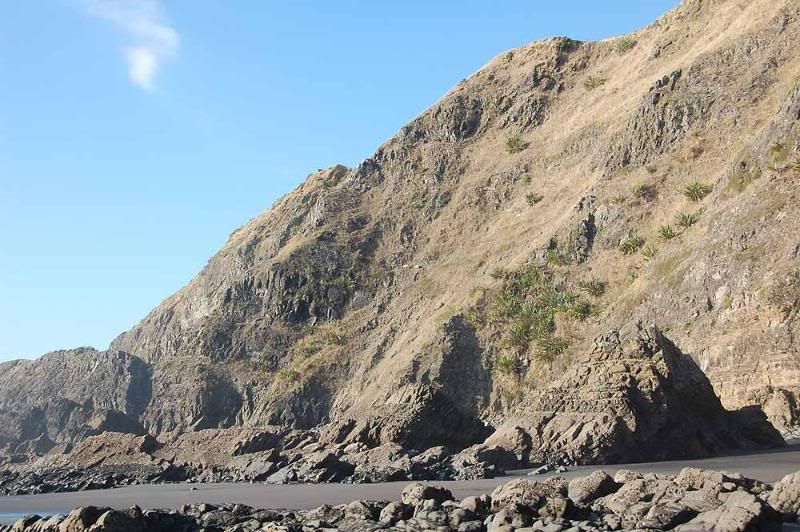
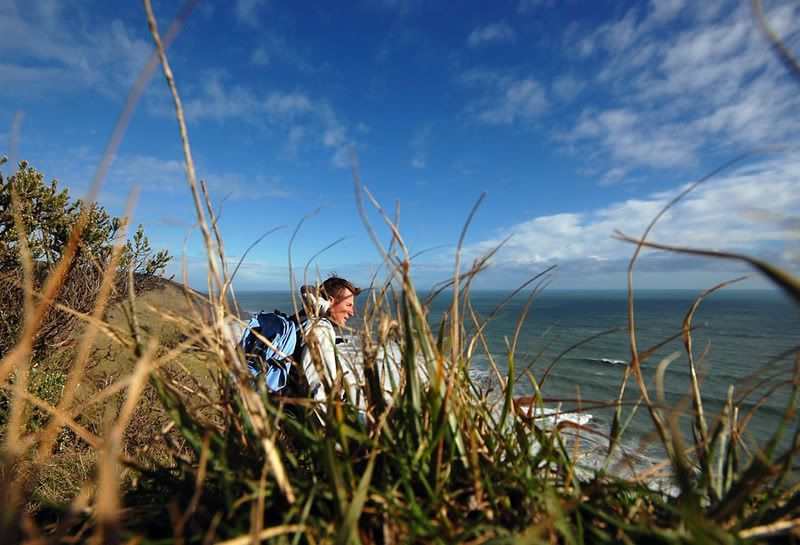
They dropped me off at Sandy bay and I started making my way up the Panekiri range to the hut ....

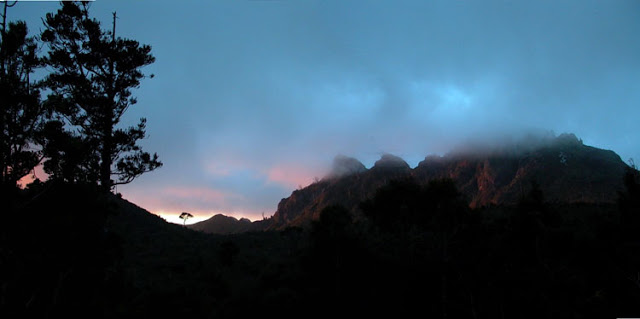
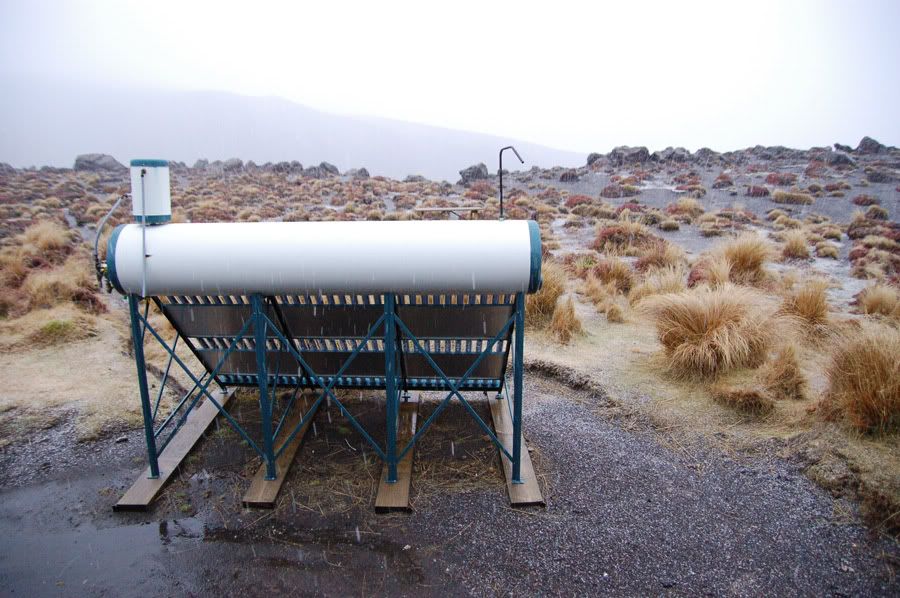
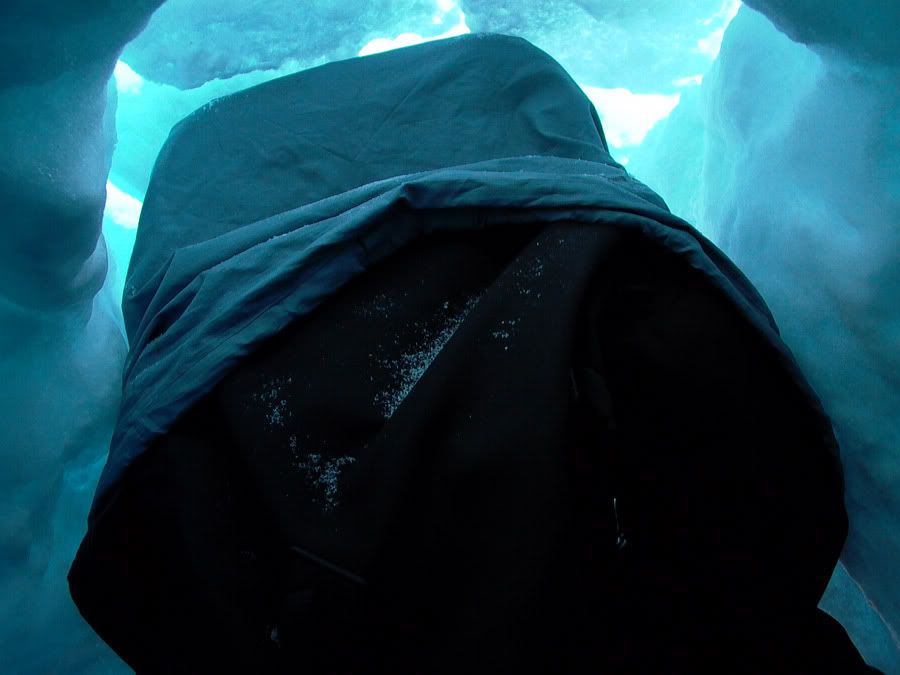
In the evening I was reading and it was raining quite loudly on the roof - suddenly things went quiet and I looked out the window and it had started snowing ! I ran for my camera and ran outside and it changed to rain again :( .
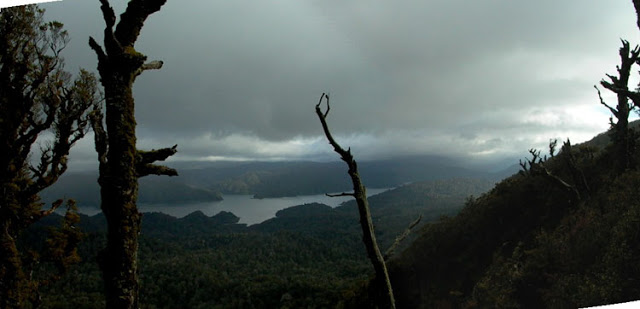
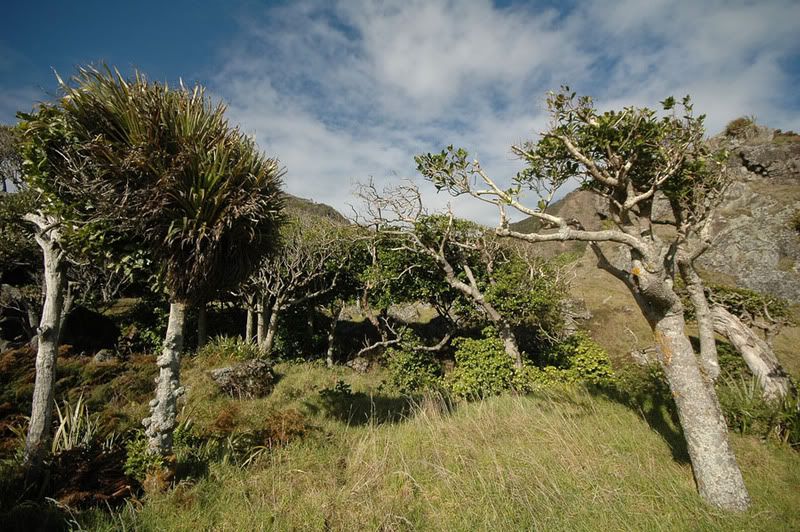
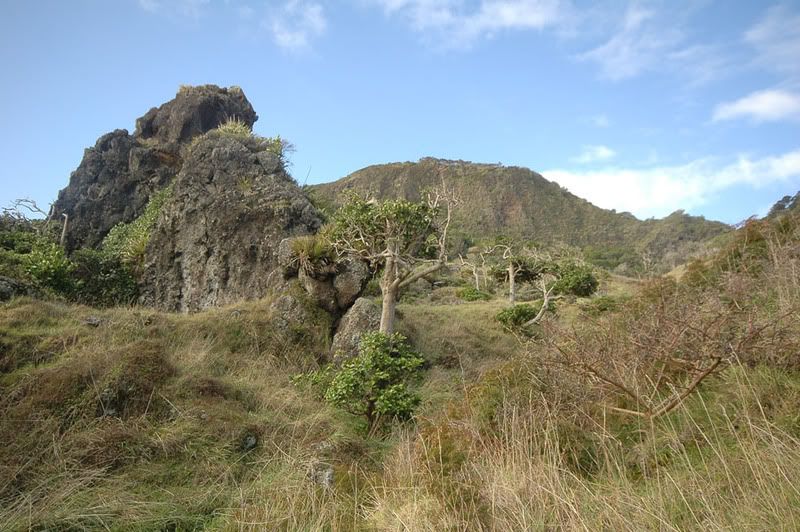
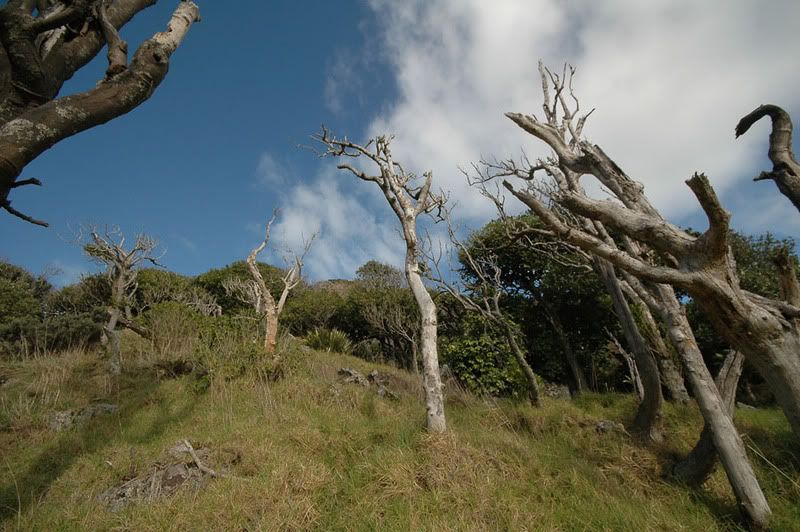
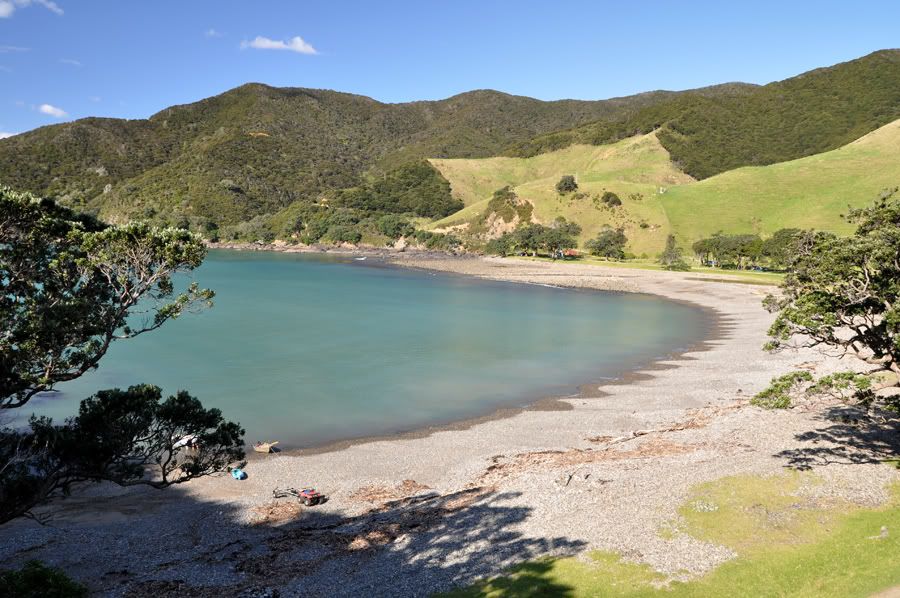
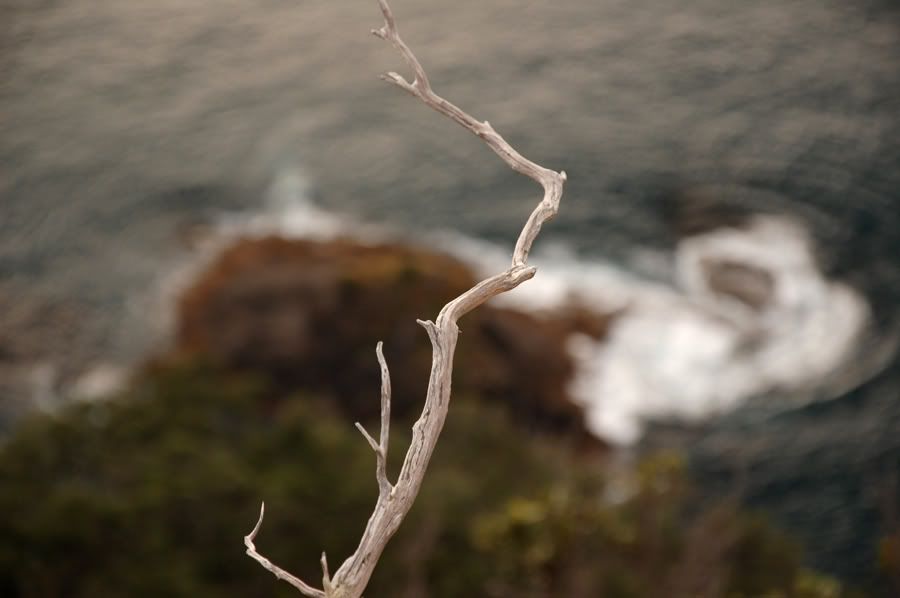
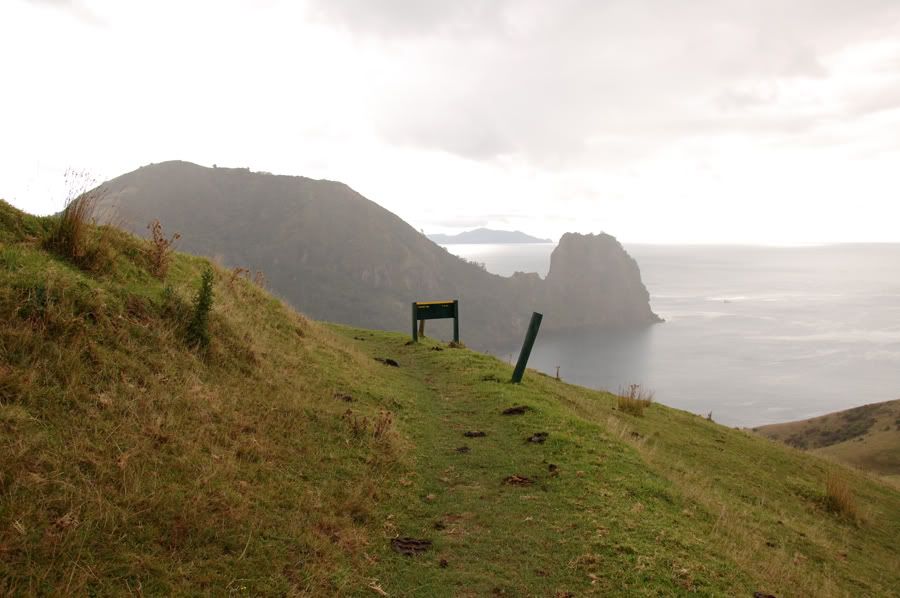
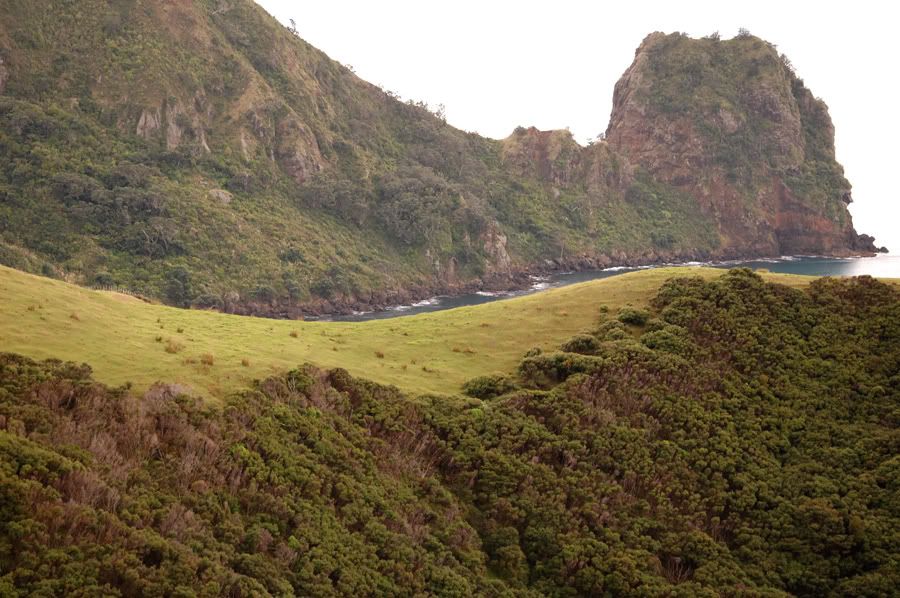
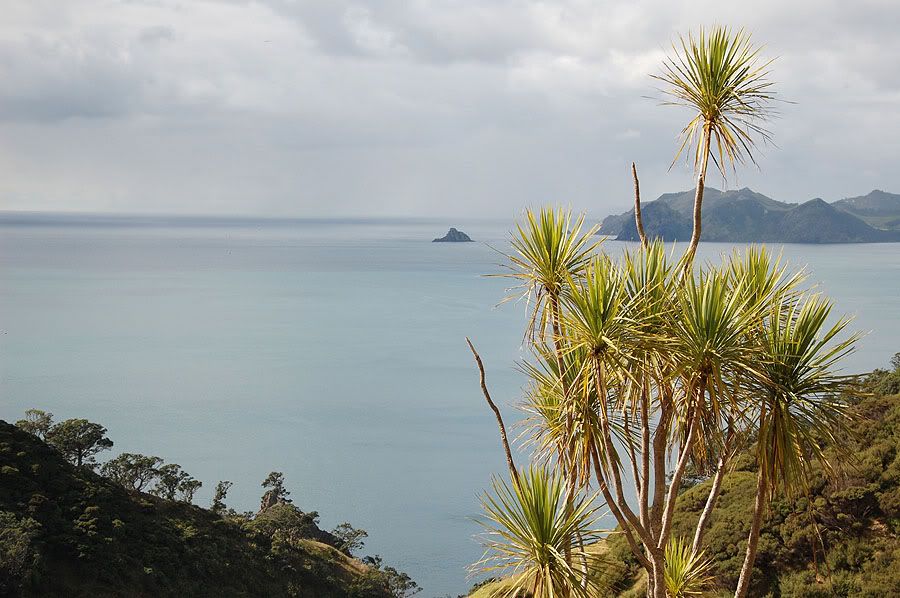
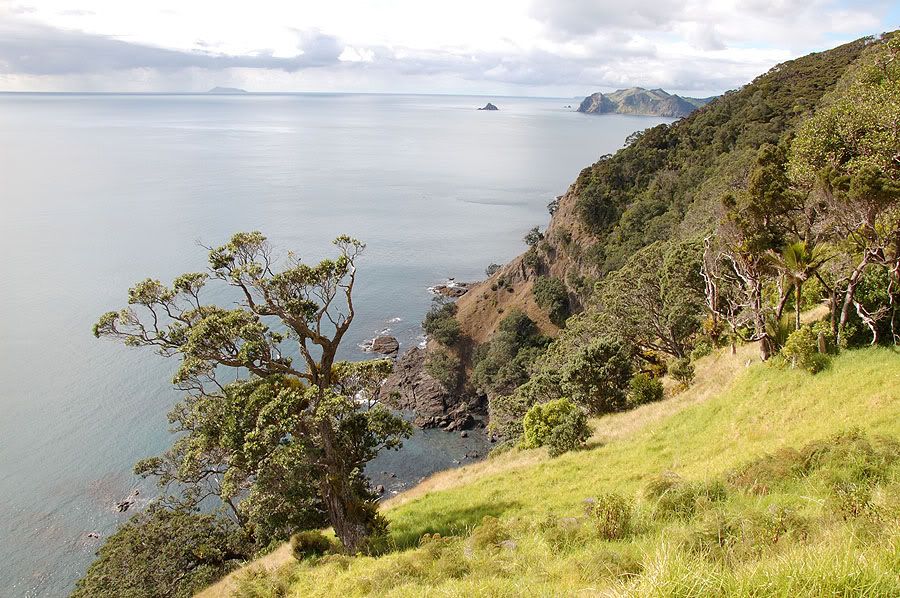
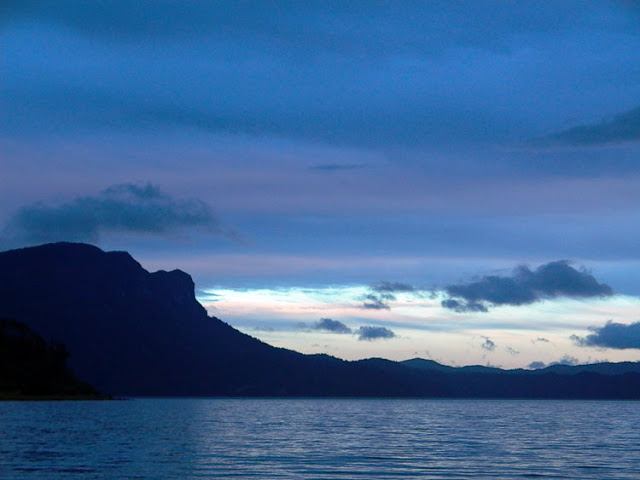
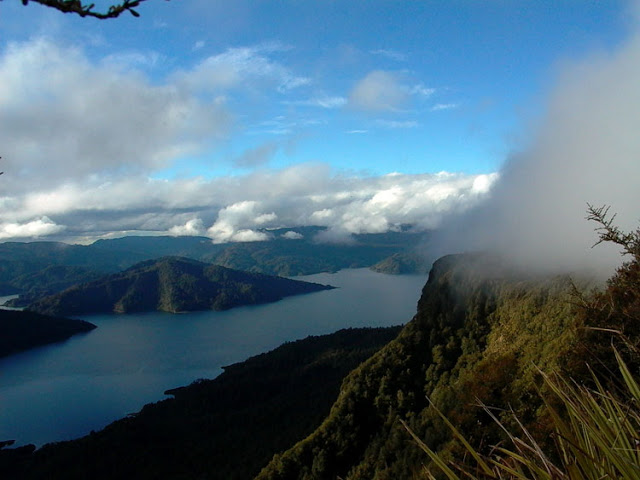
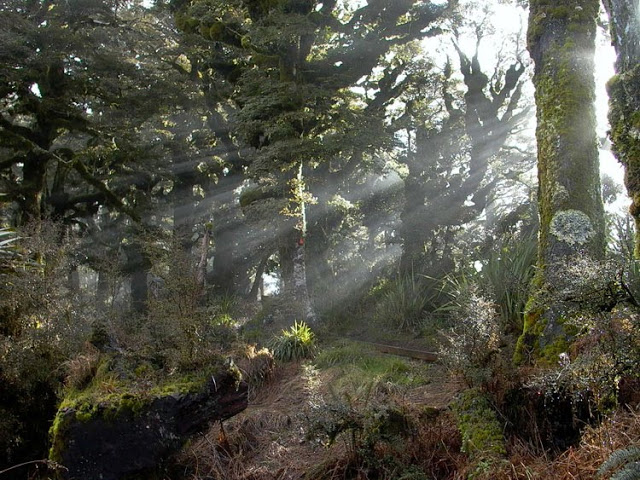
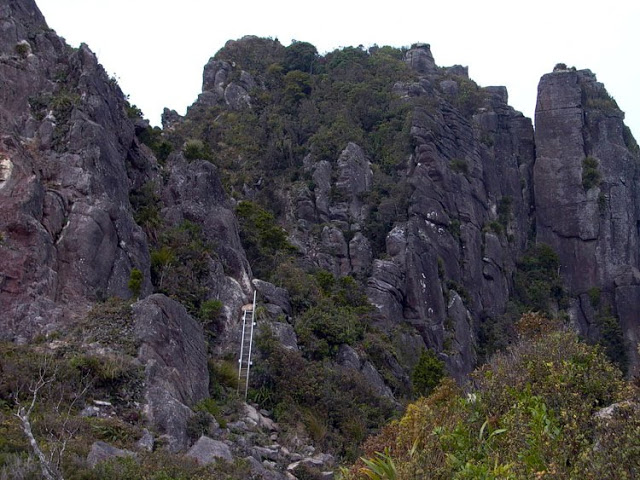
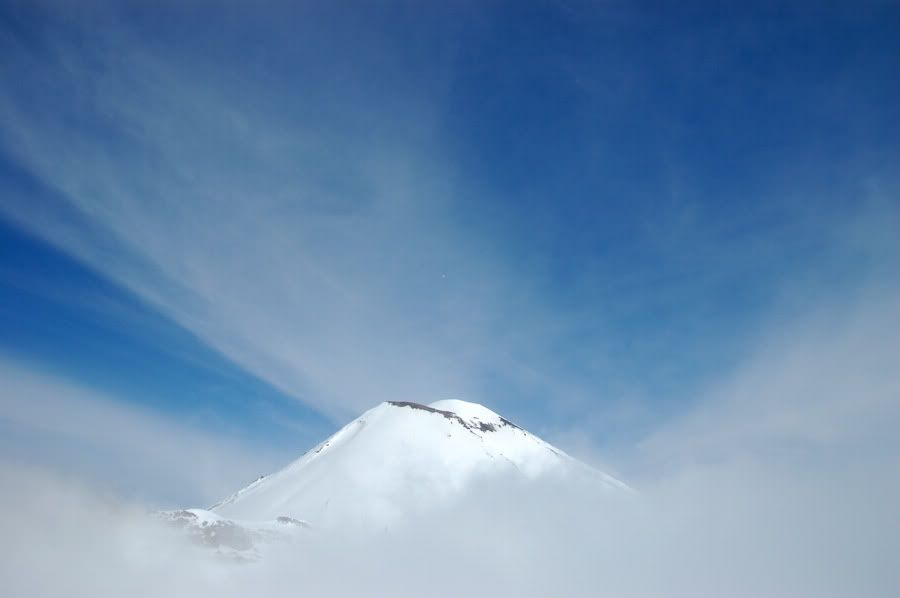
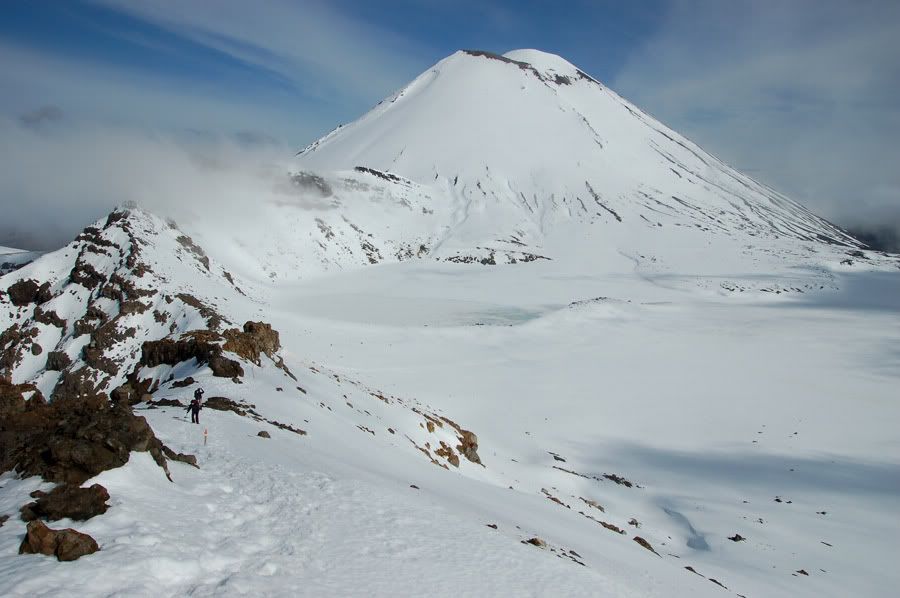
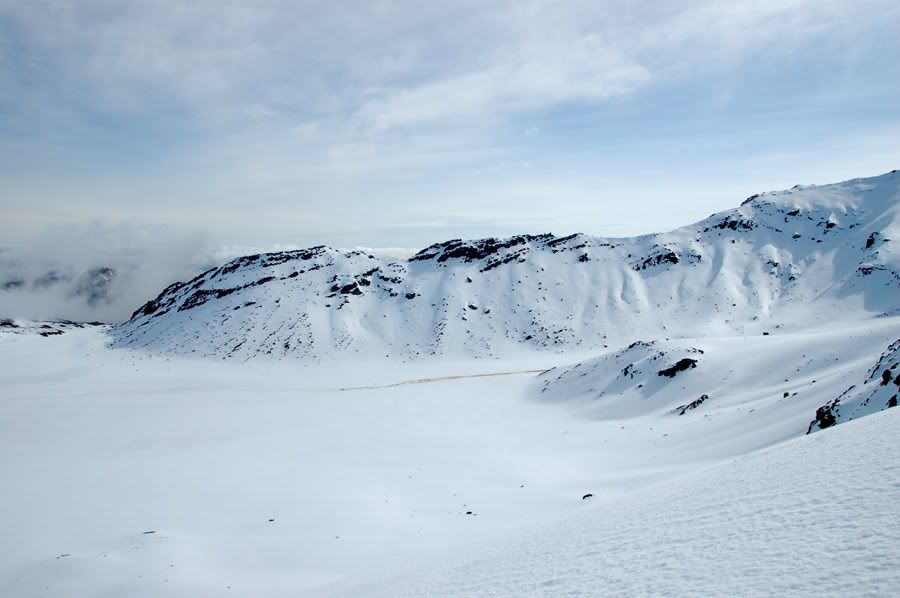
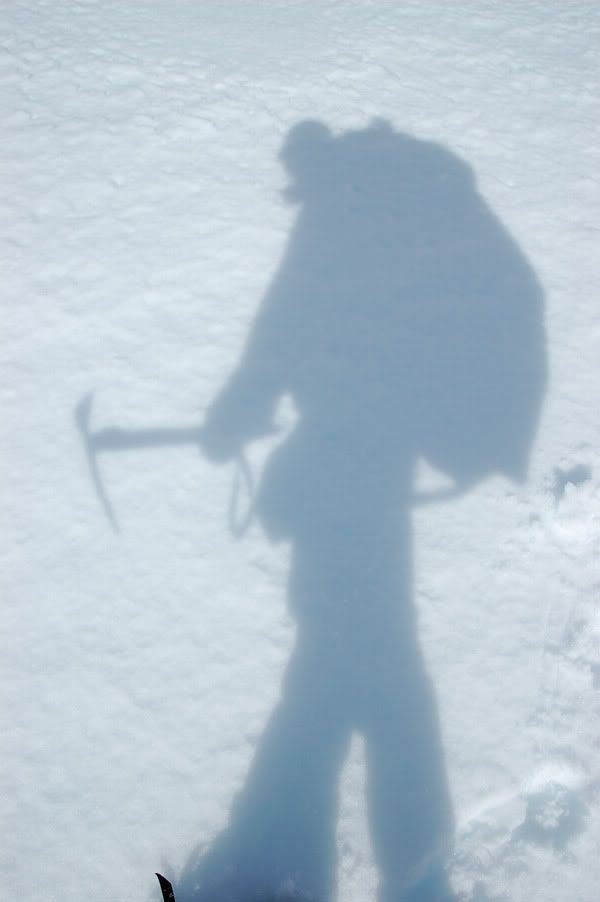
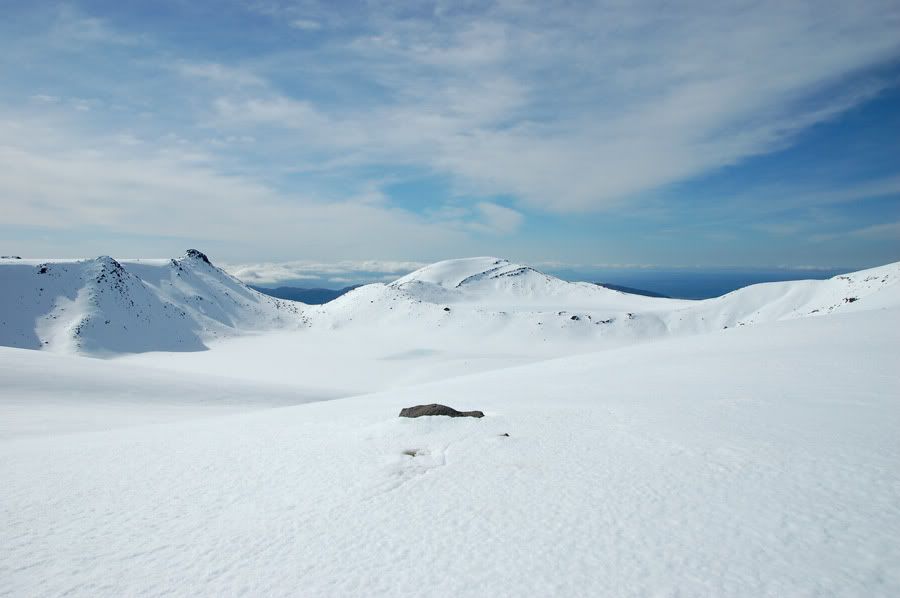
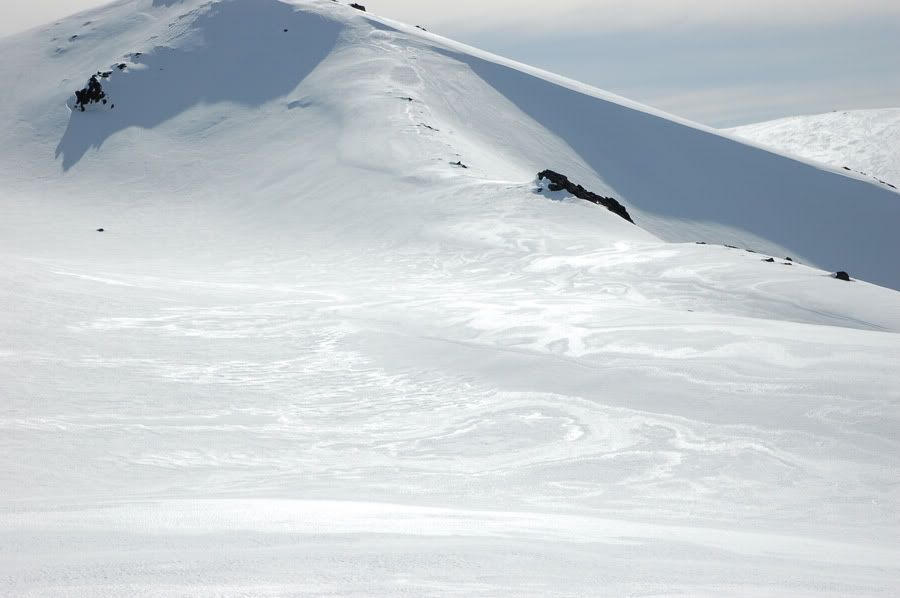
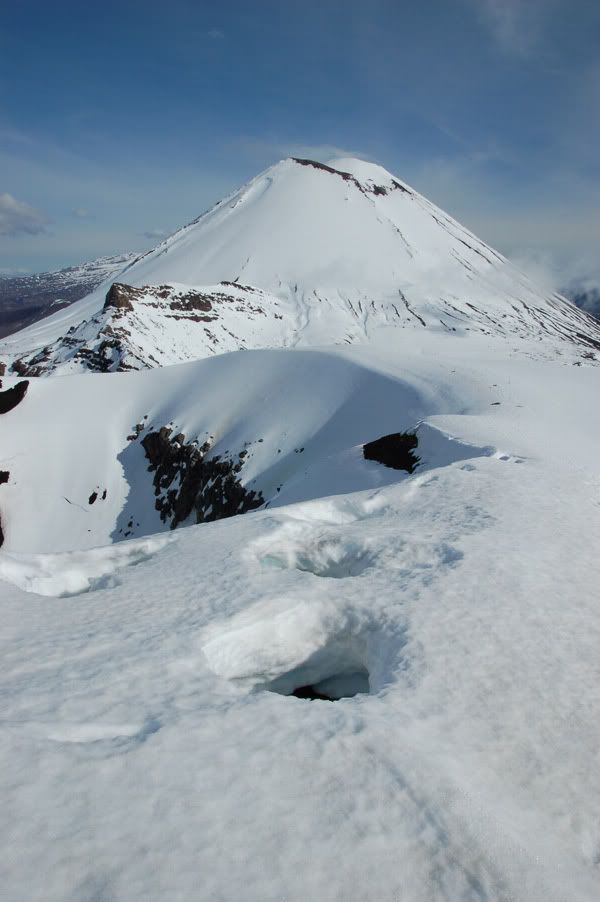
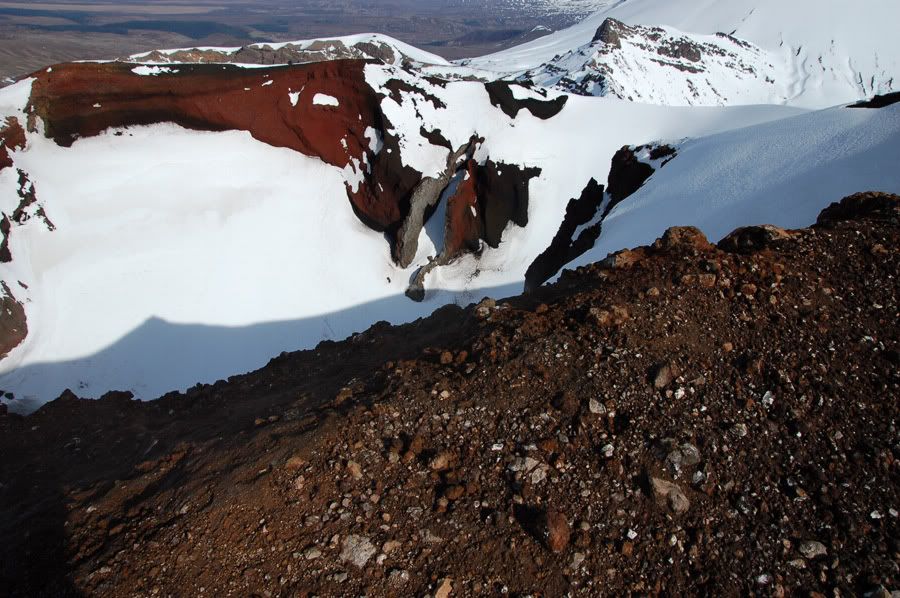
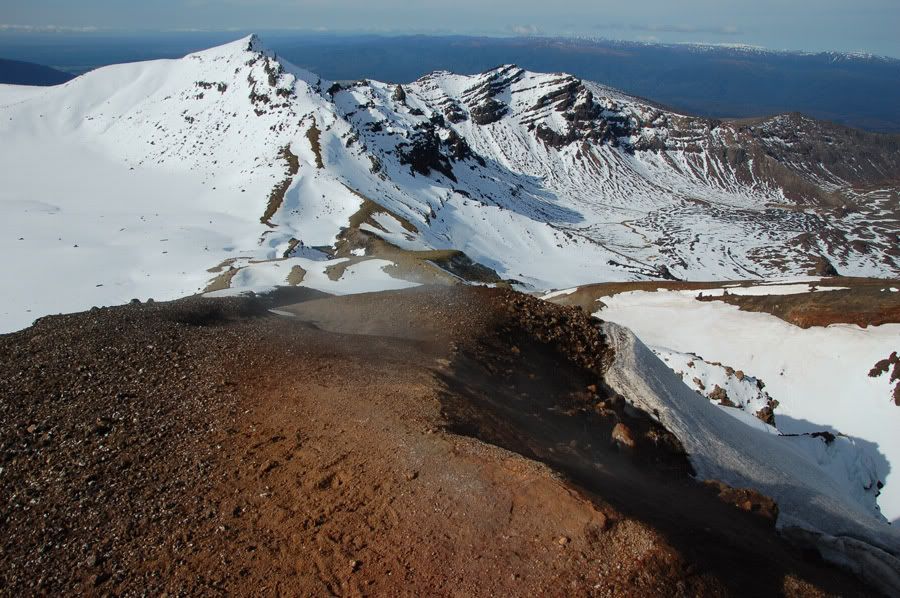
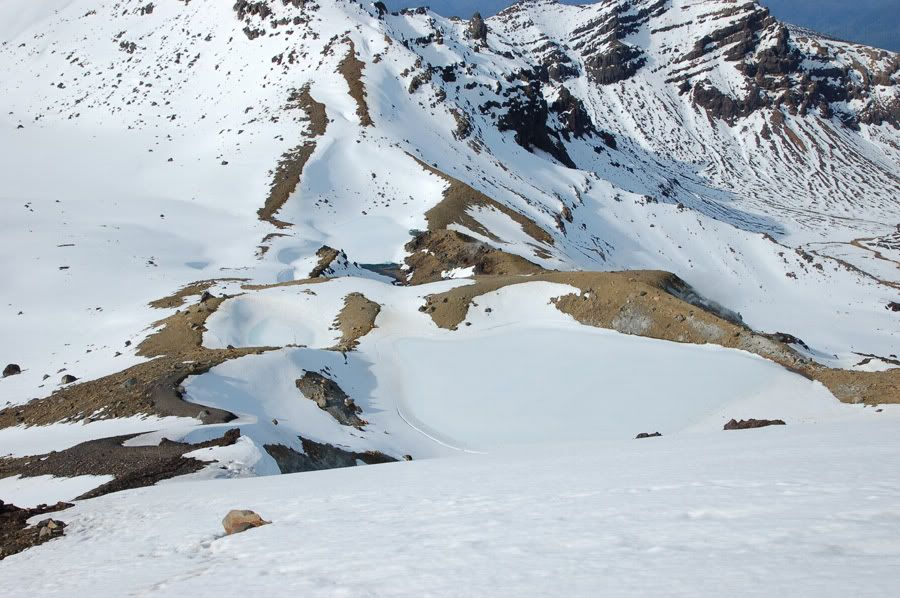
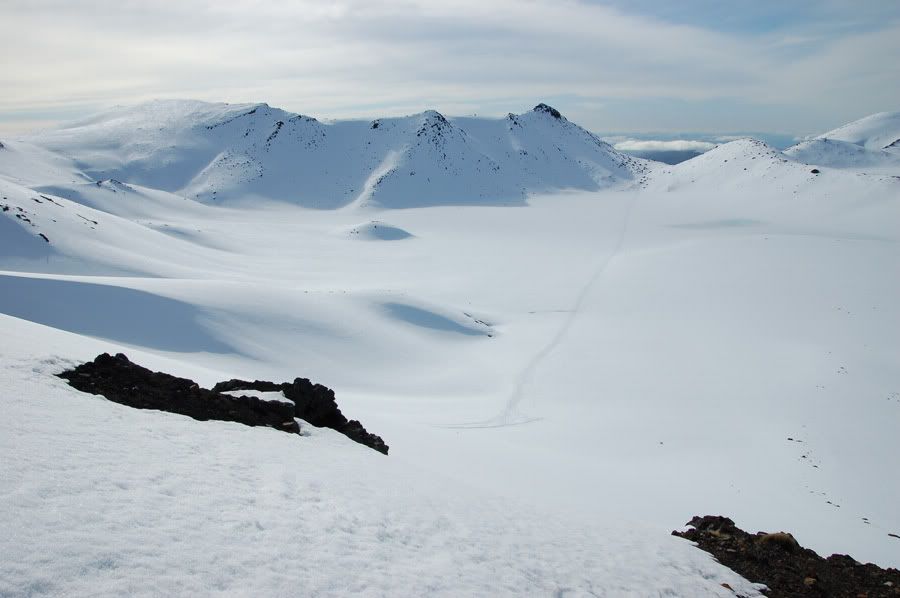
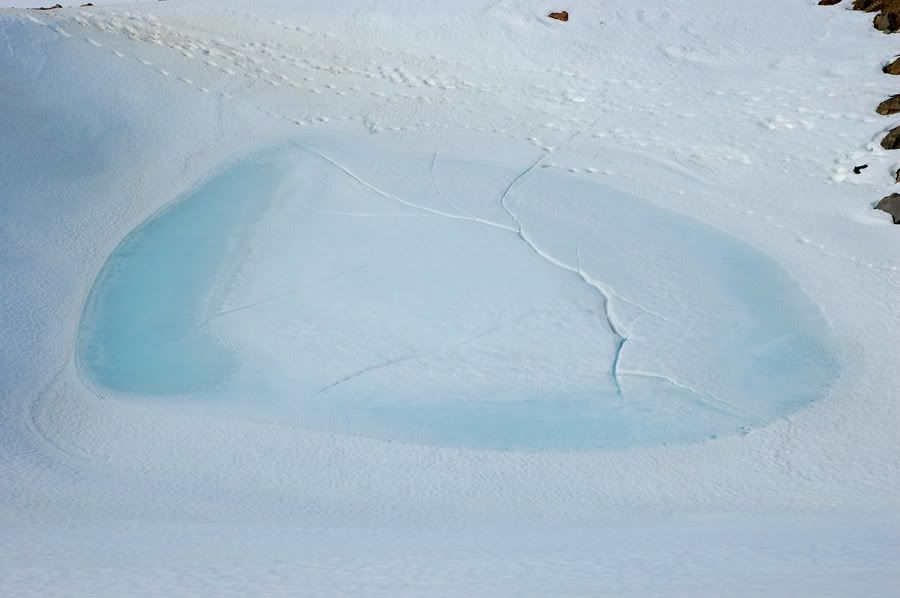
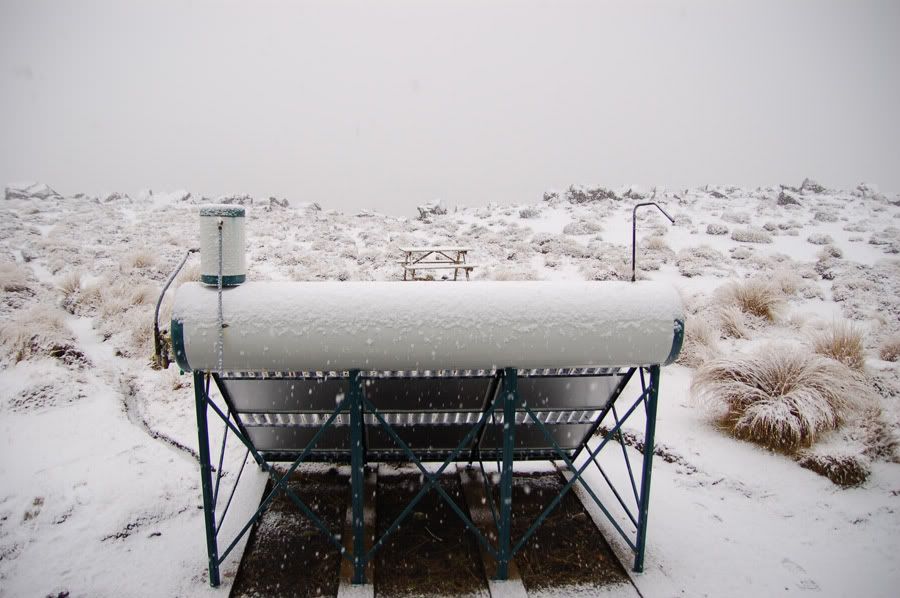
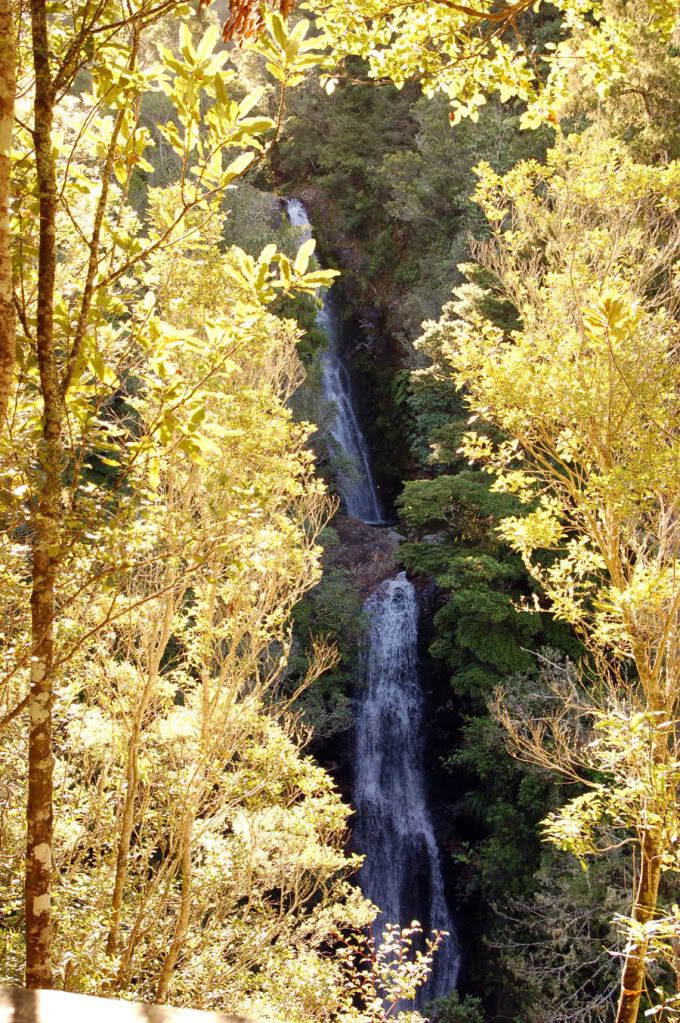
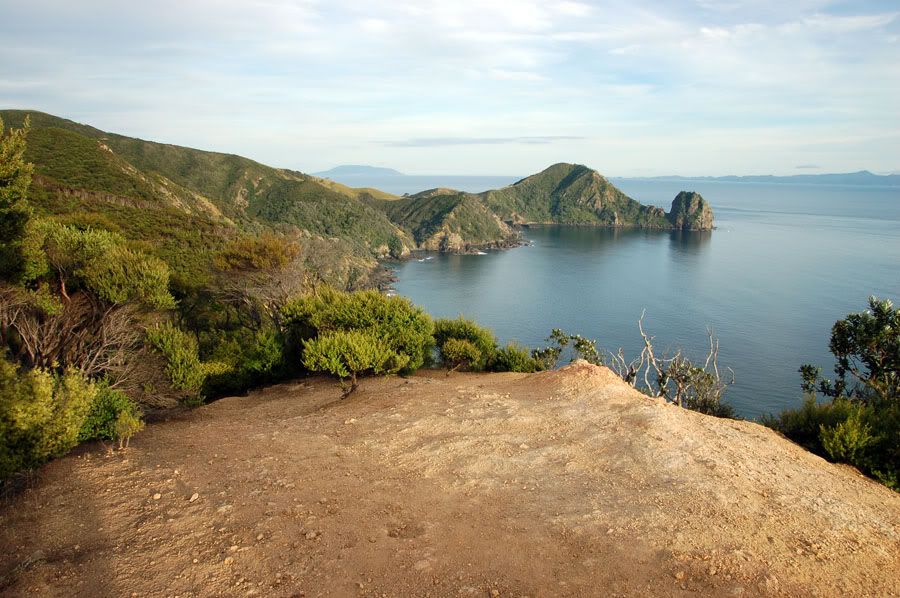
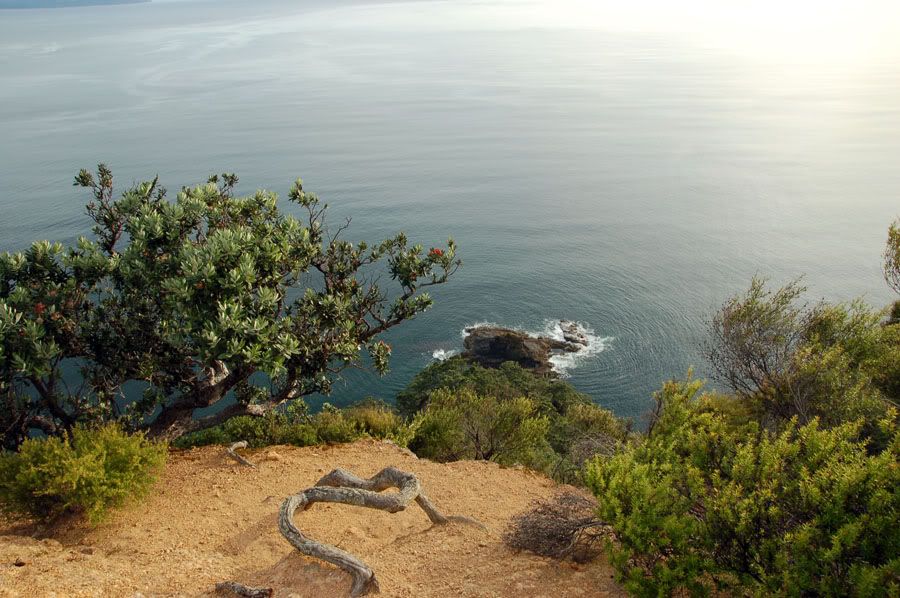
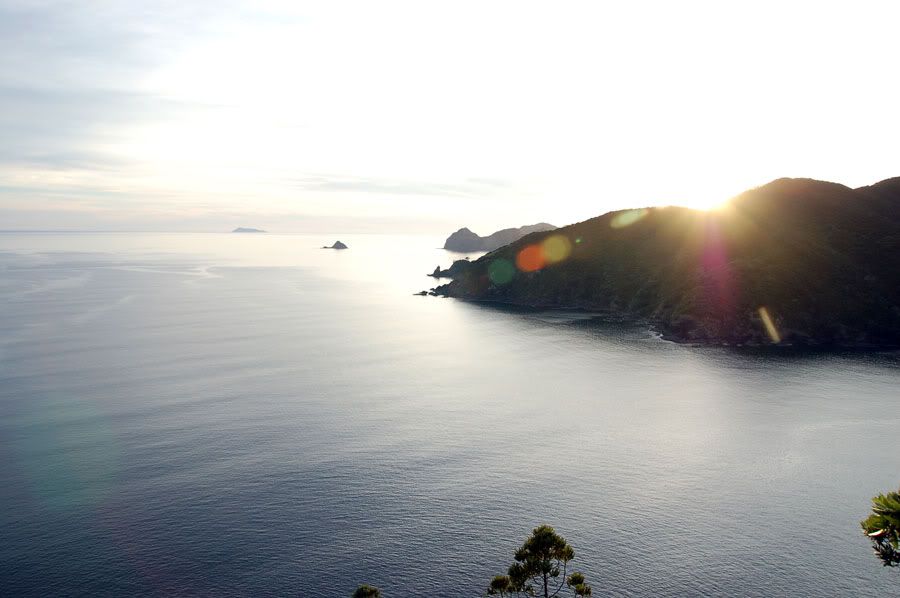
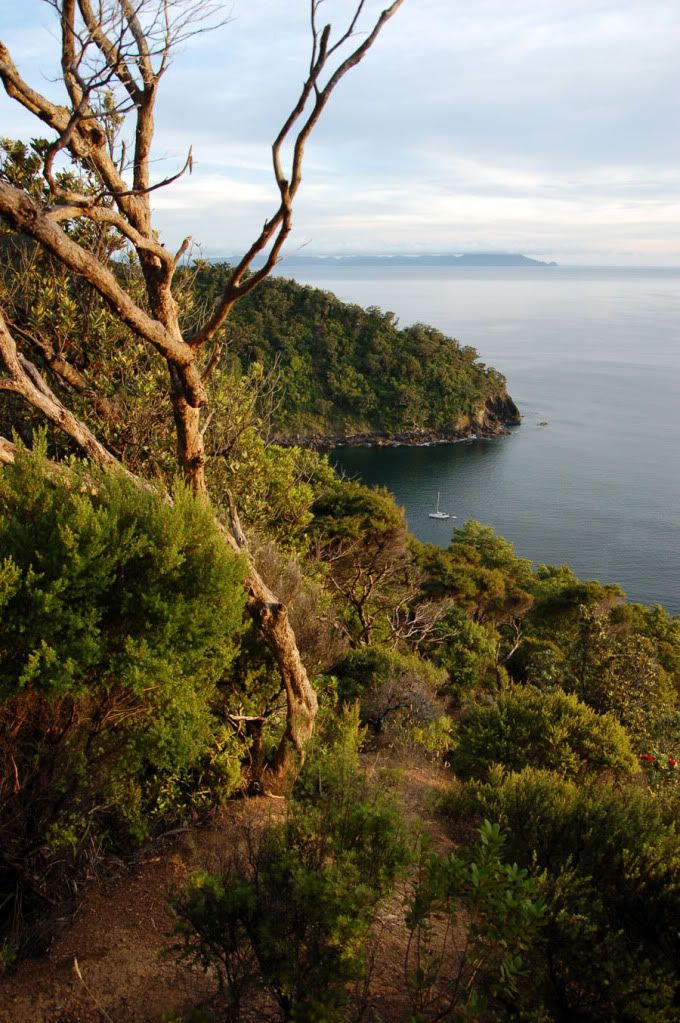
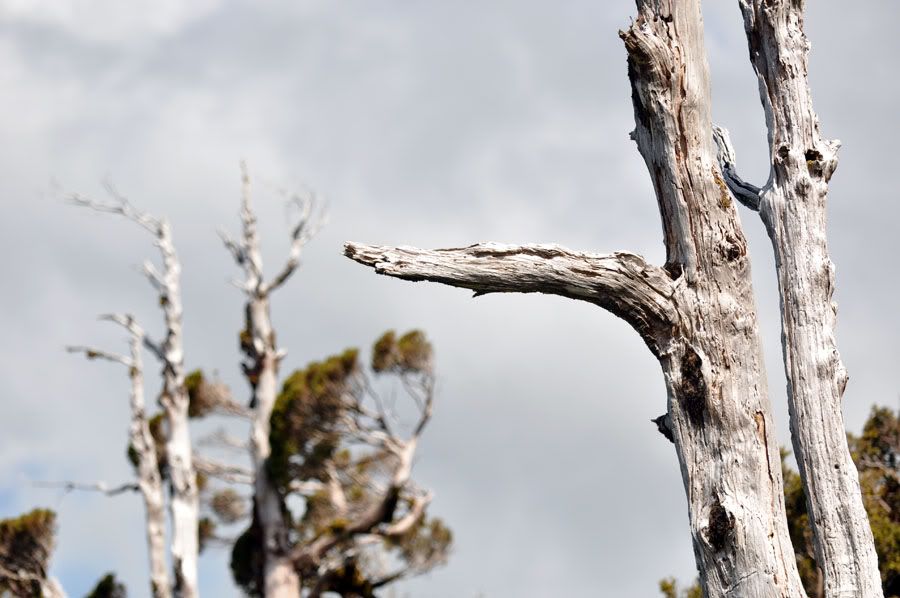
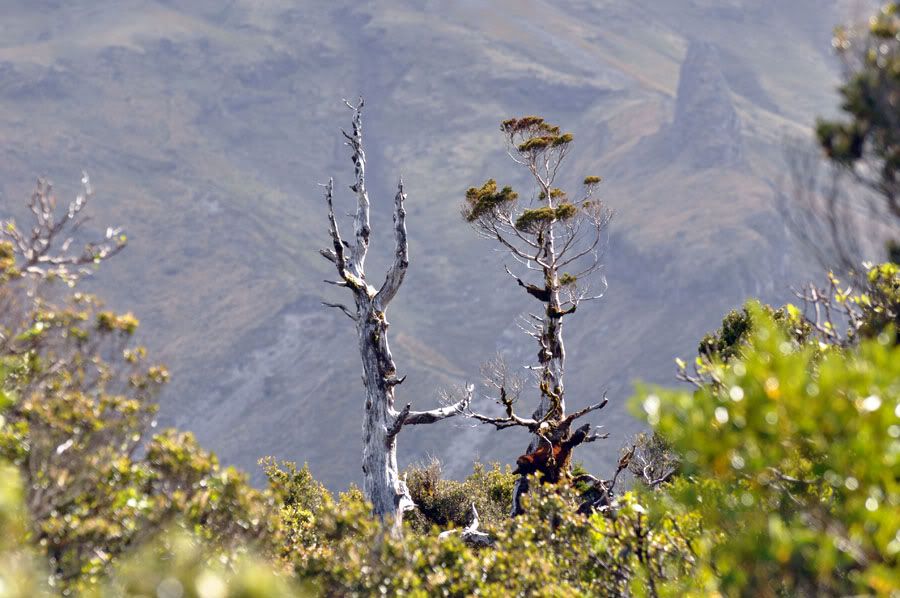
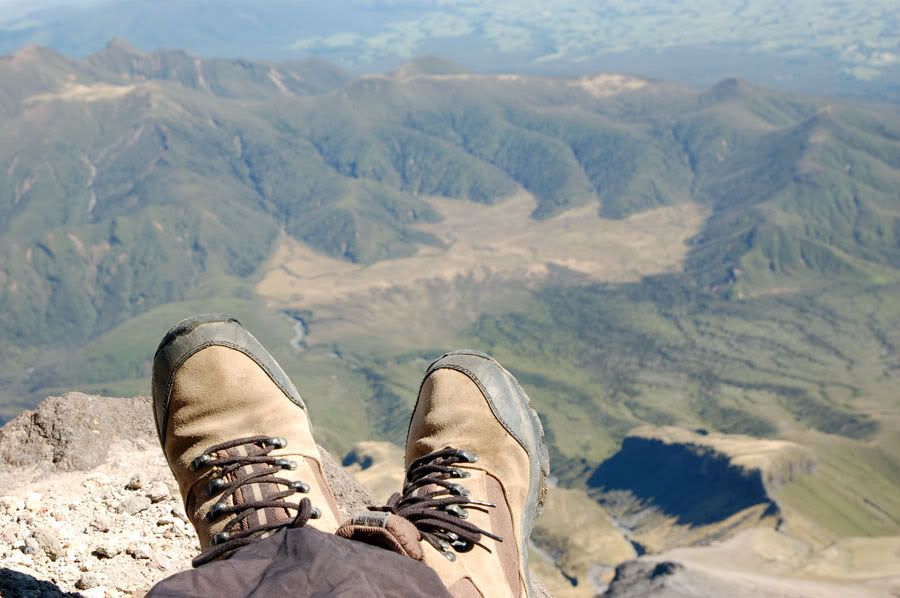
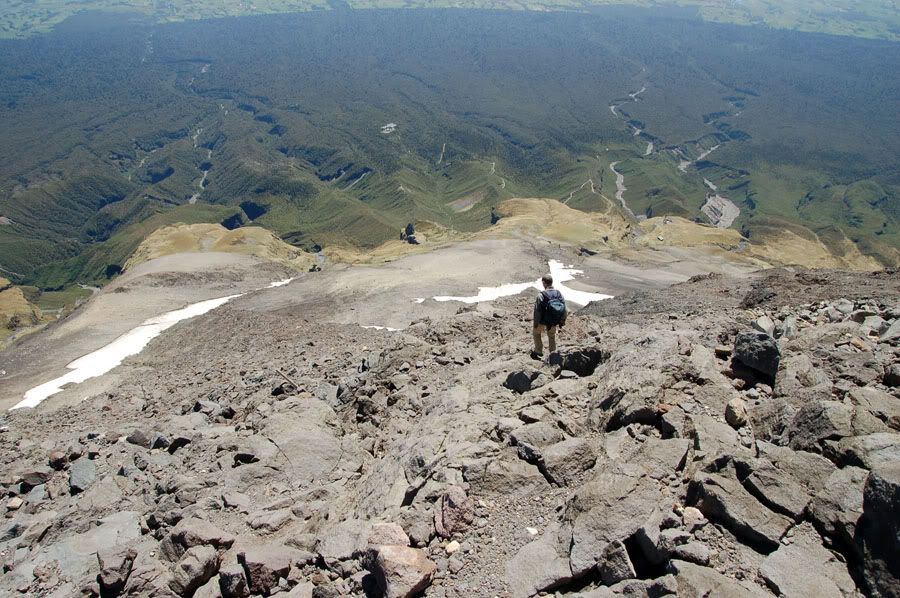
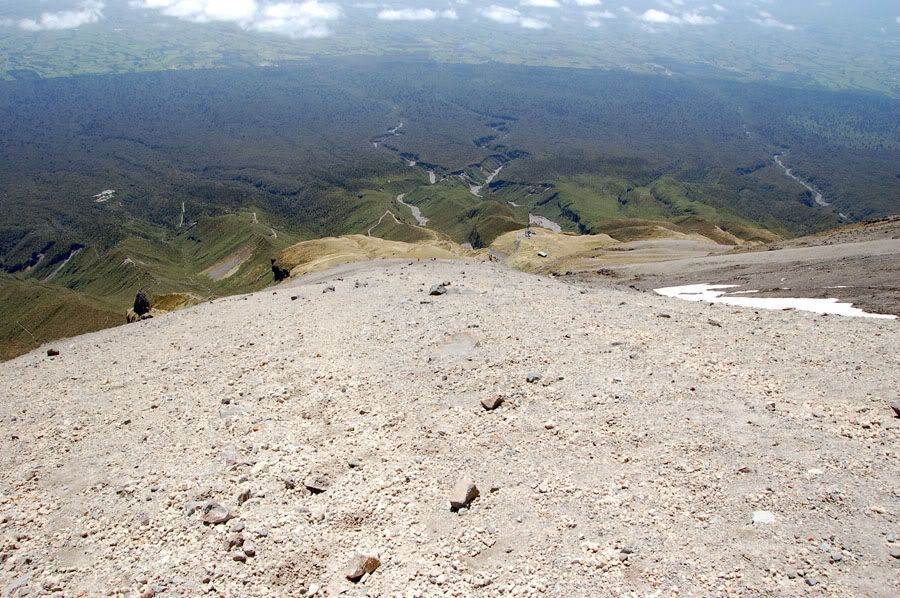
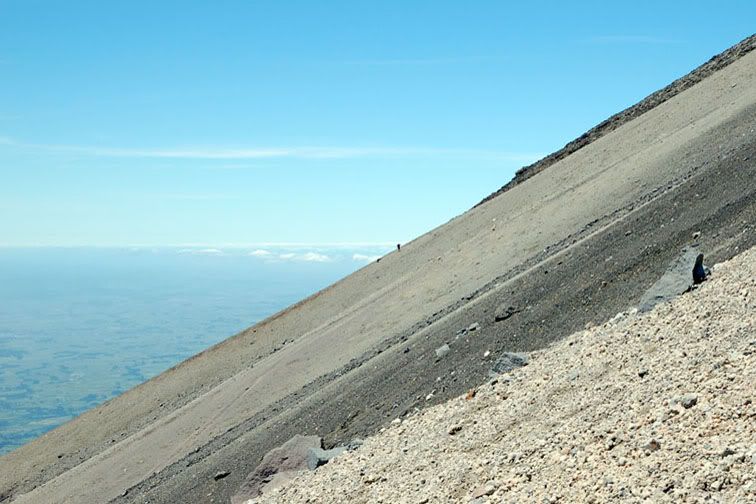
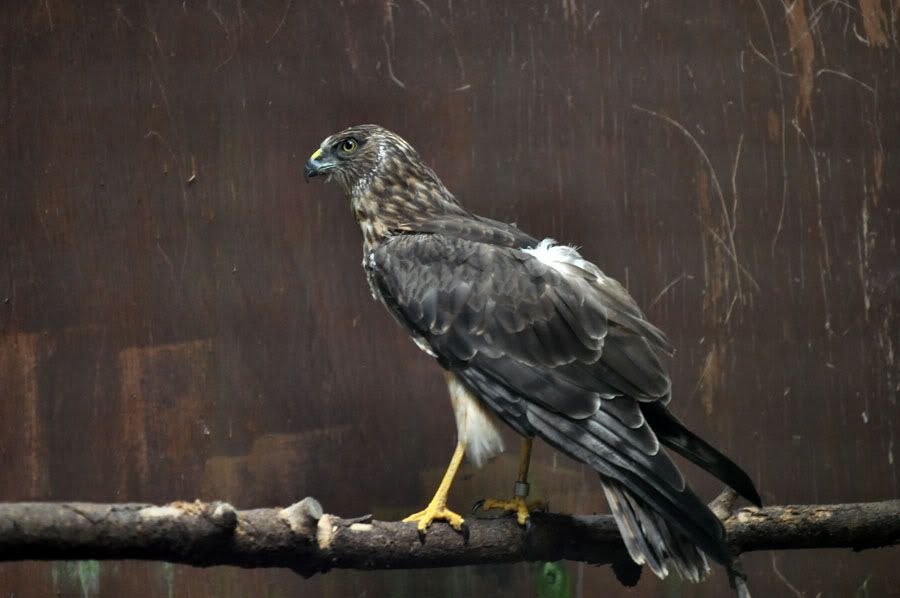
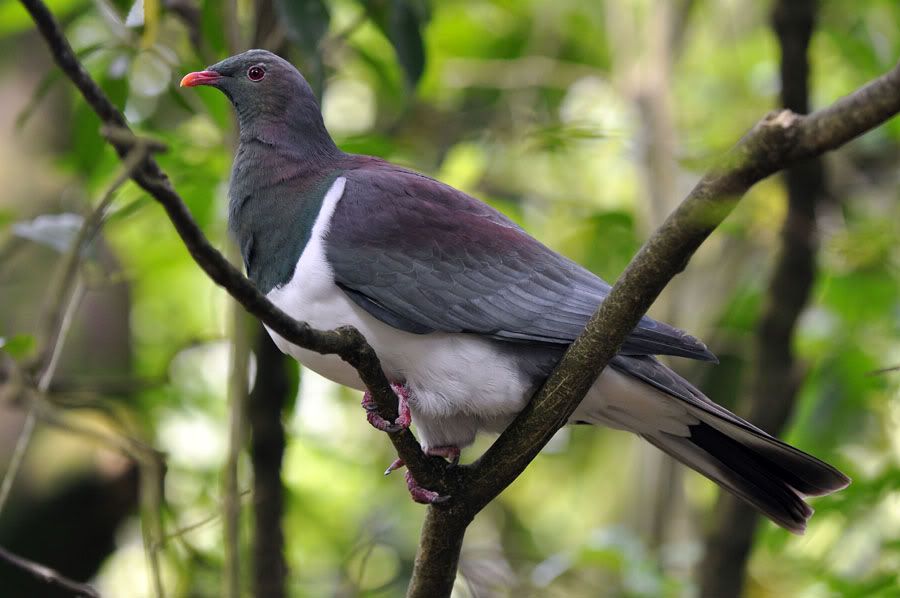
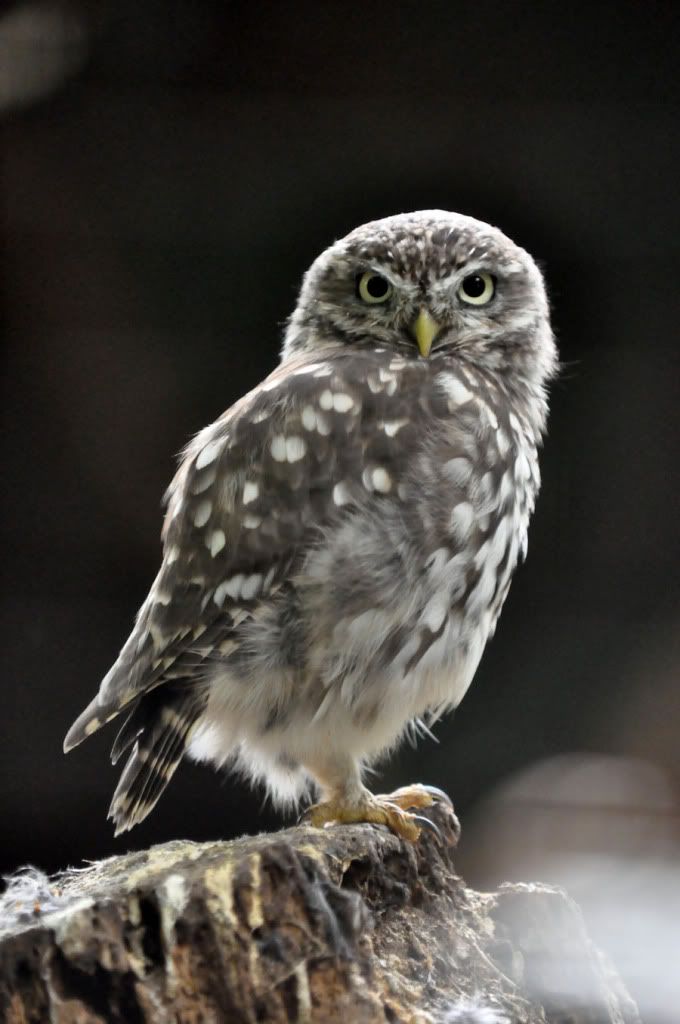
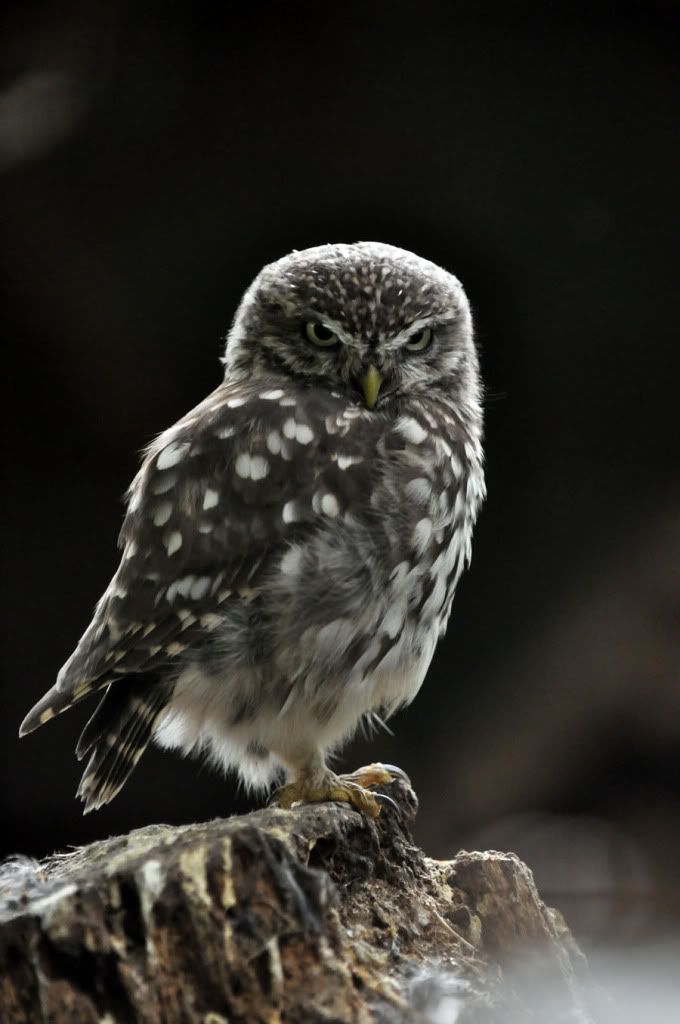
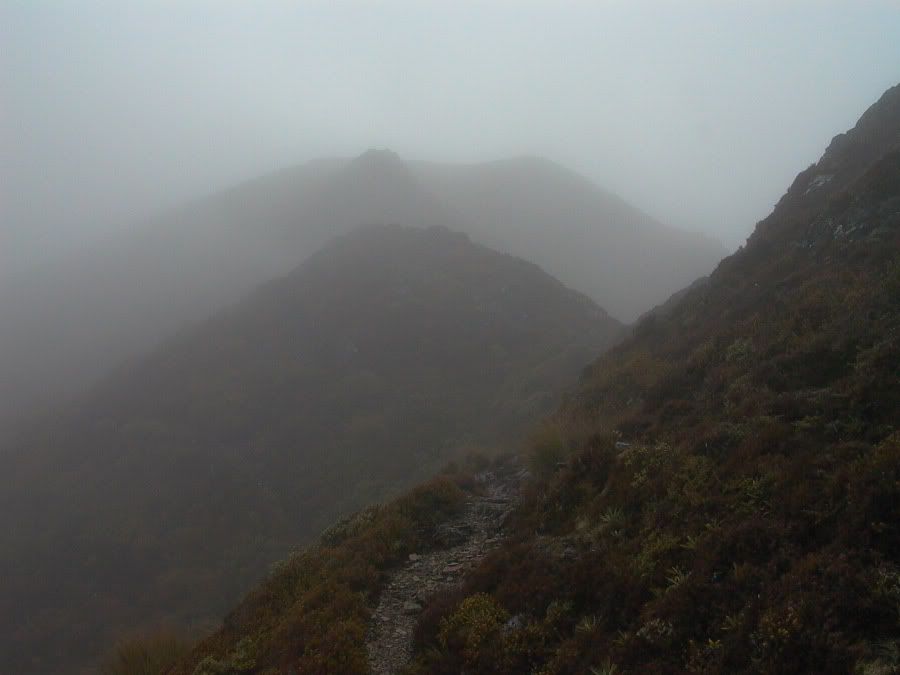
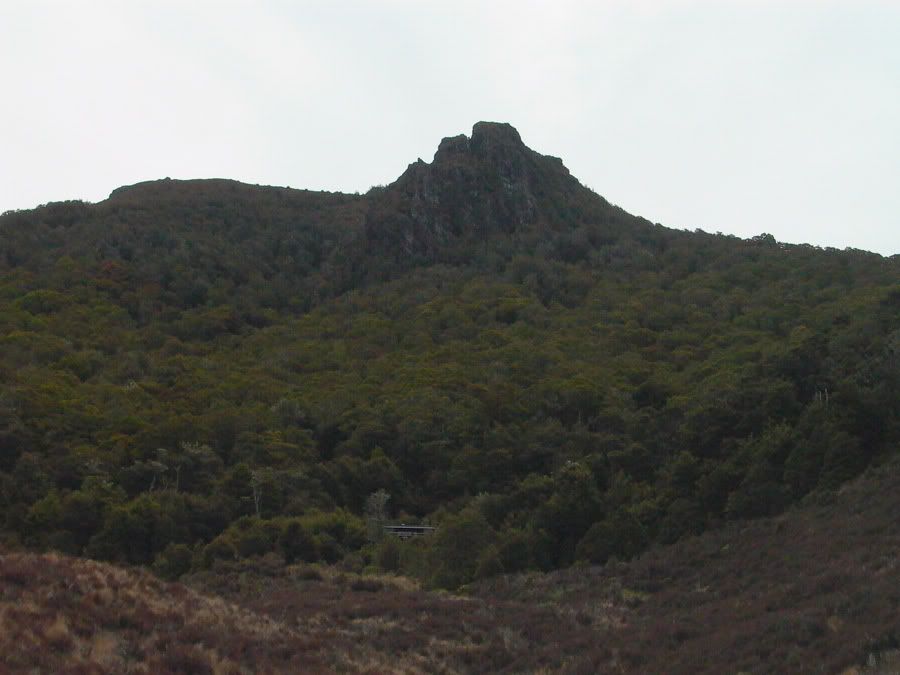
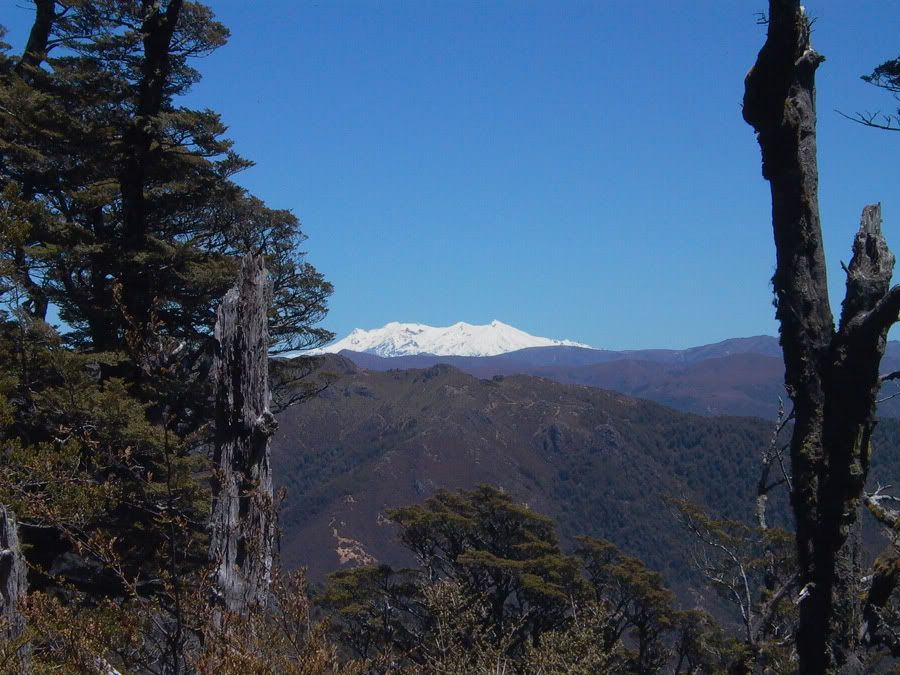
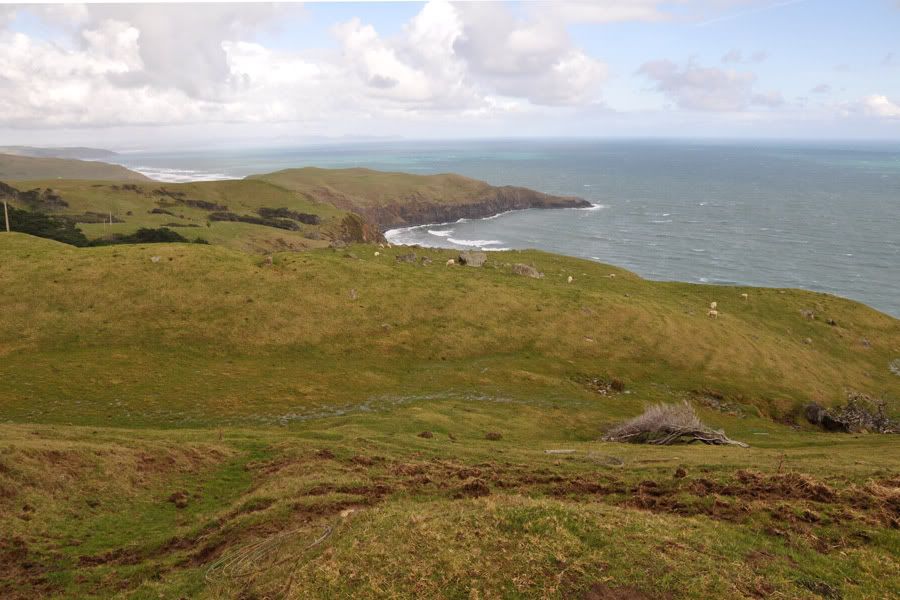
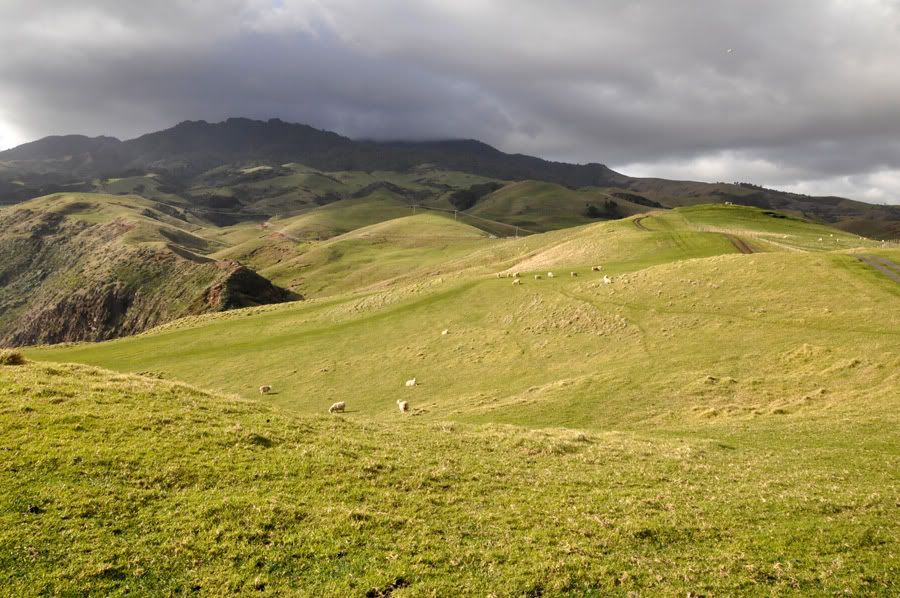
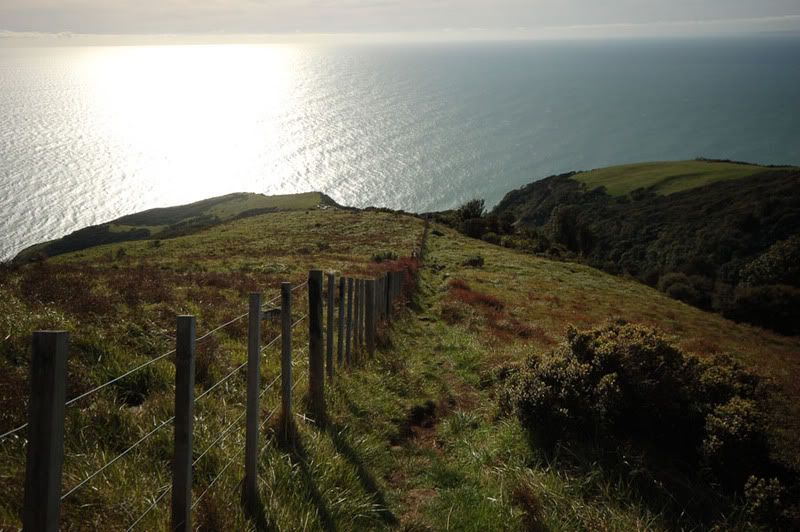
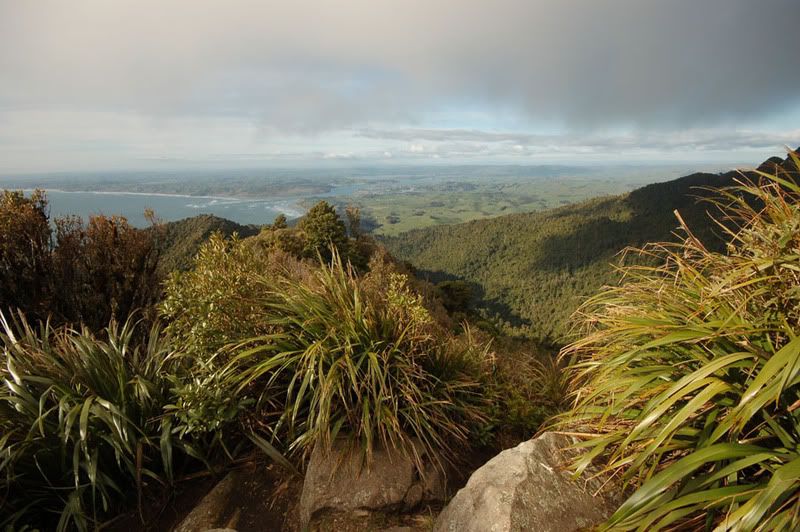
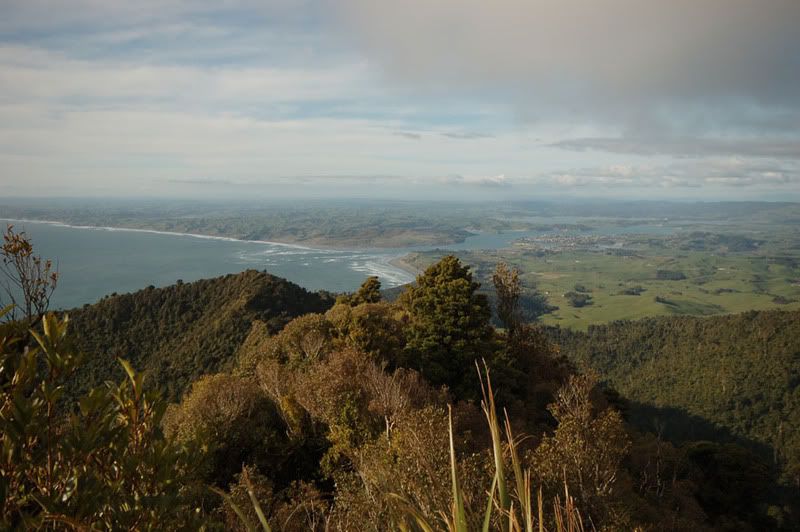
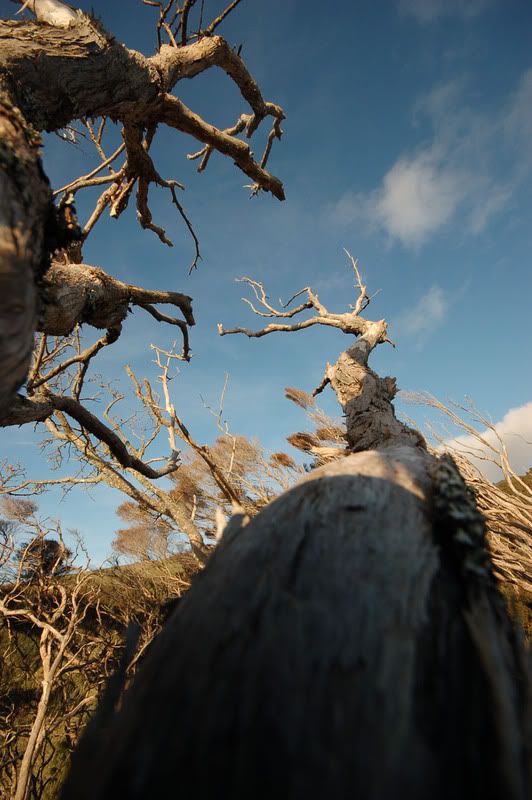
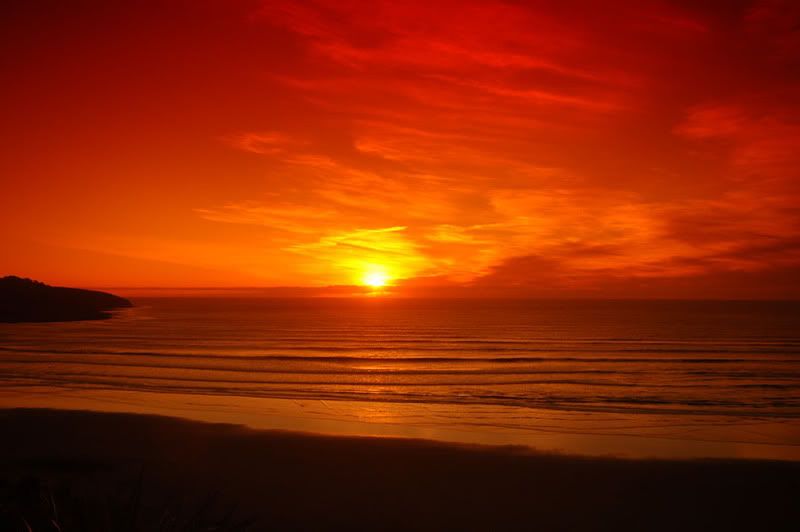
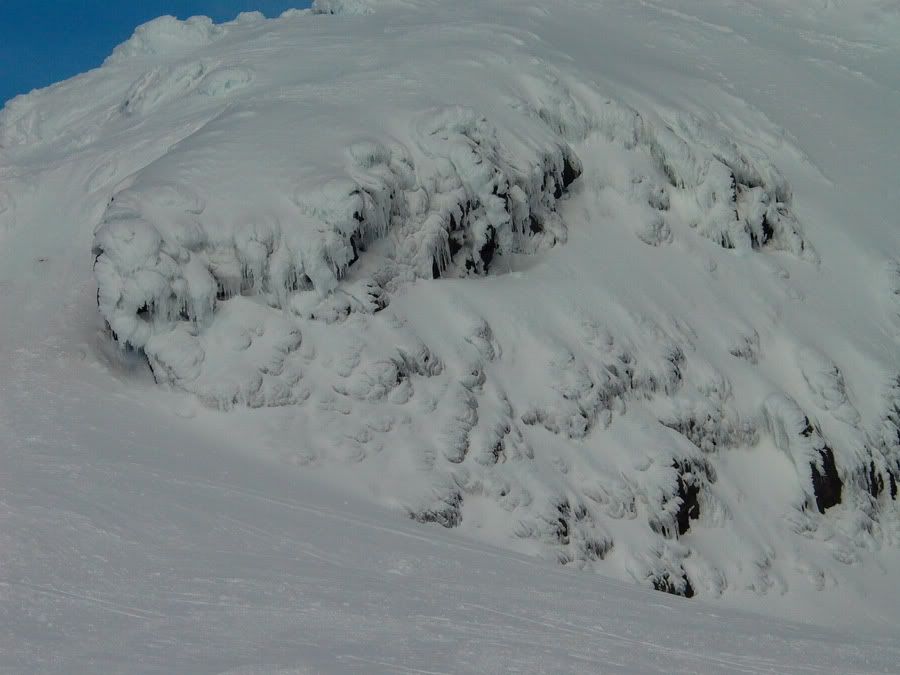
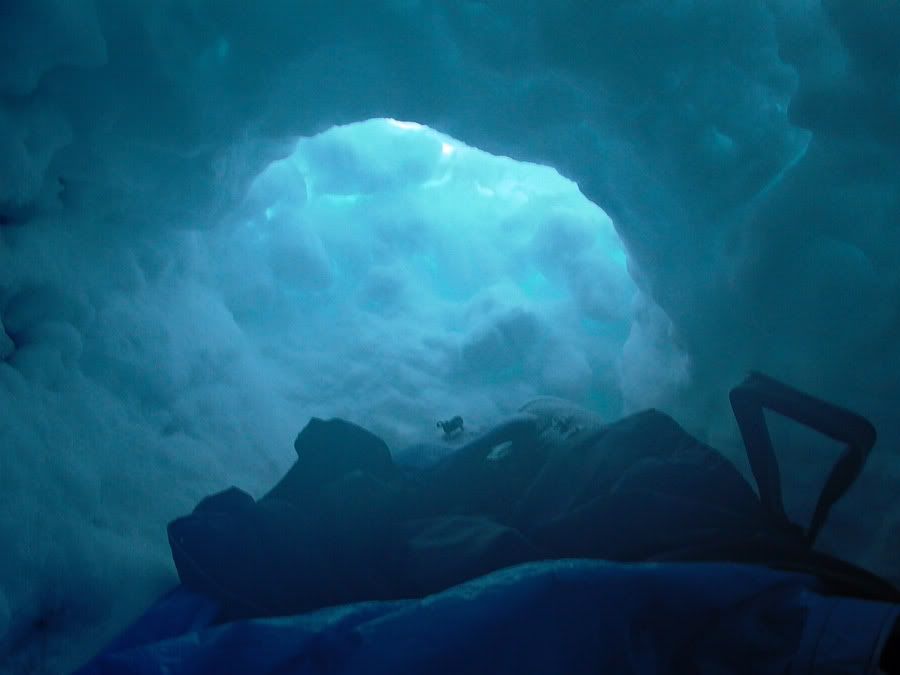
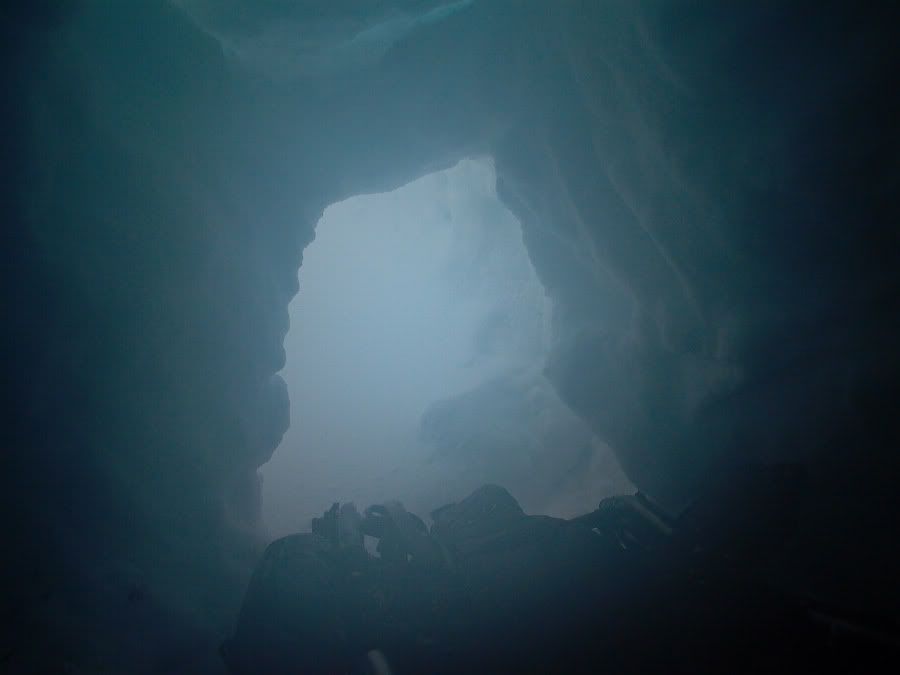
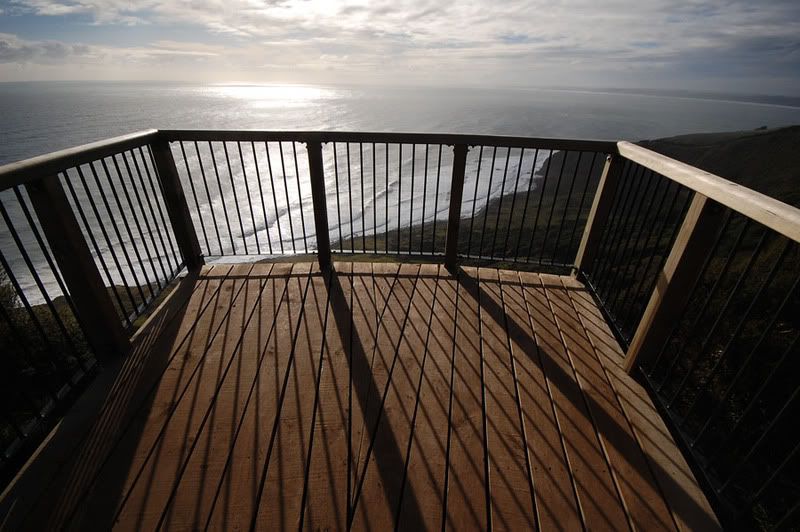
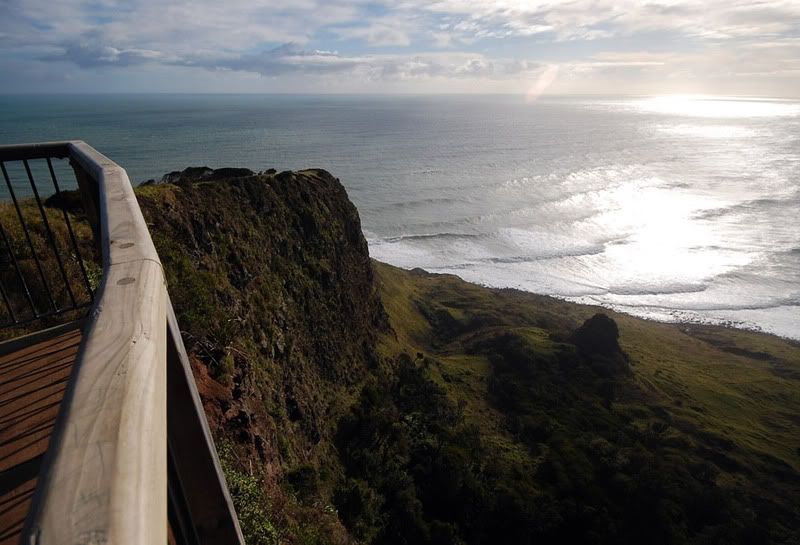
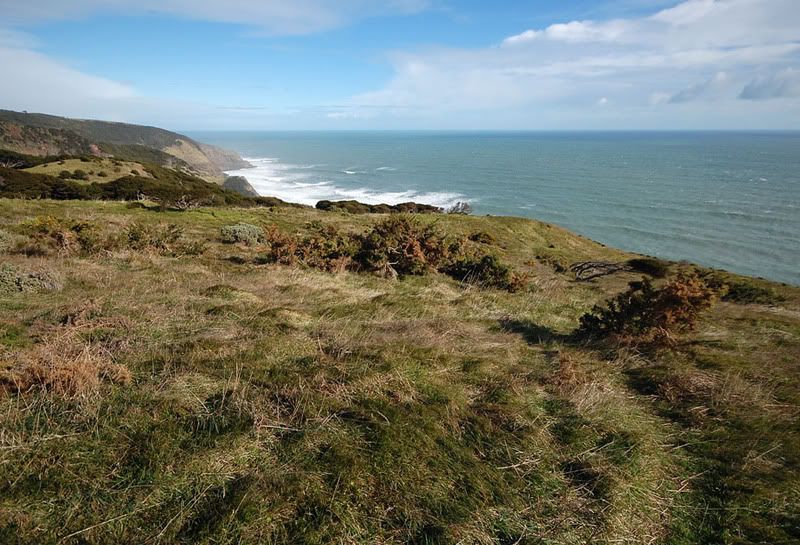
The next morning the weather cleared up a bit for some photos .


I wish I knew a bit more about photography back then !

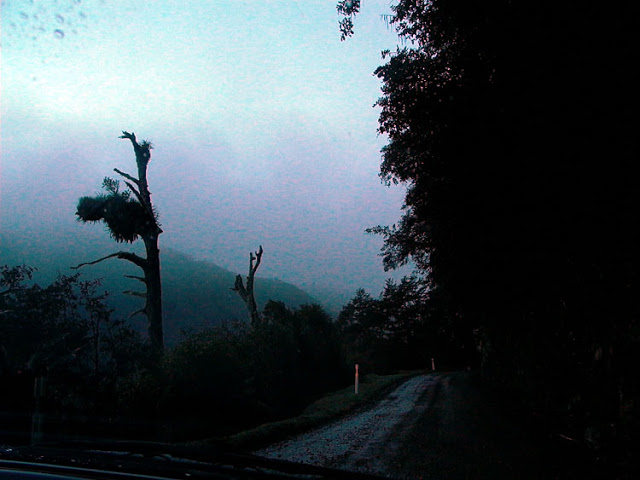
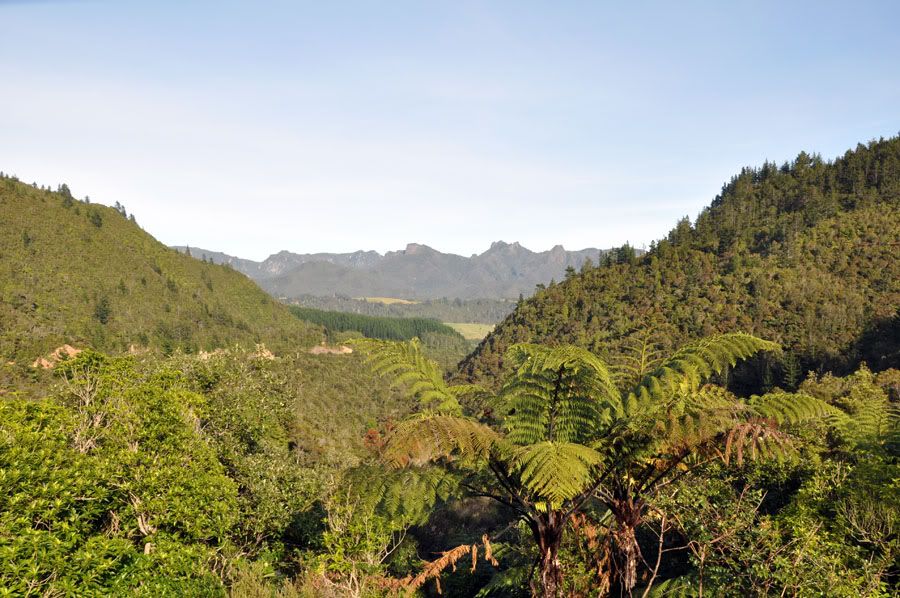
I made my way down to Waiopaoa hut in the morning and had breakfast there .
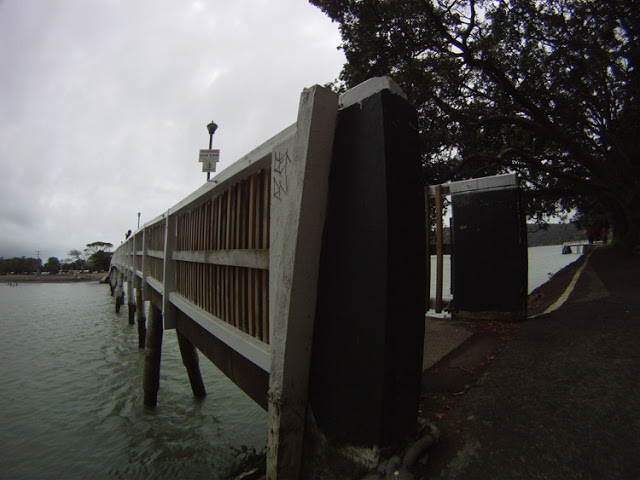
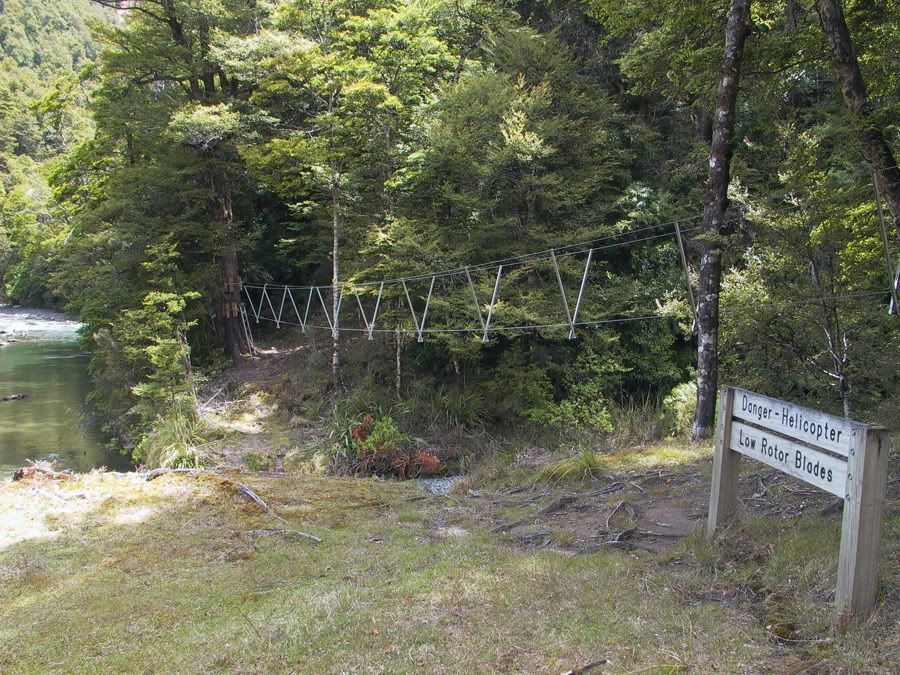
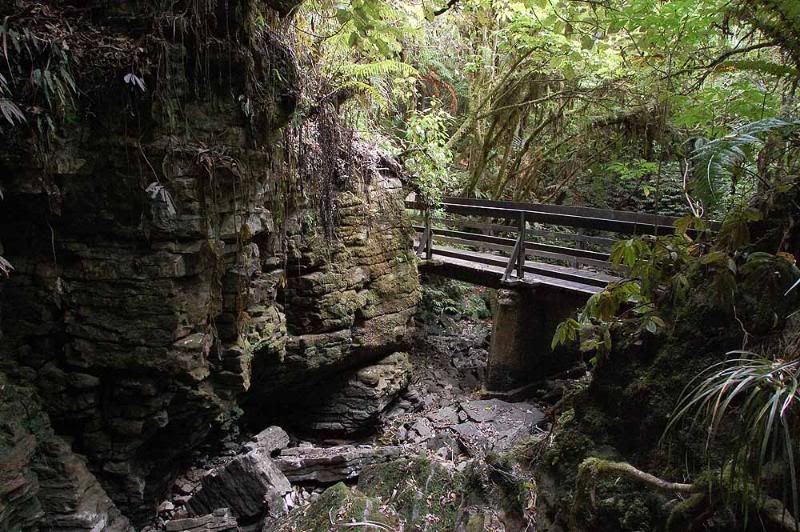
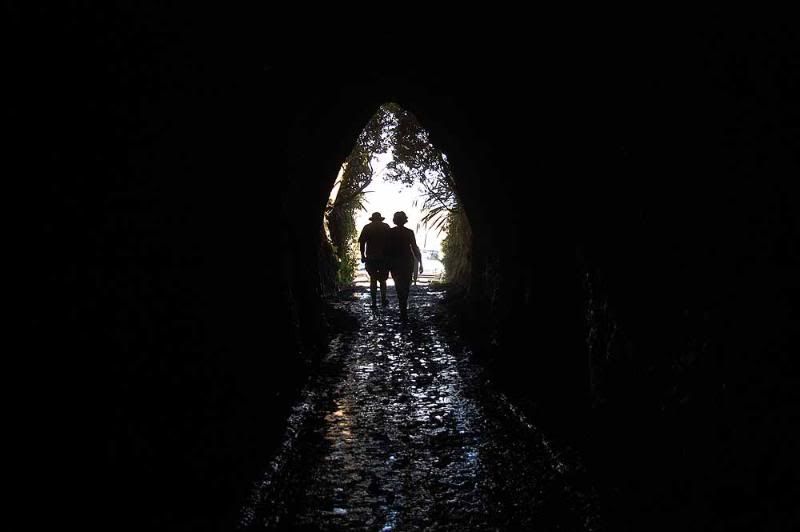
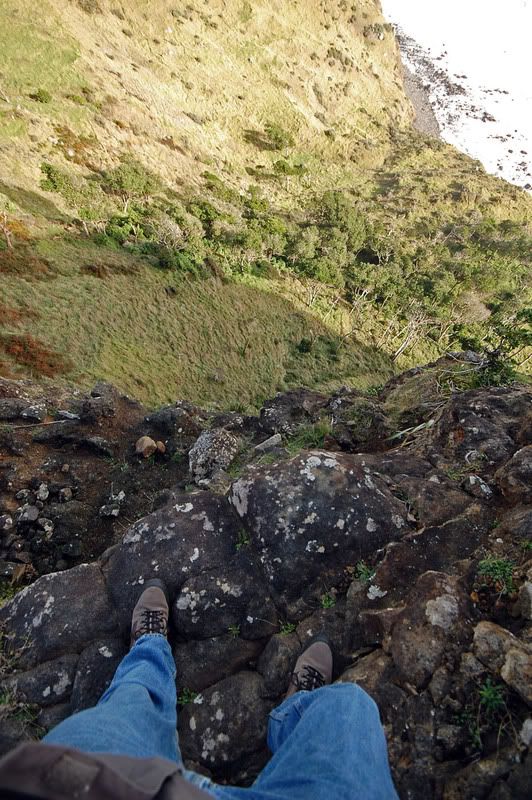
Past the Korokoro campsite , over the bridge .....


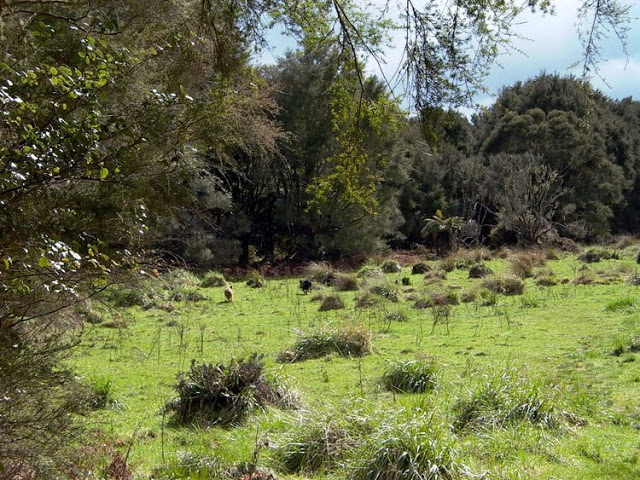
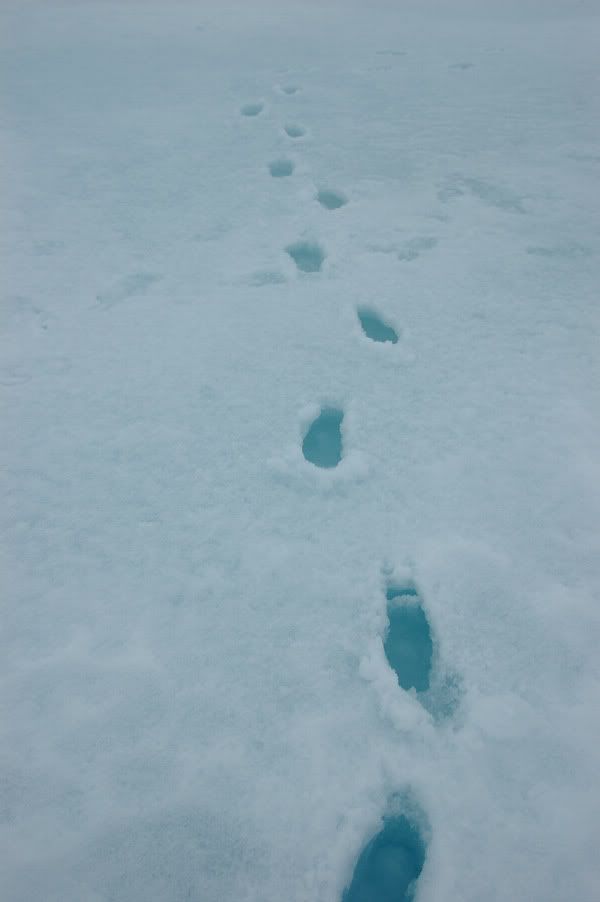
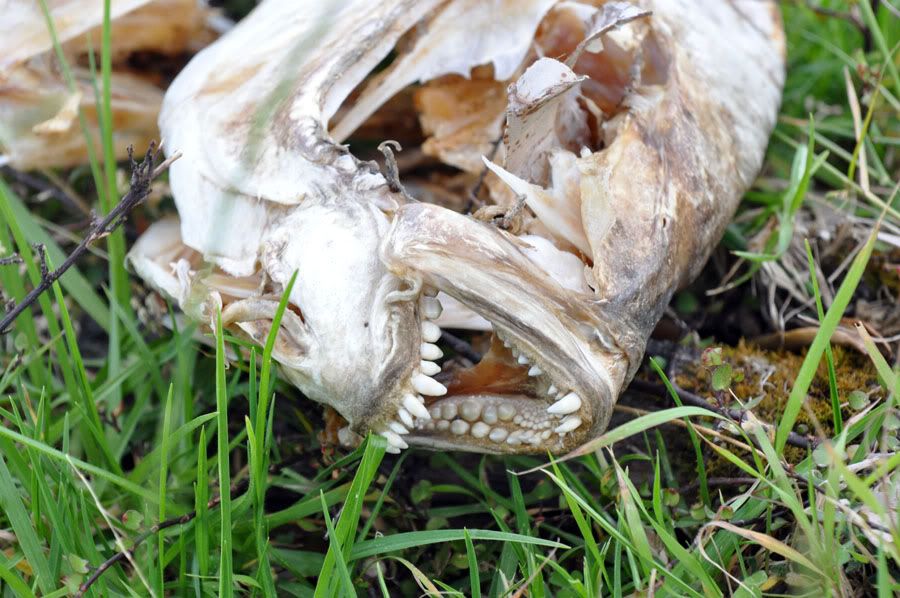
I saw some wild pigs that took off ....
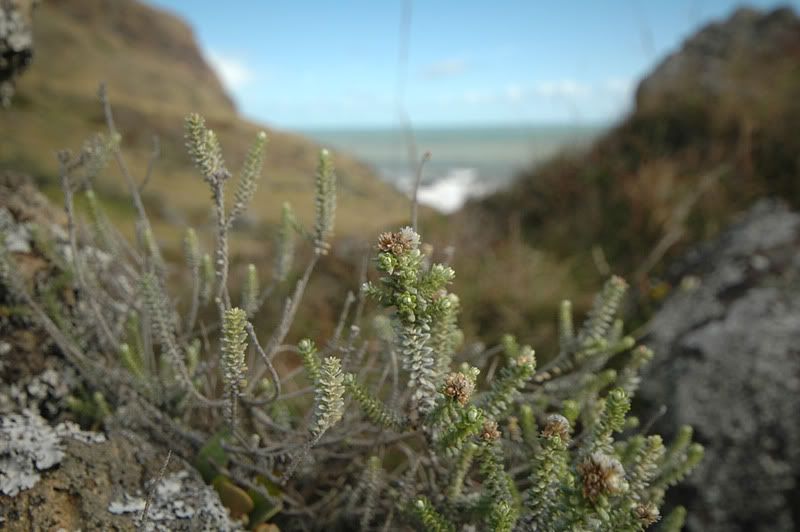
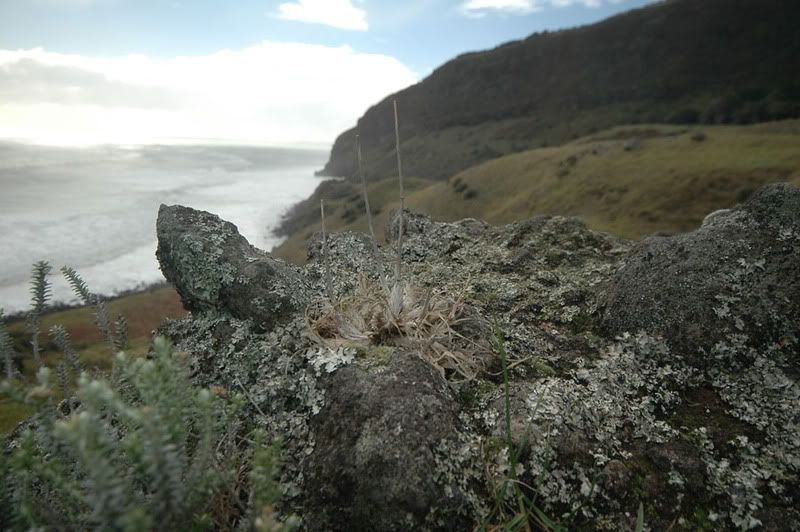
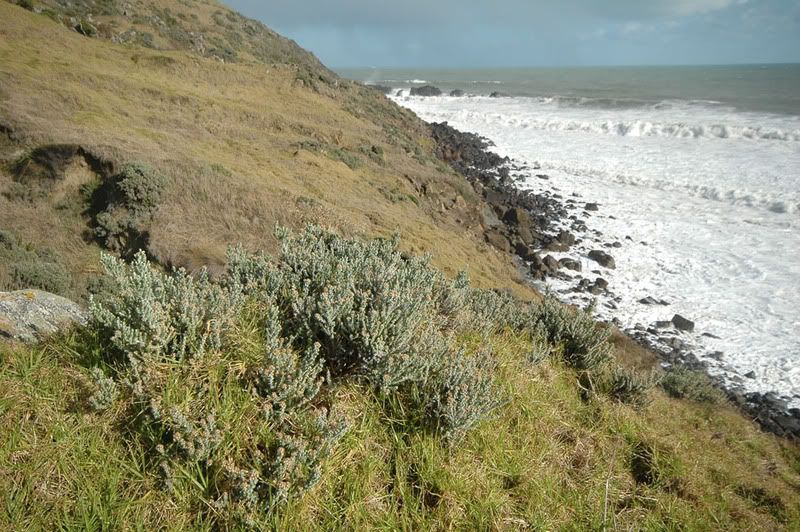
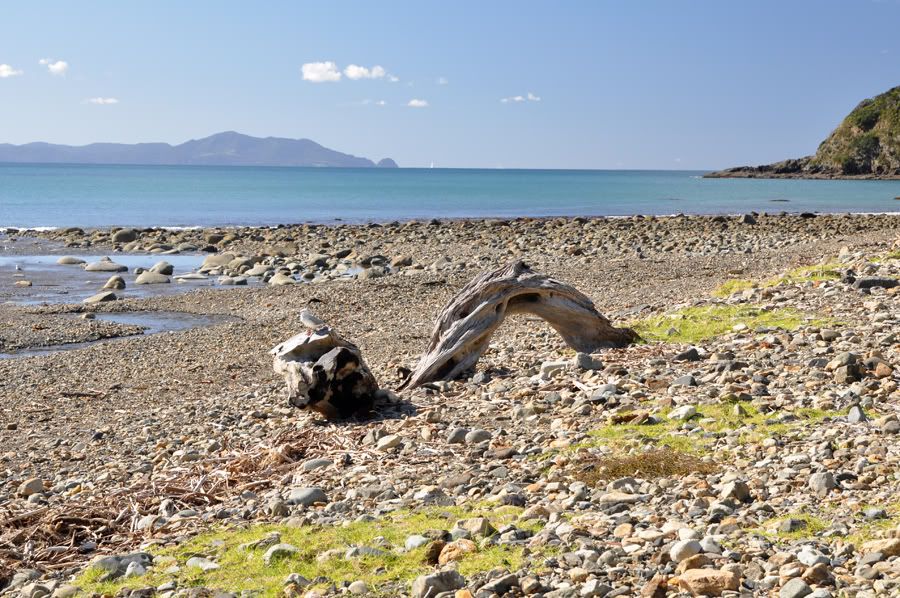
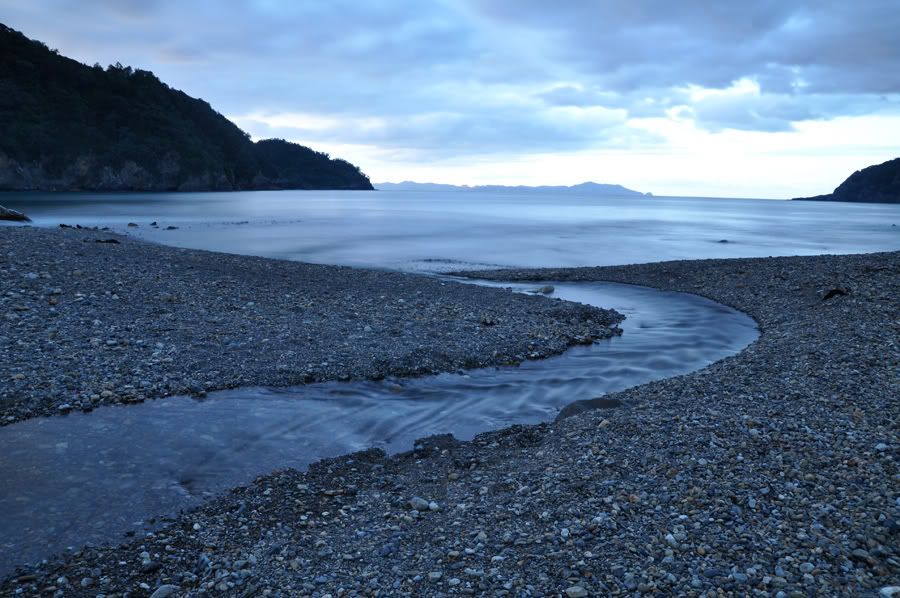
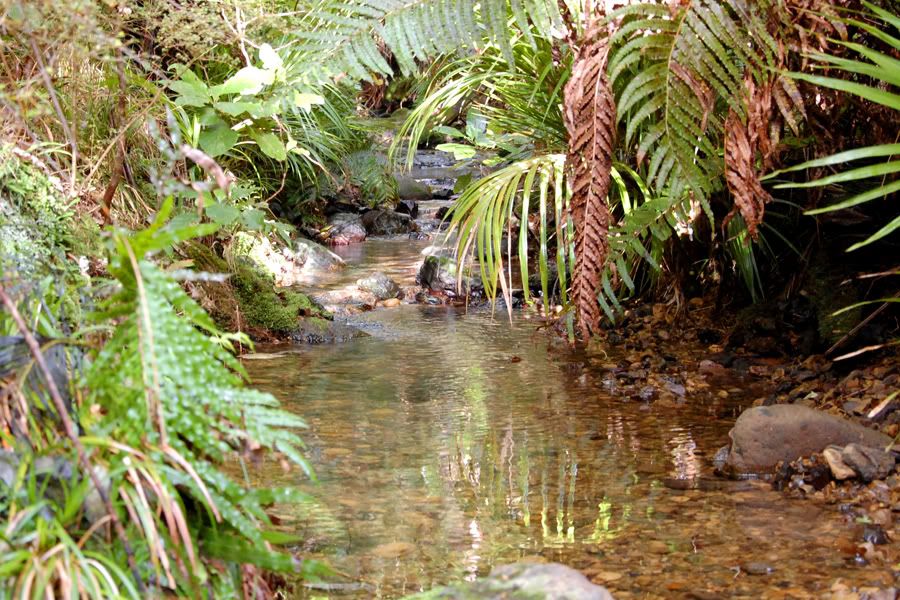
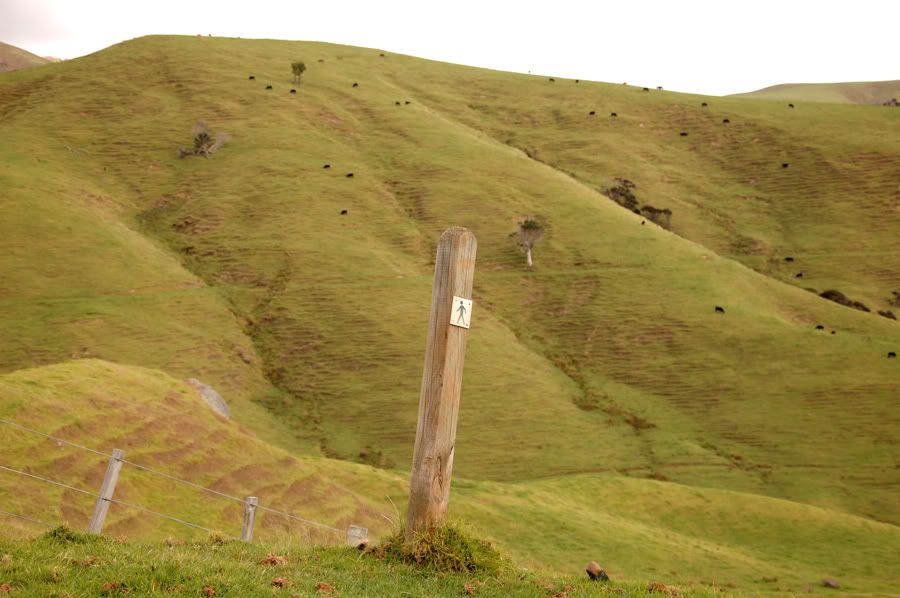
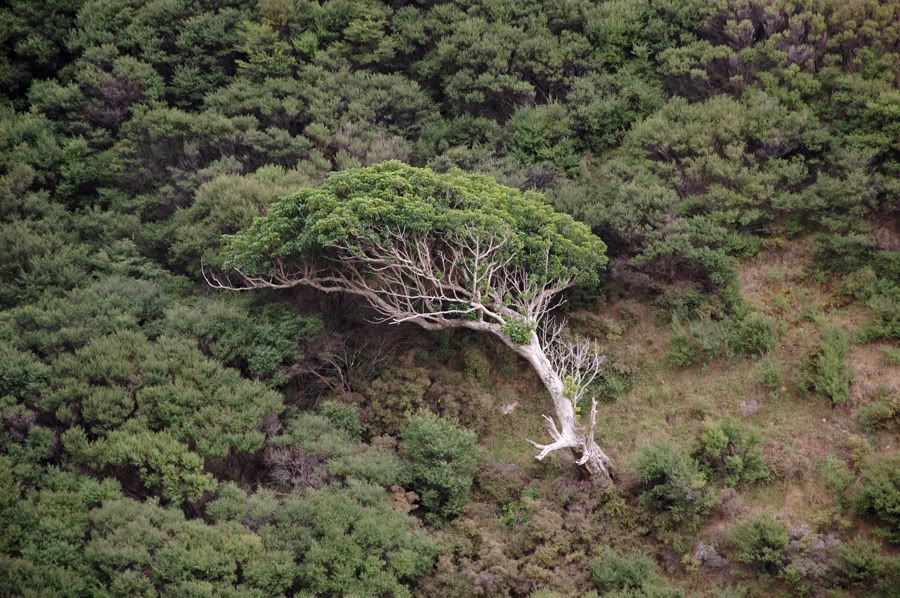
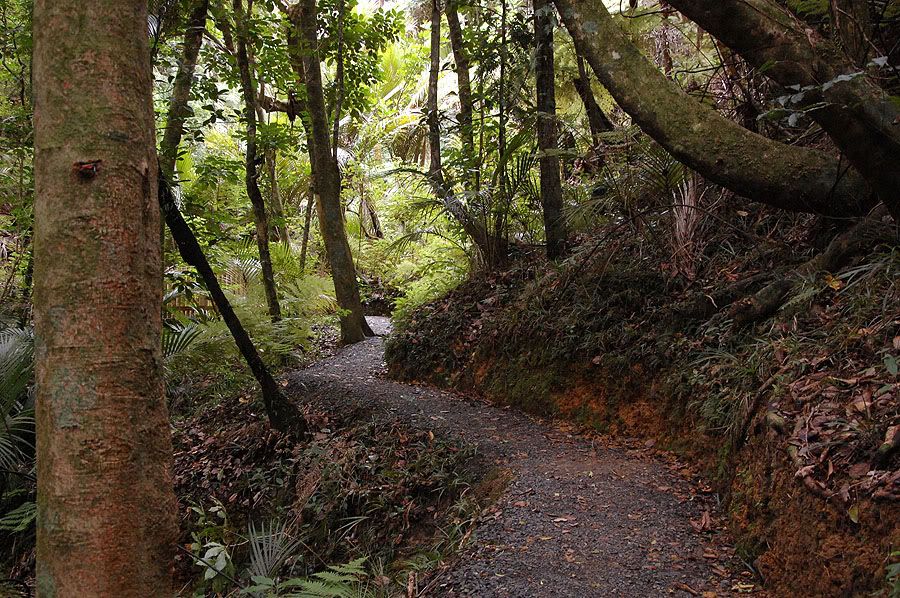
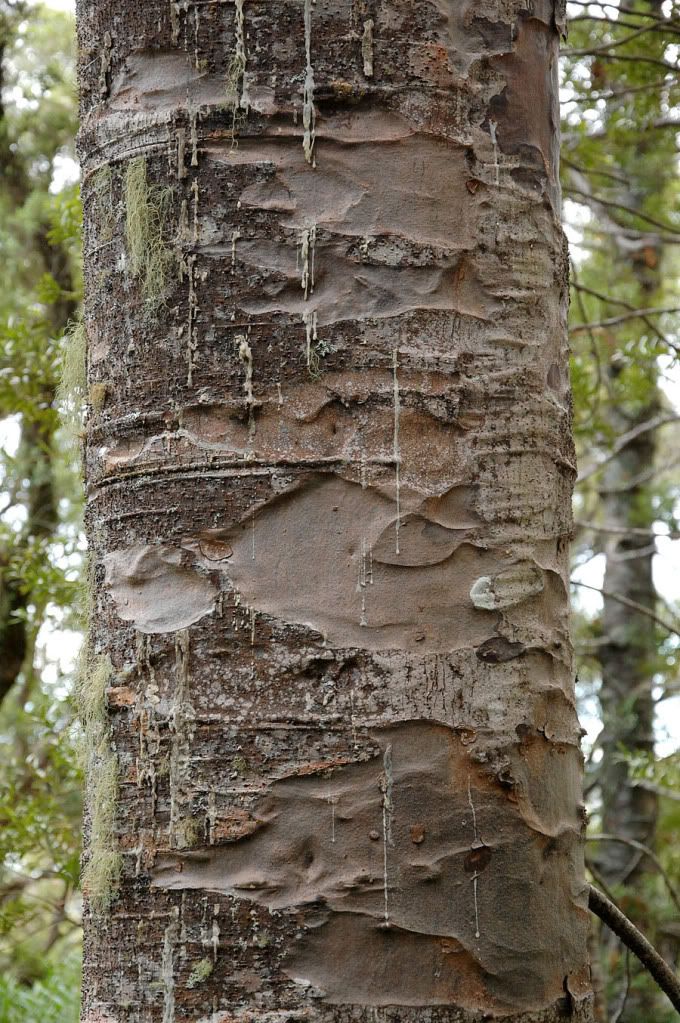
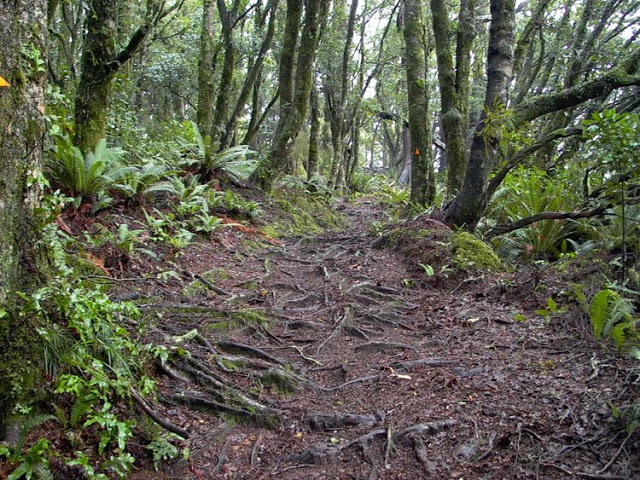
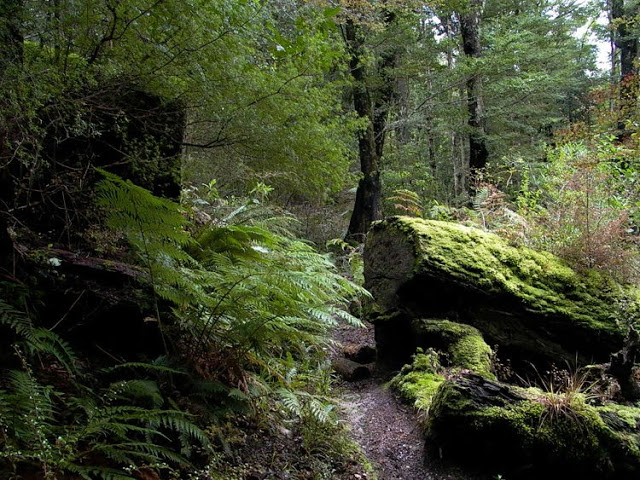
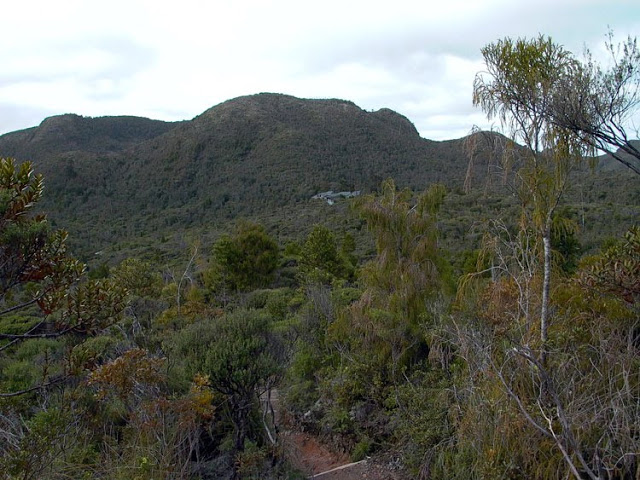
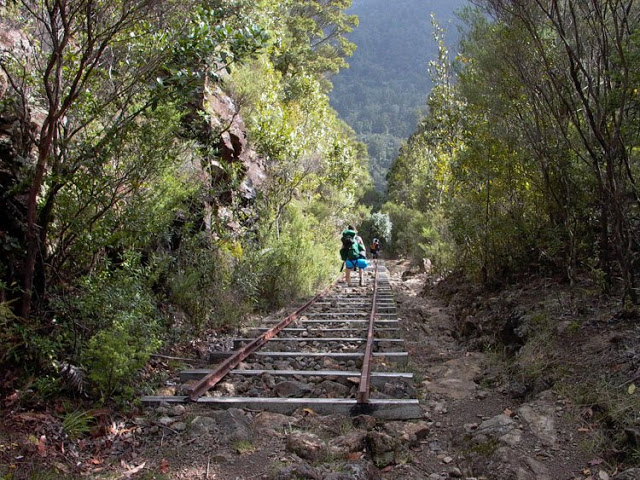
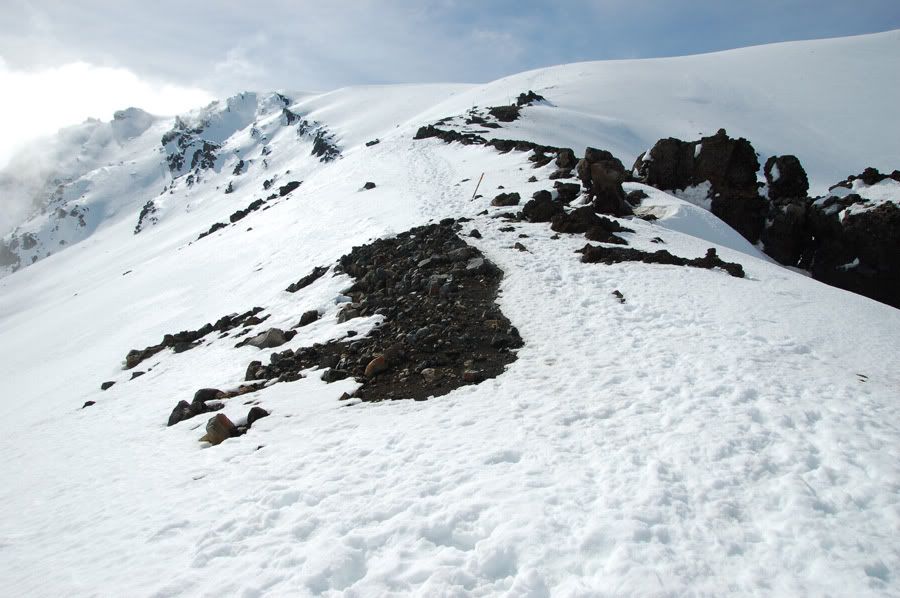
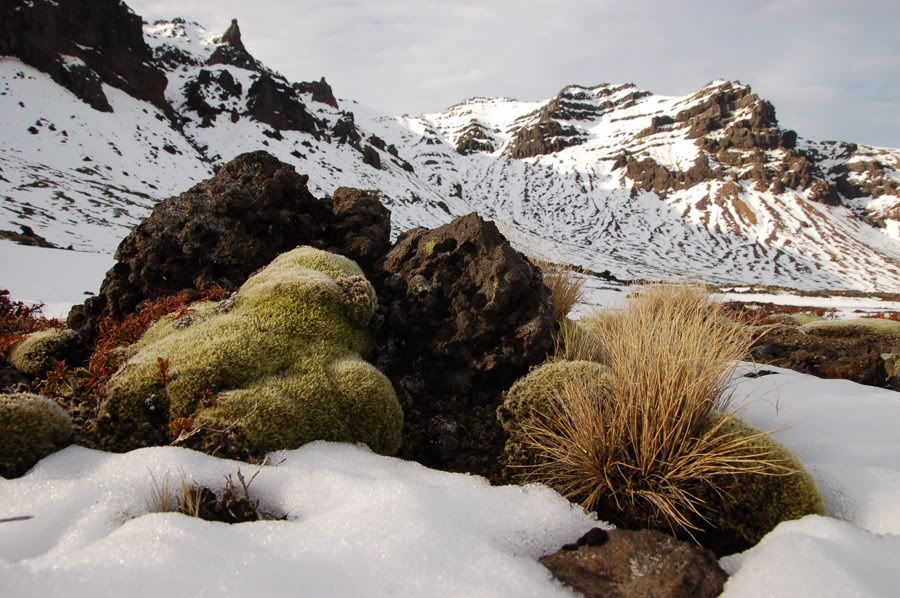
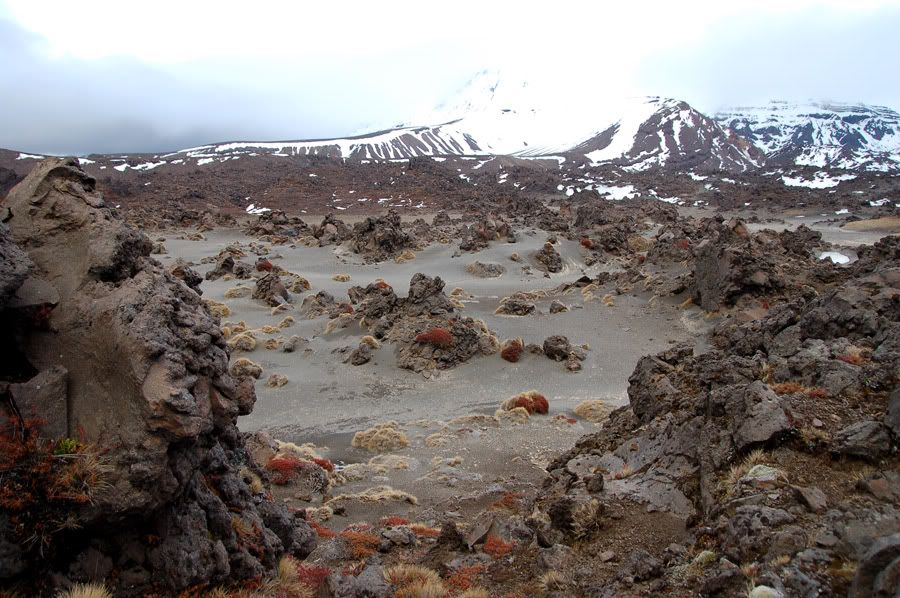
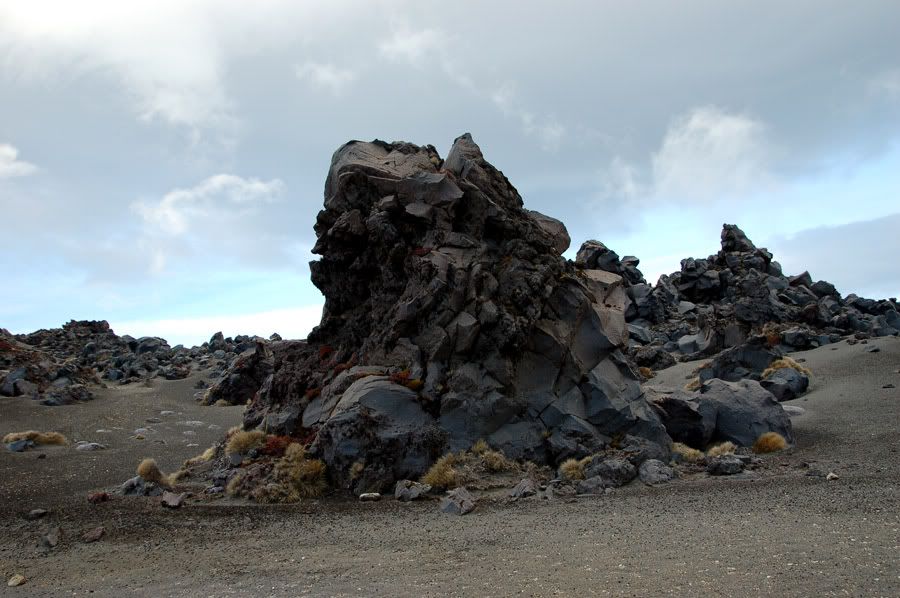
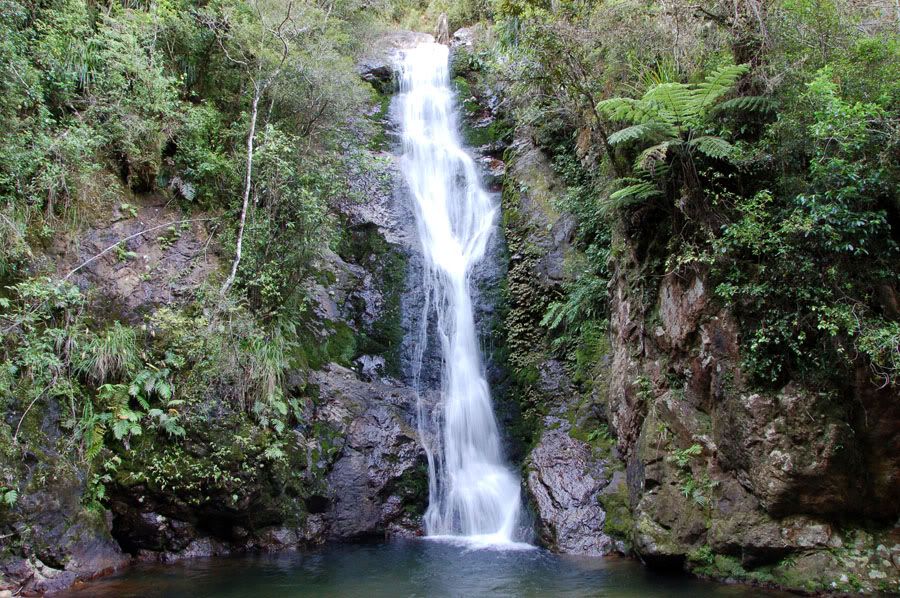
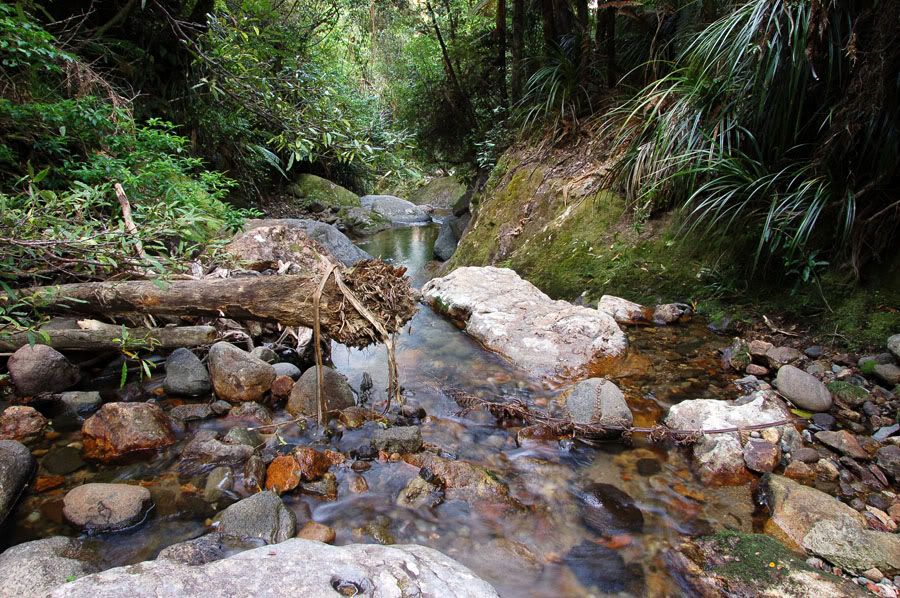
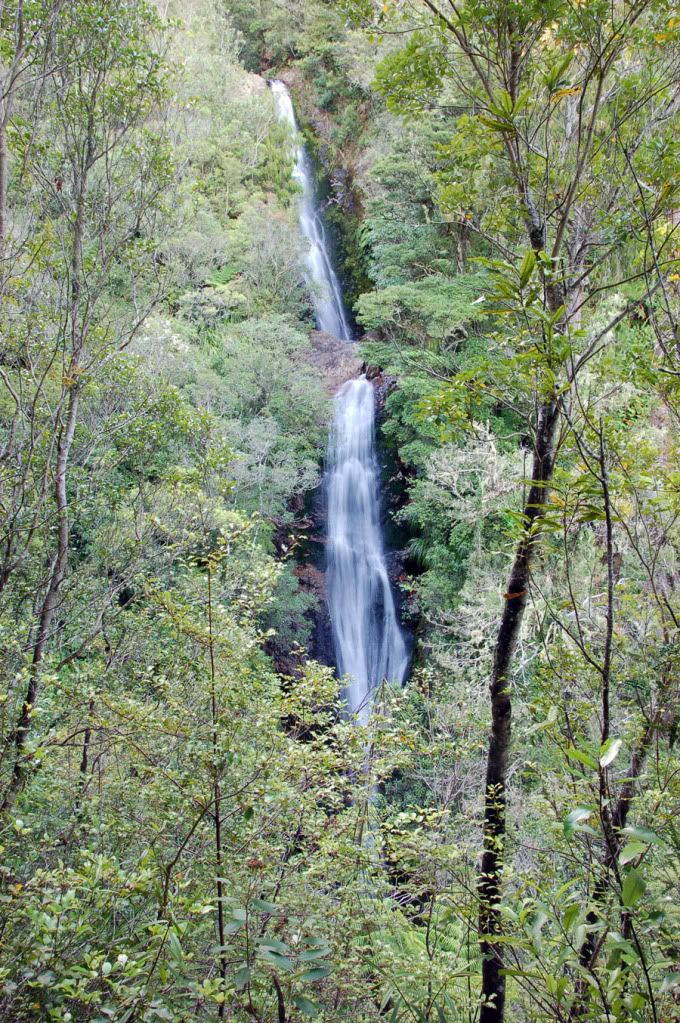
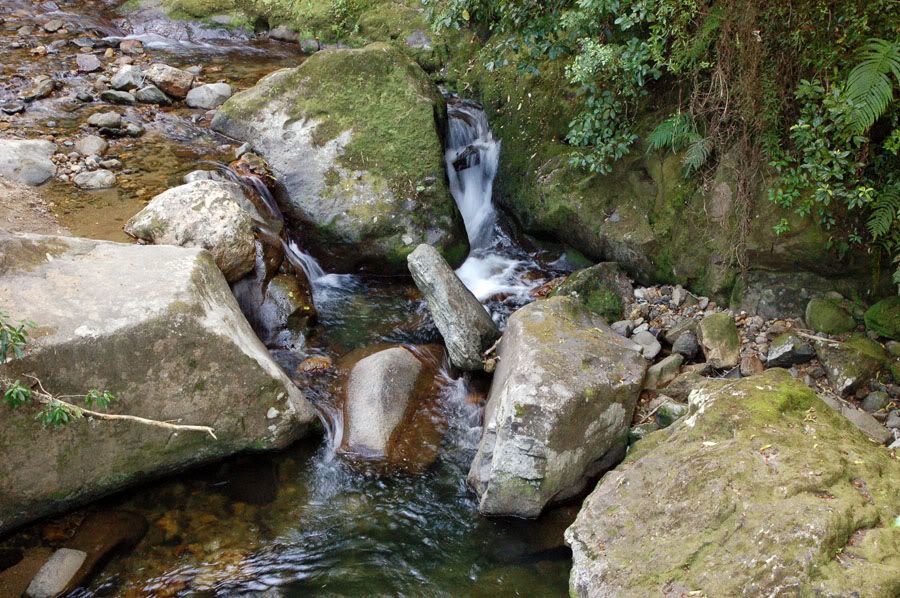
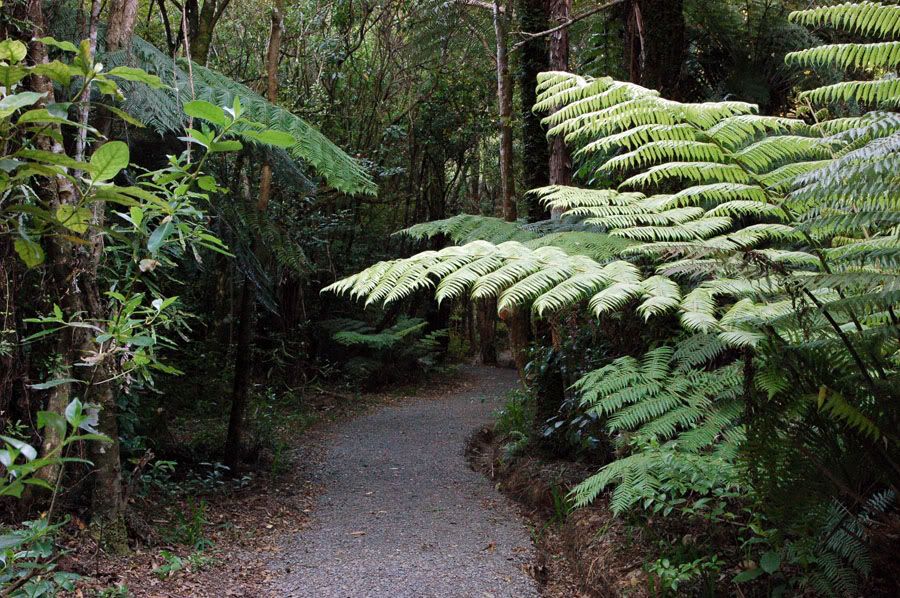
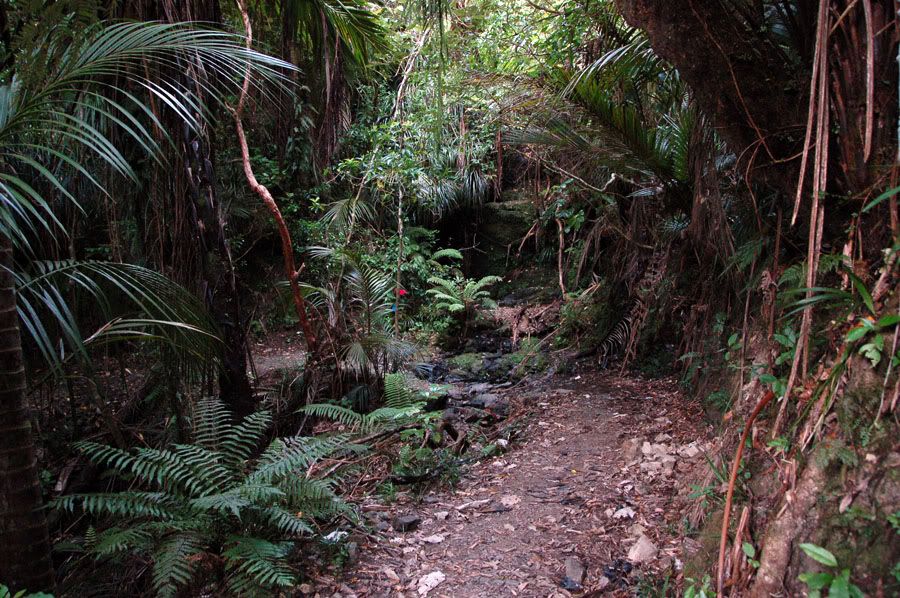
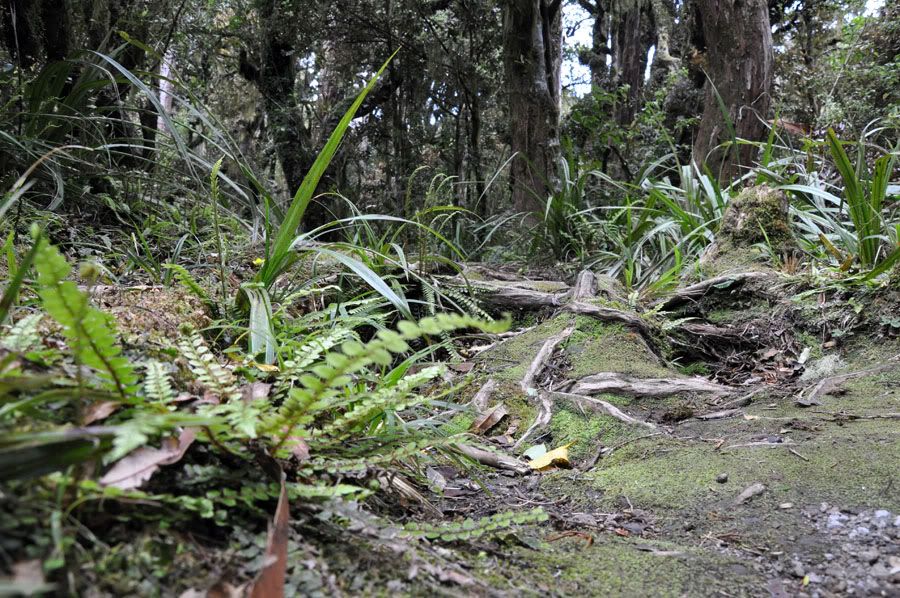
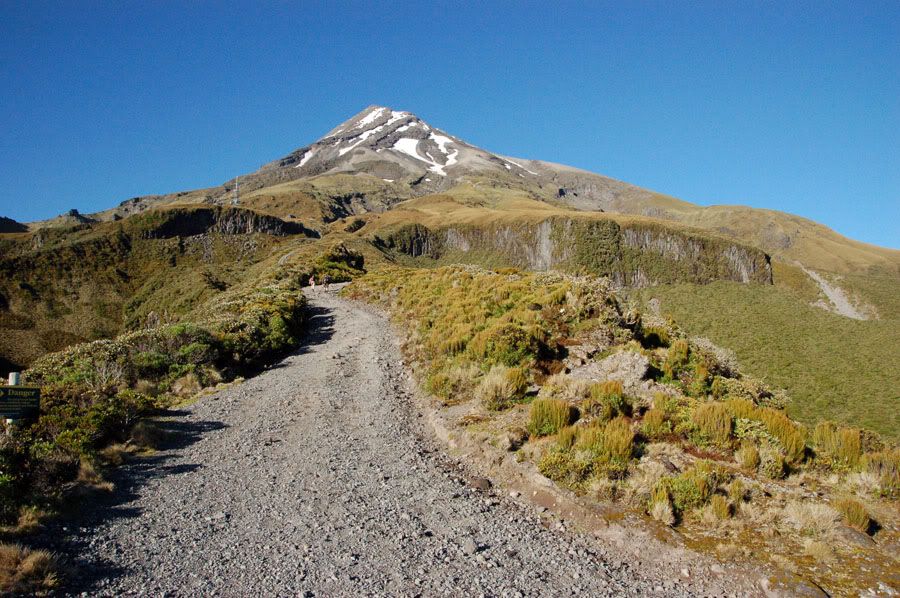
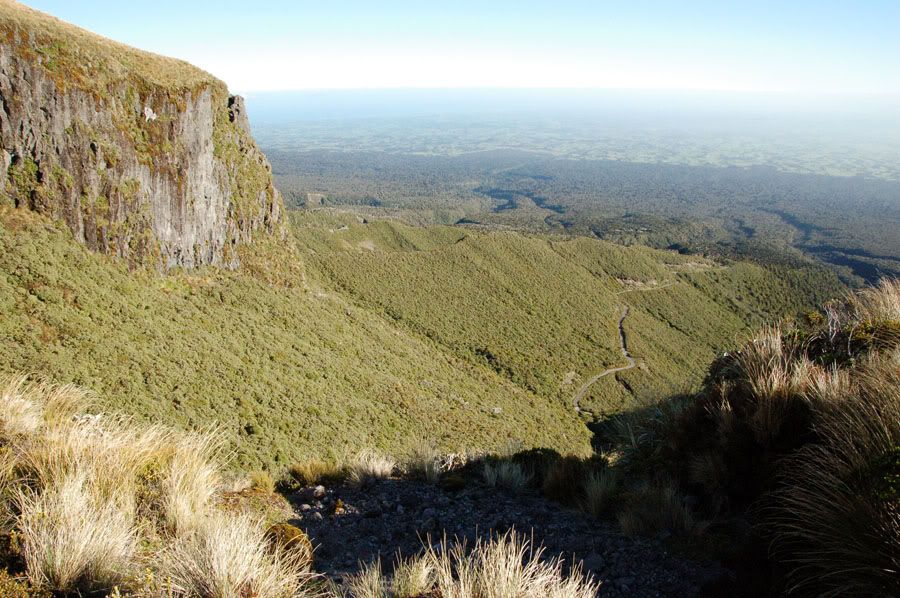
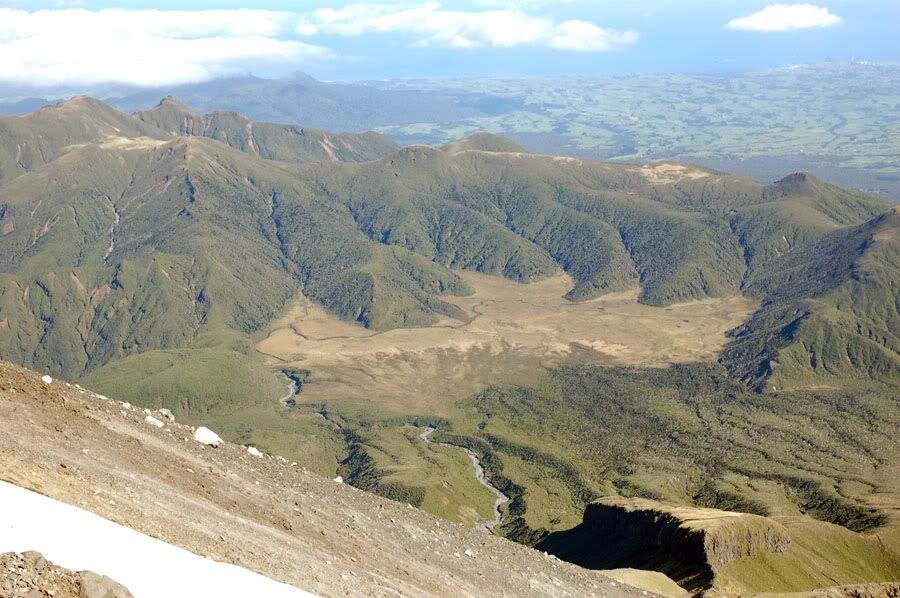
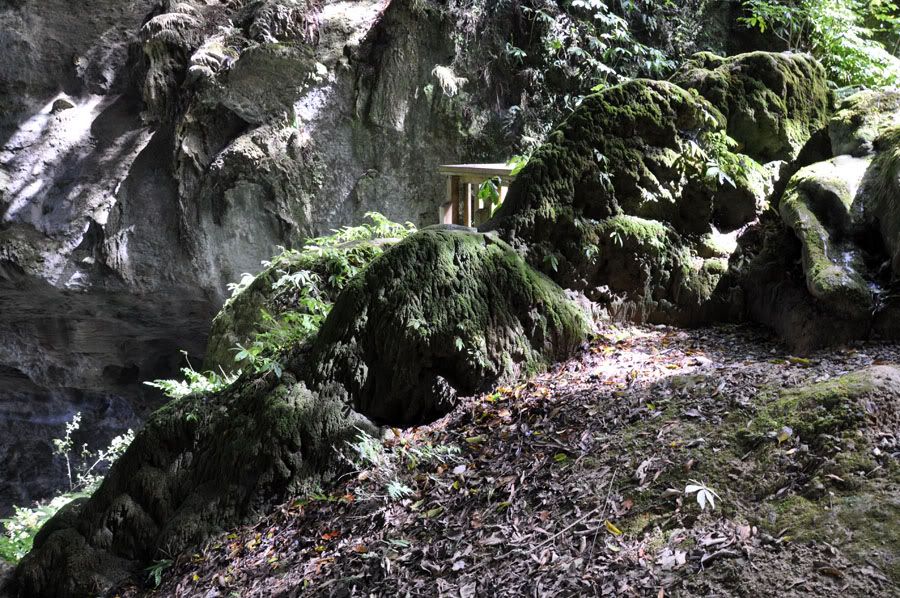
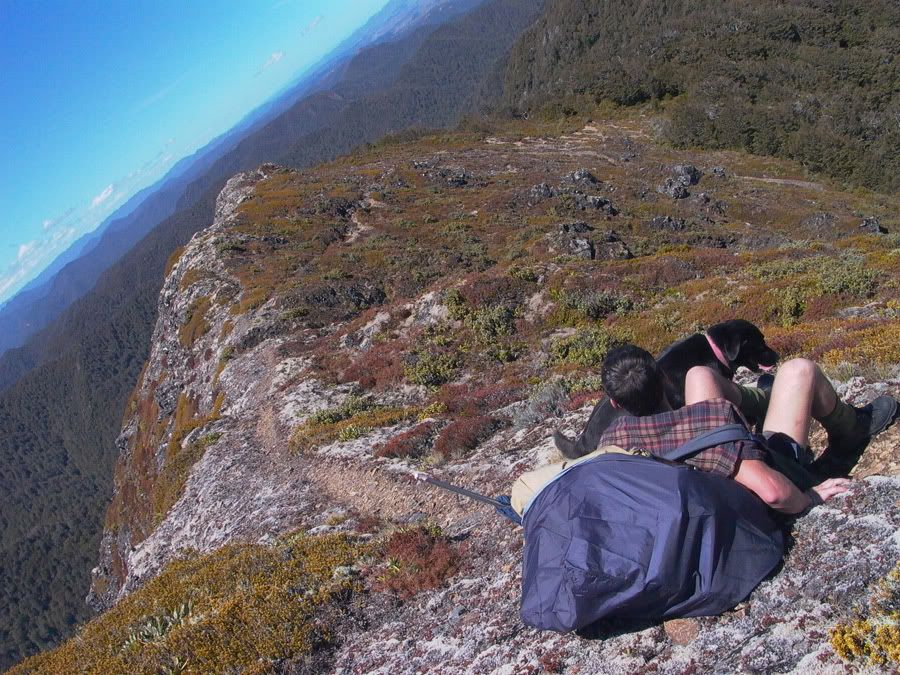
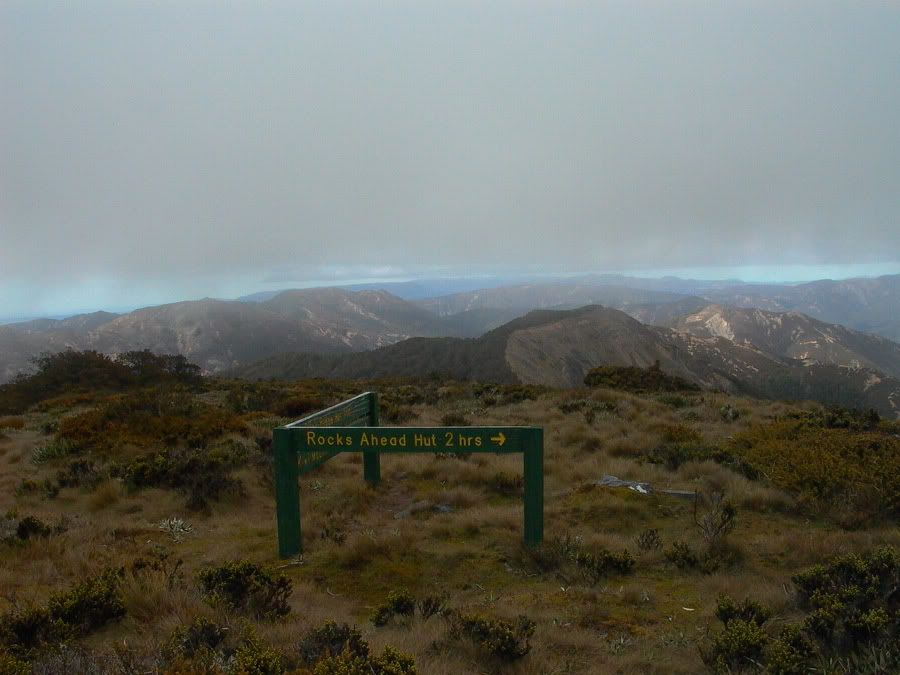
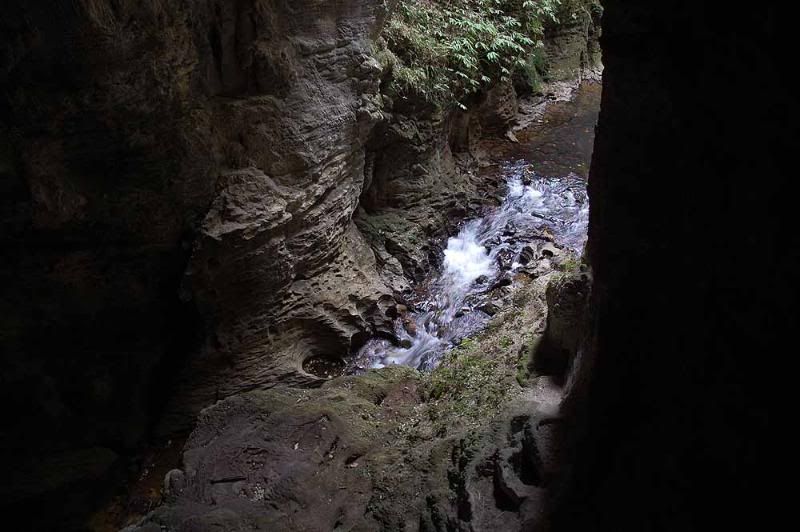
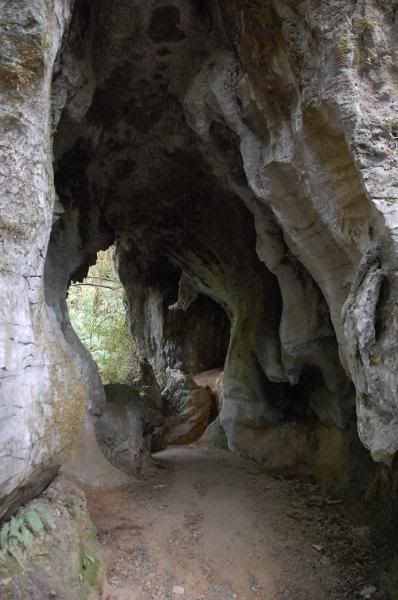
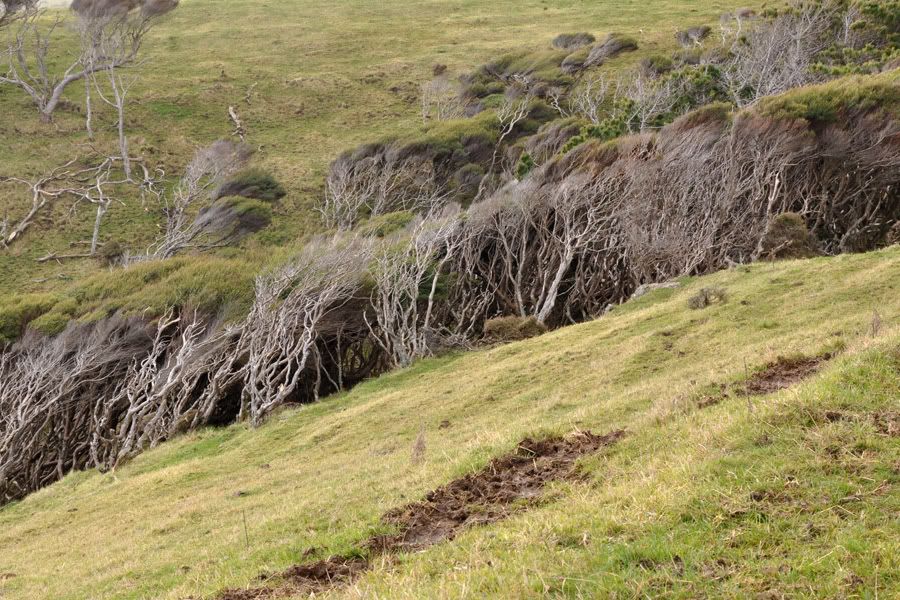
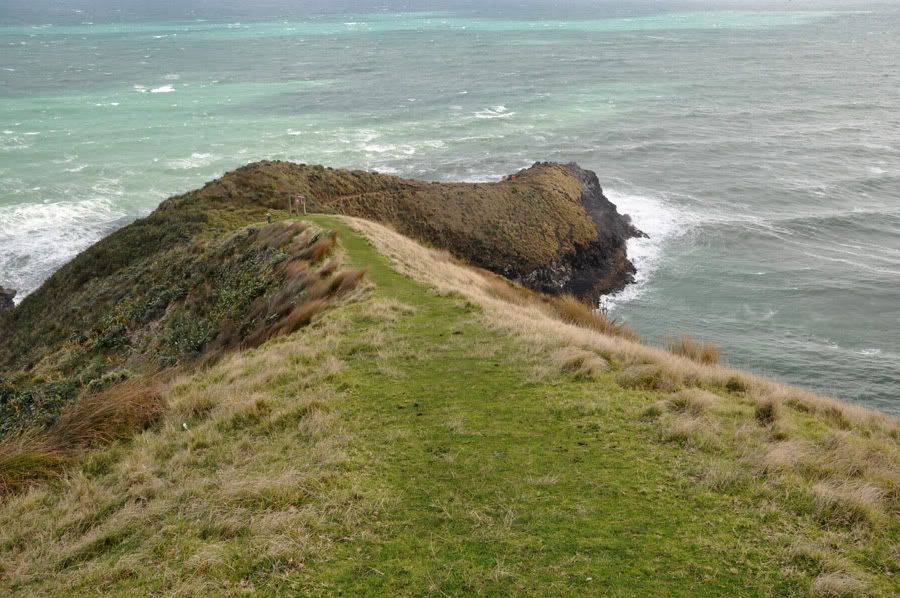
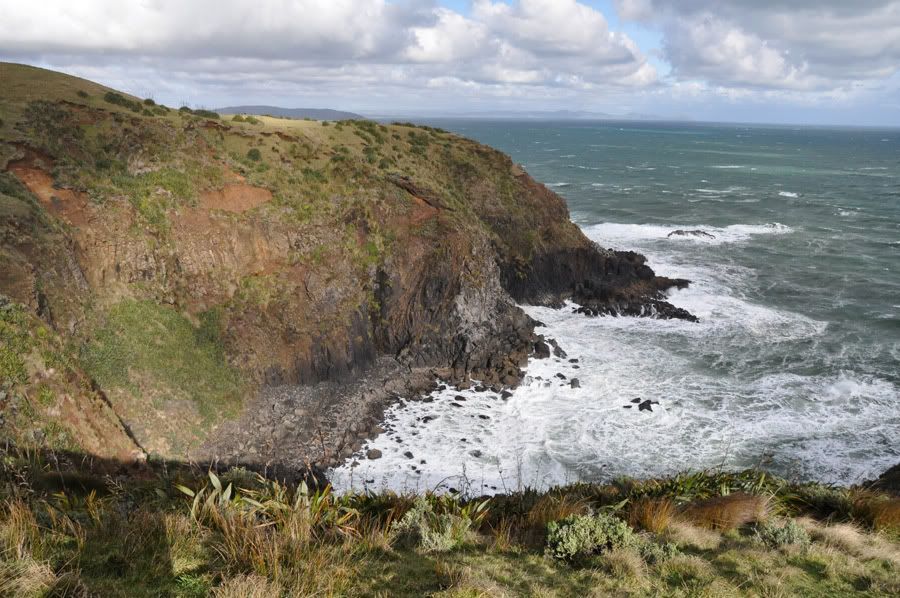
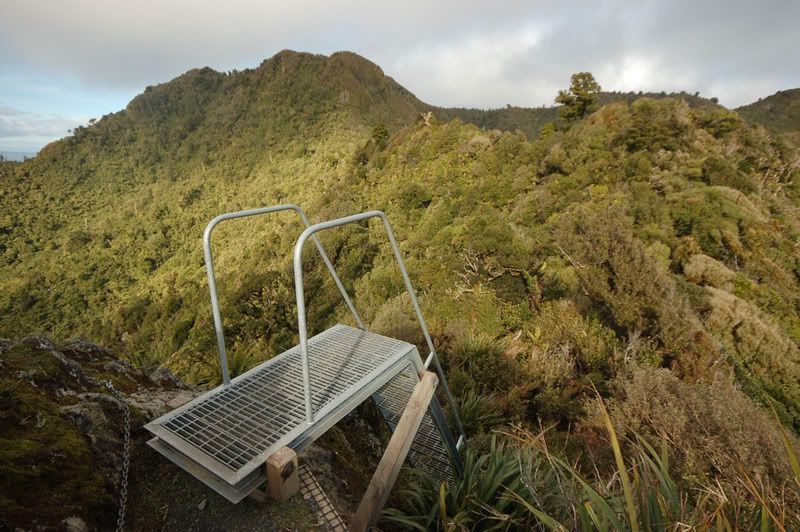
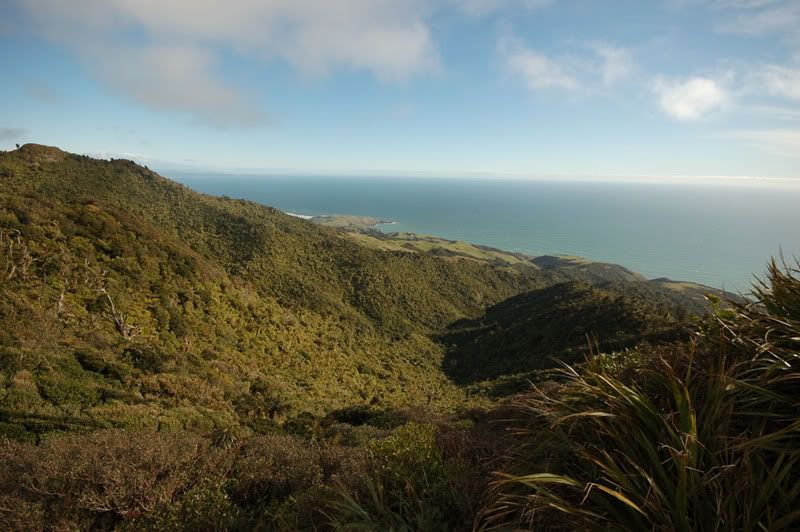
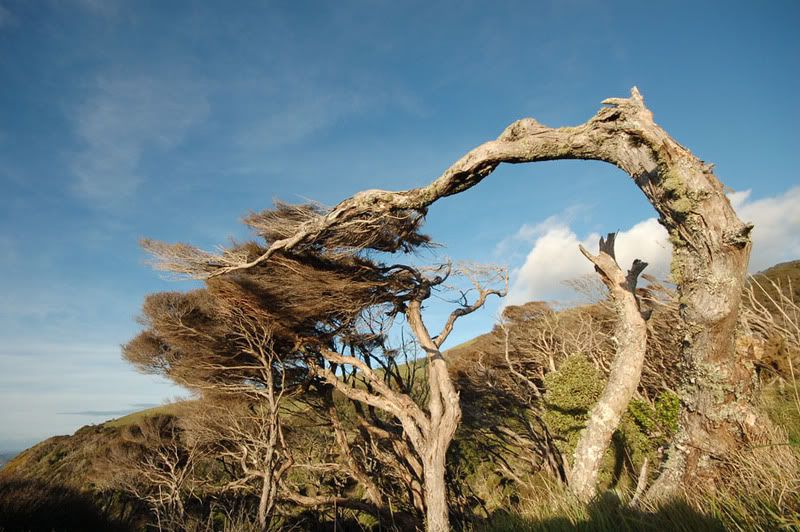
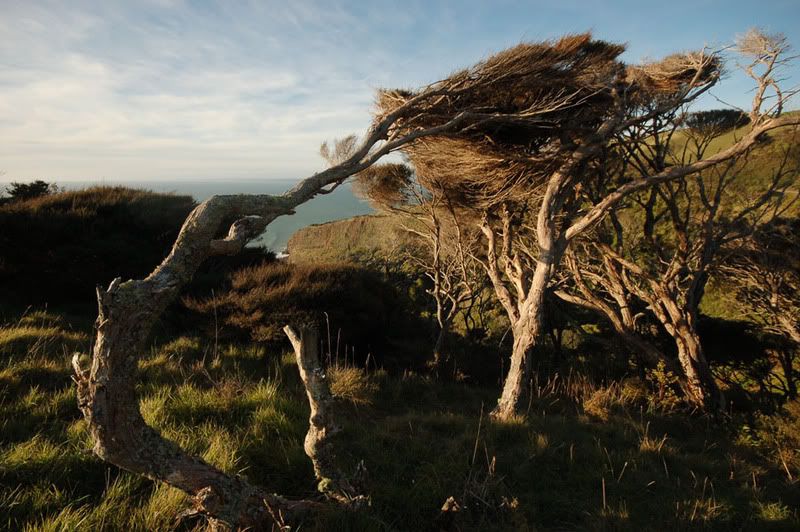
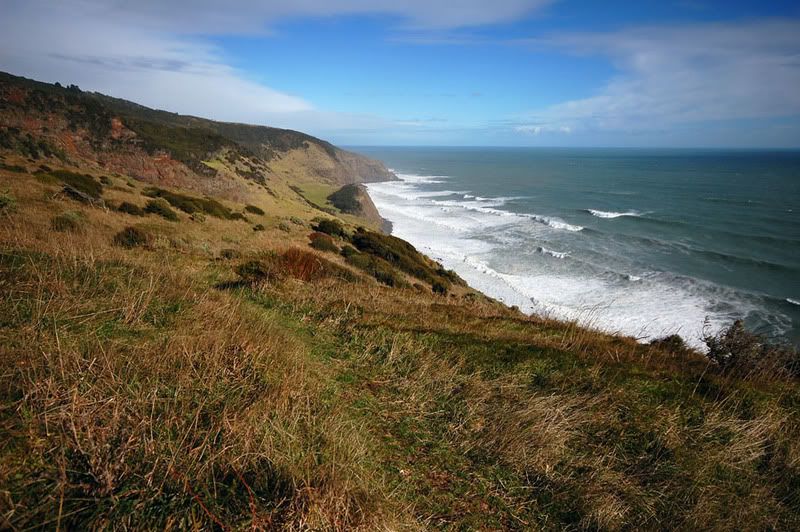
It is an interesting track - and well maintained ...
I kept heading for the Maraunui hut

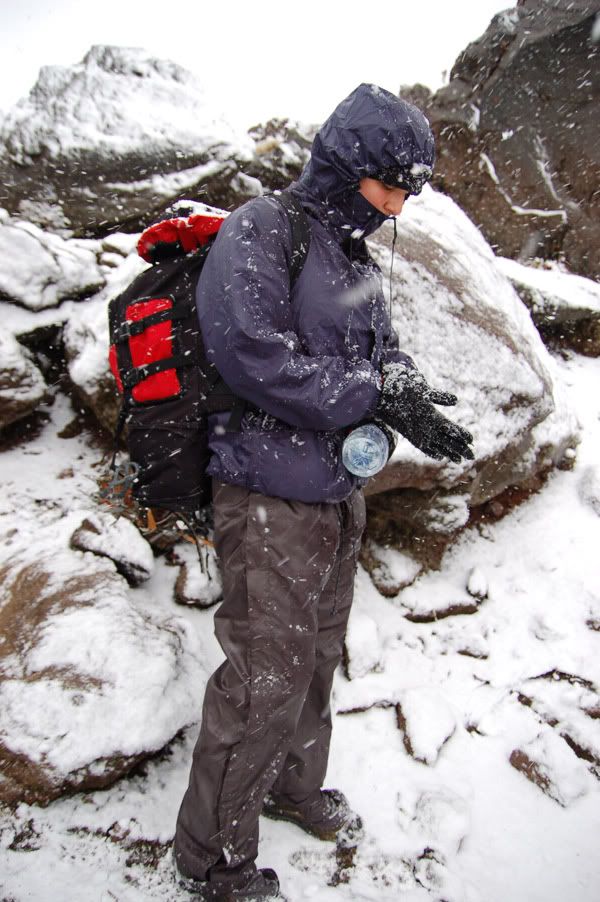
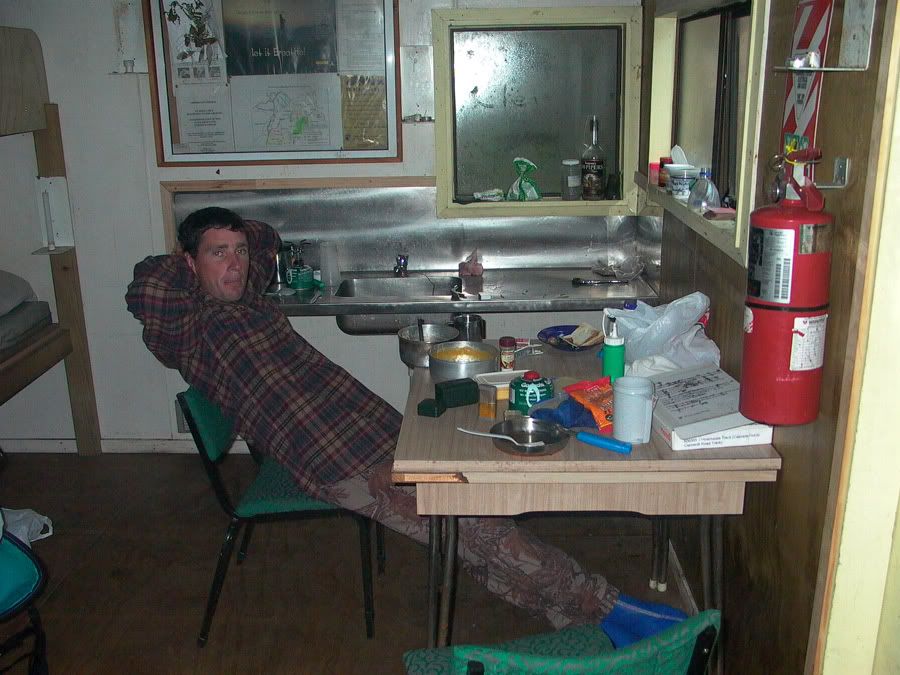
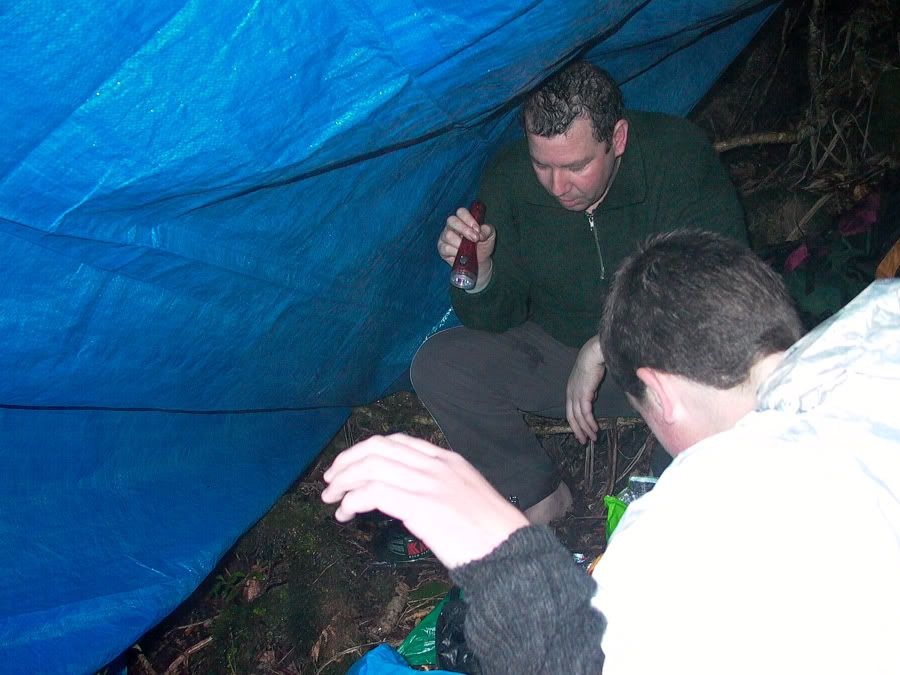
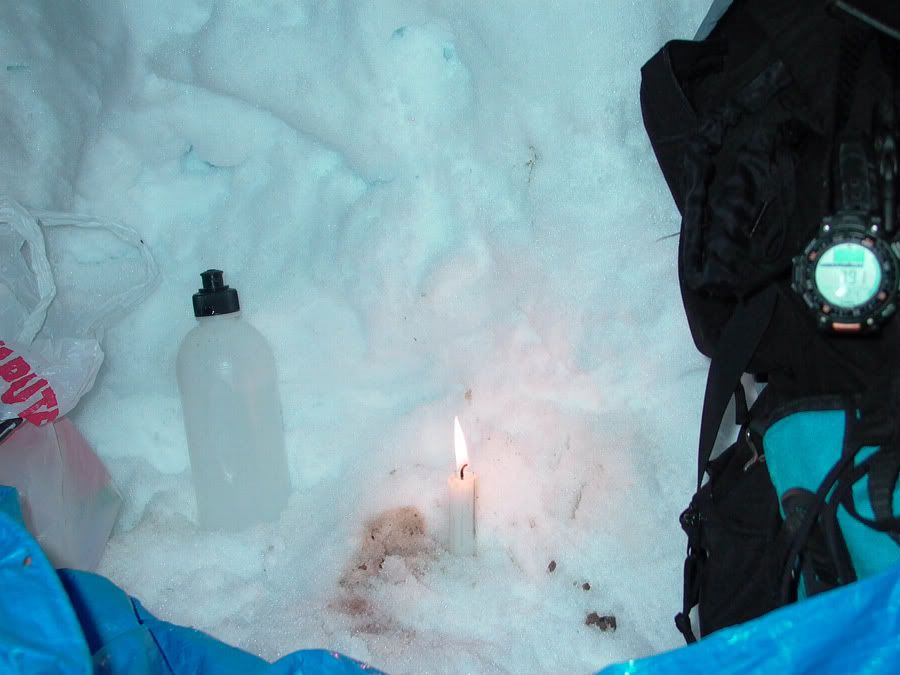
I turned out to be an interesting night , it didn't rain hard , just a gentle drizzle that I couldn't hear but I woke up a few times with the sound of what seemed to be 500 rats running along the roof a few times . Eventually I got the torch ready , had the machete in my hand , and when I heard the noise again I ran out at the ready with the machete ..... it was some trees above the roof - each time the wind blew the water fell off them in a row across the roof .
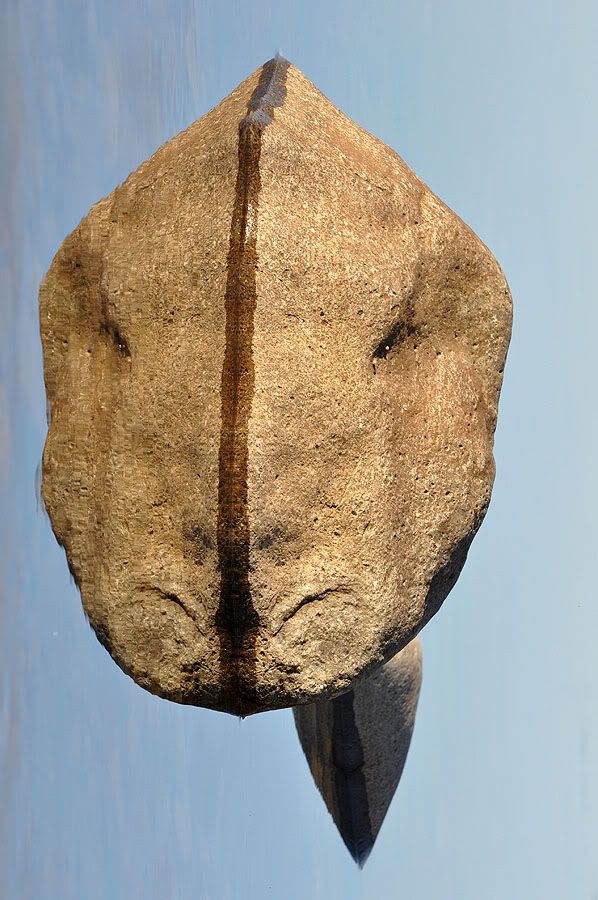
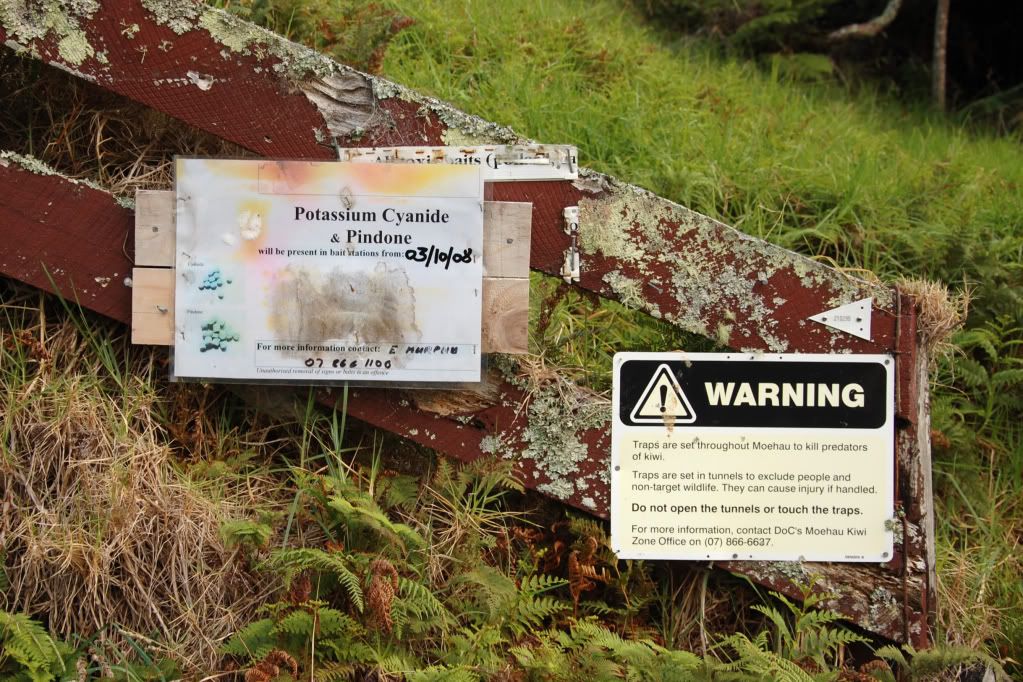
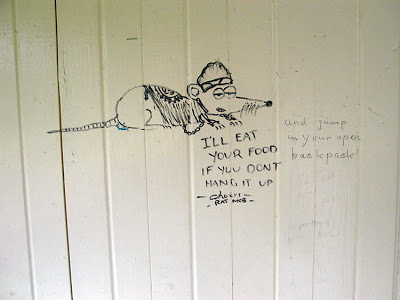
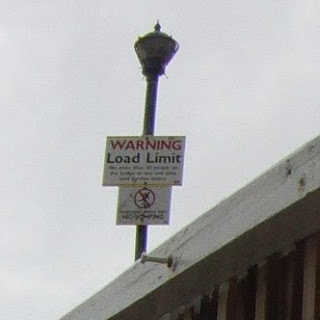
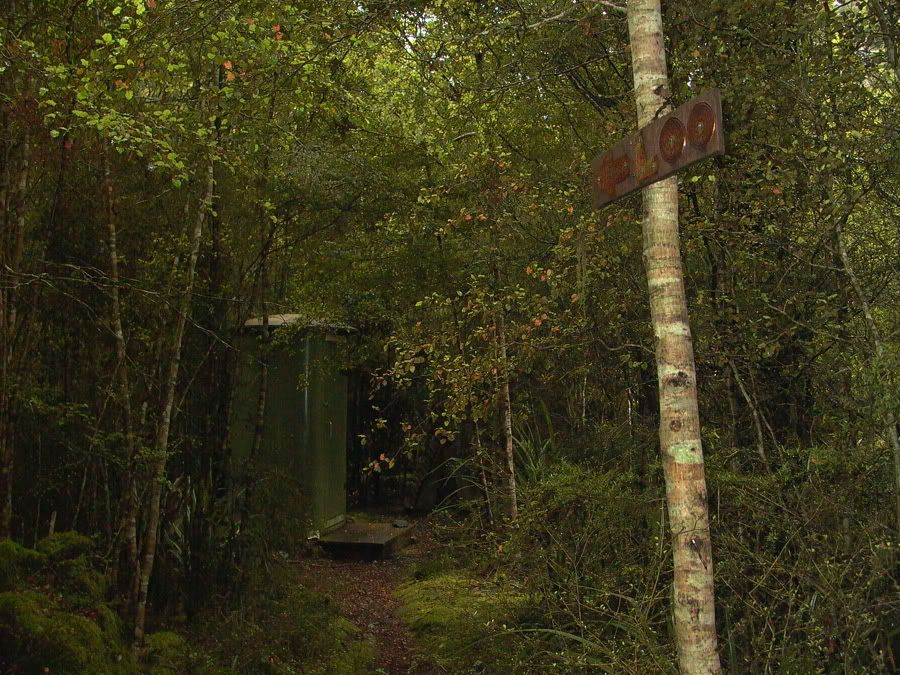
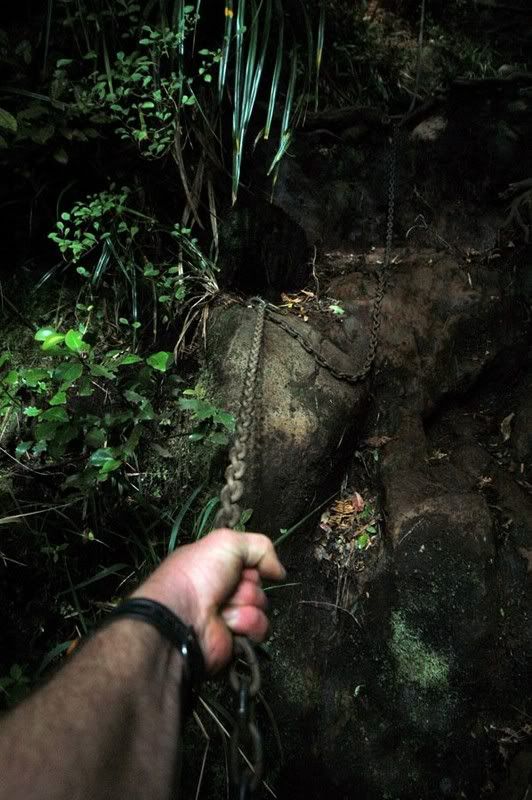
This warning on the door had me worried about rats originally .....
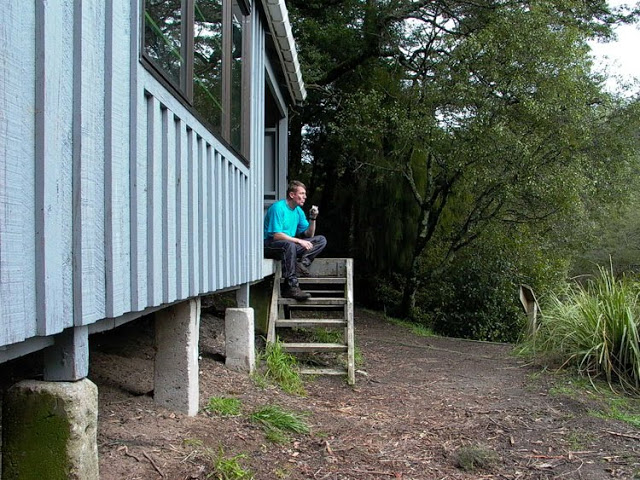
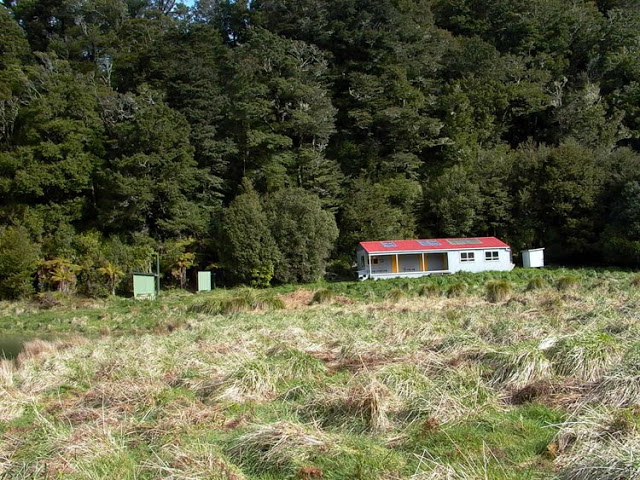
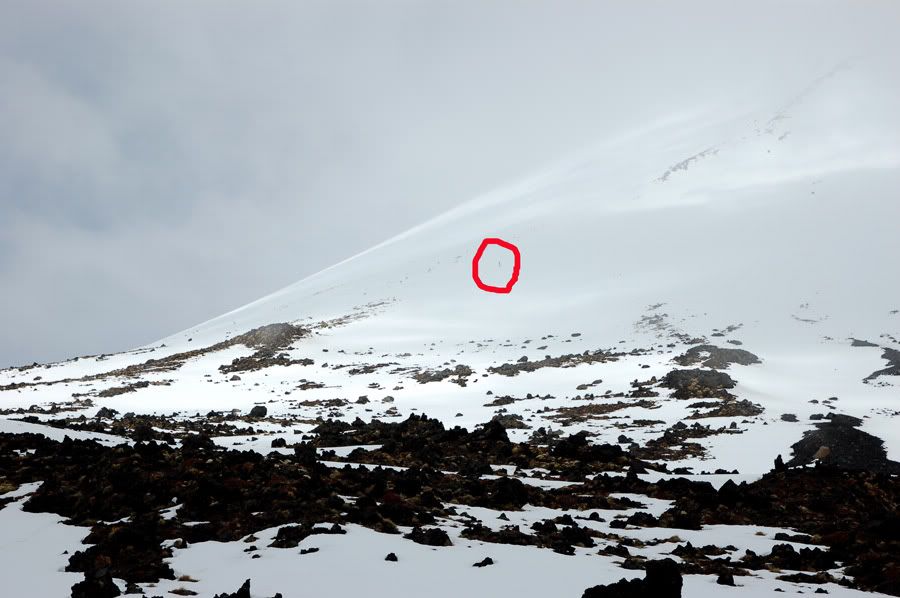
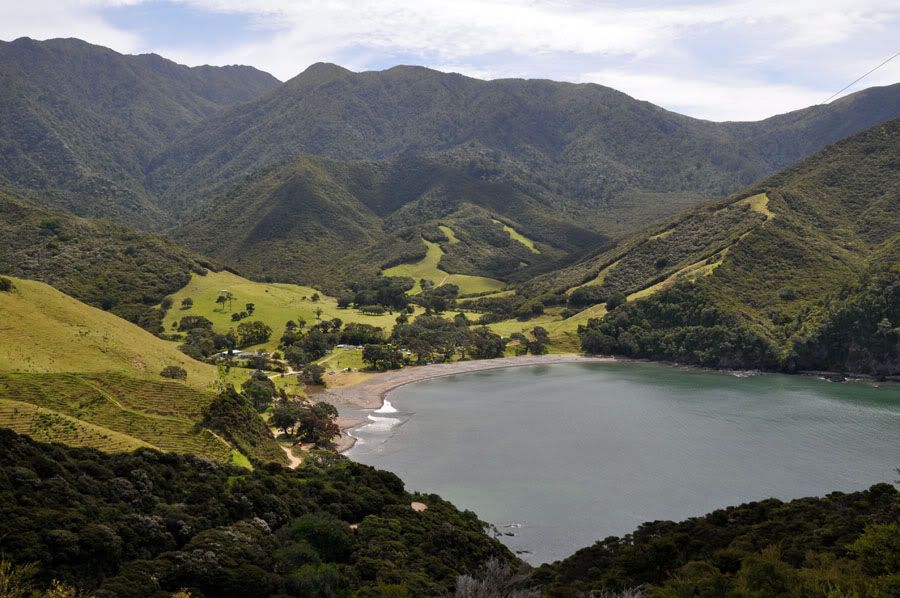
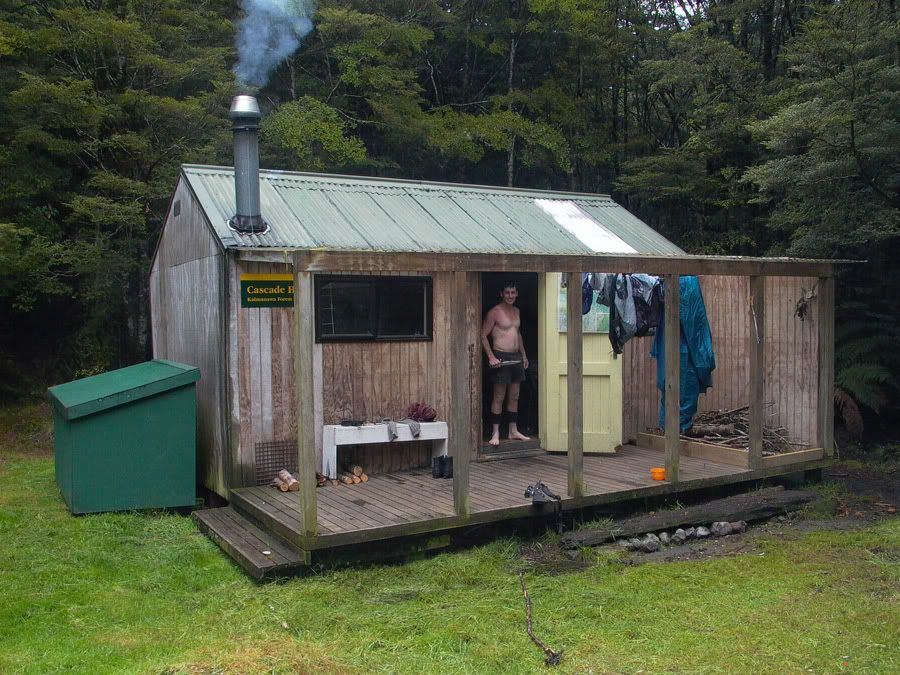
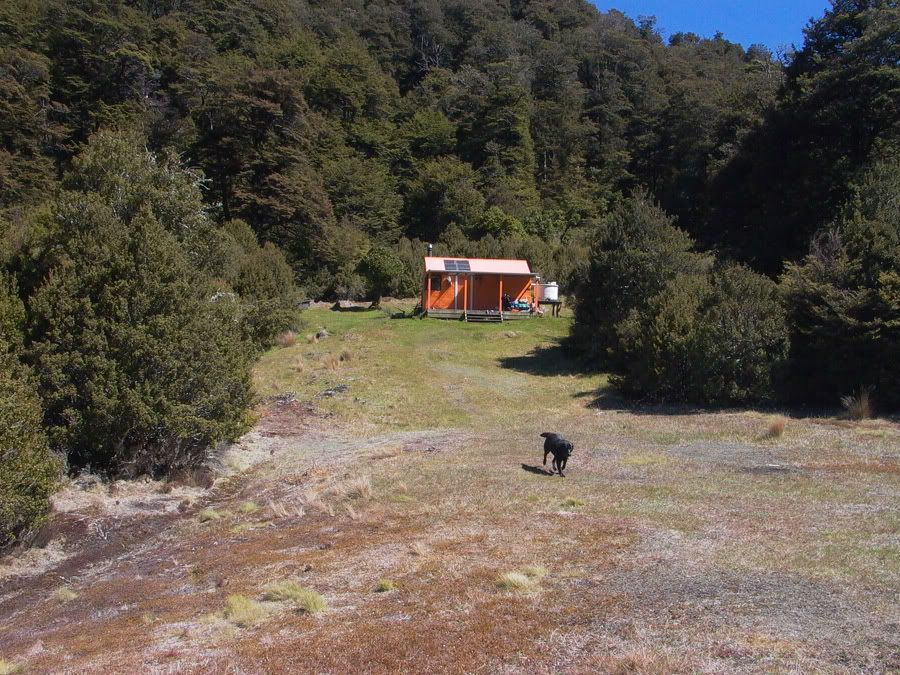
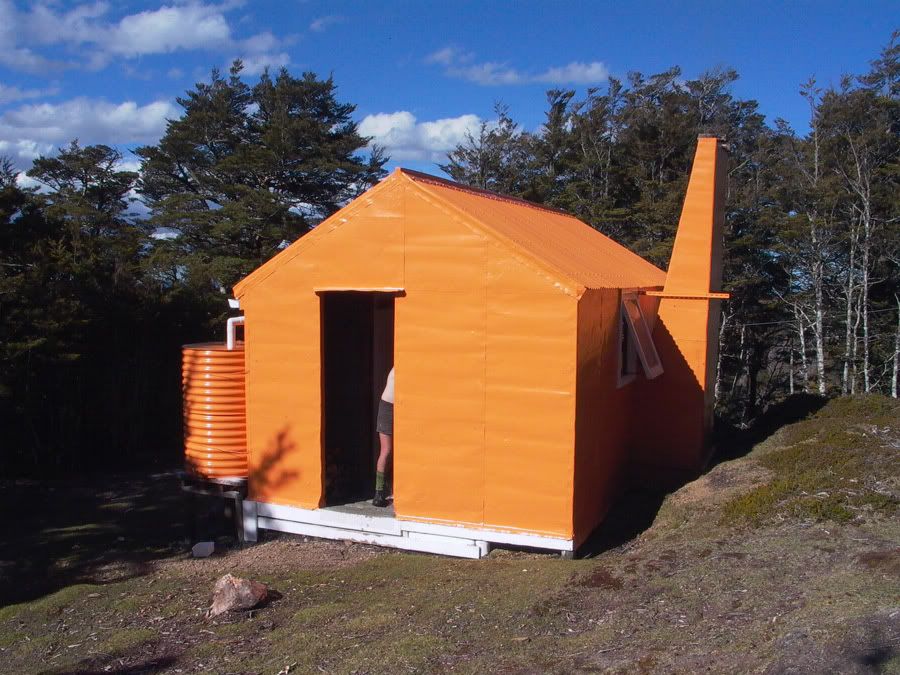
The next day I headed off for Waiharuru hut which turned out to be a nice new construction in a very nice area .

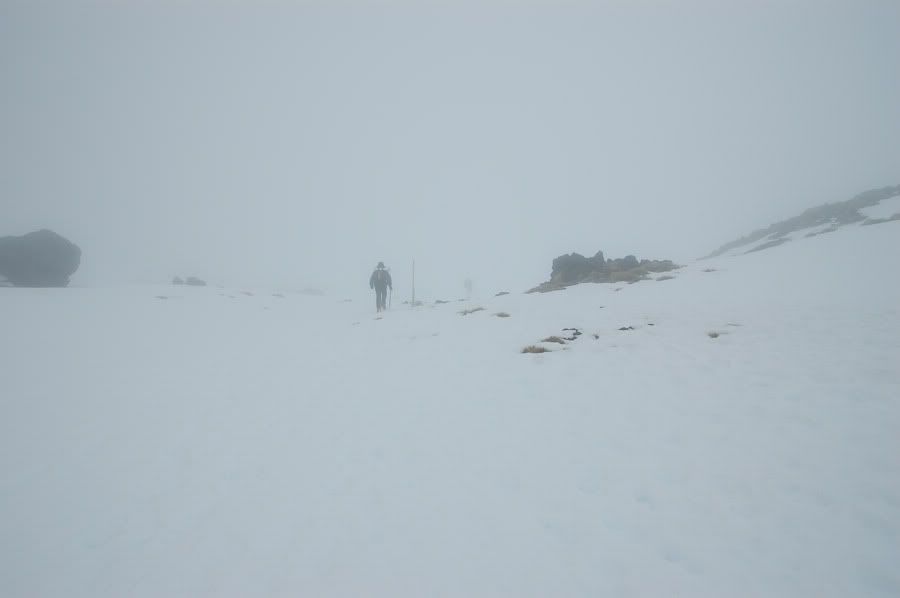
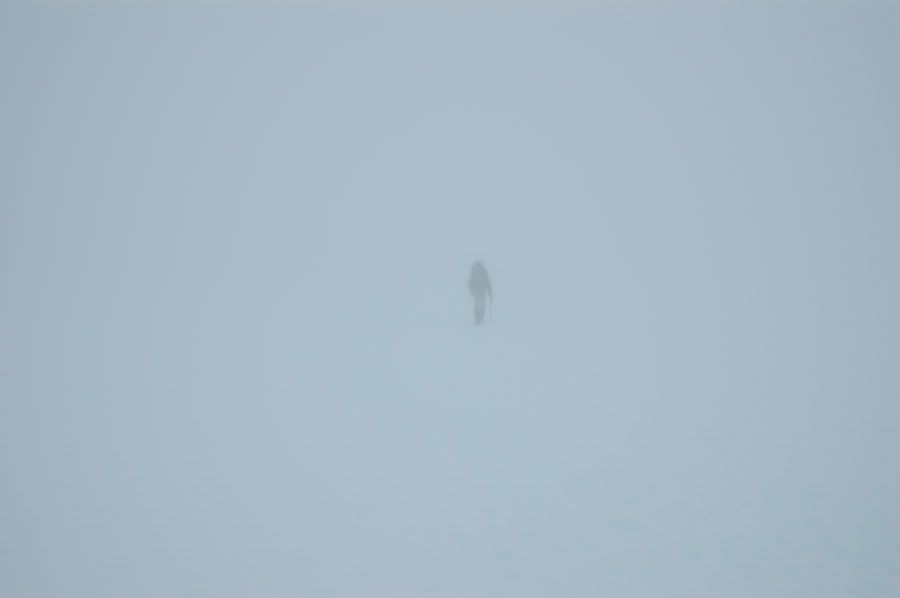
There was nobody else around so I decided to keep walking to the end of the track even though I would finish the 53 km a day early .
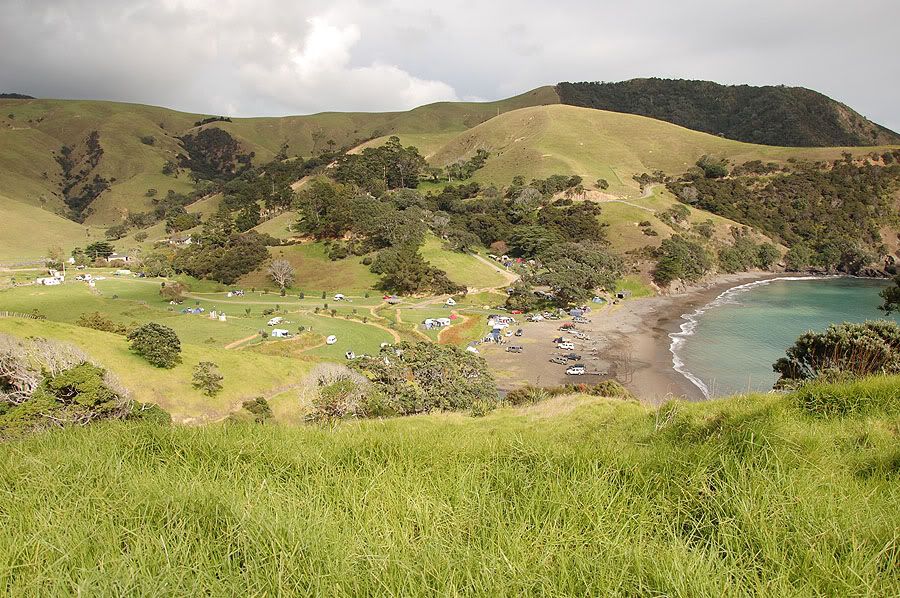
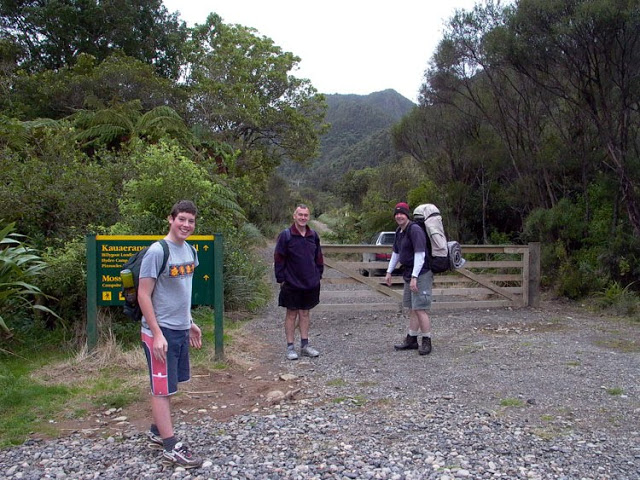
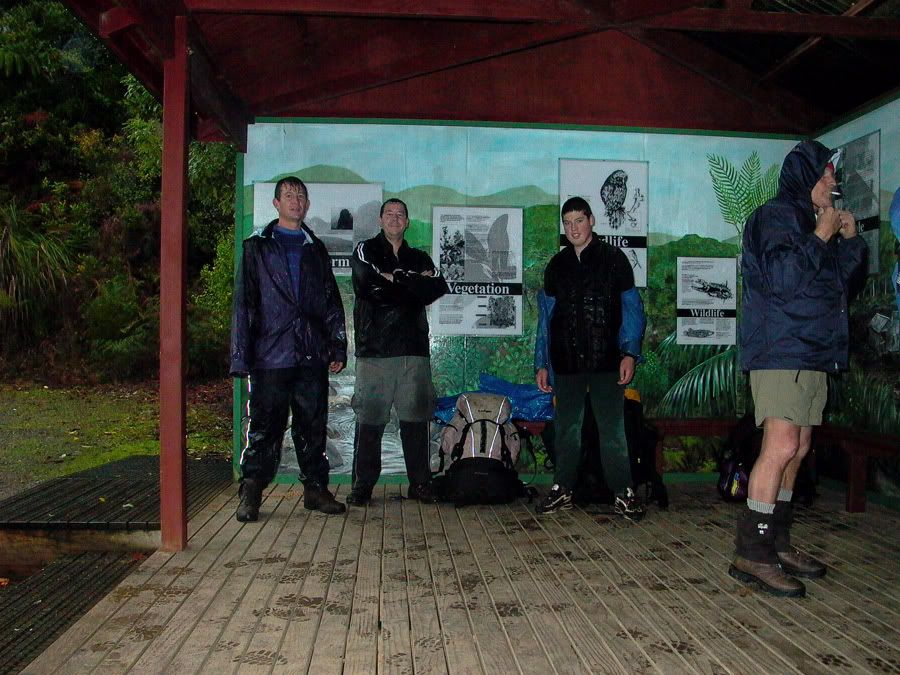
When I got to the end of the track there were a few others there that had done the walk which meant one of the taxi services would be there to hopefully give me a lift back to the camp .
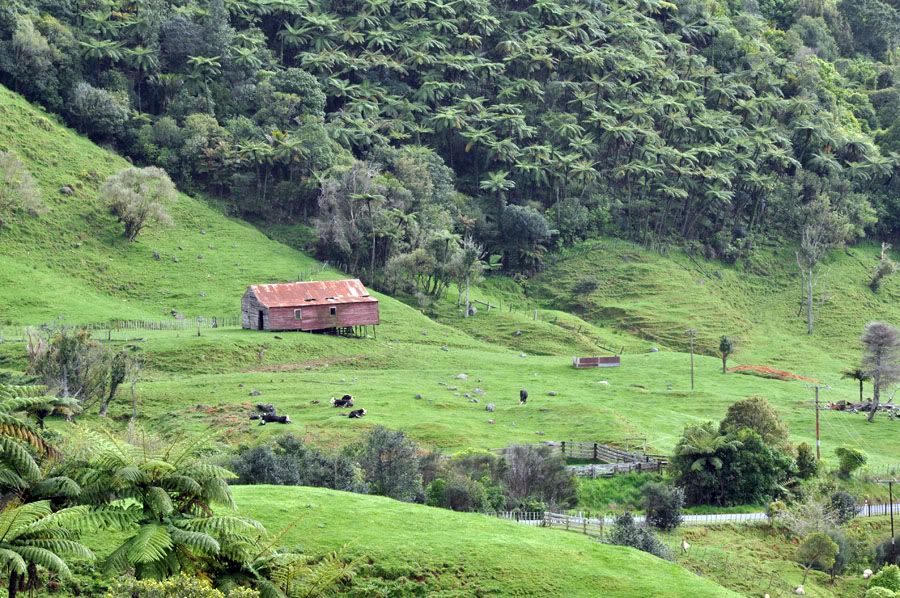
When they arrived I asked the one driver if I could pay him to take me back and mentioned that I had been dropped off in a red van ... he said to me " That was my son " , then he looked at the machete handle sticking out of my pack and said " On Friday when he came home he said " Dad , no matter what happens don't let me forget to pick up the South African on Monday ! " " ...... it's not as if there are blood stains on the machete or something ?
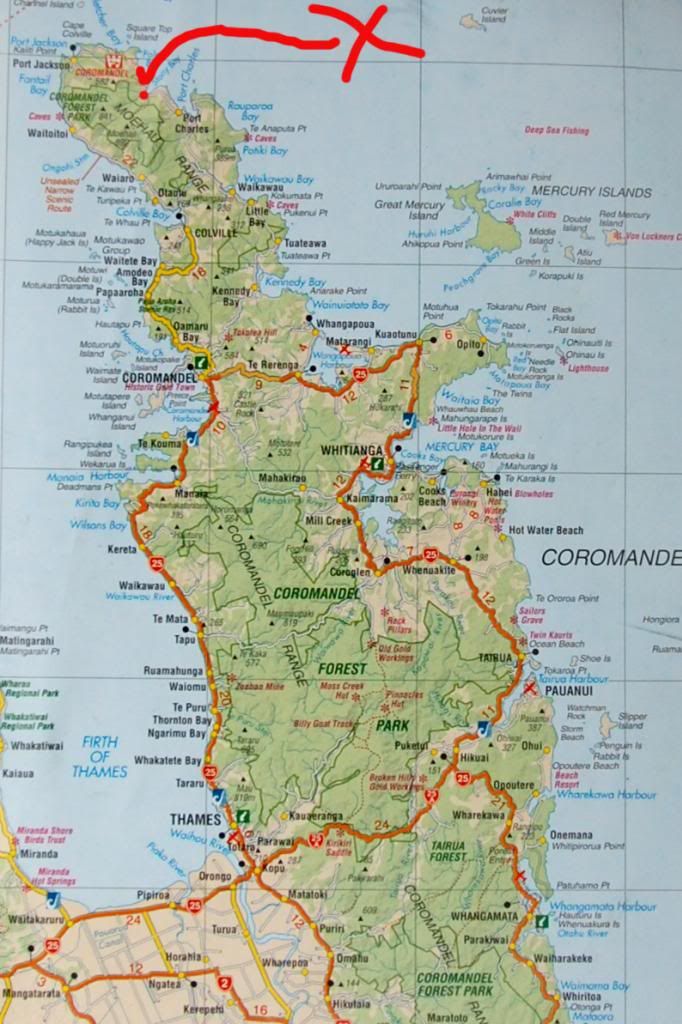
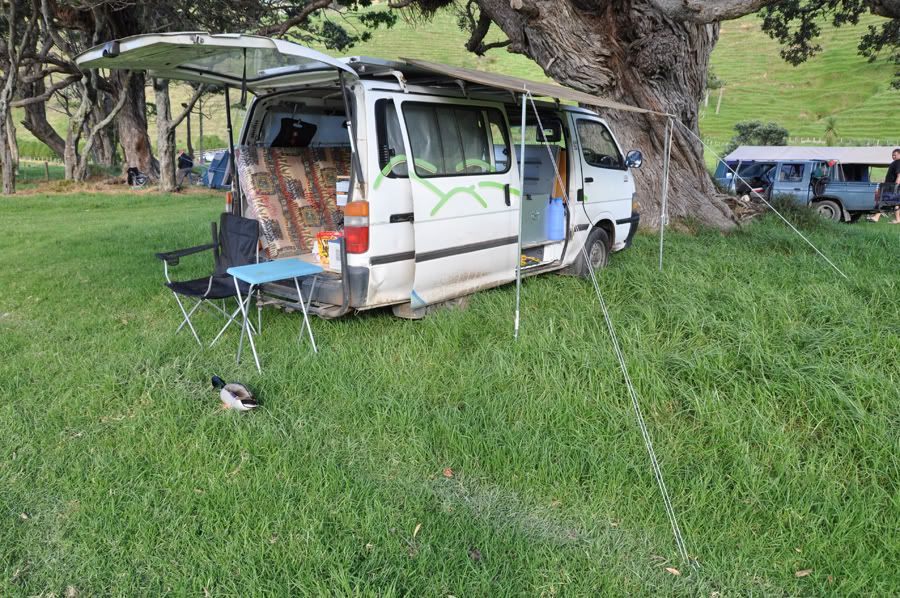
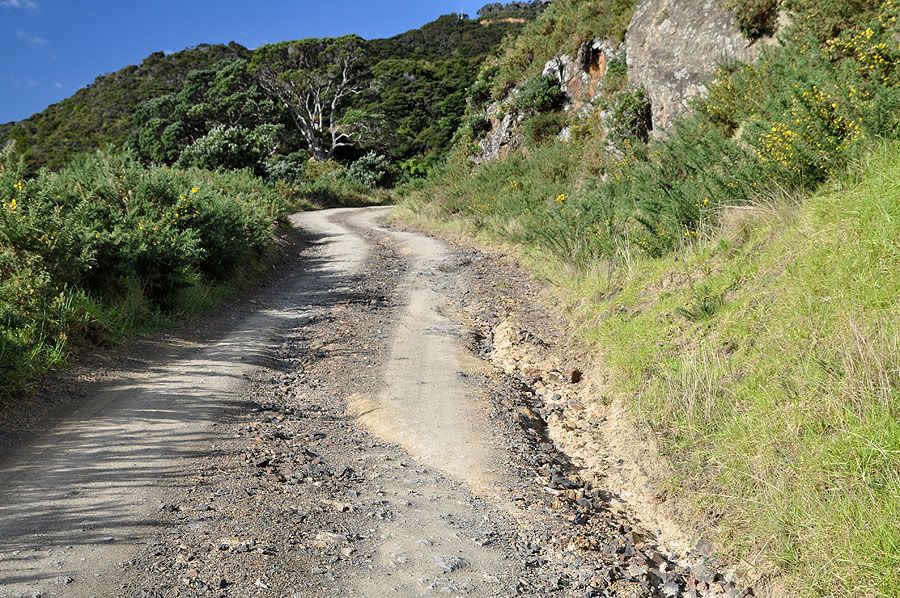
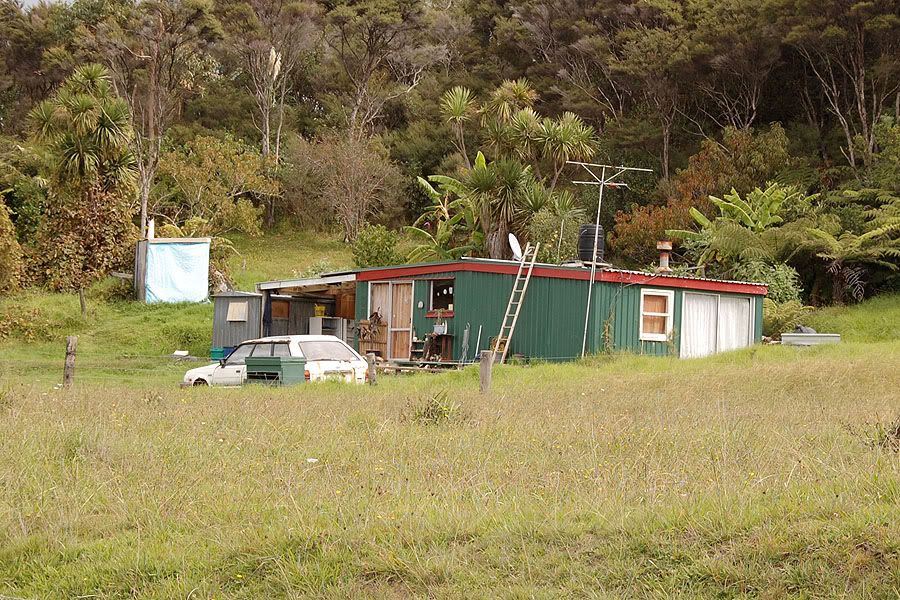
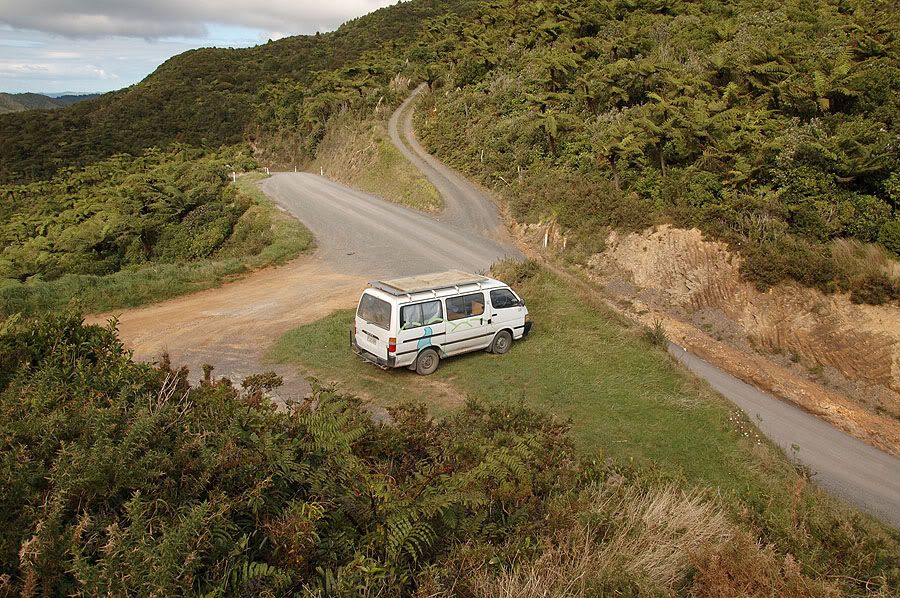
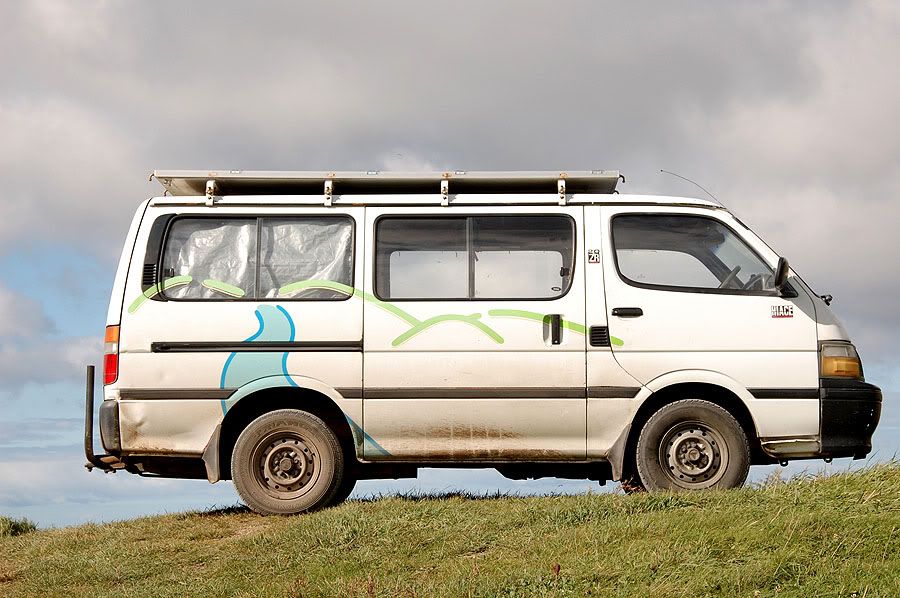
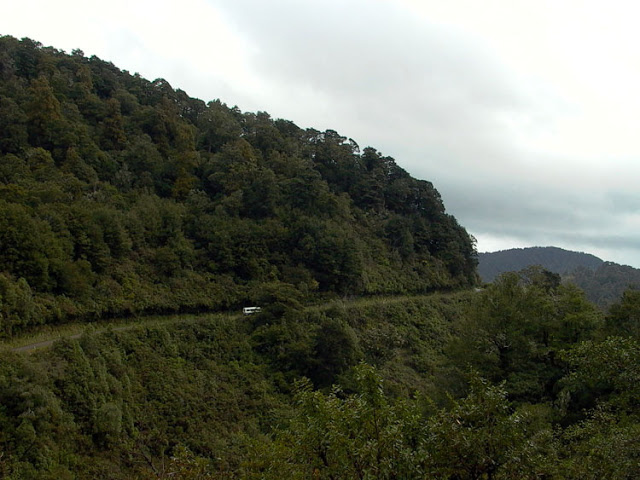
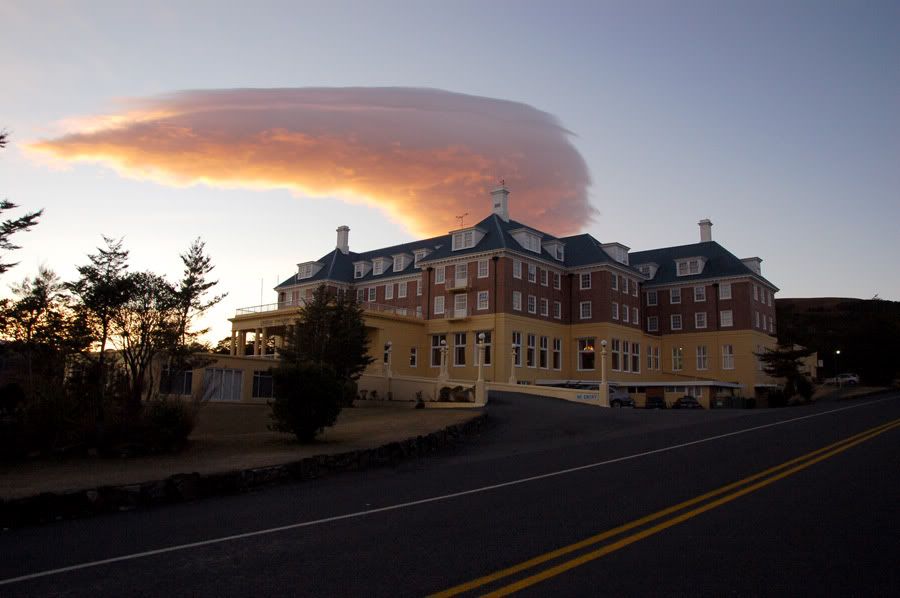
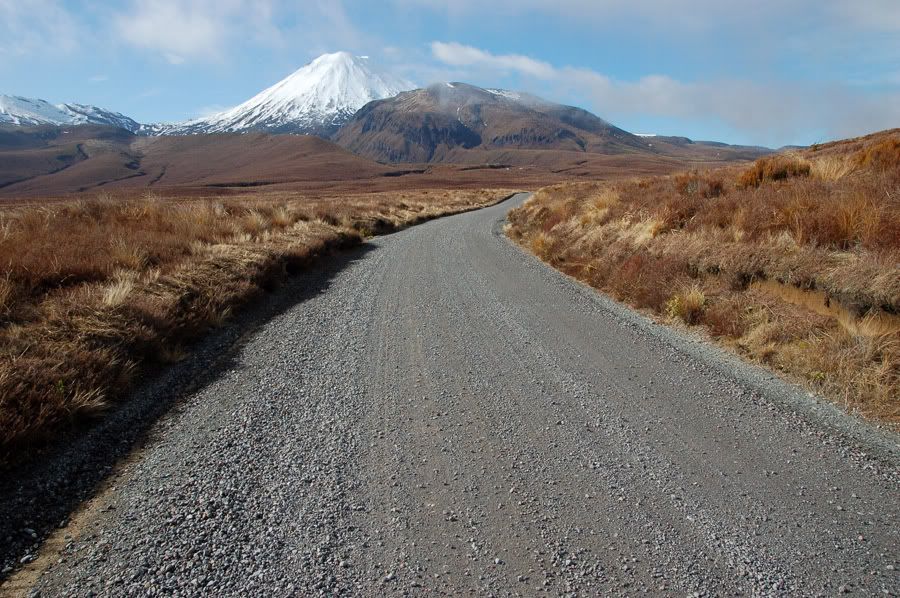
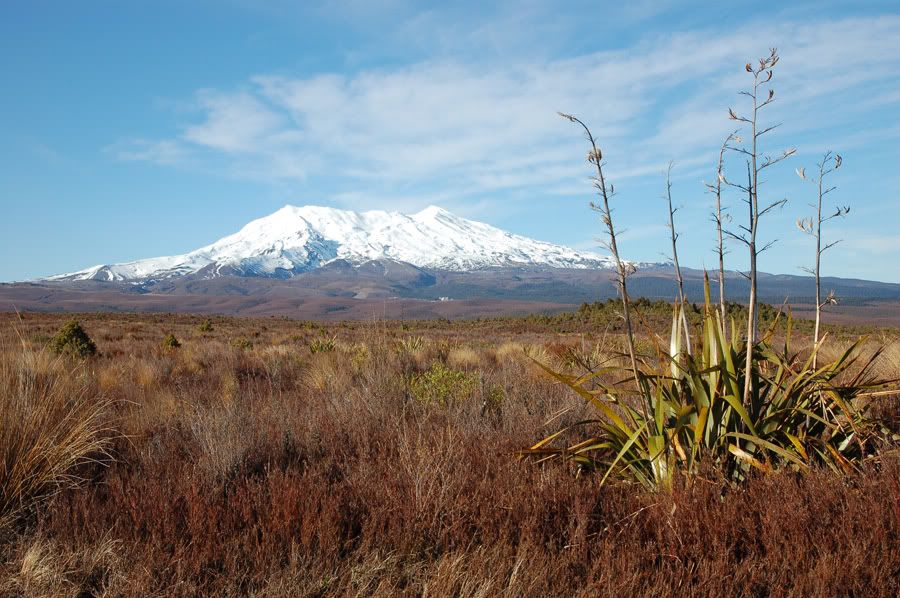
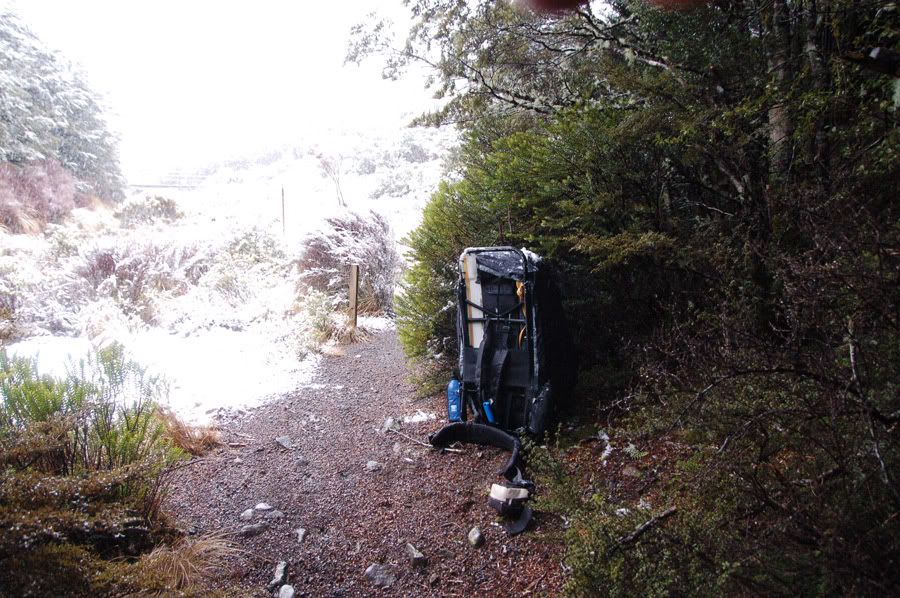
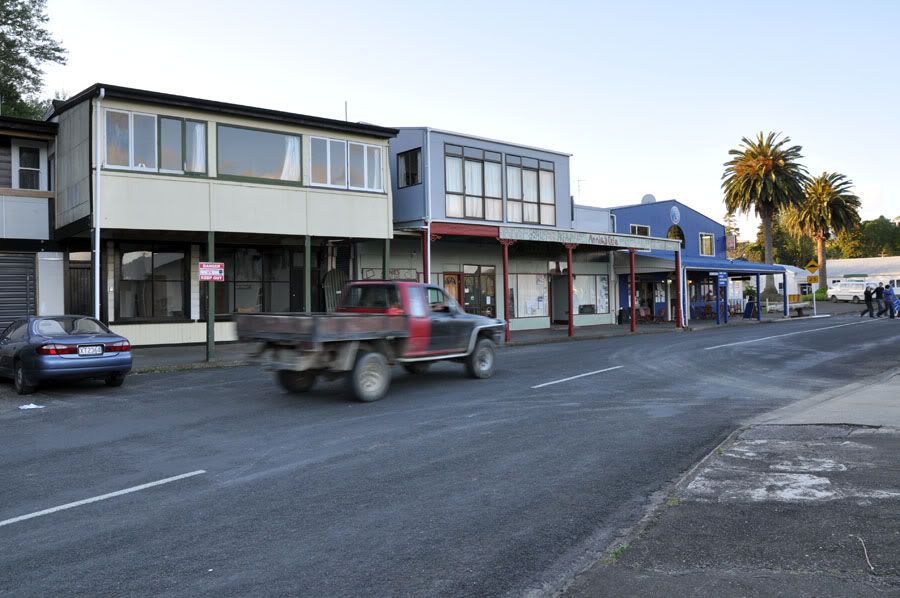
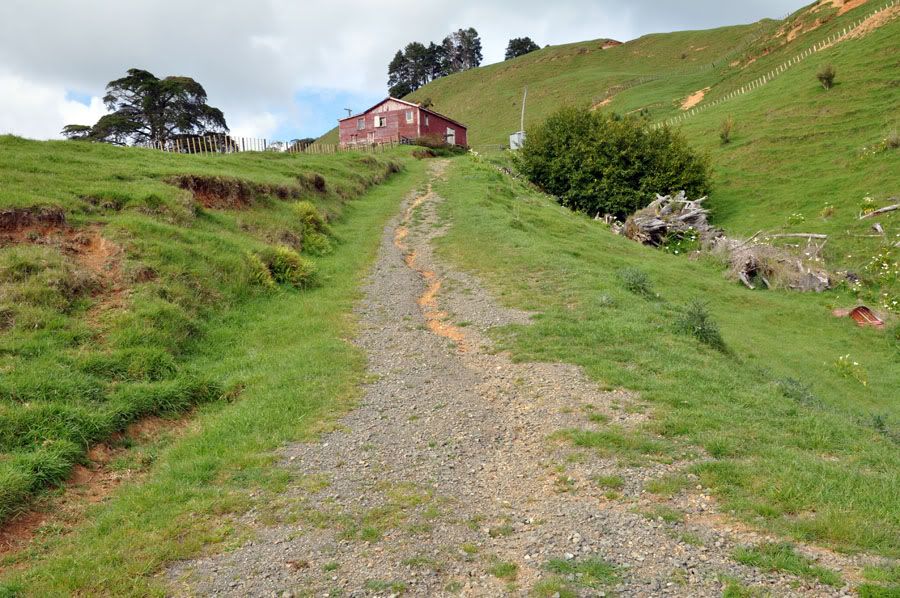
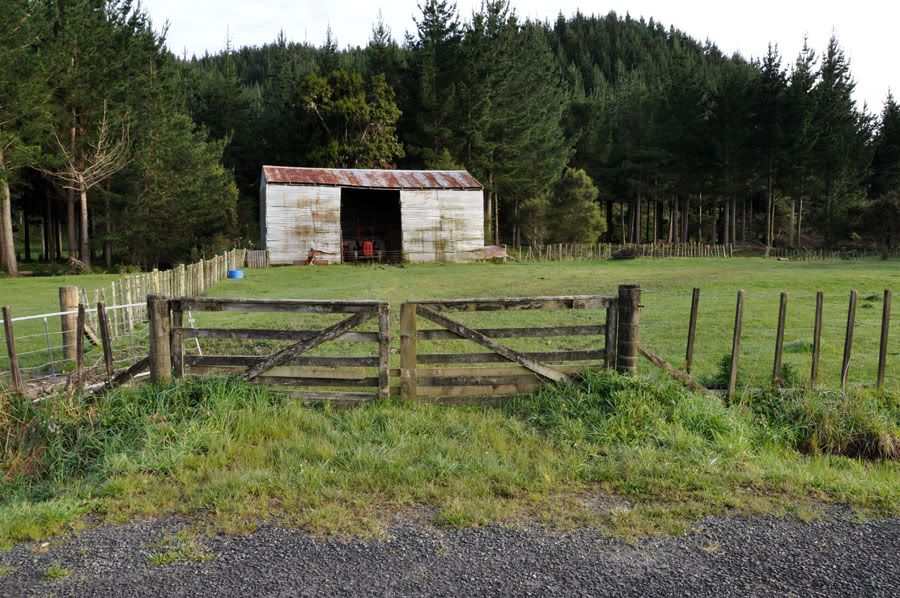
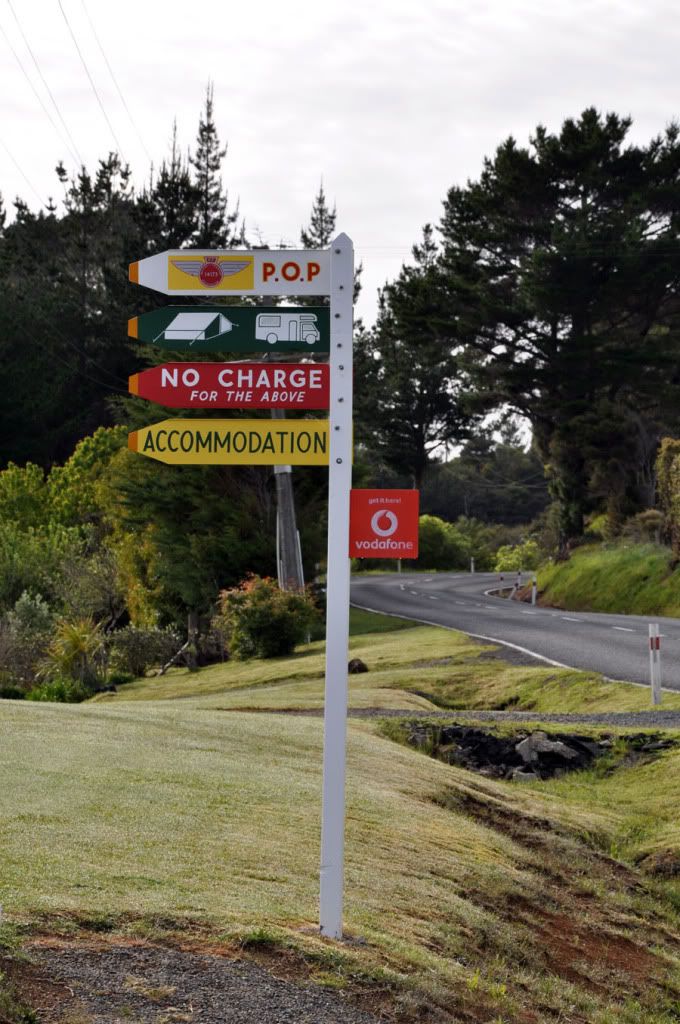
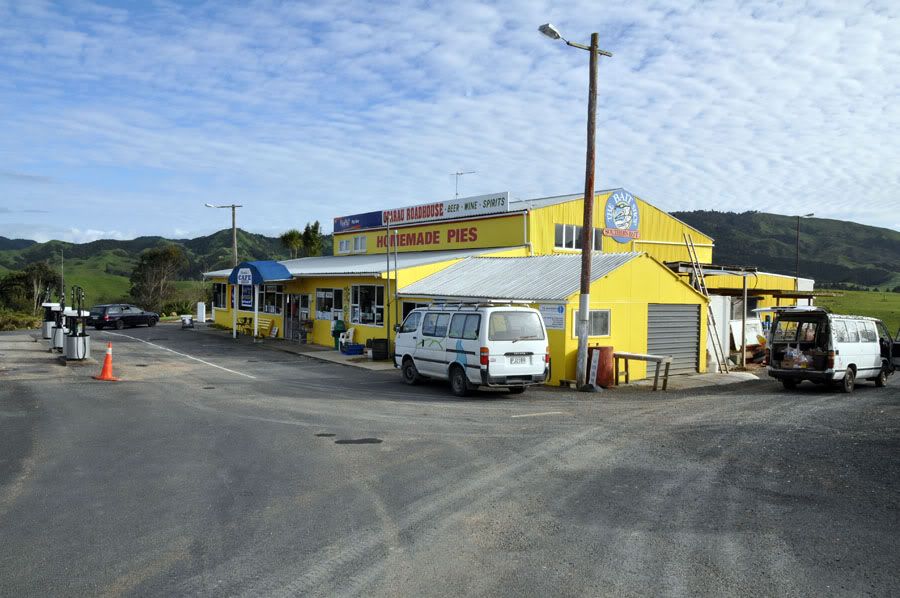
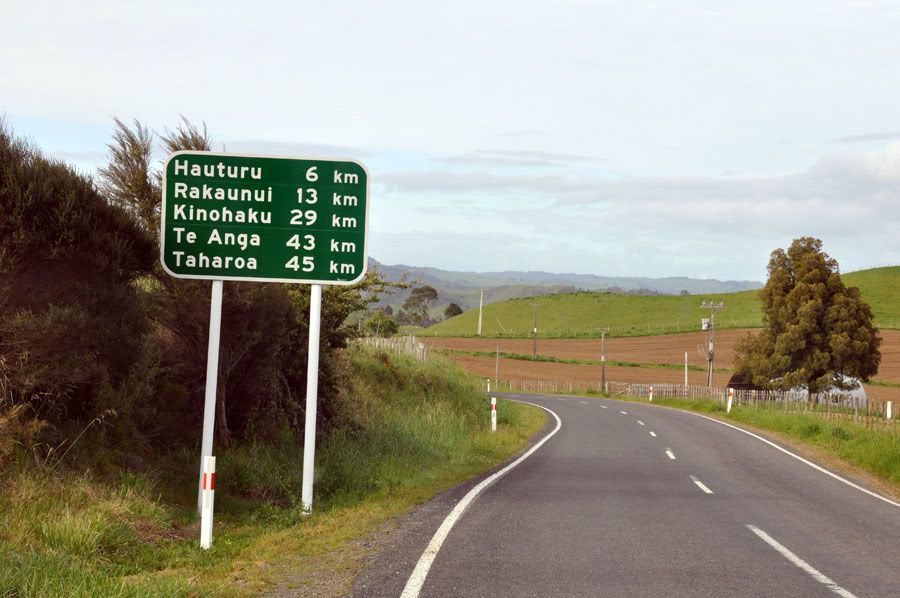
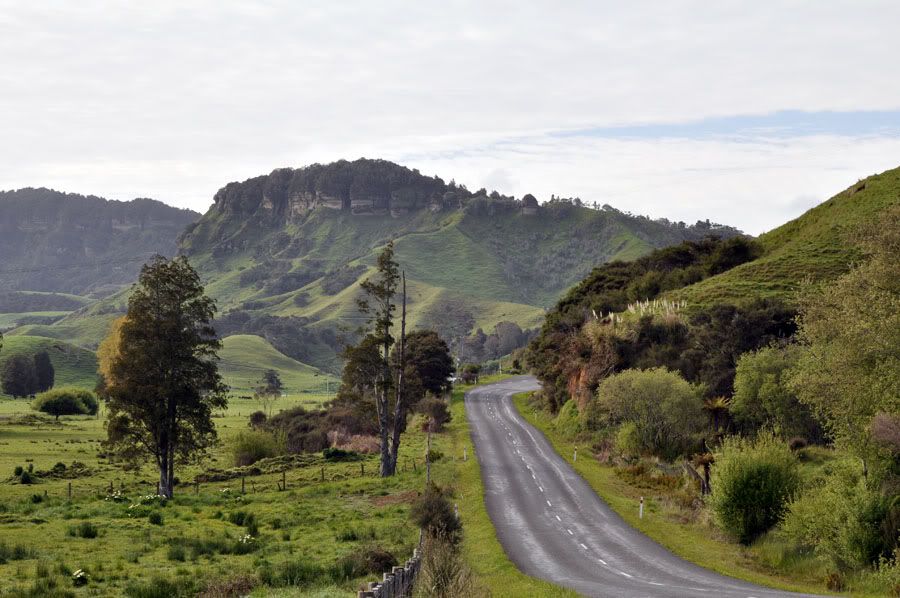
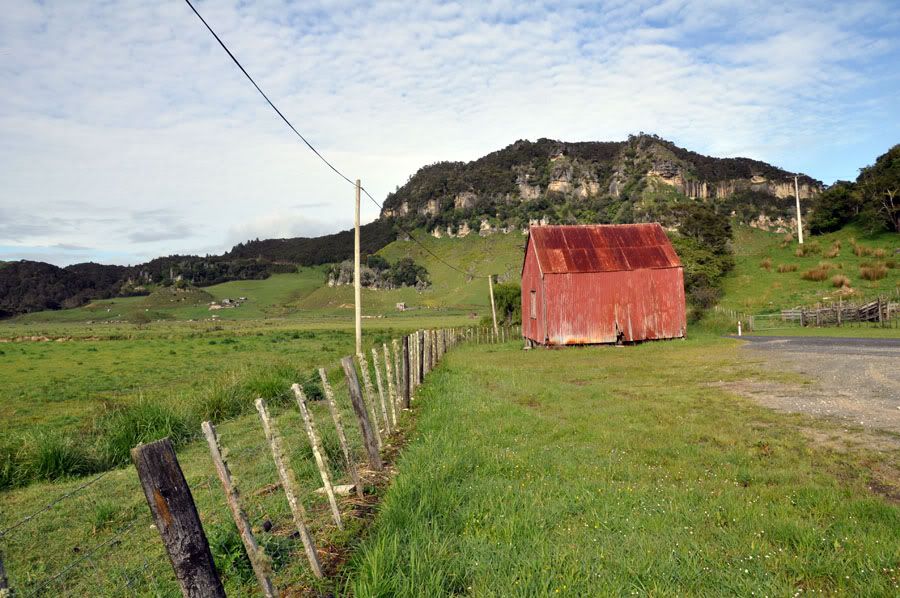
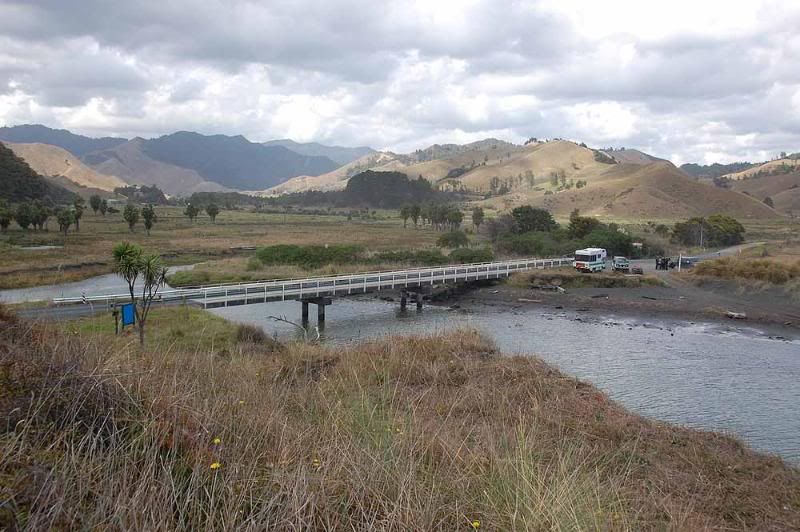
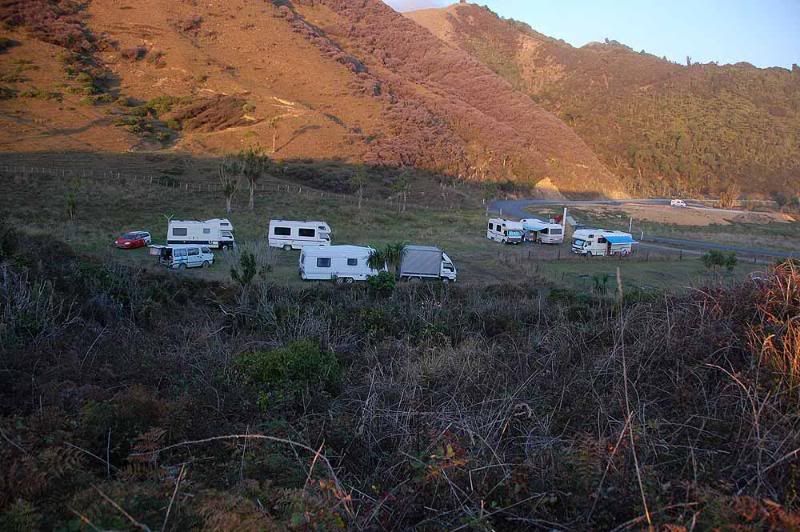
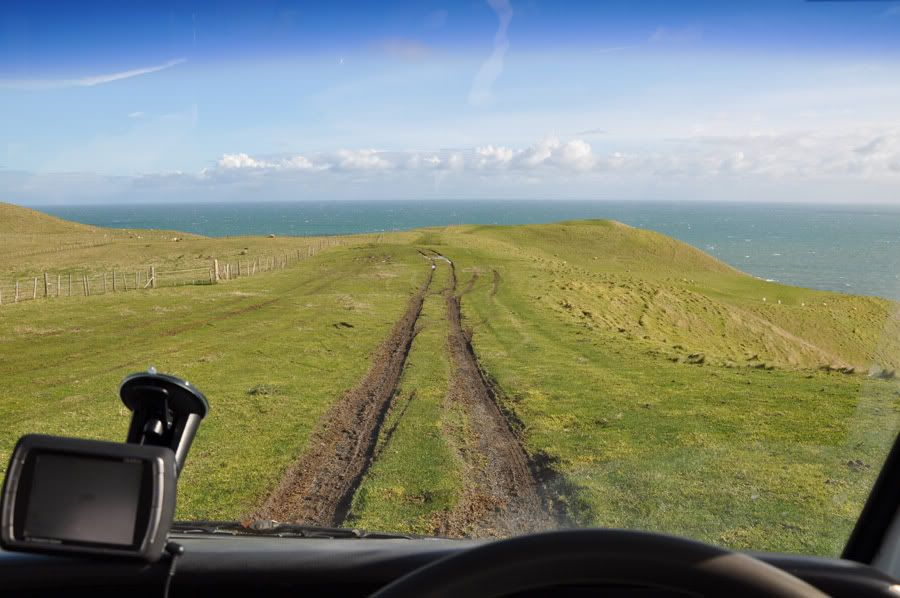
I can't remember where it was that I stayed that night - it was a motel somewhere along this road ....
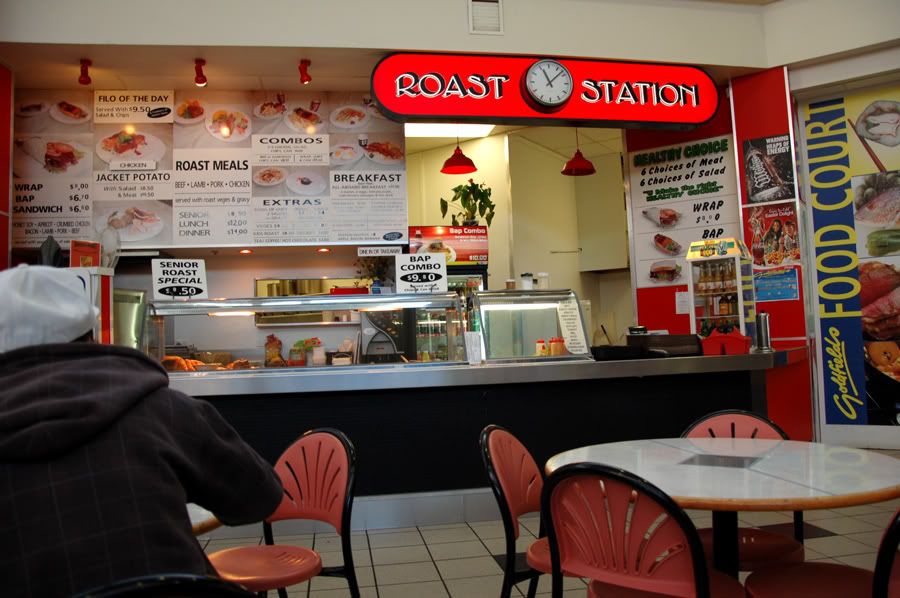
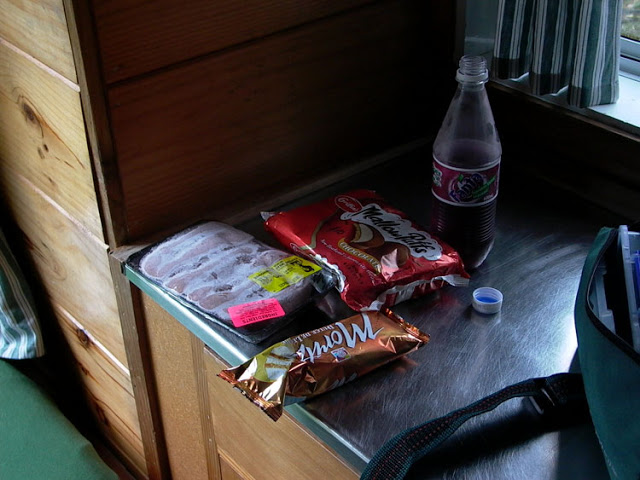
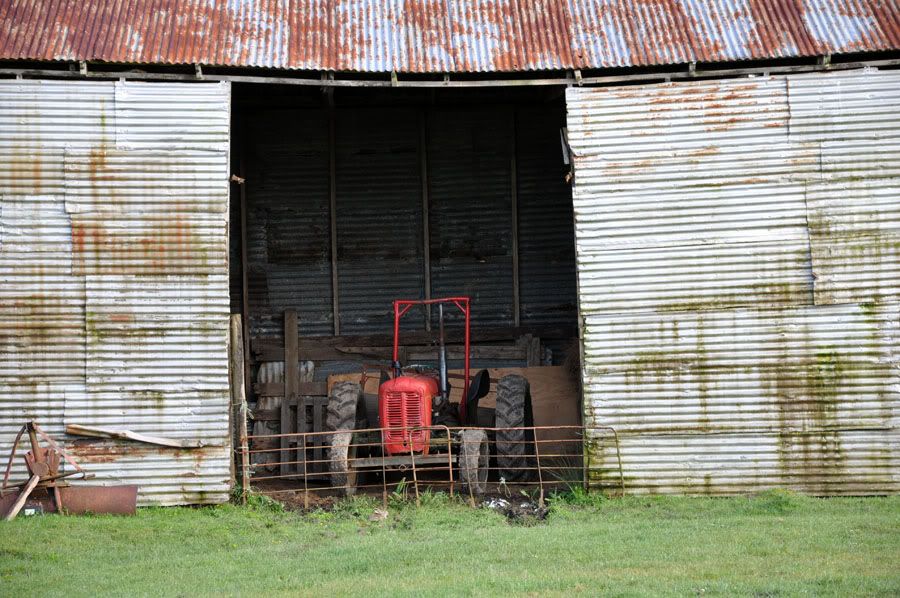
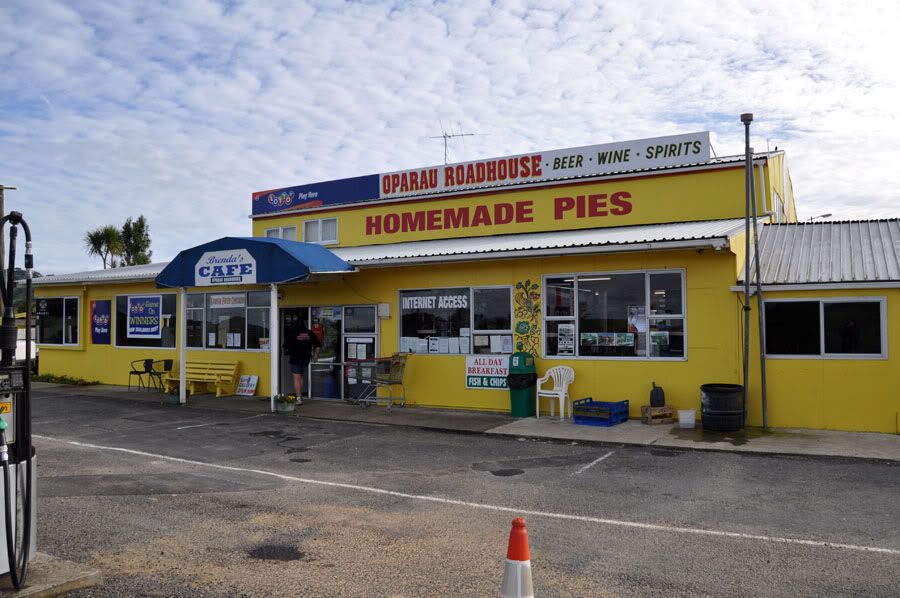
 I'm starting to remember what I ate that night though !
 It was along time ago but I think I just convinced myself to head back there soon !
- I just about had the whole lake to myself , I think I saw 12 other people in total . After going through Rotorua you head through Murapara - 90 km of winding dirt roads . It's a good thing I left a day early because I got so tired of driving at 20km an hour that I started going a bit faster - 30 km/hr is enough to get my stomach moving on a road like that and at 45 km I was so sick I had to climb into the back of the car and sleep it off .
The next day I located the 'water taxi' service , they drop you off at the beginning of the track and pick you up at the end . The boat was out of service so they dropped me off by van . The driver needed reassurance that the machete and hunting knife were for trees that had fallen across the track - but he didn't look that convinced .
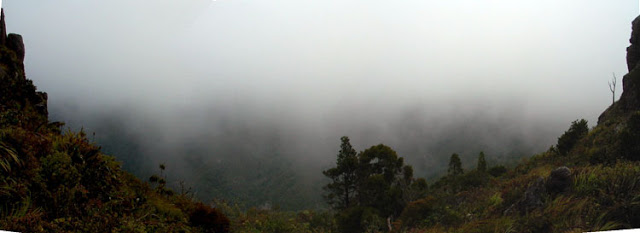
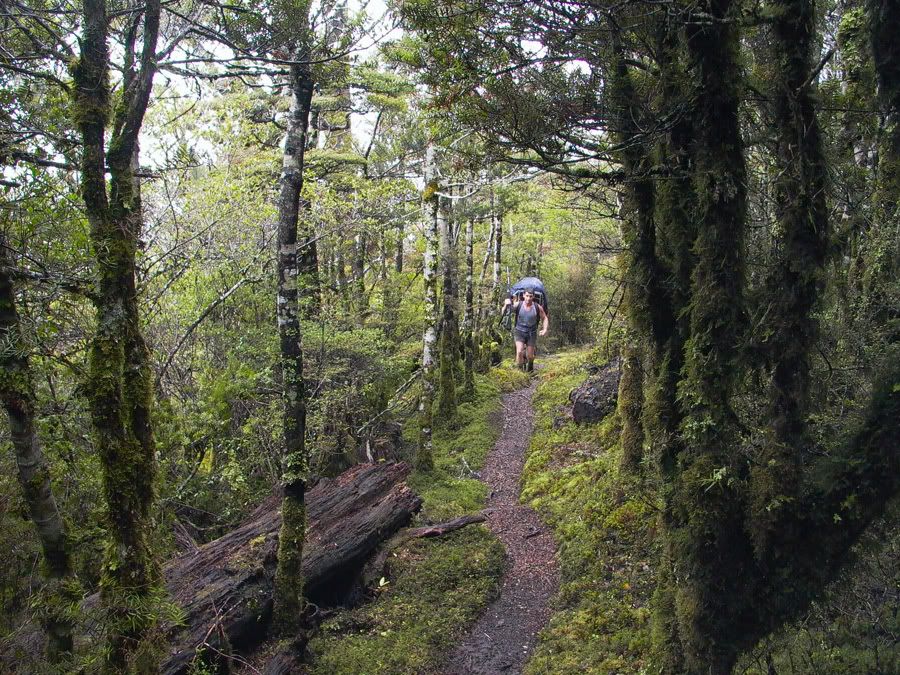
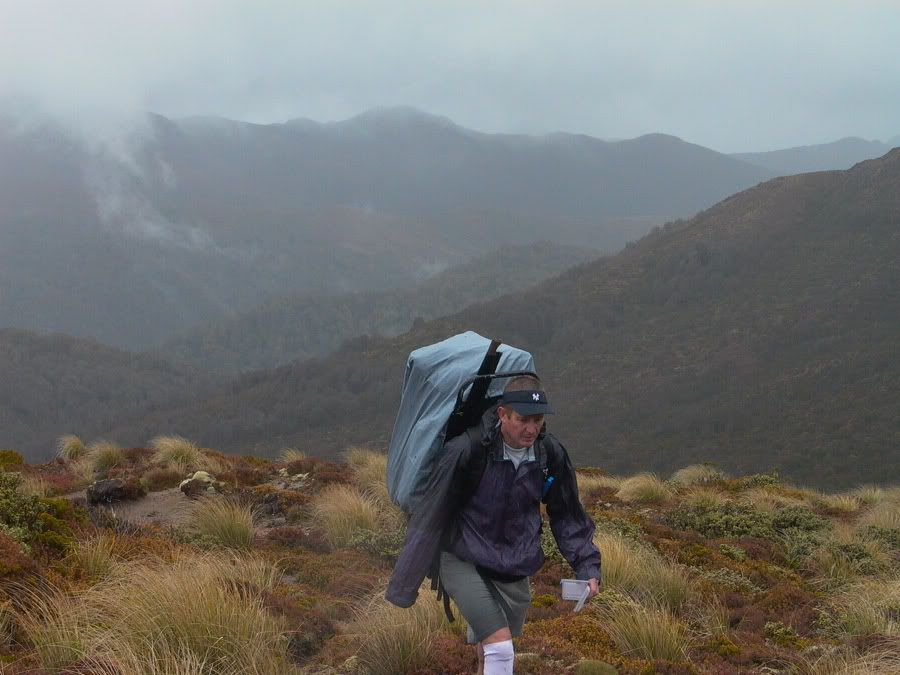
They dropped me off at Sandy bay and I started making my way up the Panekiri range to the hut ....
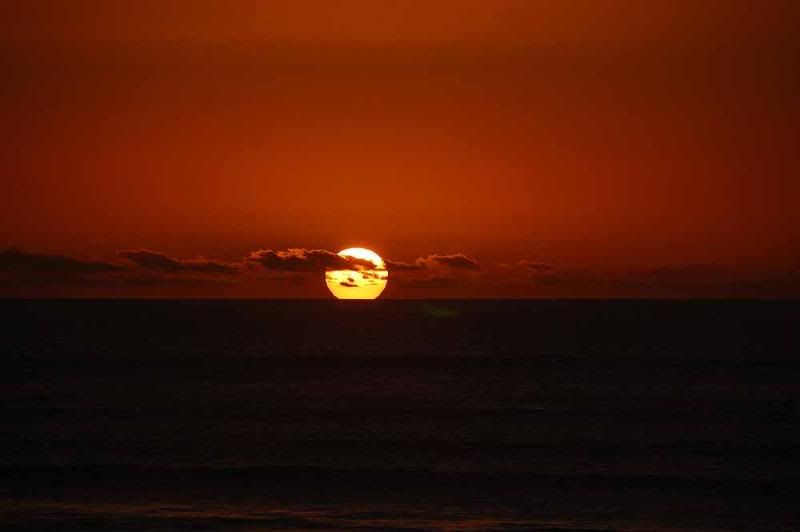
In the evening I was reading and it was raining quite loudly on the roof - suddenly things went quiet and I looked out the window and it had started snowing ! I ran for my camera and ran outside and it changed to rain again :( .
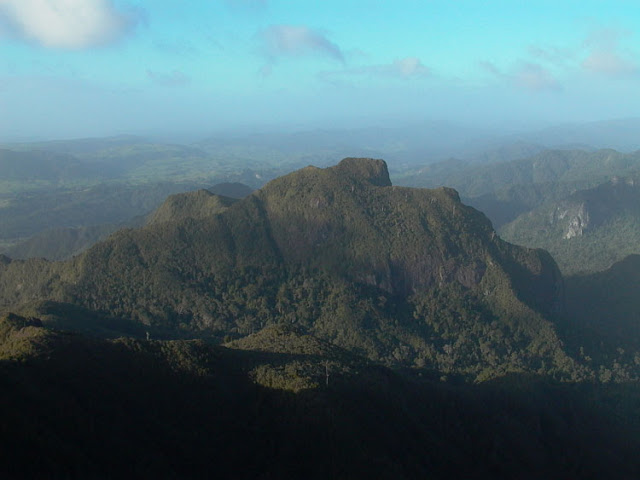
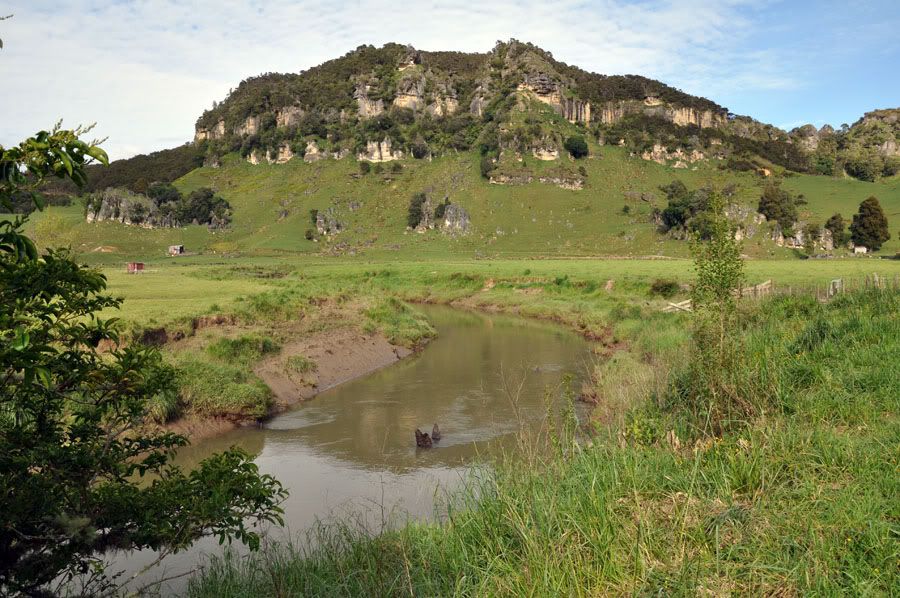
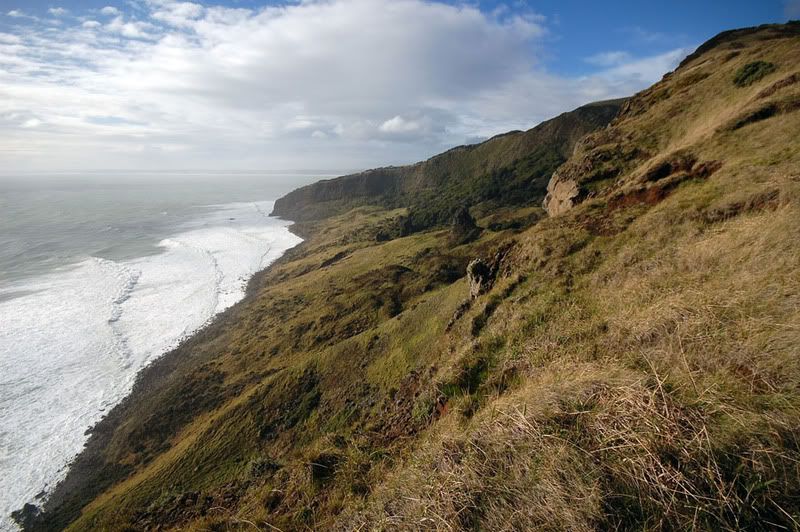
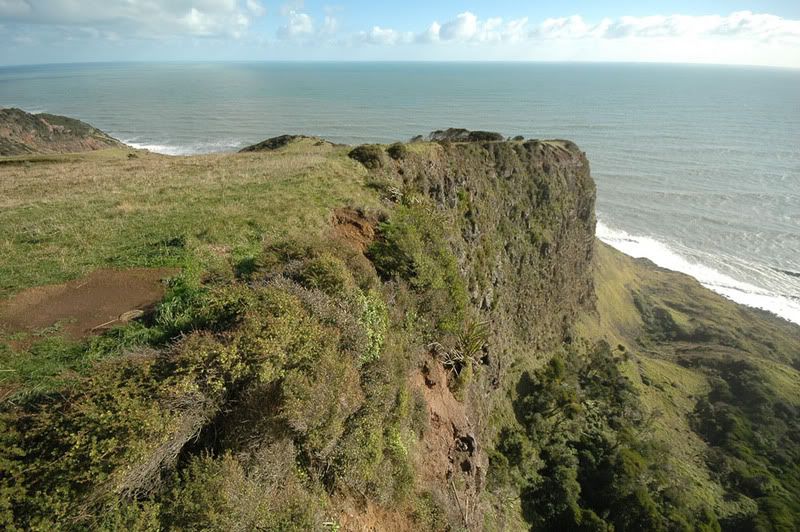
The next morning the weather cleared up a bit for some photos .
I wish I knew a bit more about photography back then !
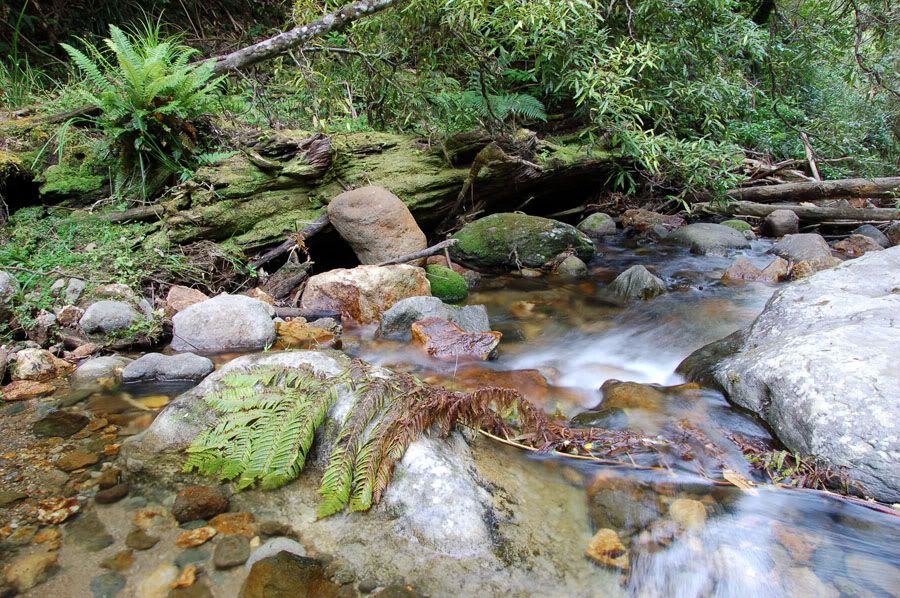
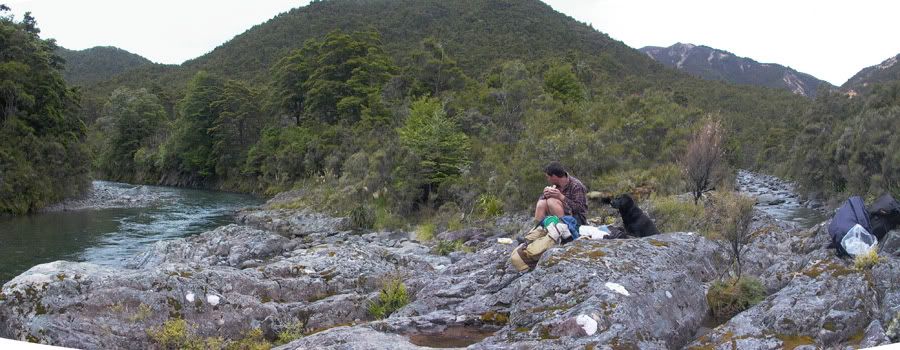
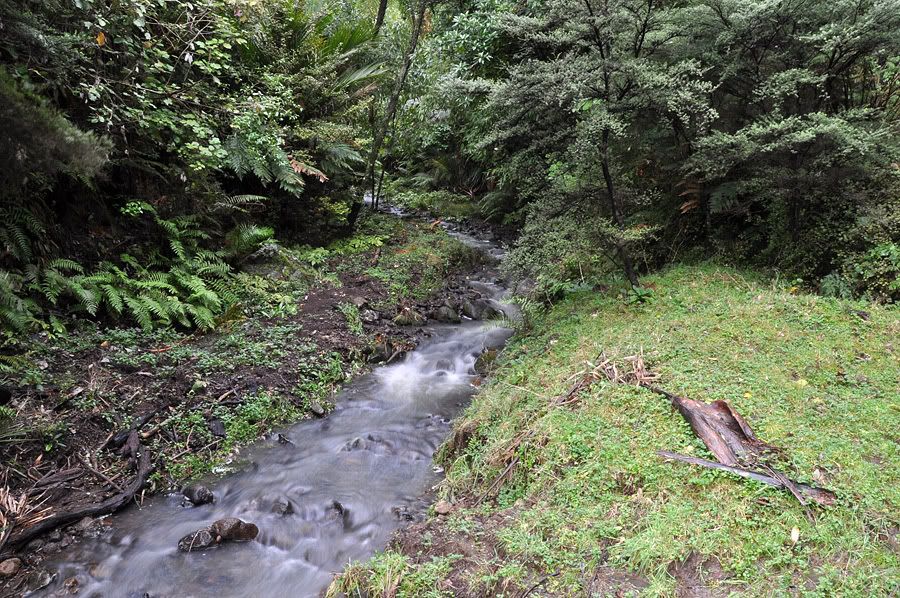
I made my way down to Waiopaoa hut in the morning and had breakfast there .
Past the Korokoro campsite , over the bridge .....
I saw some wild pigs that took off ....
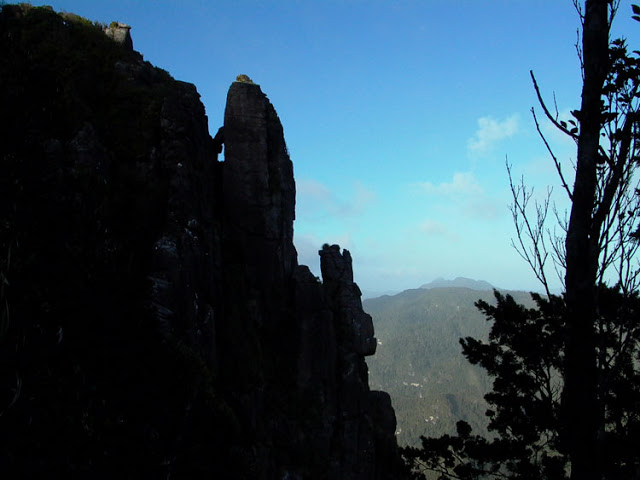
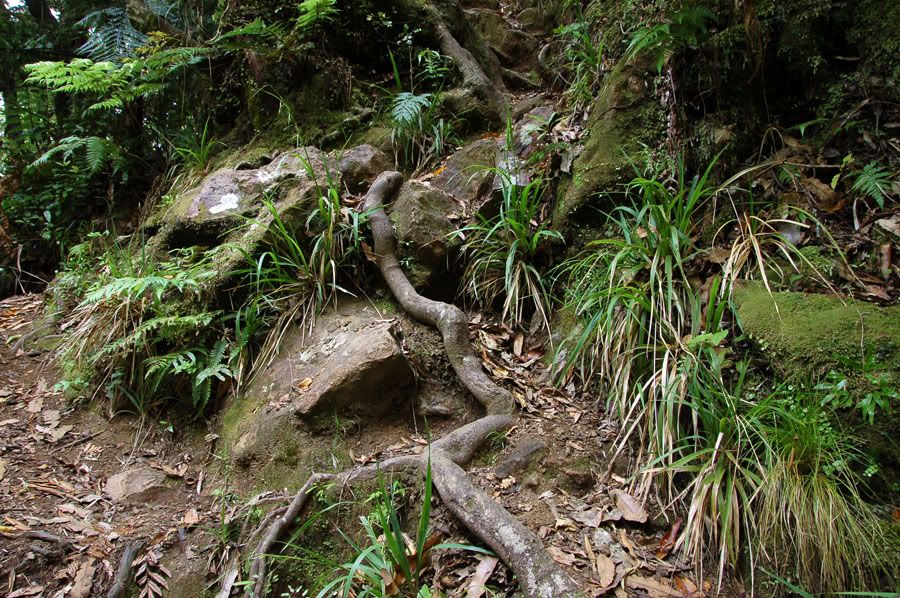
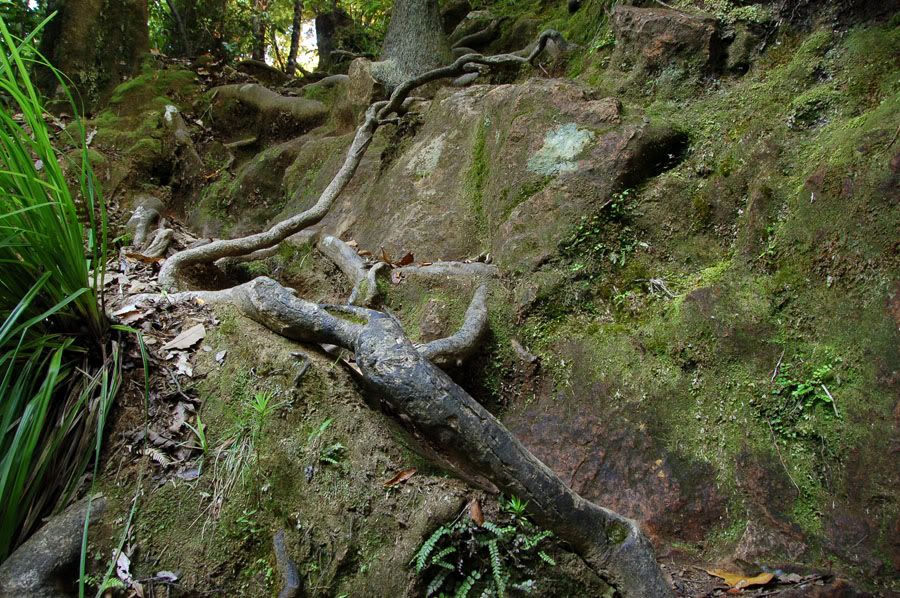
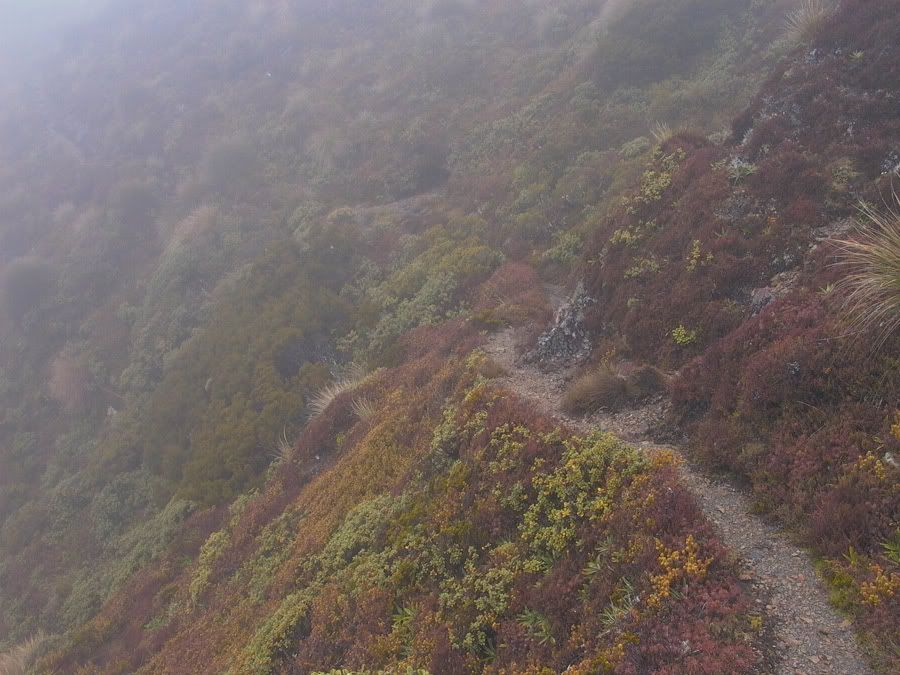
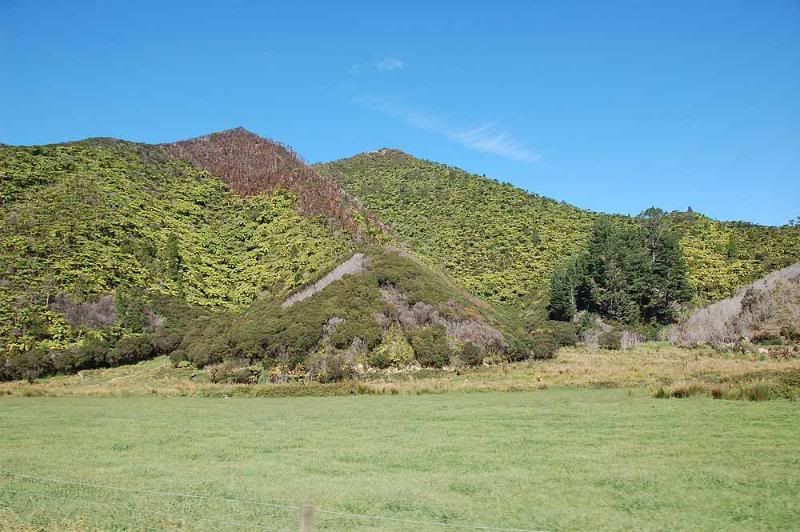
It is an interesting track - and well maintained ...
I kept heading for the Maraunui hut
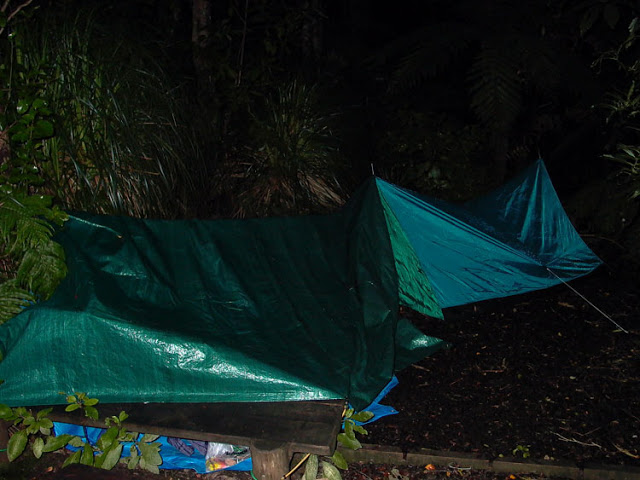
I turned out to be an interesting night , it didn't rain hard , just a gentle drizzle that I couldn't hear but I woke up a few times with the sound of what seemed to be 500 rats running along the roof a few times . Eventually I got the torch ready , had the machete in my hand , and when I heard the noise again I ran out at the ready with the machete ..... it was some trees above the roof - each time the wind blew the water fell off them in a row across the roof .
This warning on the door had me worried about rats originally .....
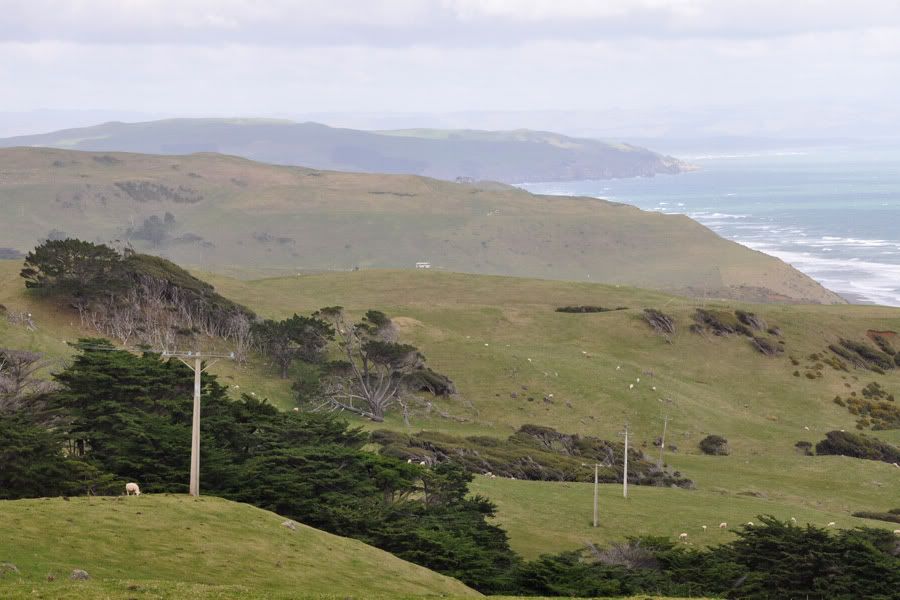
The next day I headed off for Waiharuru hut which turned out to be a nice new construction in a very nice area .
There was nobody else around so I decided to keep walking to the end of the track even though I would finish the 53 km a day early .
When I got to the end of the track there were a few others there that had done the walk which meant one of the taxi services would be there to hopefully give me a lift back to the camp .
When they arrived I asked the one driver if I could pay him to take me back and mentioned that I had been dropped off in a red van ... he said to me " That was my son " , then he looked at the machete handle sticking out of my pack and said " On Friday when he came home he said " Dad , no matter what happens don't let me forget to pick up the South African on Monday ! " " ...... it's not as if there are blood stains on the machete or something ?
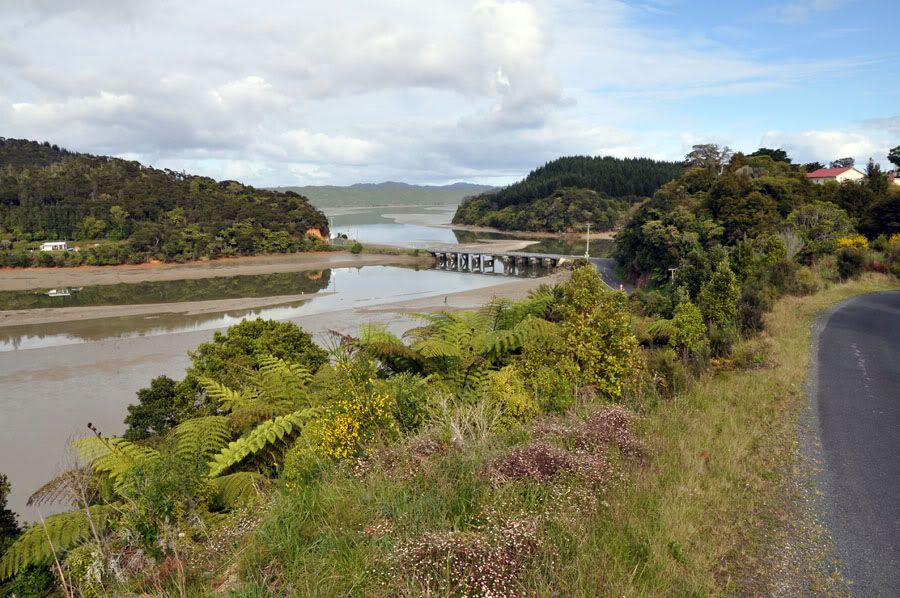
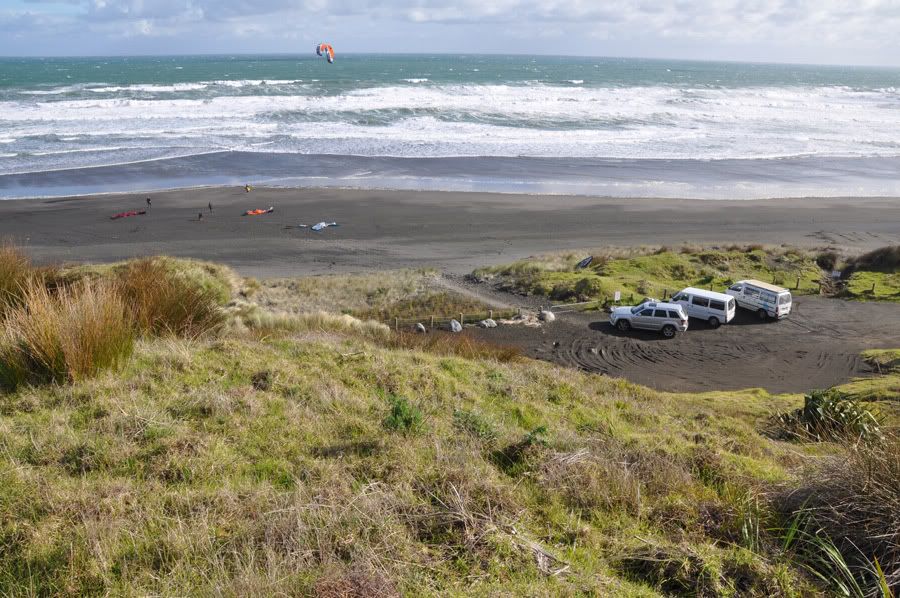
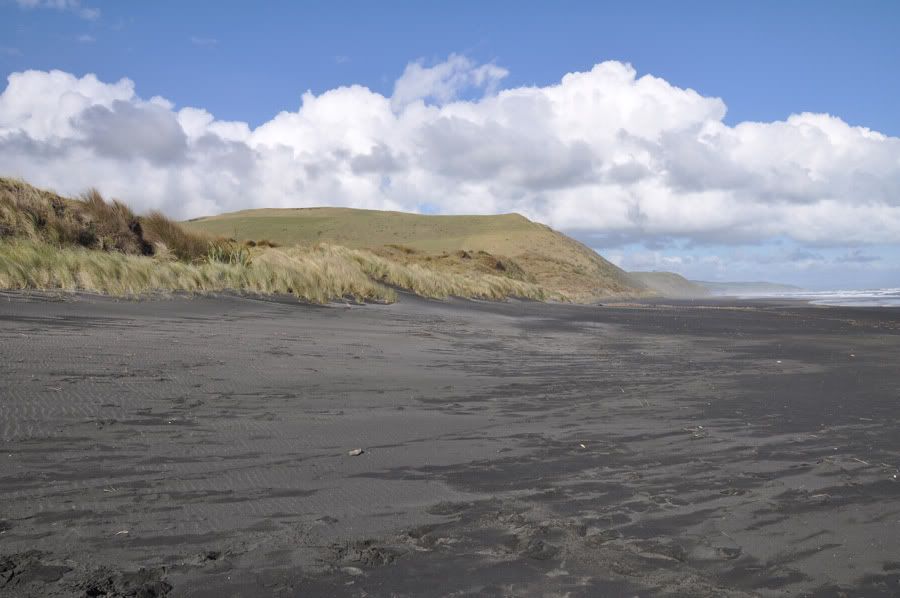
I can't remember where it was that I stayed that night - it was a motel somewhere along this road ....


 .
.


")


 .
.